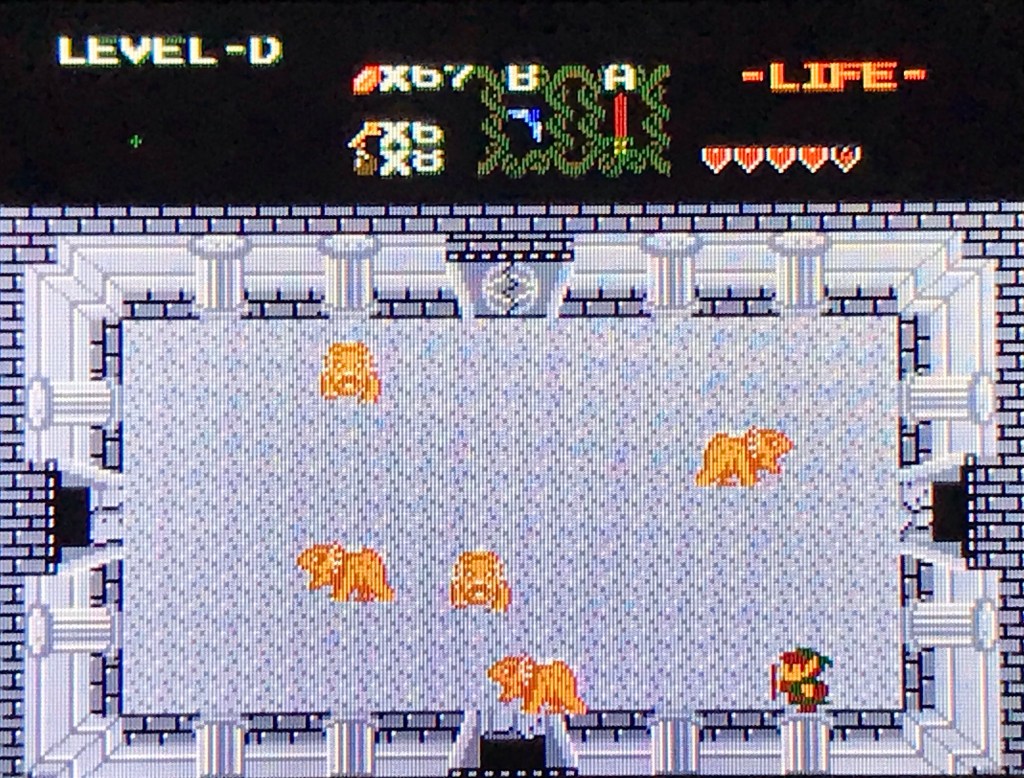
Blobby eyeball creature in Level U doesn’t unlock anything but rupees….X_X…
But now we can buy moblin meat and potions with Bagu’s letter, and the Goron shop with the Kokiri Sword and Goron Shield is unlocked with the ocarina. So at least rupees are worth more than they were.

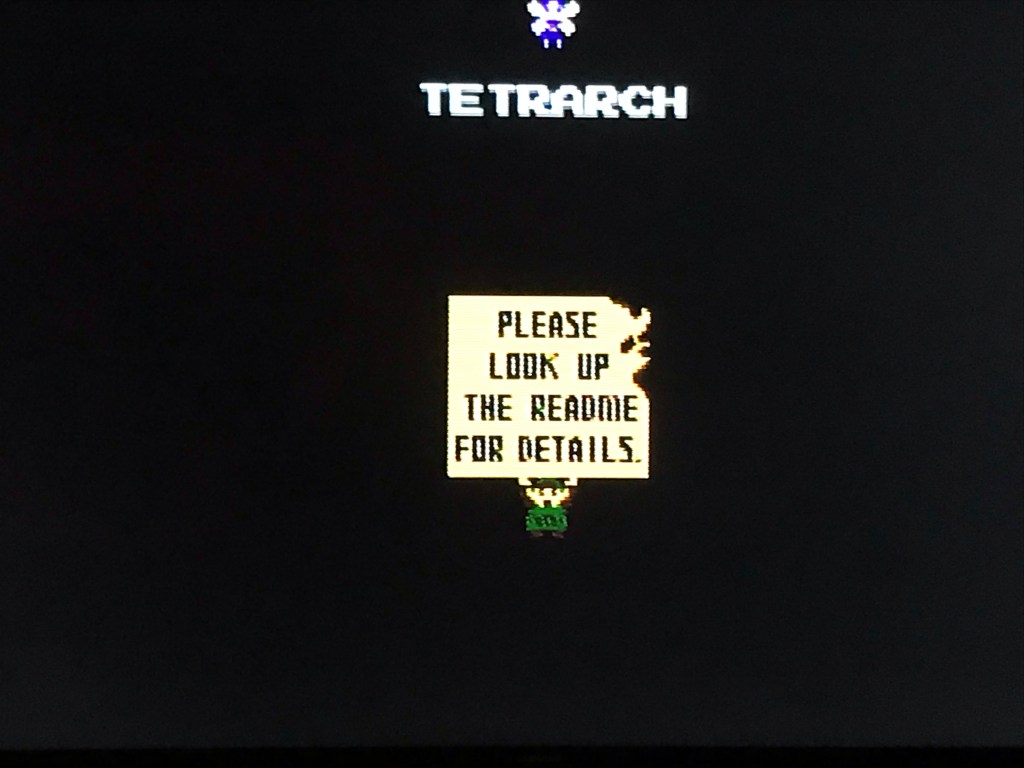
Meanwhile, back in Level T, remember that you just received two expansions to your bomb bag. Take the hint. Both the raft and the dungeon’s Tetrarch Fairy are not far off.
With another fairy comes another ocarina warp location: directly across the stream from Level O. There’s some obvious goodies and a warp cave that returns you to the other side of the stream…but not much more than that so far.
With more progress comes more ocarina warp locations…which you can’t really control. Playing the ocarina can take you to any of them. Now and then I suspect that your location on the map has some sort of correlating, mirroring relationship with where you warp to, but I’m not sure.
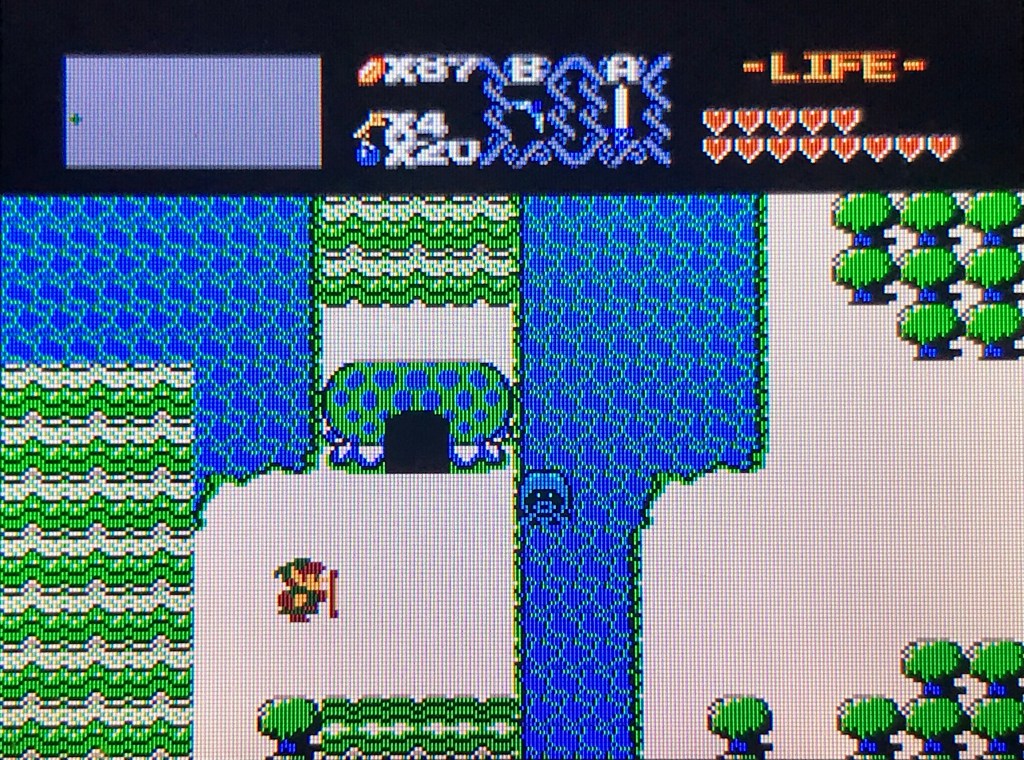
What this means is that, with the expanded range, you can no longer count on the ocarina to take you across the central water body. At least, not with any predictability. So, while getting the raft from Level T might feel a bit redundant, it’s really just in time. From now on, it’s the only way you can cross the central water body until you find the Gerudo warp caves.
(Actually, I remember some water in the upper left corner of the map, near a waterfall. I think the raft had some sort of use there, during the first quest?)
Along with the Outlands signature crisscrossing between dungeons comes another reversal of traditional Zelda mechanics. Each dungeon will not necessarily give you something that you need to unlock the next, sequential path forward. A treasure from one dungeon, the ocarina, has unlocked two dungeon entrances so far. Two others were accessible from the very beginning, even without the sword.
Like acquiring the sword, the expectation that the next treasure should unlock the next dungeon is so ubiquitous across Zelda games that, without it, you can easily feel lost. With Level T behind us, the ocarina has gained more warp spots and, ironically, appears a little less useful for it. And receiving the raft feels almost disappointing, since we’ve been coming and going across the water for awhile now without it.
This made me assume, several times now, that there is no clear path forward ever and each time you have to do a ground-up systematic investigation of everything.
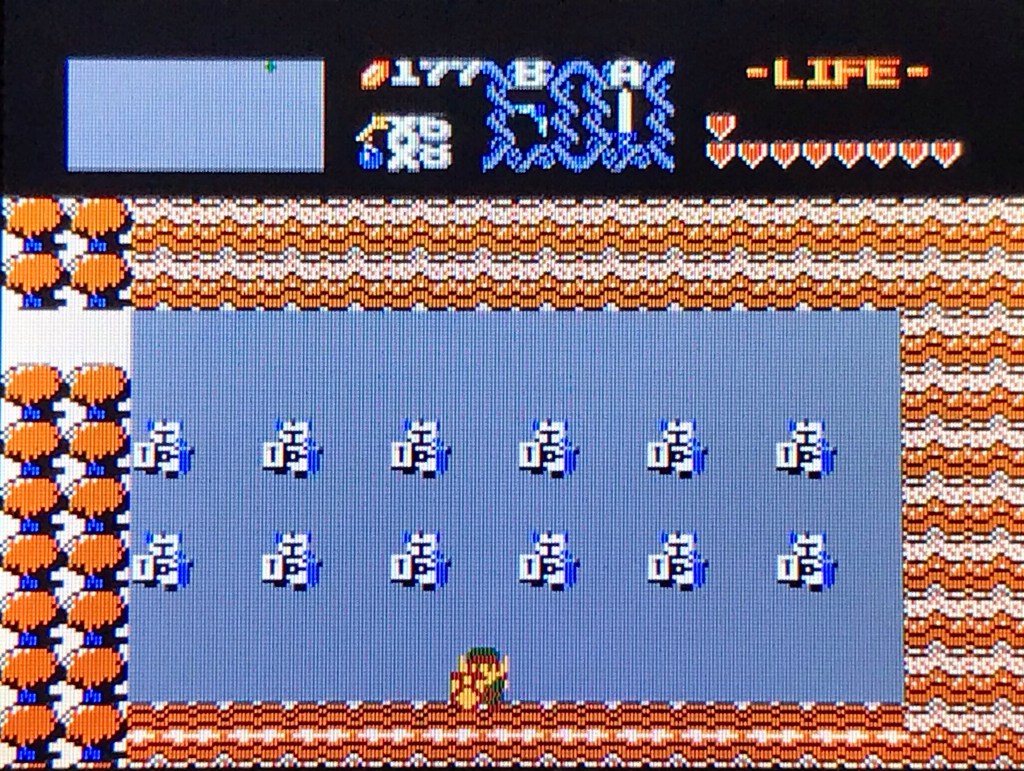
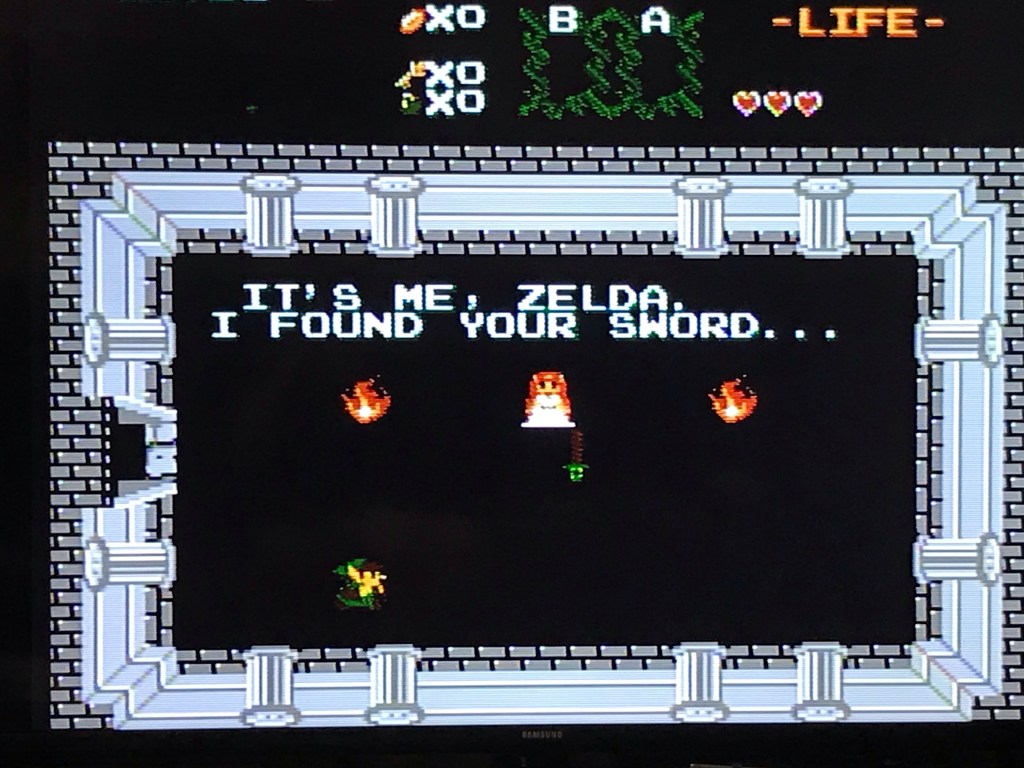
So I spun my wheels for awhile before remembering that there are suggestions of where to go next, even if the treasures are not always involved. Back in Level T, Zelda said there was a dungeon with twelve guards. Typically, numbered guards could only mean one thing. And they usually come in pairs of four or five so the uncommon pairs of six adding up to twelve are easy to track down and rule out.
Level T sets an interesting precedent for the next three dungeons: continuing the theme of the Subrosian warp caves, the secret staircases are often one-way passages. Level L particularly is arranged so these paths loop back on each other. The next two dungeons, N and A, also have tricky underground staircases, but at this point T and L still hold the record.

Level L also has the next item, after the ocarina, to unlock multiple dungeons: the Handy Glove. Level N is hard to miss if you do just a little bit of experimenting outside of L.
Next, it’s time to hit up the puzzle by the cemetery in the lower left corner of the map, now that we can actually push rocks outside of dungeons. The hint-for-rupees Subrosian said it could be solved the same way it was in quest one, after all.
Interesting touch, saving this location for later in the game. The puzzle that lets you access this area felt significant in the first quest to- last time around, there was a heart container hidden in the area. It put me over the quota necessary for one of the Gerudos to hand over the Staff of Byrna. Speaking of, between L, A and a few other random holes in the ground, we’re at more than enough to get the staff in quest two.

If you remember Zelda’s hint about the “red tree path” from Level N you’ll probably find your way to Level C, right next to where the Thunderbird’s fortress was in the first quest. Just a few screens in, though, we naturally learn that we need all eight of the Tetrarch Fairies before venturing further.
So. Where to go from here. This actually got me pretty frustrated for awhile. The only other hint from Zelda was about searching “the dark maze of ice,” from Level A. But you need the Handy Glove to reach Level A in the first place and the Handy Glove dungeon is in the frozen area itself. So it kinda looks like you have to go back and look for a third level in the frozen maze. Which sounds a little obtuse for a Zelda game, what with the emphasis on exploration, but it was the most recent lead I had at the time.
Nonetheless…there was a lot going on up there that I just hadn’t covered yet in the second quest. The waterfall in the upper-right region of the frozen area seemed significant, somehow. I remembered that there was a way to reach it with the raft in the first quest.
Since there didn’t seem to be any way to trigger the raft up there, I started bombing walls and pushing rocks. Bupkiss. There’s no dock to launch from…but if I remember correctly, there wasn’t in the first quest either? My next “sure thing” theory was the small forested area with no snow, near Level L. I remember something being there last time around, but I guess there isn’t this time. Not even after bombing and throwing fire at everything and playing the ocarina.
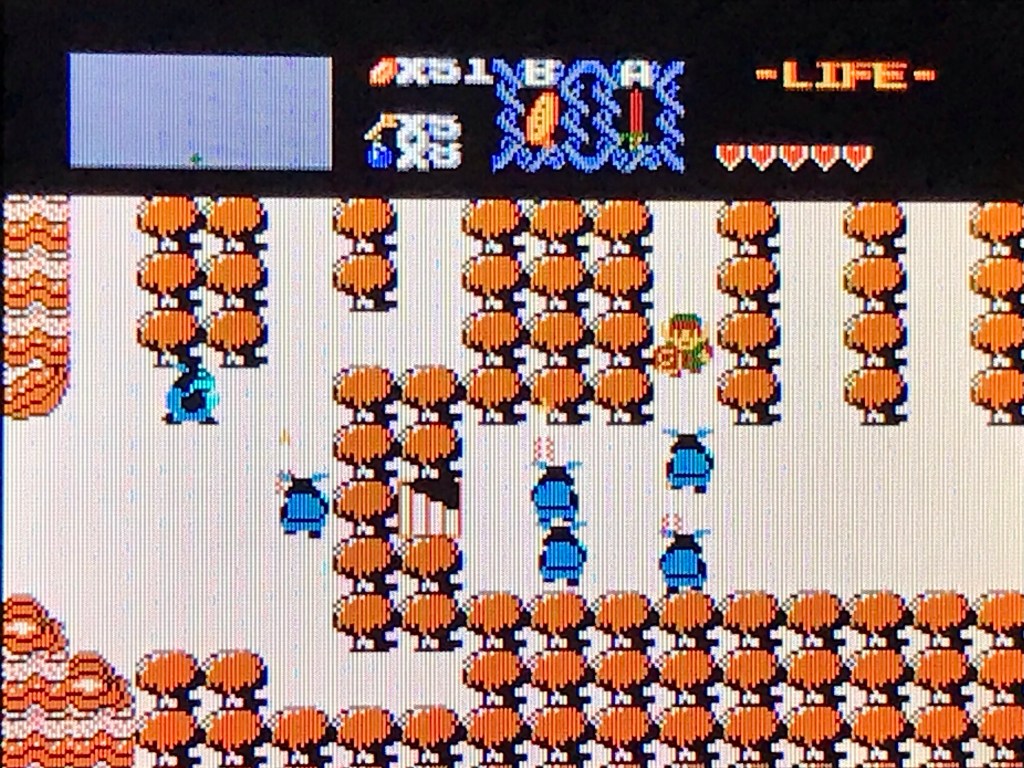
Slowly, the weirdness of this sinks in. No other Zelda game I can think of has three dungeons in the same area. But wasn’t the hint about the “frozen maze” from Level A? You need the Handy Glove to get to A. The Handy Glove is in one of the two dungeons in the frozen maze. If I’m not supposed to go back to the frozen area, then what does that hint mean?
Another way of looking at it: how many hints refer to the frozen area and how many dungeons are there? Two, for sure. What about the hints? “Twelve guards” is one, “frozen maze” is the other. Is it possible that it’s simply two-for-two and that hints might be scattered randomly?

Strictly speaking…all you need to reach Level L is the ocarina and bombs. It’s entirely possible that someone might finish that dungeon (somehow, miraculously, without the sword, or maybe with the Kokiri sword) and then proceed to Level T. In which case, the “twelve guards” hint would have seemed a little pointless, just like the “frozen maze” hint now appears to be.
It’s annoying but at that point I felt forced to consider it. Also…all of the dungeons, so far, are in different locations than the first quest but none of them are far from their original placement. And I think there were only two dungeons located, roughly, within the frozen maze in the first quest.
There are two conspicuous areas that hid dungeons in the first quest which, so far, have yielded nothing. One of them is a rocky enclosure only accessible through the Gerudo warp caves.
This one, Level D, is just a few screens away from the area you need the Gerudo warp cave to access. Where else do the Gerudo caves lead? Just outside of the Graveyard of Serenity. If two of the warp caves are in the vicinity of Level D and T, maybe the third location is also close to a dungeon?

As expected, it’s near the Gerudo warp location across the water. This one hardly lasts any longer than N or A. The hardest thing about this dungeon is the search for it. Also interesting: I think Level S has more Dark Links than any other dungeon before it. Story significance, maybe?
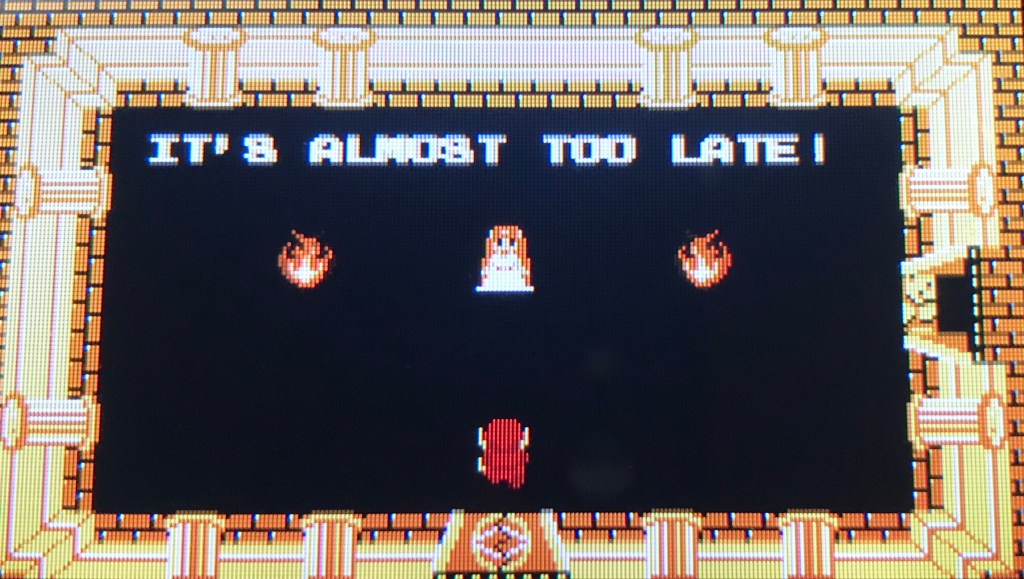
With all eight Tetrarch Fairies liberated, we may now proceed to the Thunderbird’s fortress in the red territory of Subrosians.

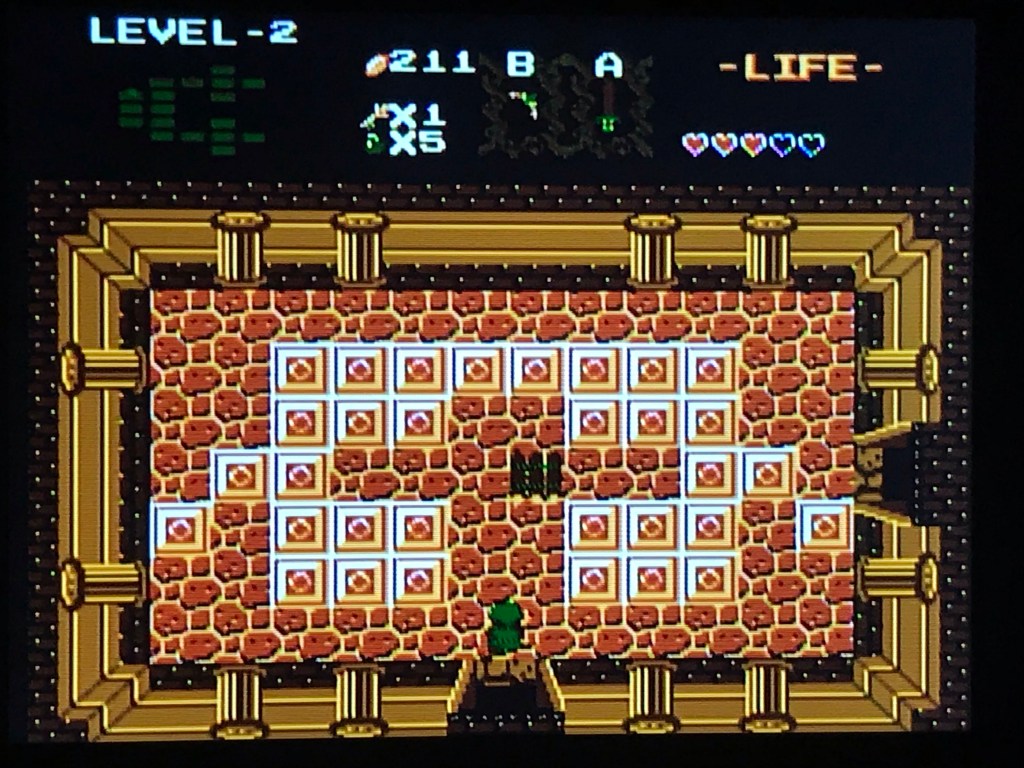
Remember how I said L and T had the record for misdirection and difficulty? They don’t, anymore. N, A and S were kind of effortless, but C makes up for all that- with rather classic dungeon design. The circular, misleading staircases do make an appearance but they only really take the foreground near the end of the level. It pays to rely on both the HUD map and the map in the pause menu which shows what rooms connect to what others. This level is intimidating but it doesn’t throw anything at you outside of the context from the rest of the game. And there’s some pretty neat treasure scattered throughout, to. Only one of them-the Silver Arrows -is necessary to finish the game.
Just like the first time around, I’m hesitant to go into too much detail. A final dungeon is just…such an important part of a “puzzle box” game. And this one is so much more than a tribute from a fellow Zelda fan (although it’s definitely that as well). Zelda: Outlands actually feels surprisingly genuine- like a Zelda game from some alternate reality.