Content warning
Here’s the opening post if you want to get caught up with my passes through the Nerve Tower and blind analysis
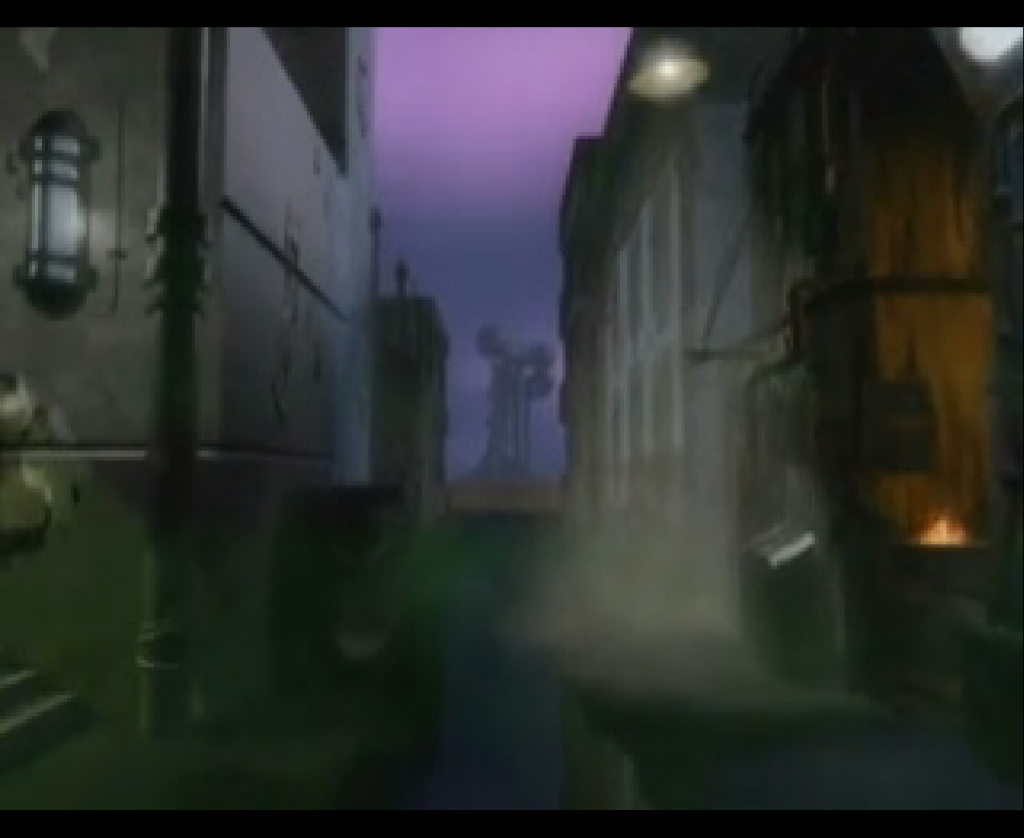
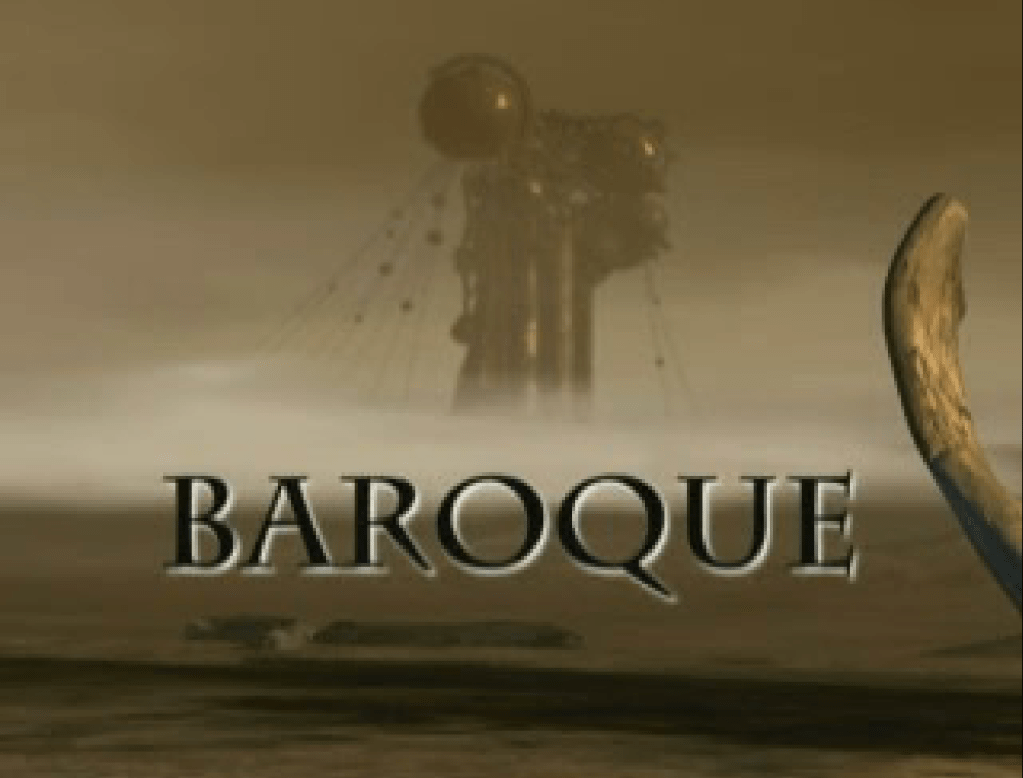
The Nerve Tower is visible in the opening cut scene, with three Sense Spheres visible on the top.
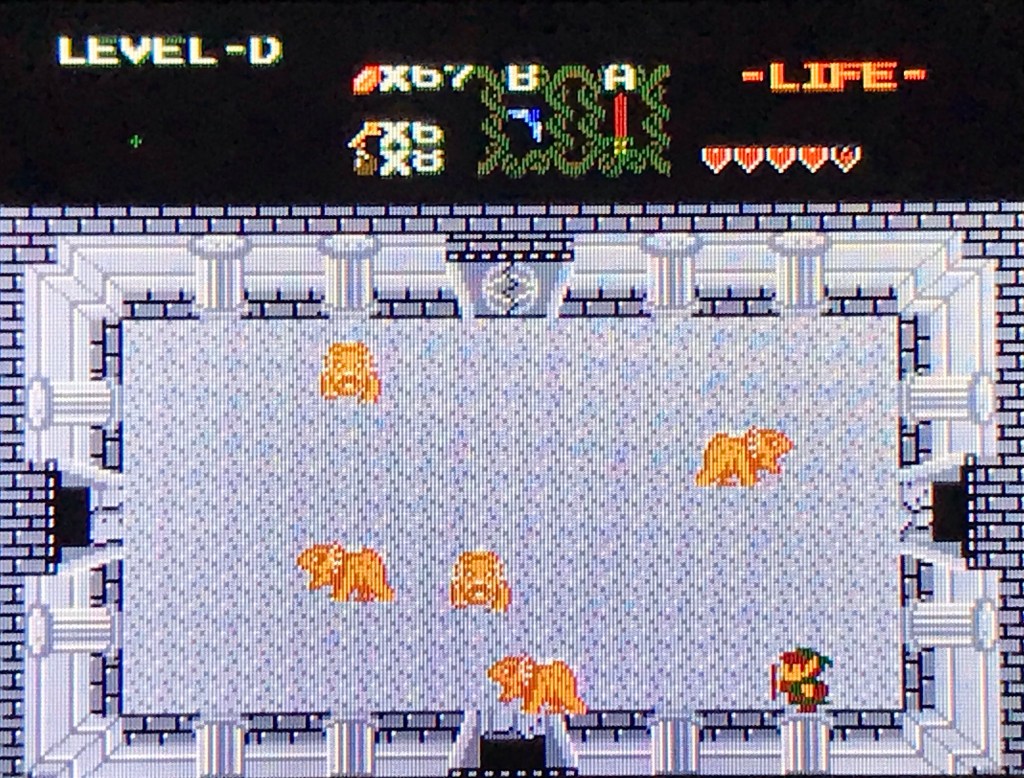
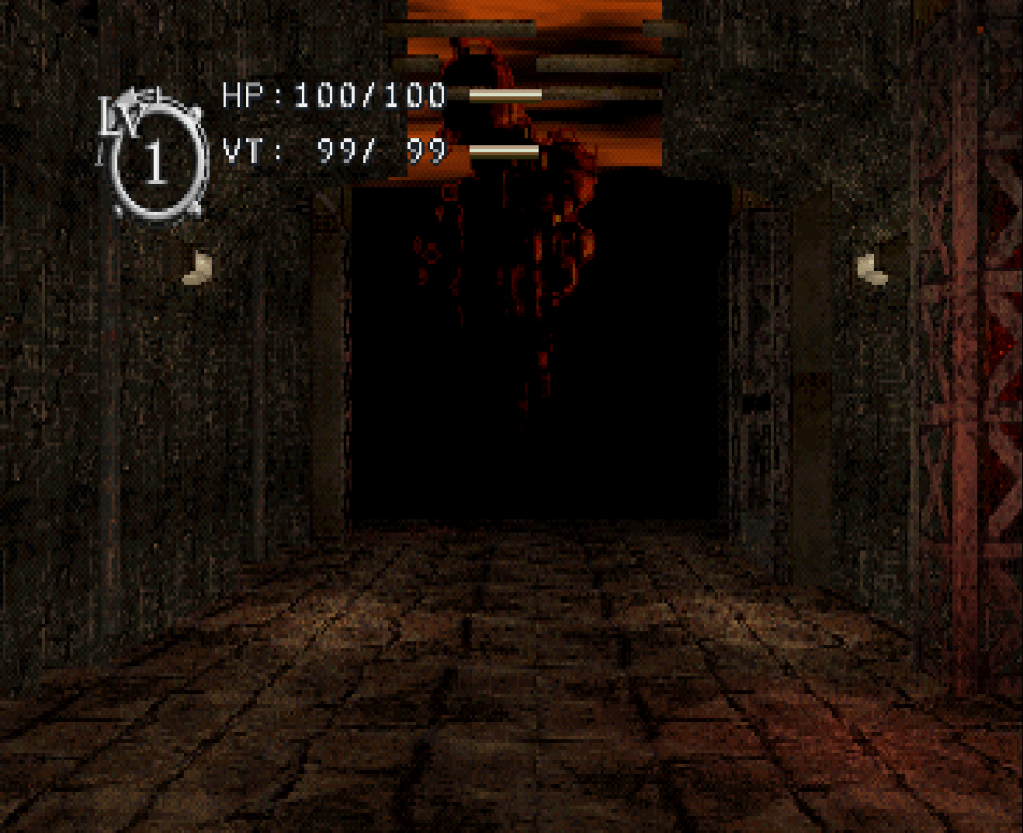
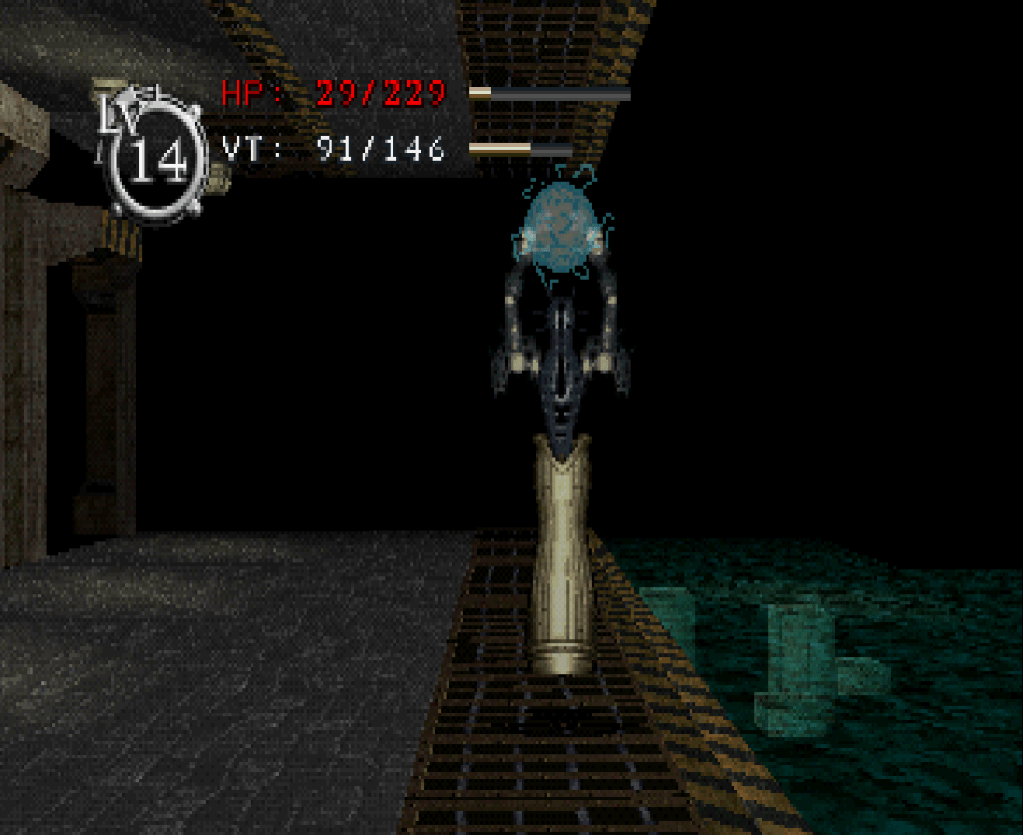
The view of the Nerve Tower upon spawning into existence likewise appears bracketed by two structures, like the alley in the opening cut scene. Even the three Sense Spheres are in evidence (I think…?).
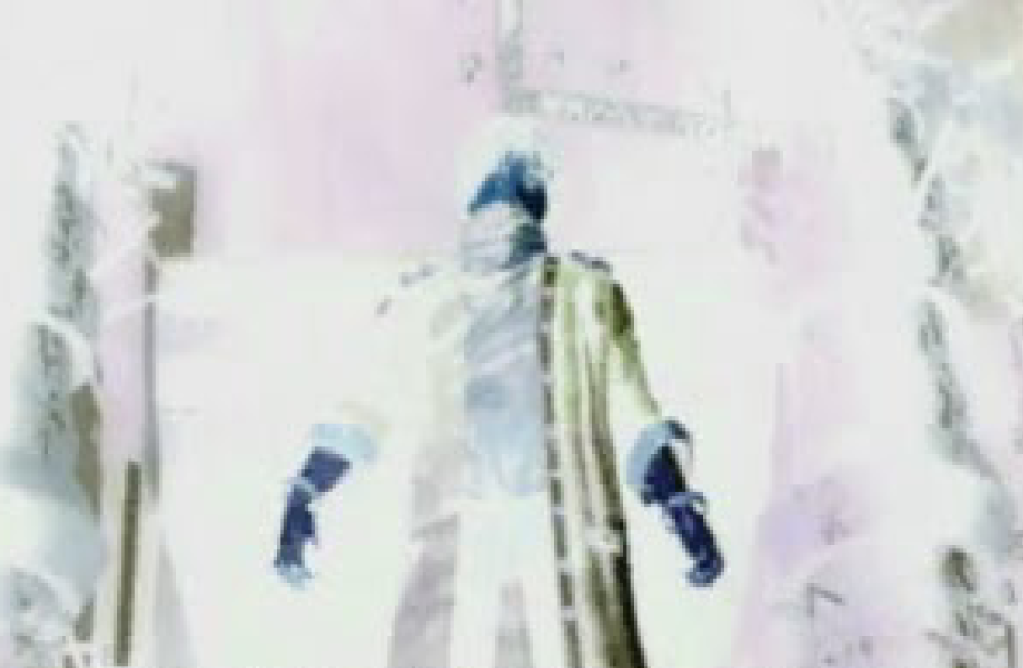
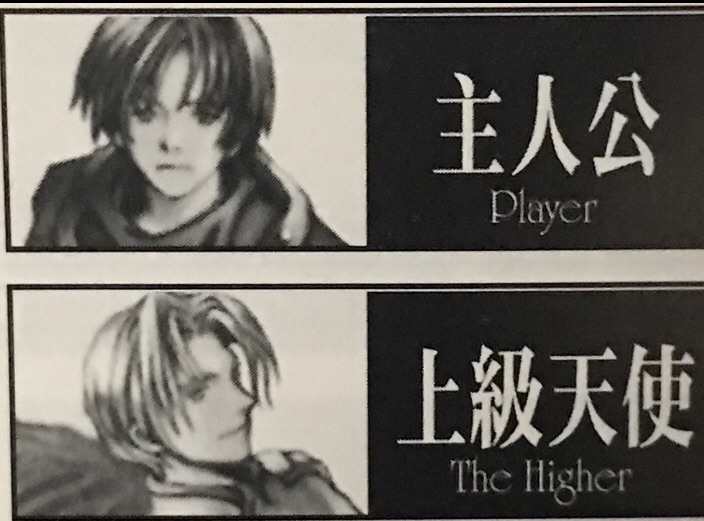
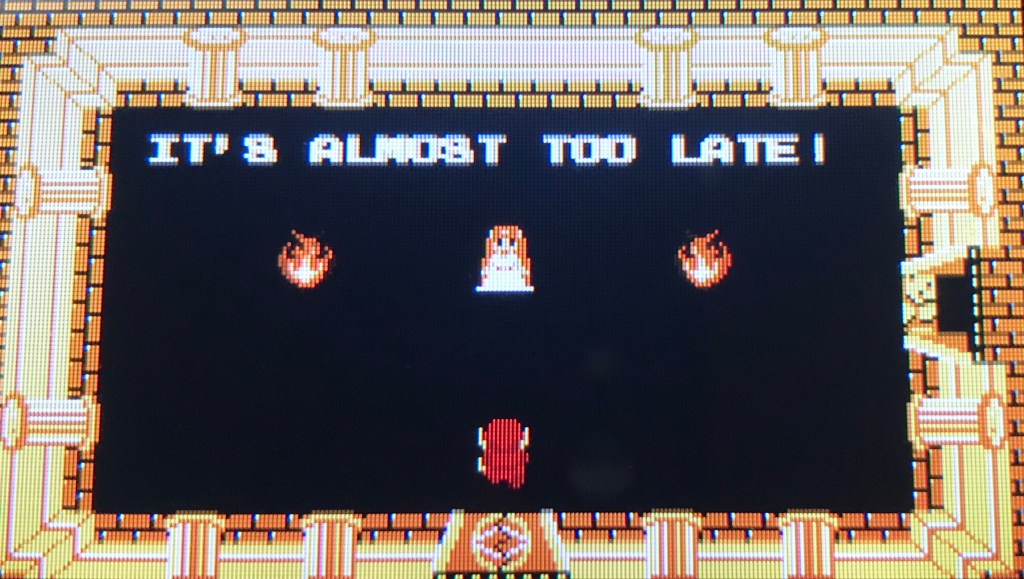
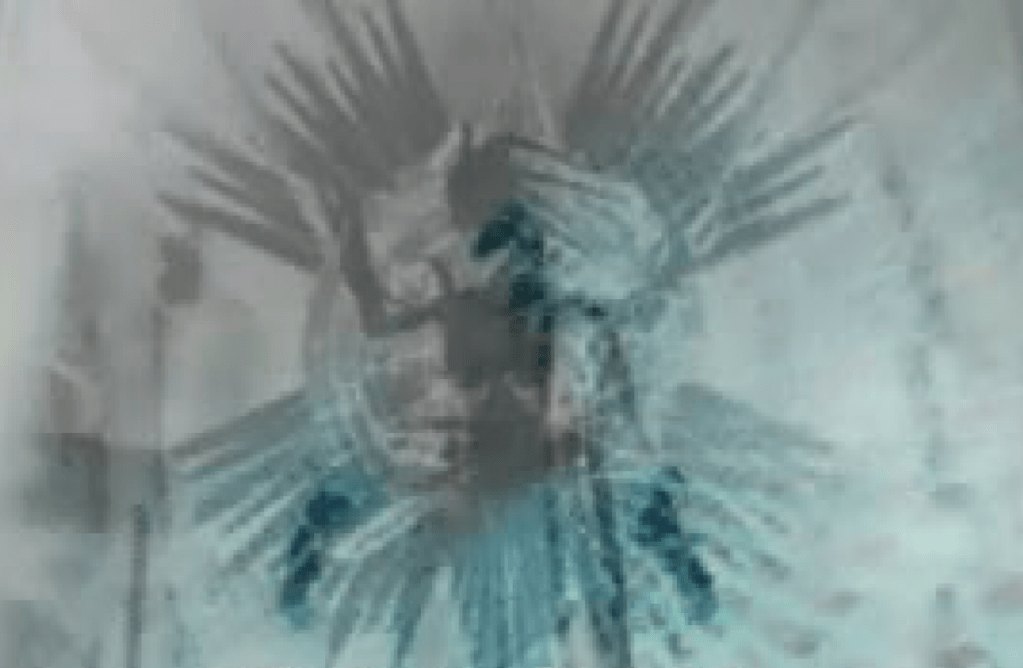
In light of subsequent passes through the Tower, the symbiosis and separation of the main character from another half (potentially Alice) is referred to in the opening cut scene as well. The opening cut scene ends with a look at what appears to be a white Distorted One or grotesque resembling a pair of conjoined twins, bleeding from their mouths. The Distorted One is cut down by the apparent viewpoint character. A bloody feather see-saws to the ground. The camera pans up toward the Nerve Tower, seen at roughly the same angle as the earlier alley perspective and the perspective of the player character once the game starts.

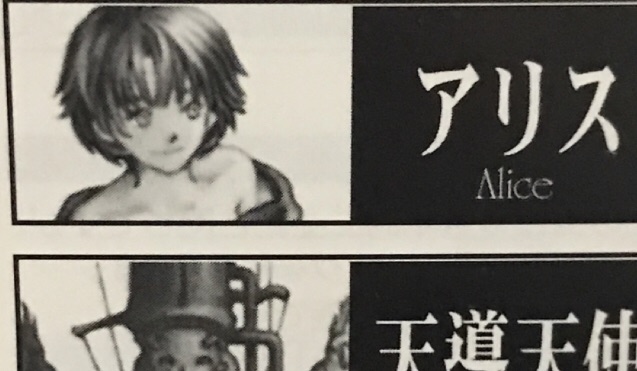
Also concerning symbiosis and entanglement: if you attack Alice, she says “I shouldn’t have been born. There are times when I think that. (…) I want to remember the times before I met you, when we were melded with each other.”
When you fire the Angelic Rifle at the God of Preservation and Creation on the seveneteenth basement floor, she says she wanted to be “one with you” again before she dies.
Alice only “met you” once she was separated from “you”. Under your onslought, she seeks a comforting memory: the time when “you” were both “melded with each other.” It sounds like a yearning for a time before the separation but what to make of the use of “melded”? Were they somehow combined from separate entities to begin with?
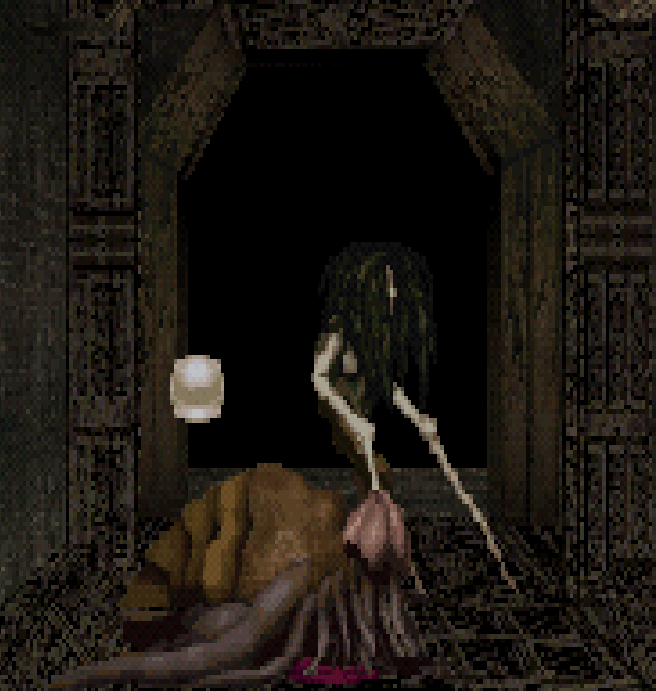
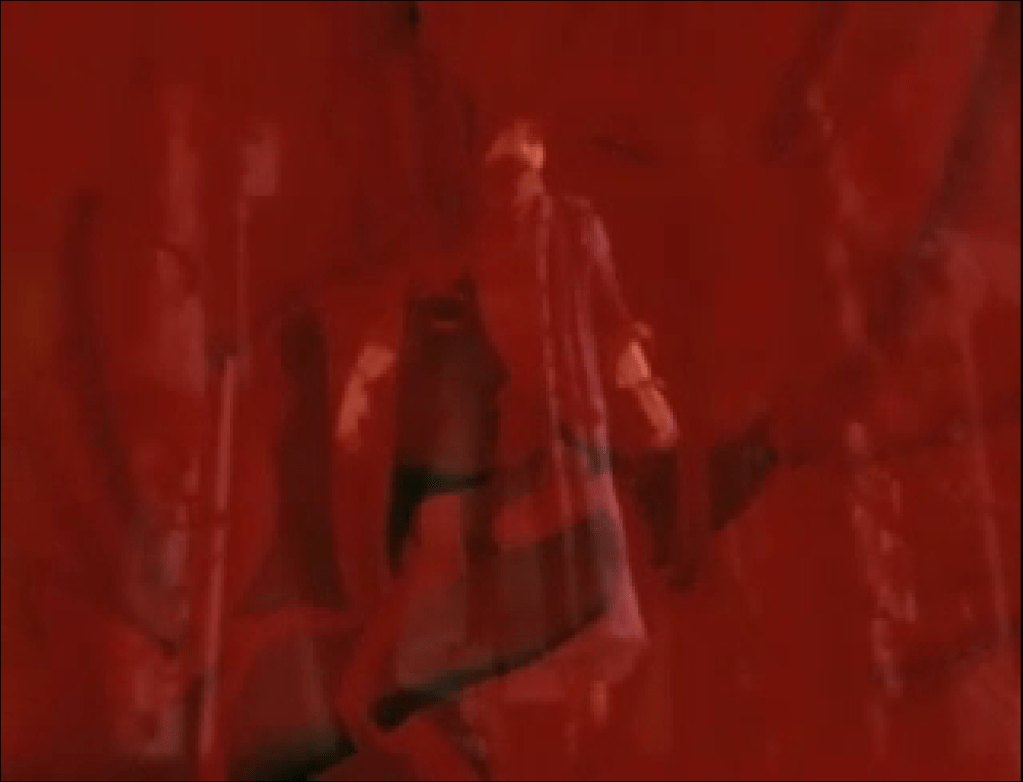
From the way Alice and others talk about this event, you would think it was a trauma inflicted from without, as if they were the same being and always had been. It could have been an externally imposed trauma simultaneously with the initial “melding” not being original. There’s that glimpse of the naked man and woman embracing- perhaps they joined together as a kind of corporeal marriage? If so, the pain of the separation leads us to think that this existence was harmonious. Whatever was done to them was done against their will.
Some of the Distorted Ones (like the Sack Thing) talk about your experience, in particular. According to them, you suffered horribly.
The Sack Thing also attributes the following quote to the Archangel: “If the Creator and Preserver has a core, then the world can be remade as many times as one pleases. The next world will be created and preserved by me. I will return the world to normality in an instant.”
Some of Sack Thing’s earlier dialogue: “The Pretend angels are speaking. They’re saying ‘Go to the Nerve Tower’.”
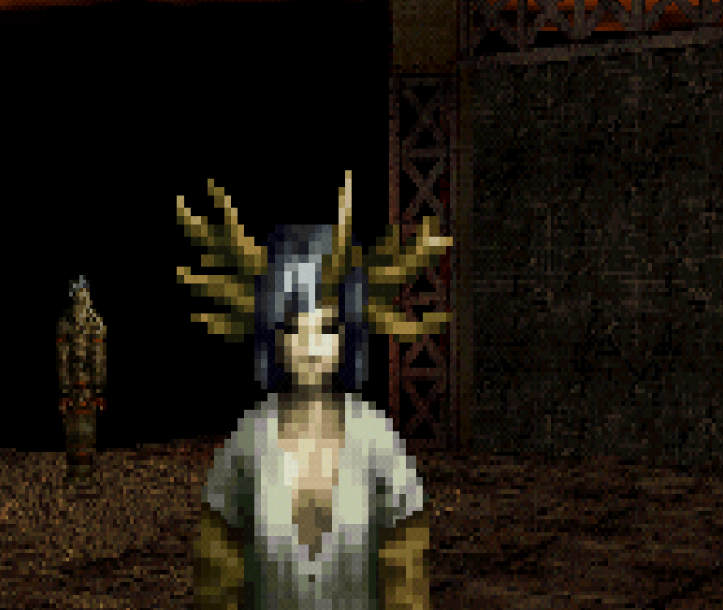
Eliza wants to give birth to a Sense Sphere to heal her mother’s insanity. She also makes cryptic mention of an “insane Sense Sphere”. Where else have we heard discussions of insanity? The God of Preservation and Creation has gone mad. This is the player character’s “sin”, according to the Archangel.
How did the God of Creation and Preservation go mad? Getting torn in half. Kinda like the player character. Oh yeah, and Eliza and the Archangel resemble each other as closely as the player character and Alice. Maybe they were similarly torn in half. Beside Eliza are multiple non-funcitoning Sense Spheres.
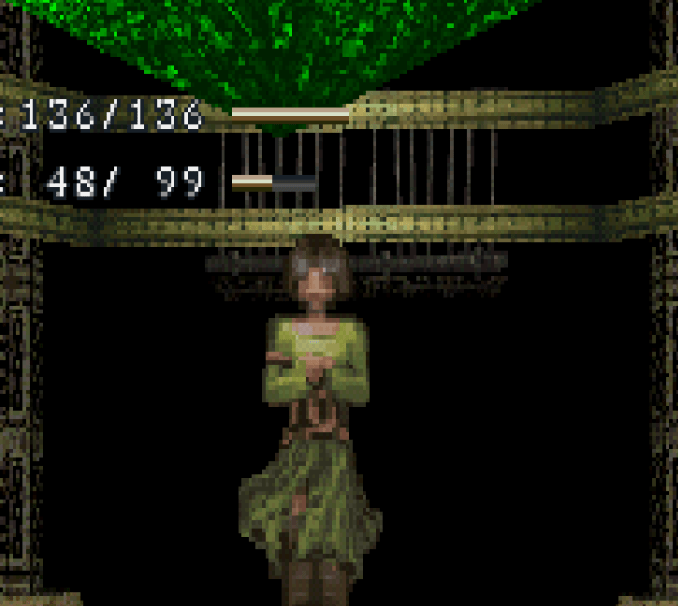
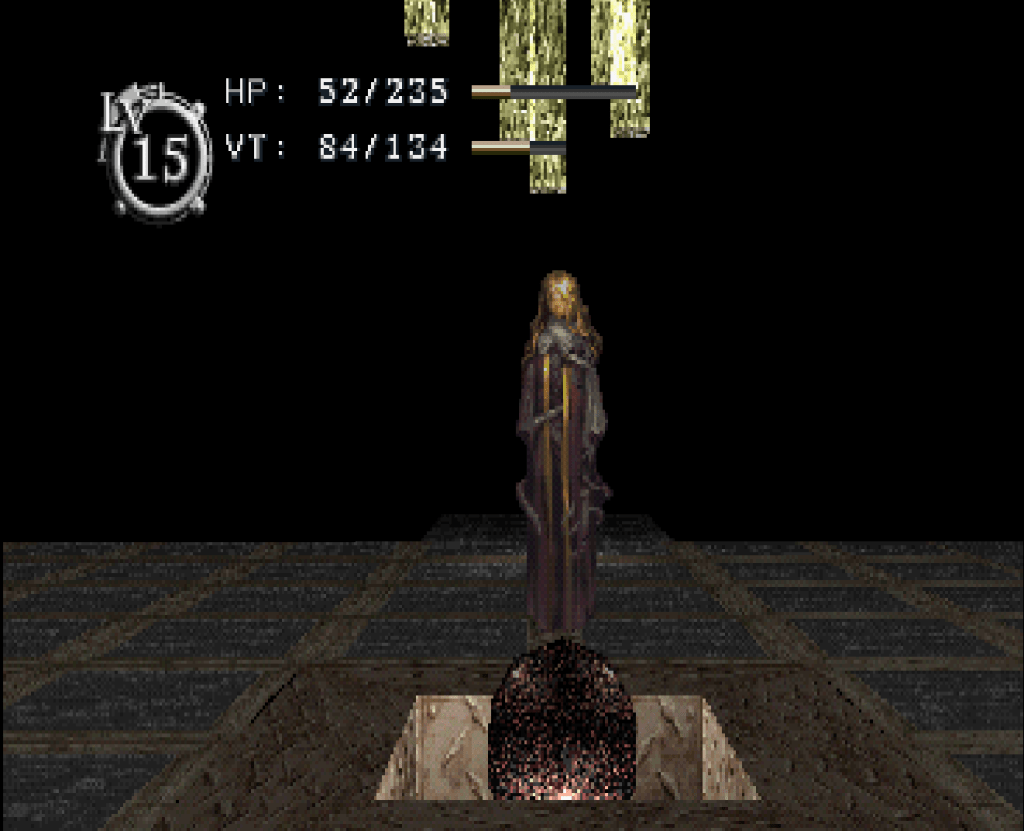
Alice, who appears in a room with a single functioning green Sense Sphere, says that the Archangel is the one who tore you apart. “In order to drive the Creater and Preserver mad. In order to become the Creator and Preserver himself.”
Alice, on the fifteenth basement floor: “You’ve been torn apart twice now.”
The Mind Reading Thing, on the sixth basement floor during either my fifth or sixth pass, says “(t)he image of another can sometimes be seen within master. Nearly identical, and yet quite an entirely different person, it seems.” Evocative of both the player character and the Archangel.
On a different occasion, the Mind Reading Thing says “(m)aster’s mind is quite like a landscape, painted with layer upon layer of grief. (…) There is a scar on master’s waist, yes, a large scar under your clothes which was not caused by the Great Heat Wave. Master is haunted by that large scar from so long ago…alas, pitiful.”
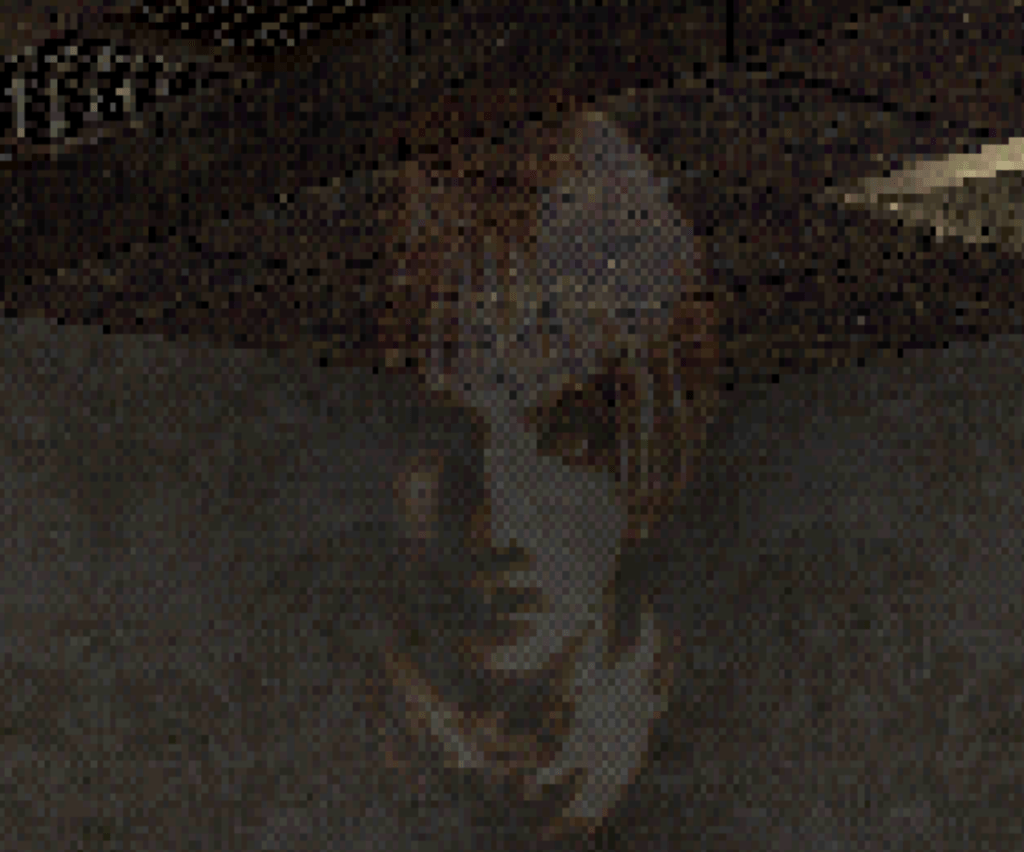
On the early basement floors, a ghostly, feminine face appears and says “(d)o you remember our wounds? Have we forgotten the origin of that scar?” (…) “I recall that pain, even now. My final day with you, when I was murdered!” (…) “We used to play chess, didn’t we? We’d take a turn as we awoke one by one.”
In our simulation paradigm, our obvious representatives of the simulation’s function appear to be the Archangel and the Nerve Tower. What do nerves do? Connect brains to bodies. Some of the Horned Woman’s dialogue after the fourth pass: “Regret. Distortion. Archangel. Dabar Fusion.”
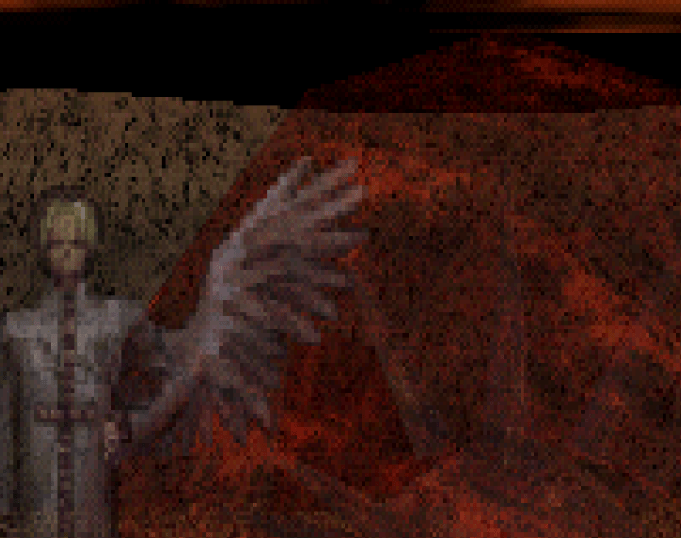
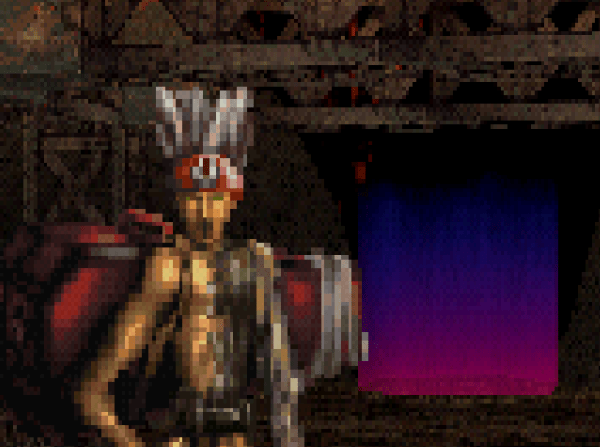
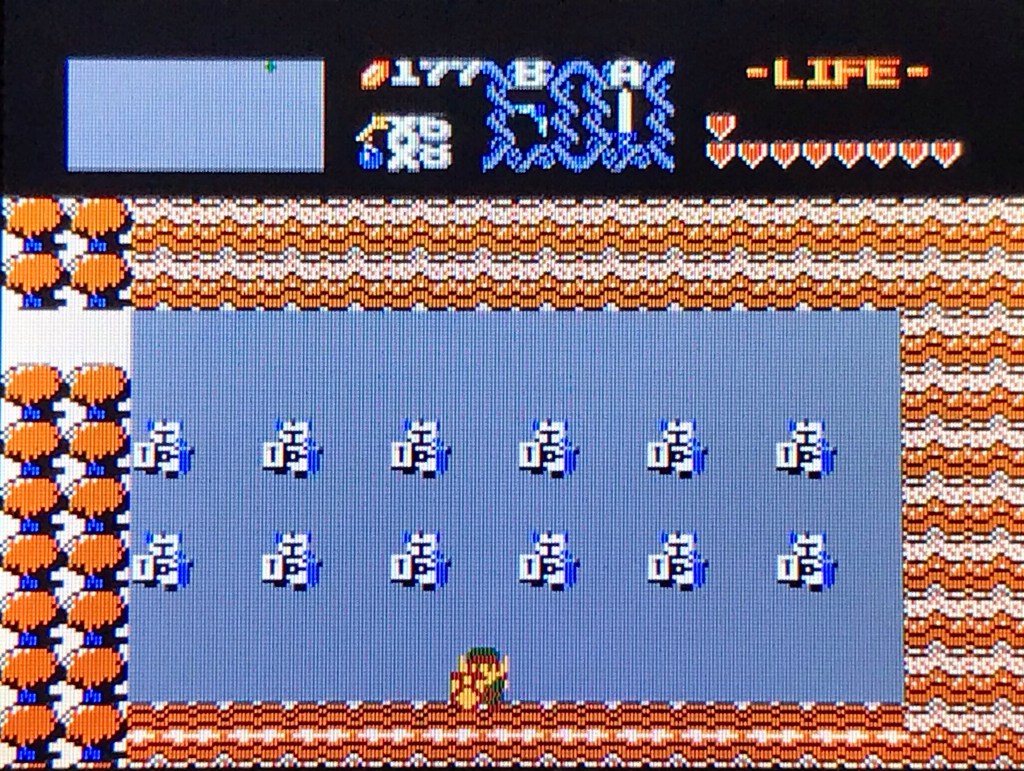
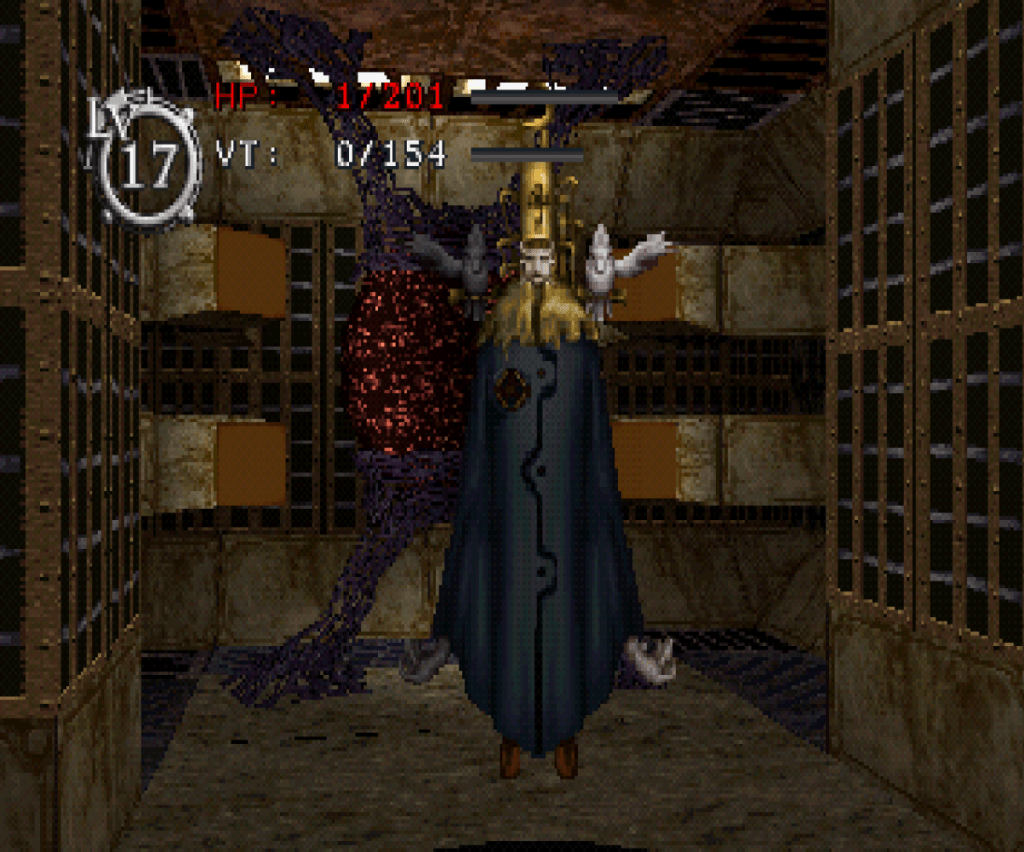
In Baroque, there are characters that have other beings or worlds inside of themselves. This includes the player, the angels, Distorted Ones and the Koriel. They have things inside of themselves or a receptacle that they wish to suppress, manage or embody. The Box Thing describes this exactly, the Mind Reading Thing describes someone called “the master” experiencing this. Eliza wants to “give birth” to a Sense Sphere and the confined, metal-plated angel in the lower basement levels (held before an off-limits Sense Sphere by a black and a white bird) says that the memory of their “SINS” are in the “SENSE SPHERE”.
They say they cannot be “PURIFIED”. I wonder if to “purify” is to separate something from yourself. It gets kicked down the ladder of nesting-doll worlds (becomes an Idea Sefirot) and you regenerate healthy tissue like a starfish and remain intact on your own level. Should you die on your level, you will go up the ladder and emerge from a Sense Sphere. The spheres from space (Idea Sefirot and Sense Sphere) are the ladder.
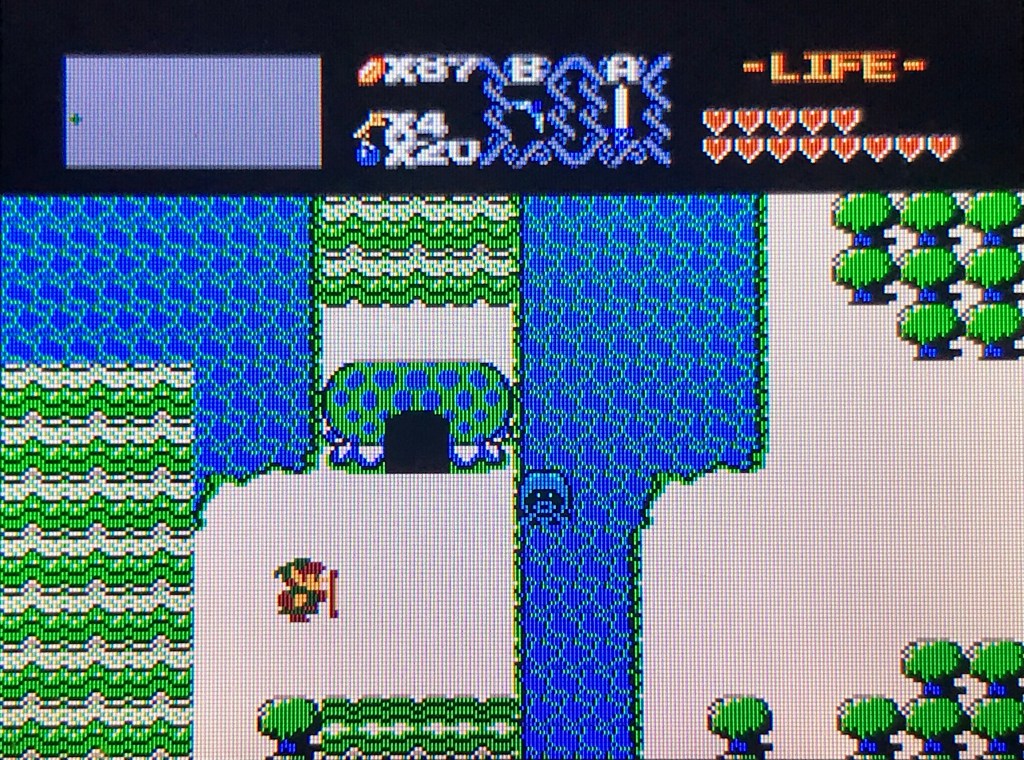
In the world of Baroque, Sense Spheres are treated like objects that can send and receive matter between two different points. If I’m right about the design of the Nerve Tower, then Sense Spheres and their matter transmission were incorporated into engineering and technological infrastructure. Just before the Great Heat Wave.
This may have occurred “historically” but this is also clearly reflected on the first level of nested Nerve-circuits, within what may be a biomechanical simulation, hosted by a dreaming mind.
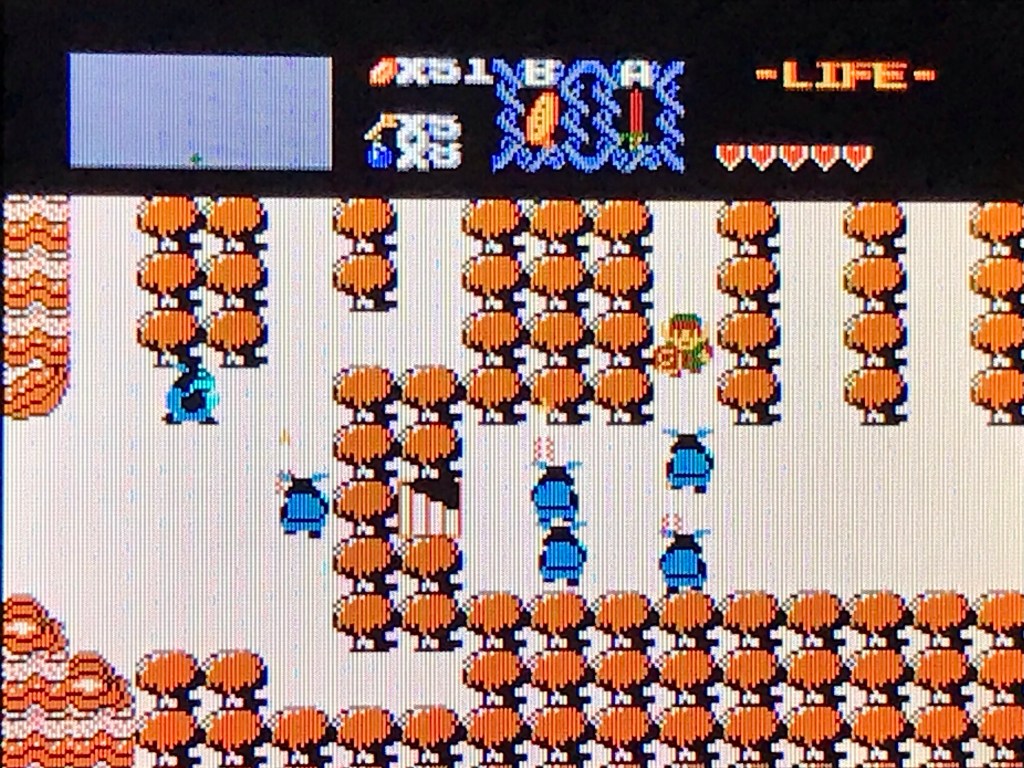
The Sense Spheres could have been employed for total control over matter: move it, store it in an information state or wipe it from existence. Thing Thing’s behavior implies that Sense Spheres can be a bottomless source of stuff…but Thing Thing appears to just wait outside of them and see what randomly pops out. Maybe this was done with more intention, once upon a time.
And what was our theorized eliminative use of Sense Spheres, again? It appears to be dividing things from oneself; a scalpel of the soul. On your plane, the excised information-matter is reduced to an Idea Sefirot. Its existence goes down a level. Does it then become possible for you to emerge from a Sense Sphere, one level above? Are your hands now on the ladder?
If the God of Preservation and Creation is the outermost layer, then the dreamer in the suspension chamber may be that very woman. Her subconscious channeling of the simulation embodies half of the world and she herself embodies the other half.