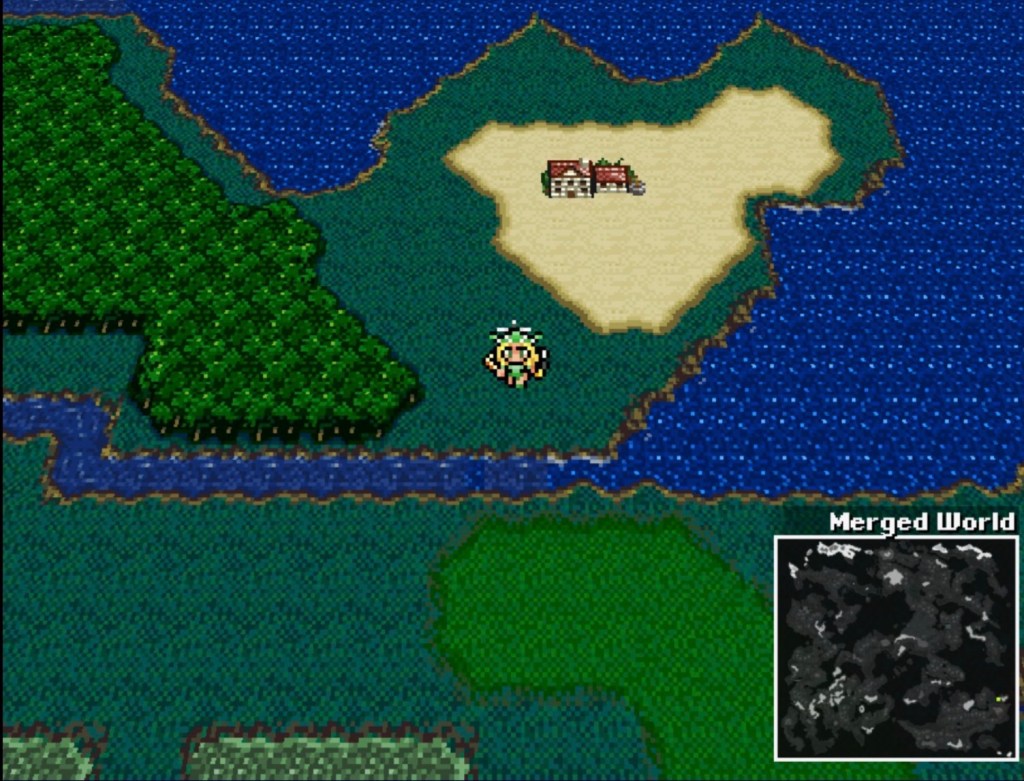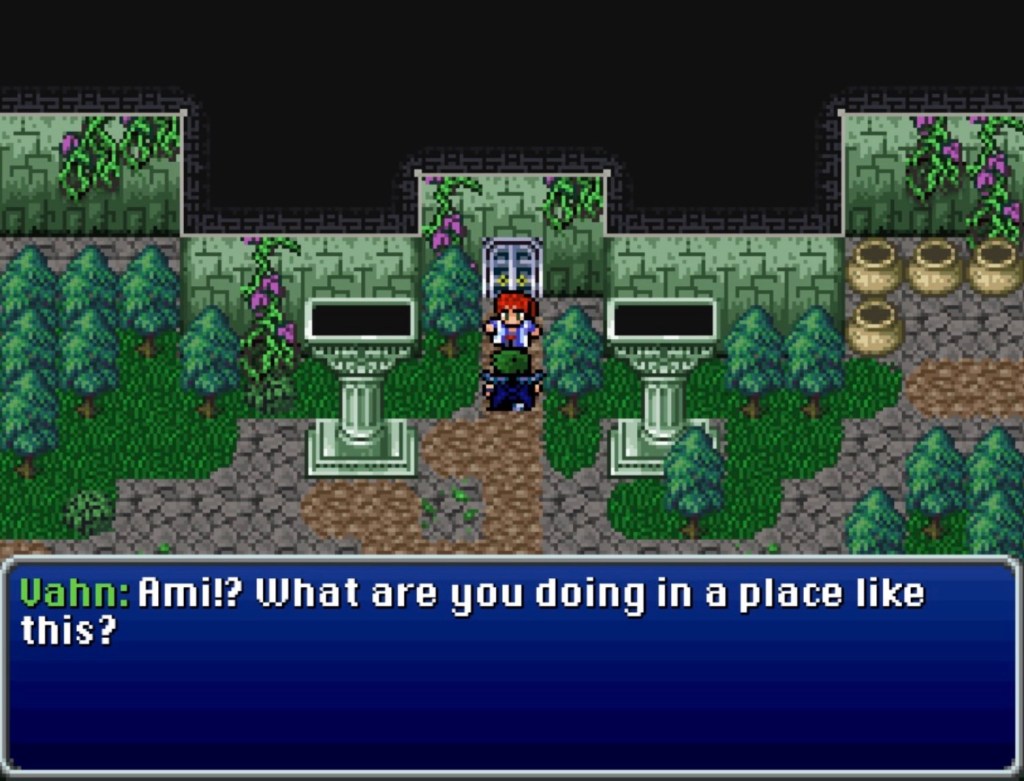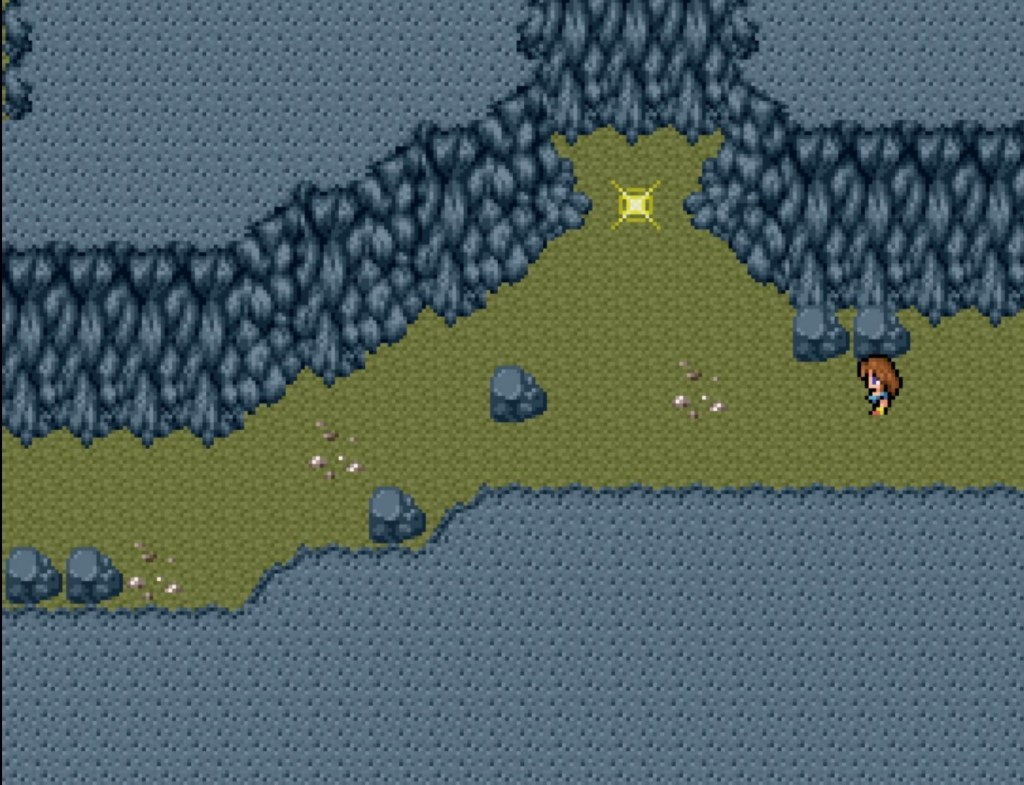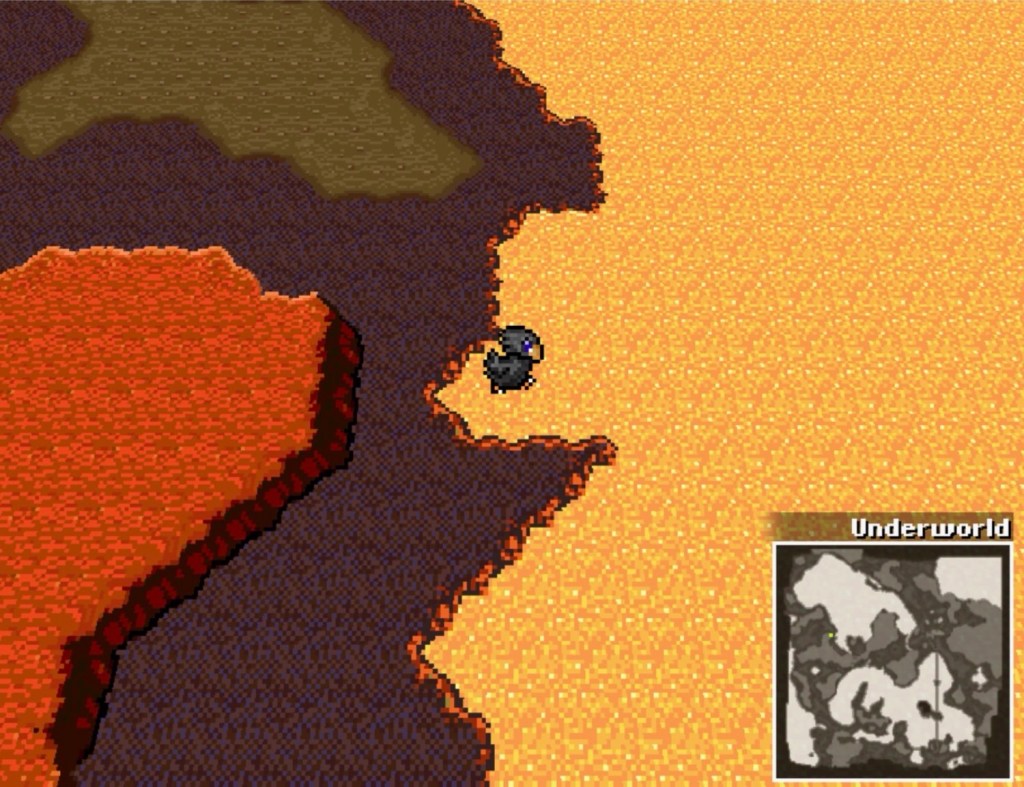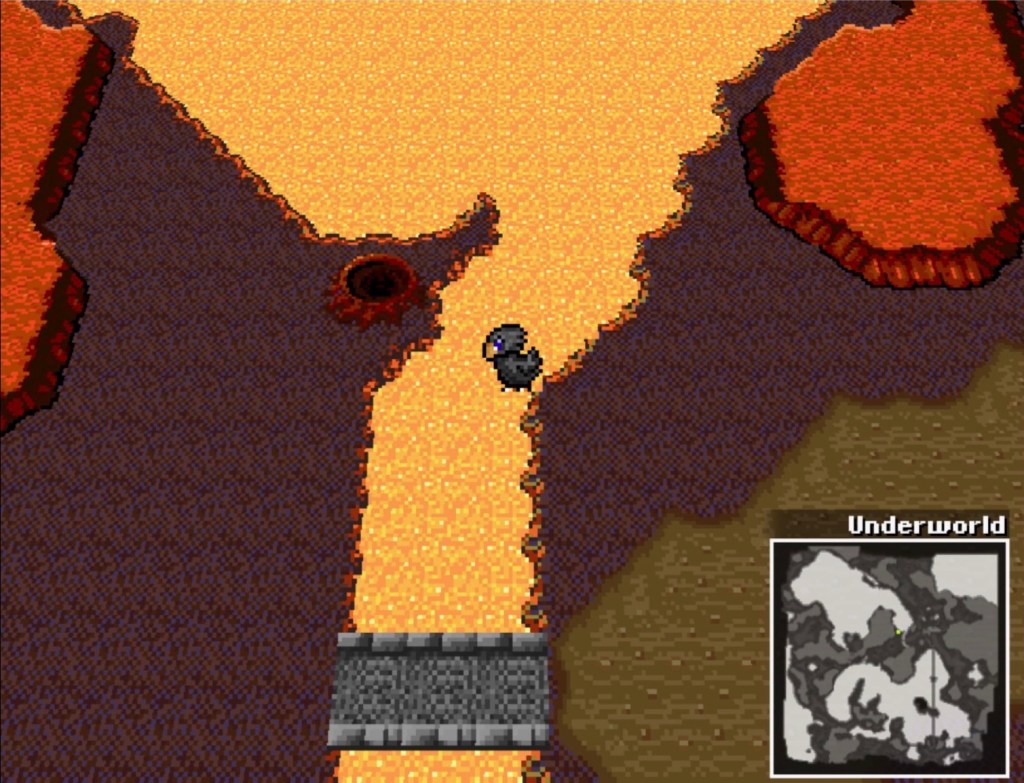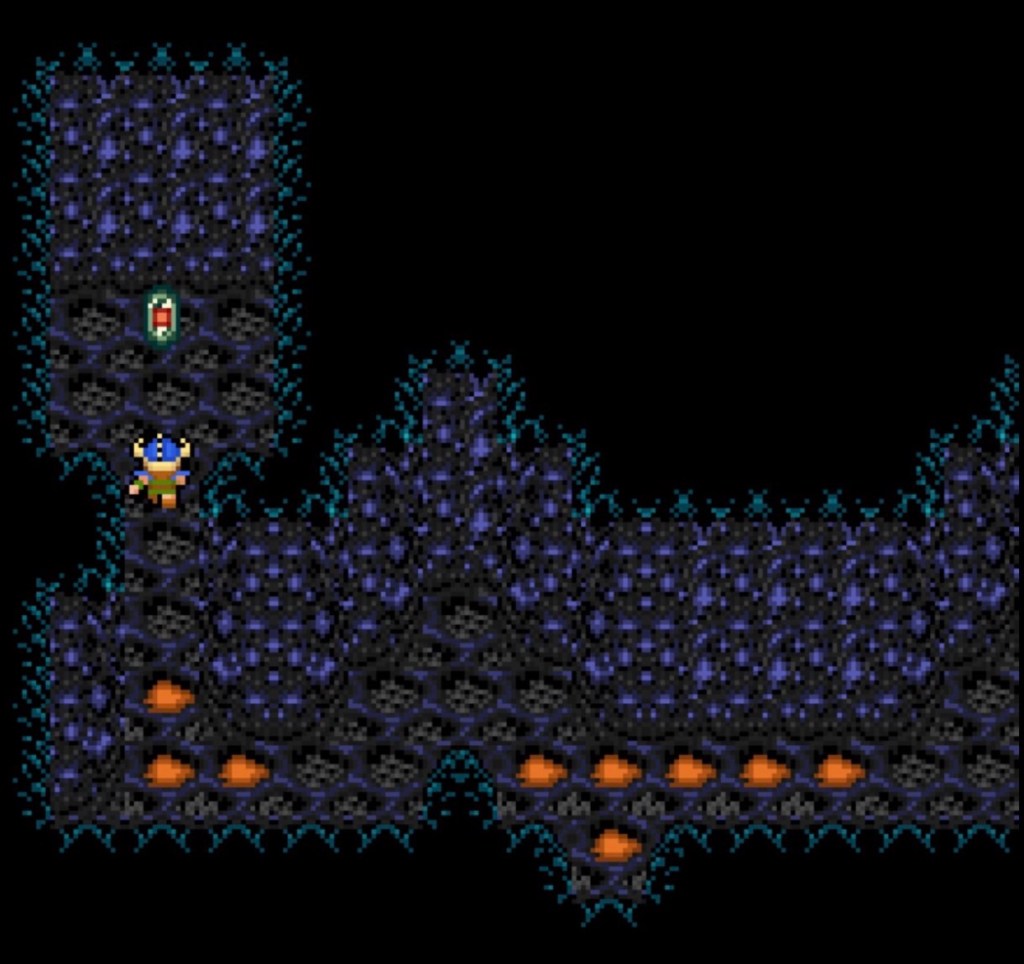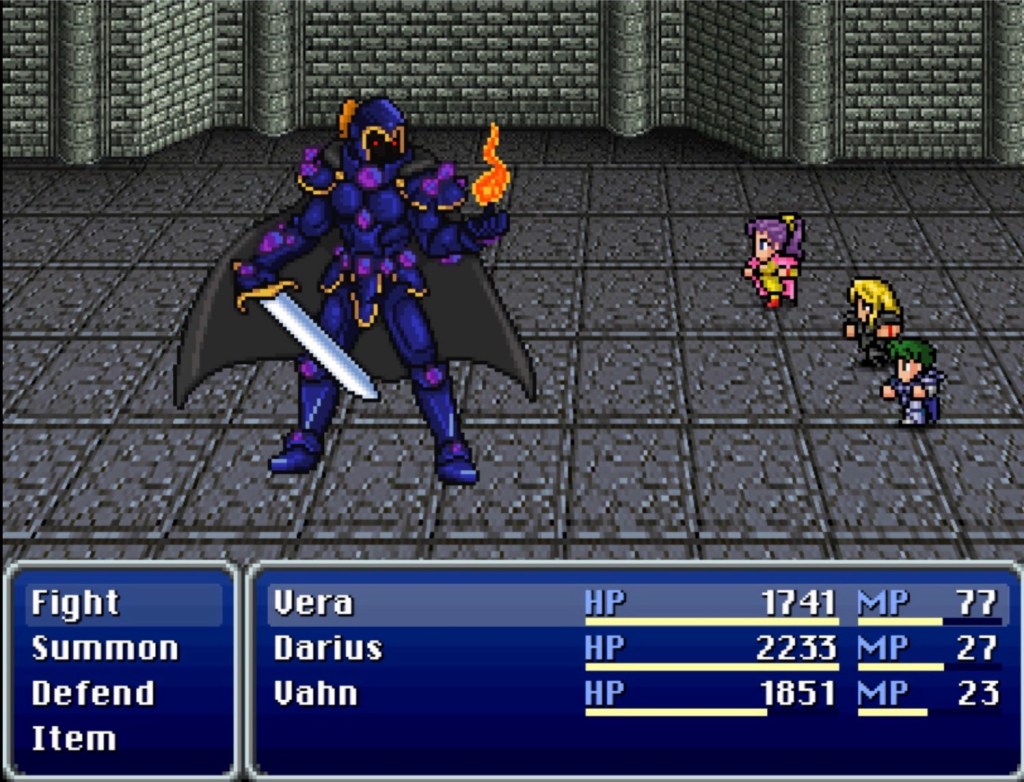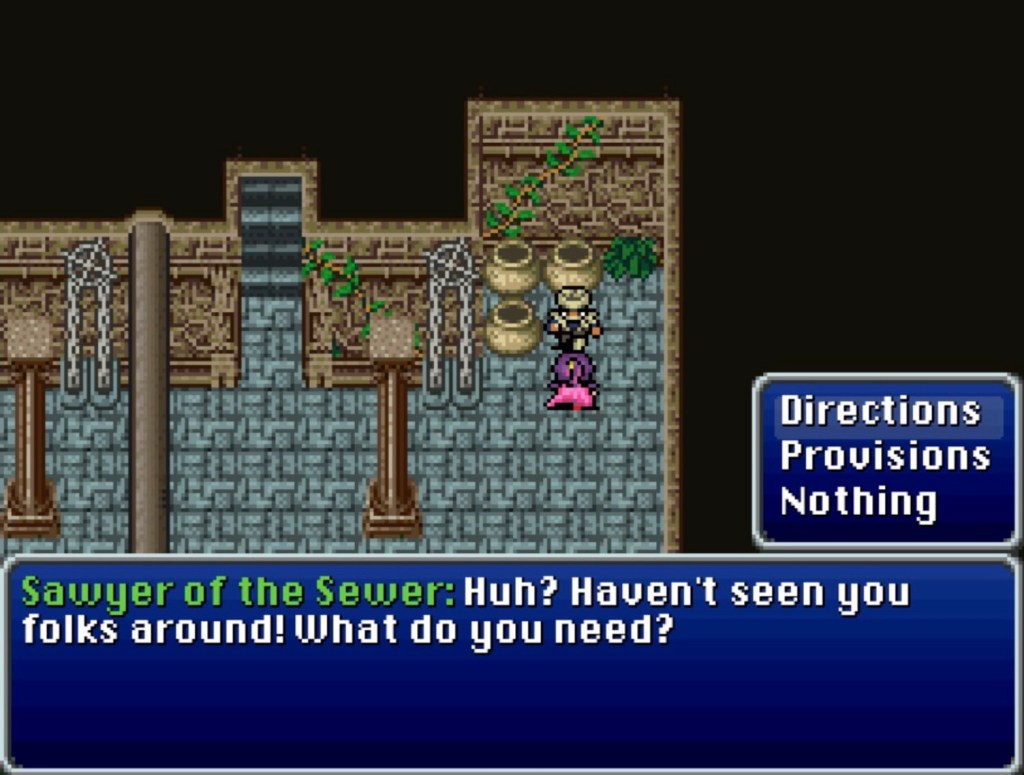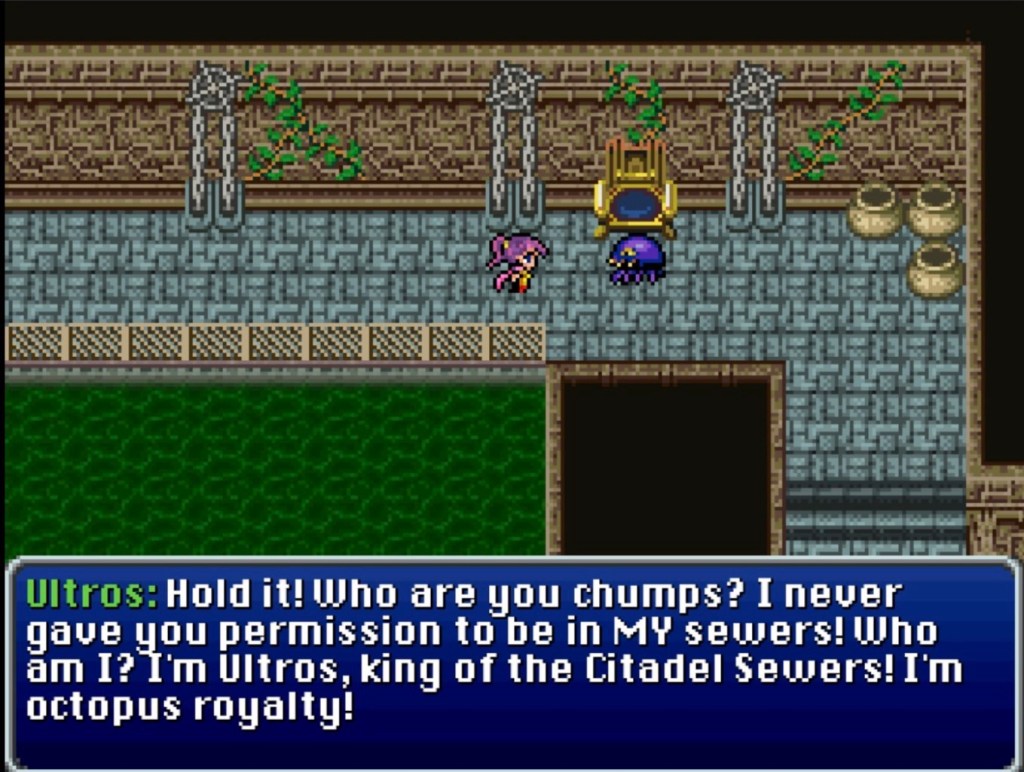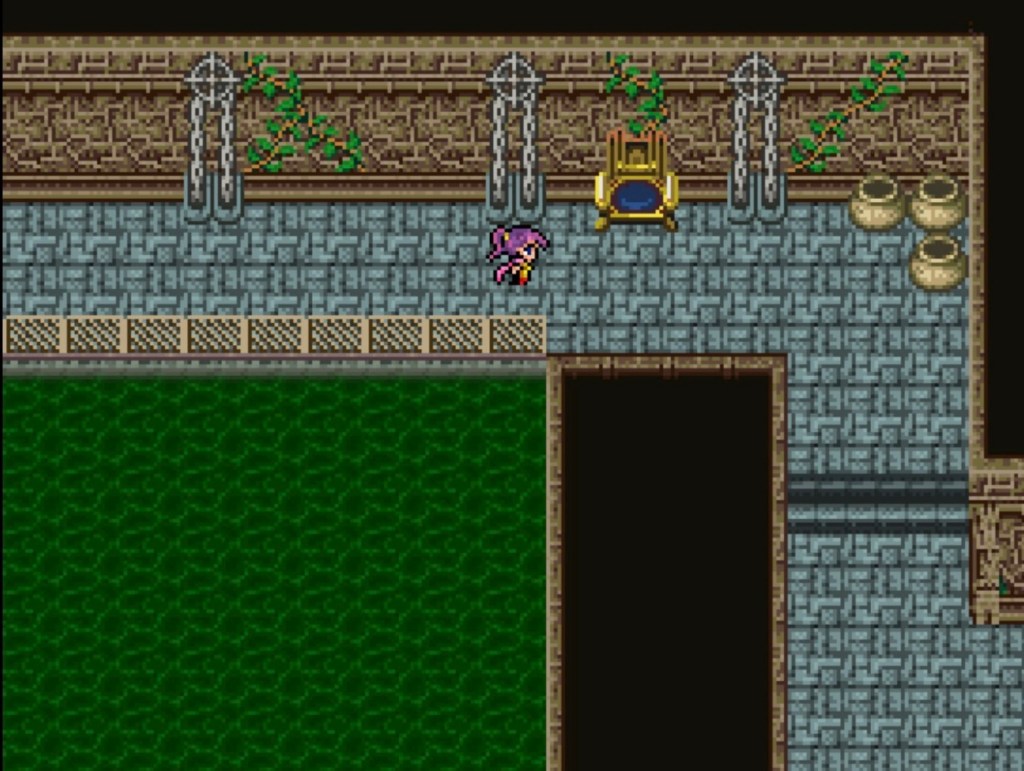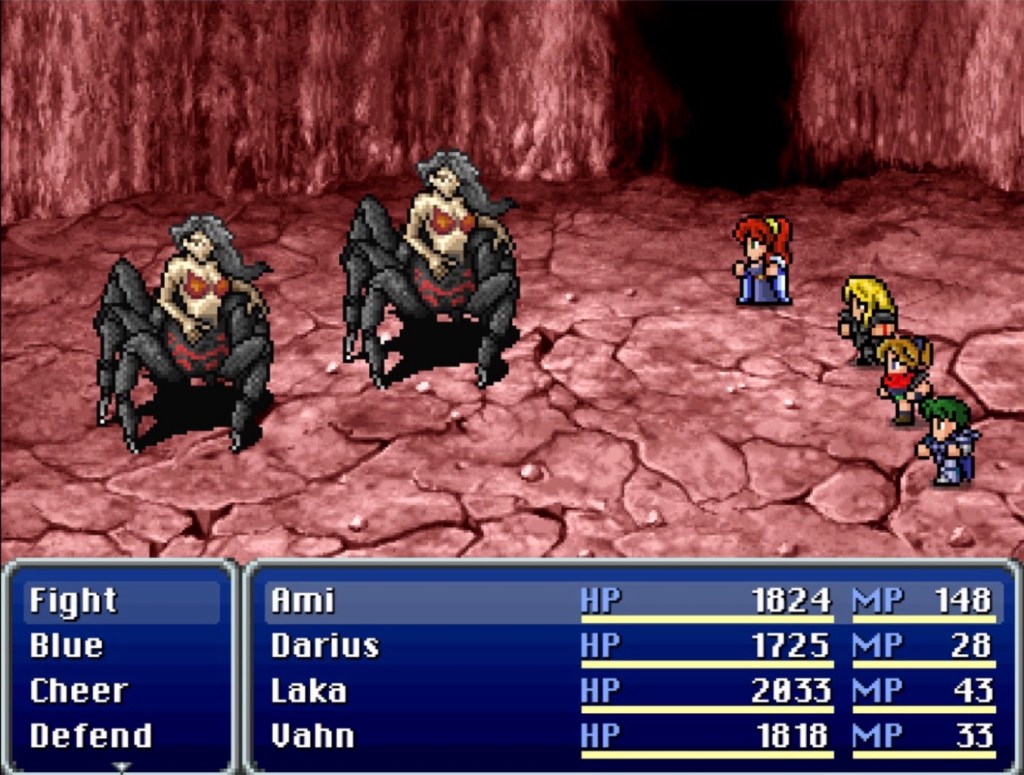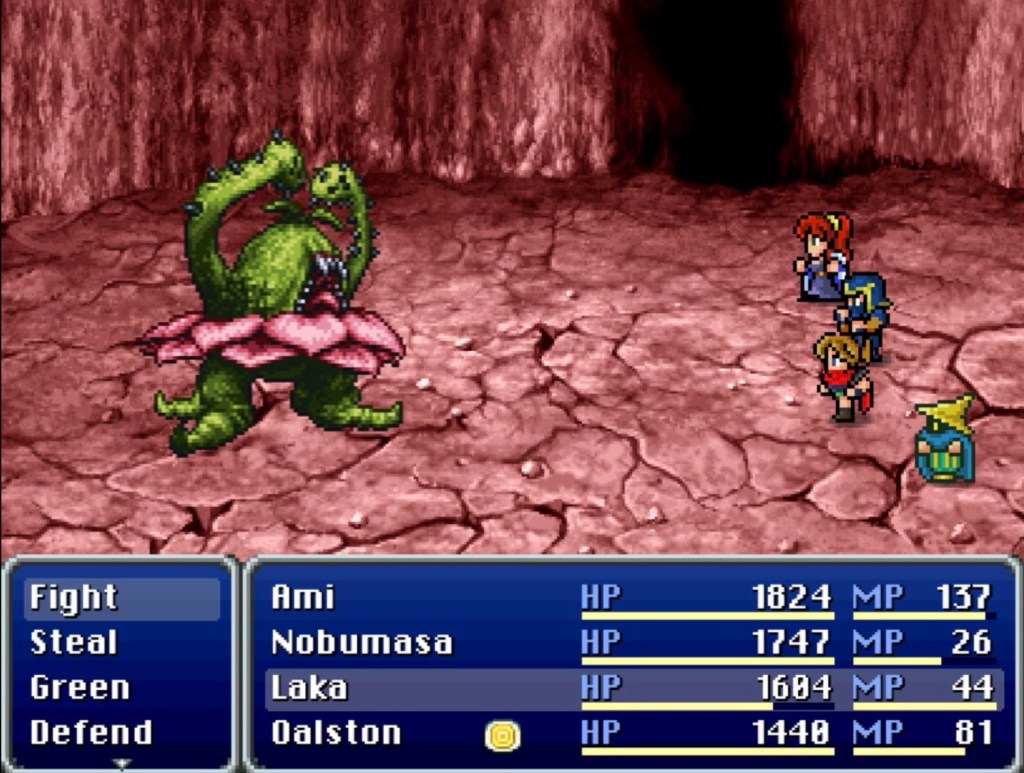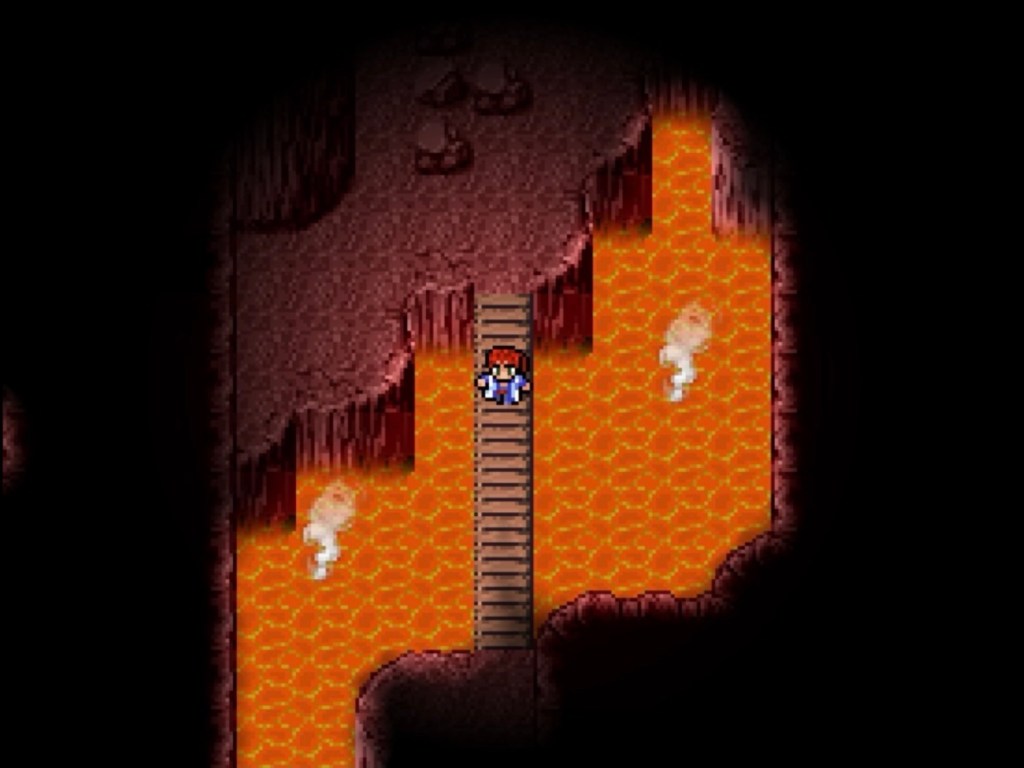
Playing Final Fantasy Blackmoon Prophecy part 12

Moderate spoiler warning

Here’s the first post, should you want to start at the beginning

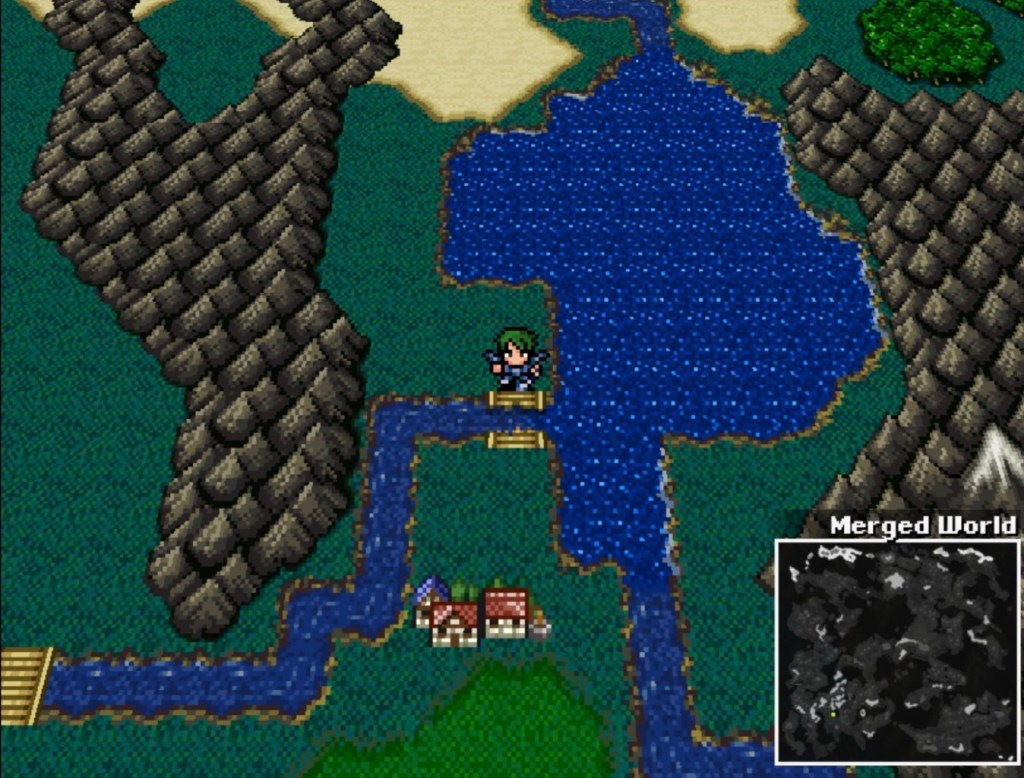
While exploring the surrounding area, I found that Zabo in the town of Leyton will sell you a Memoir Page for five-thousand gil (I’ve collected seven Memoir pages so far). You can also find a treasure chest containing a Magic Shard in the far northwest corner of Leyton.

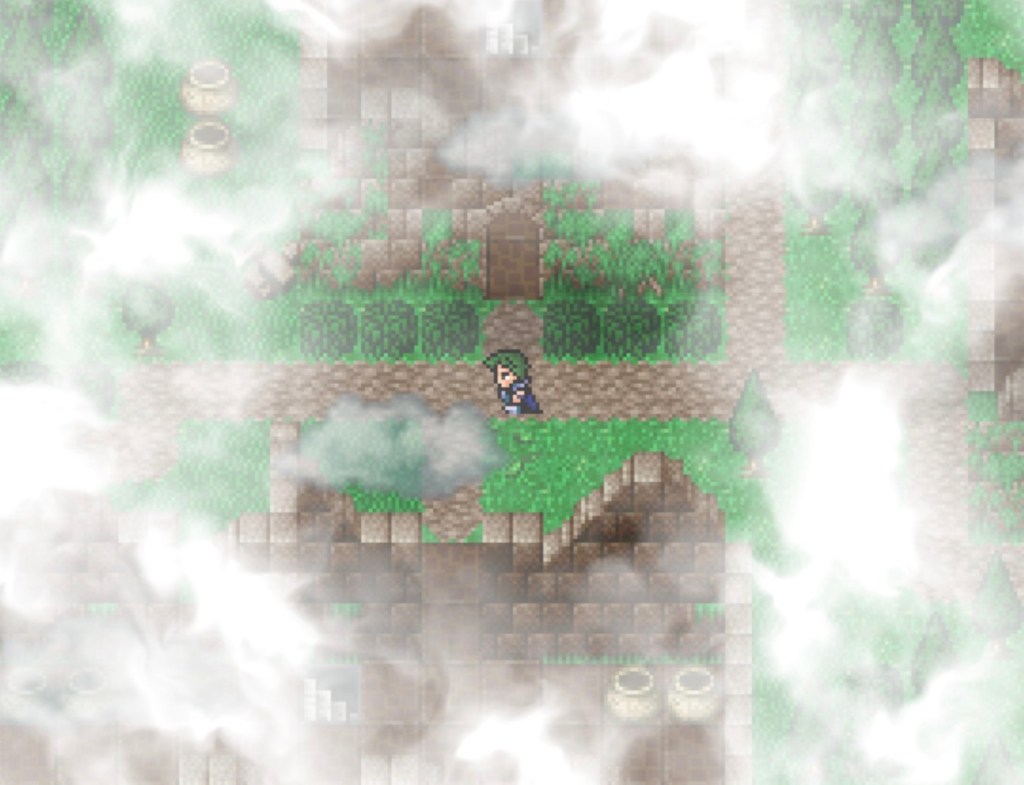
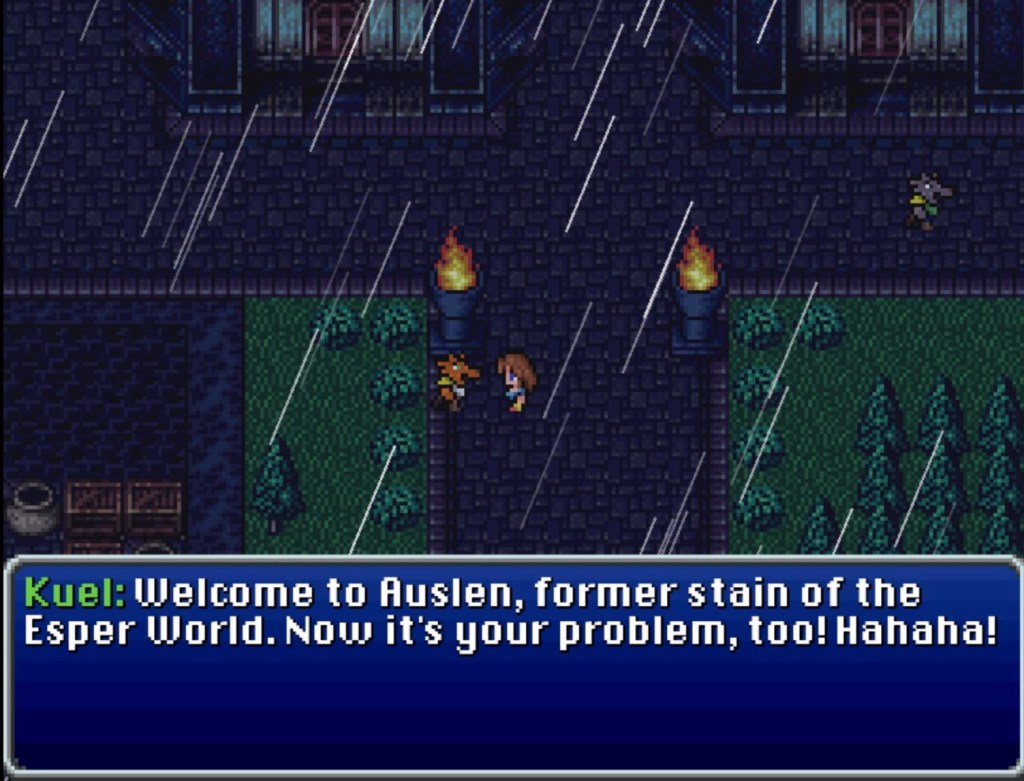
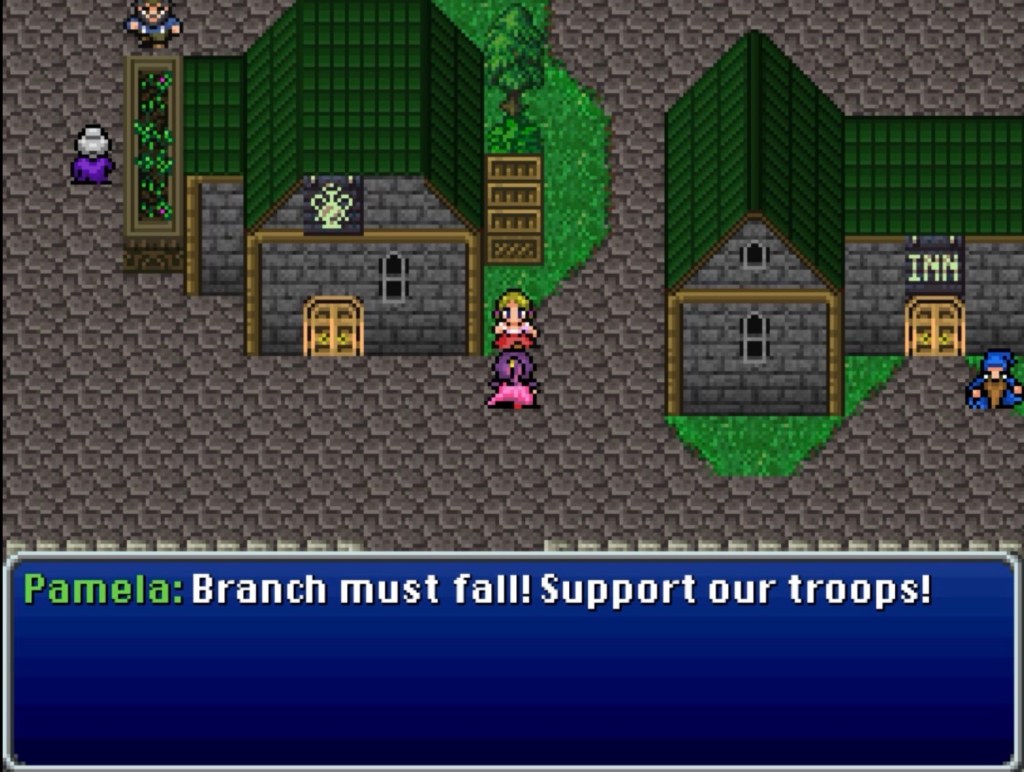
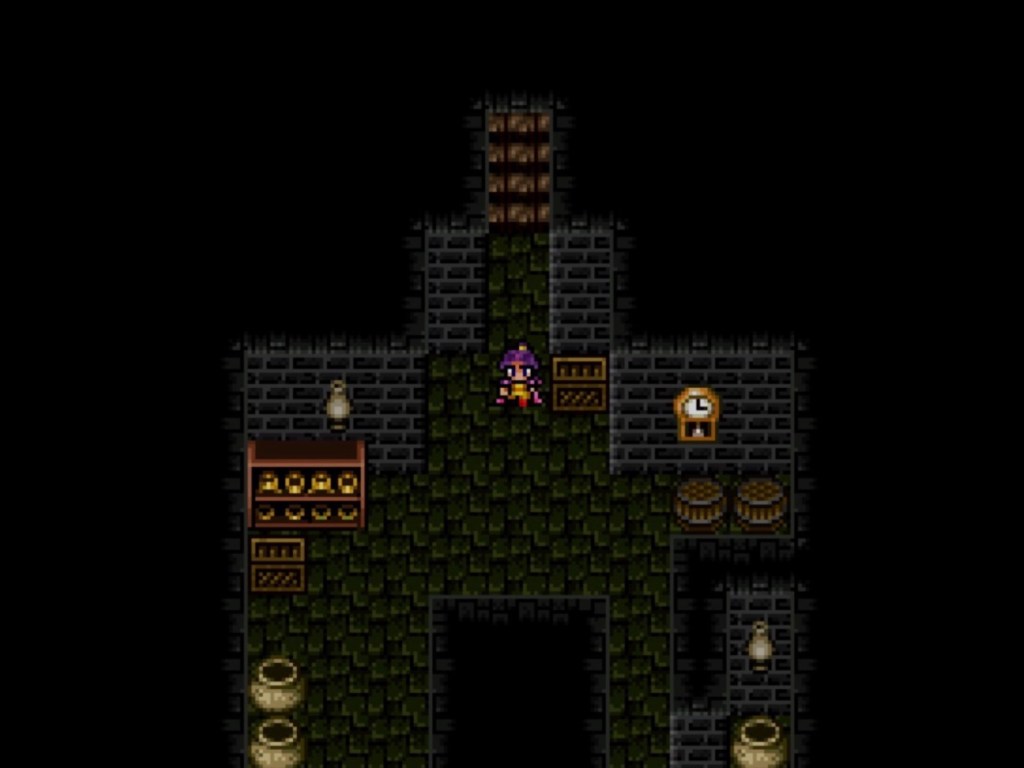
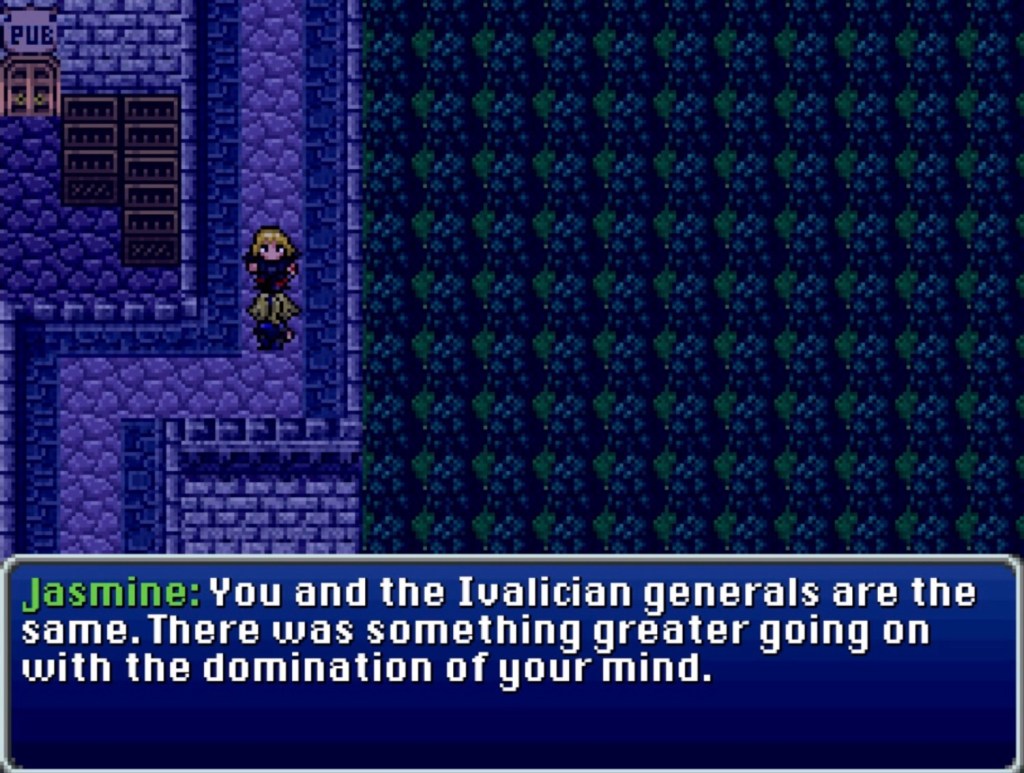
In the rainy Esper city of Auslen, what do we hear but Slam Shuffle and what do we find but a bunch of thieves.

We know a thief, don’t we?

I scoured Auslen looking for Laka to no avail. It seemed like a decent bet: Laka is aware of her prestige as a thief and a newly-displaced city of Esper thieves would be a decent place to up her game. I also felt encouraged by the relic shop in Auslen carrying a Sneak Ring (why would an item that increases the success of the Steal command be offered if not because we may have someone with a Steal command?).

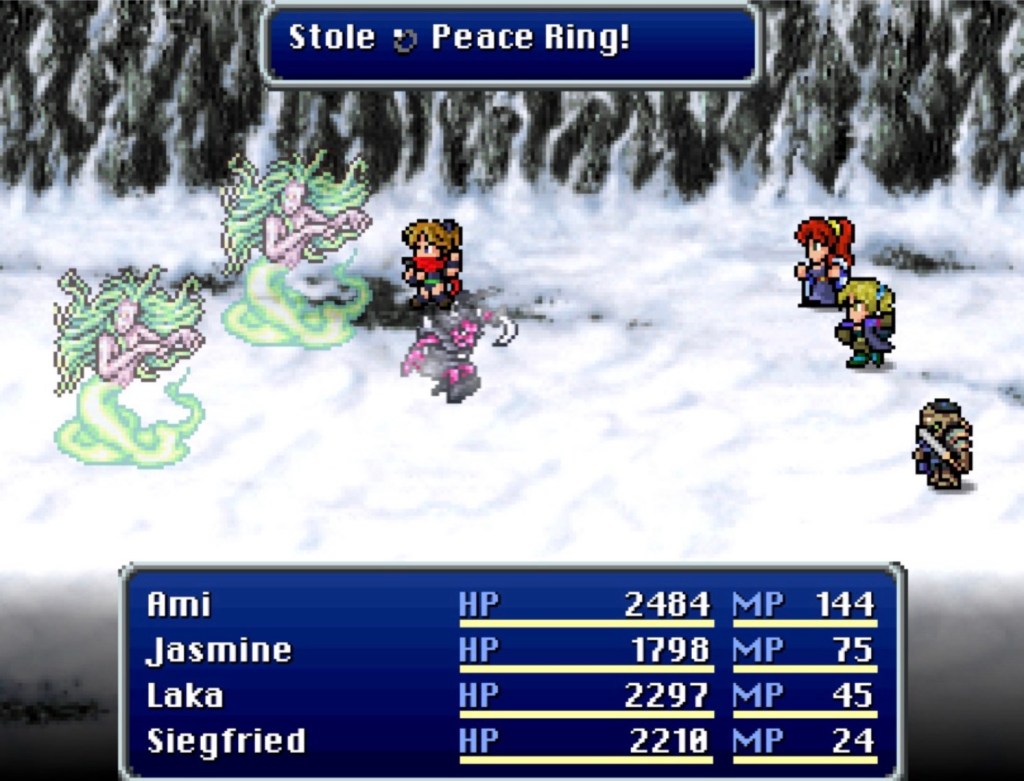
Speaking of thievery- there’s surprisingly little to be afraid of on that front. The worst I ever found was a Peddler, whose combat sprites look like the combat sprites of the merchants whom Locke steals clothes from in VI. They’ll take a few hundred of your gil and may or may not promptly flee.

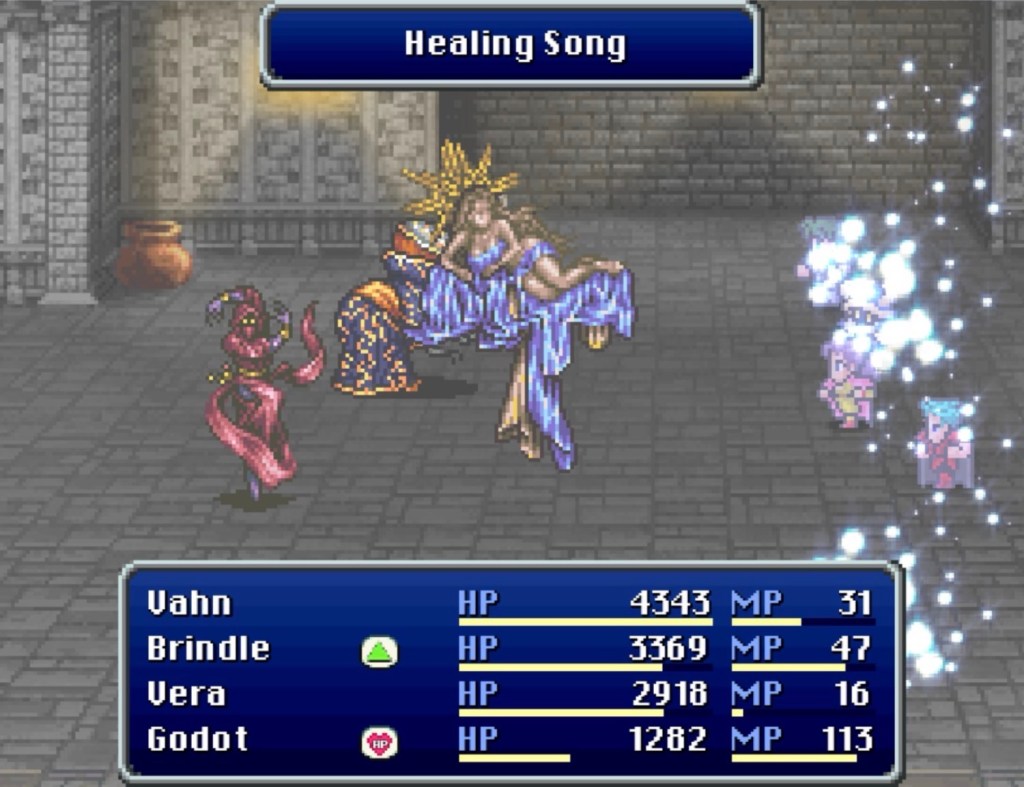
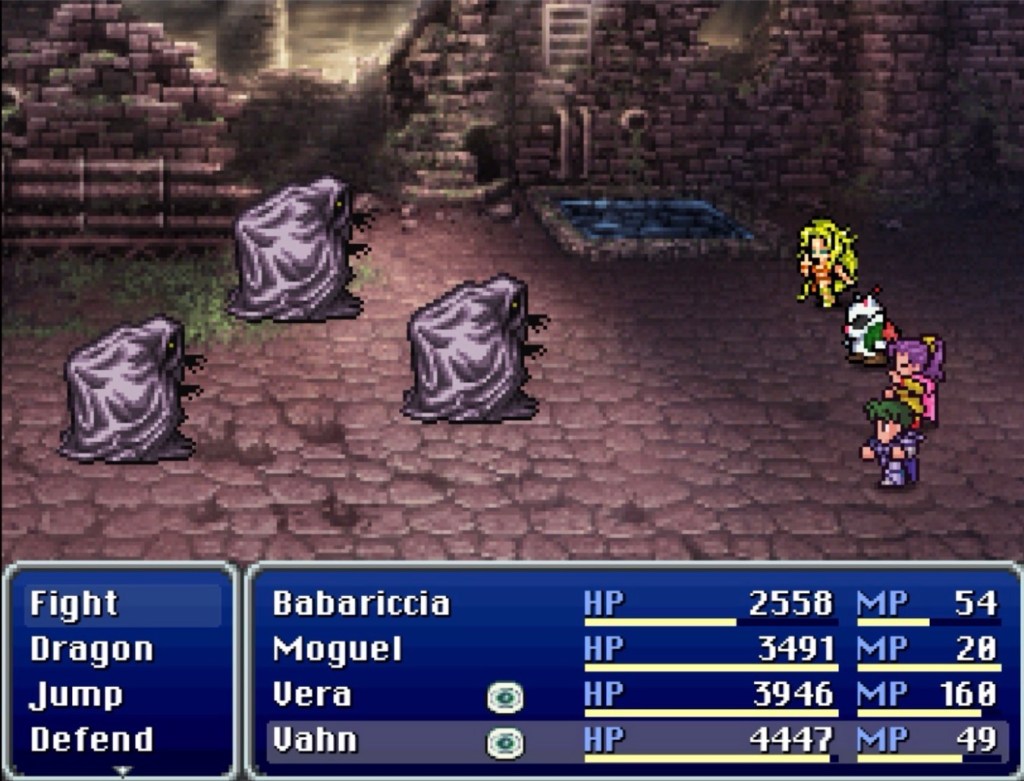
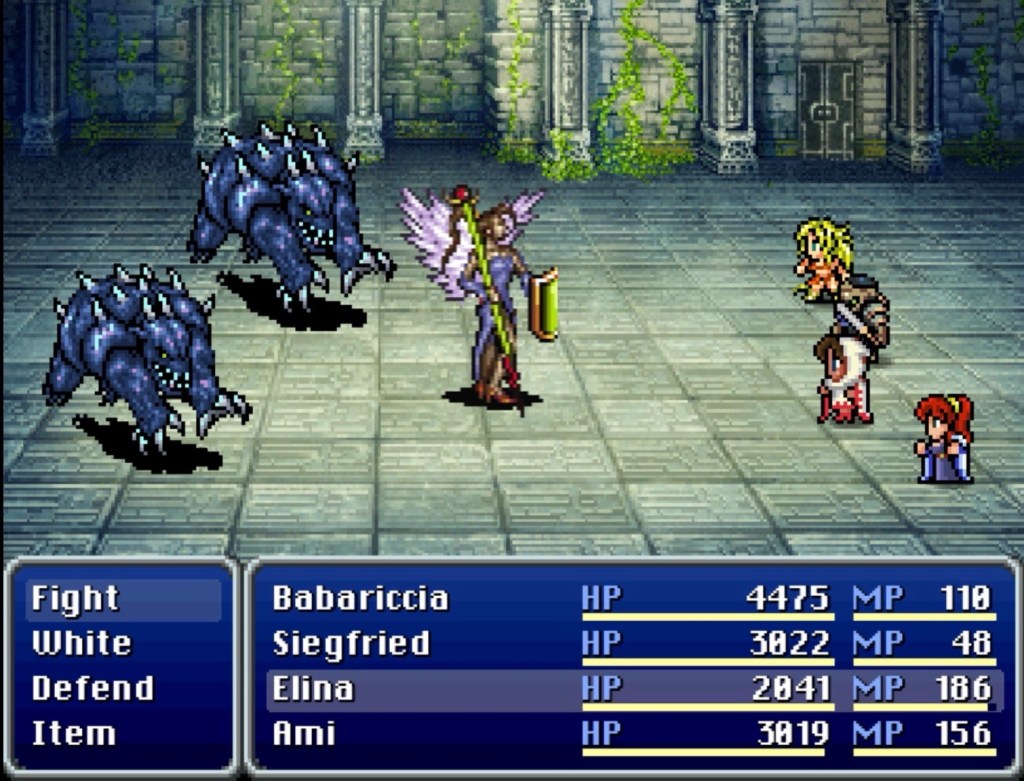
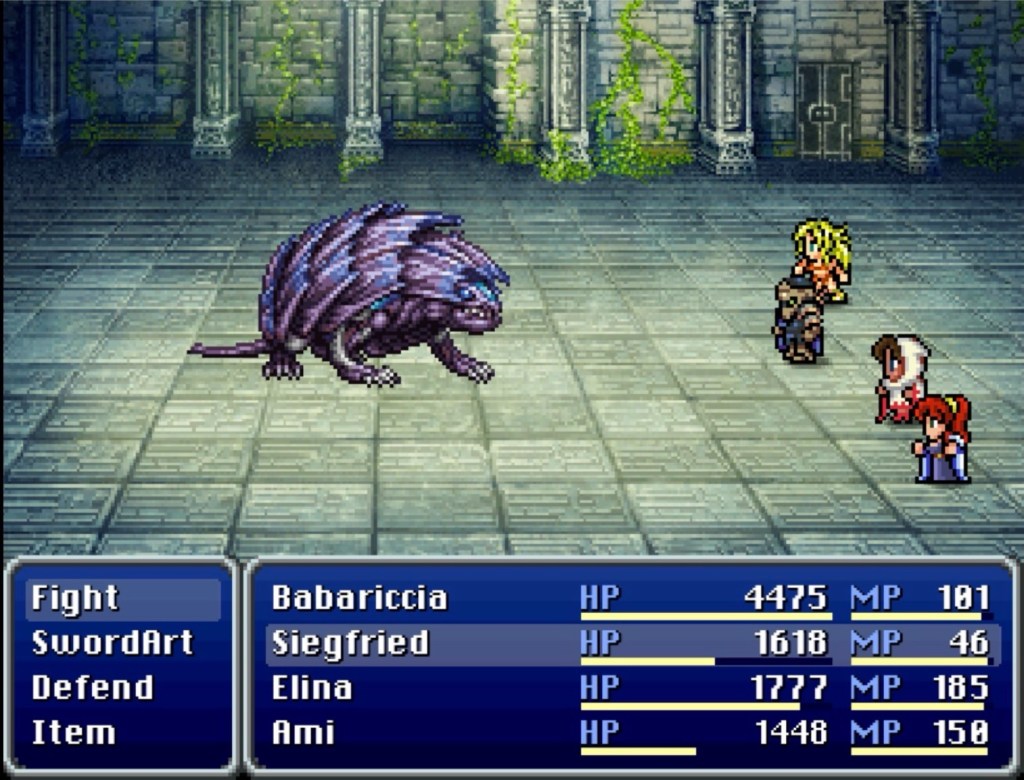
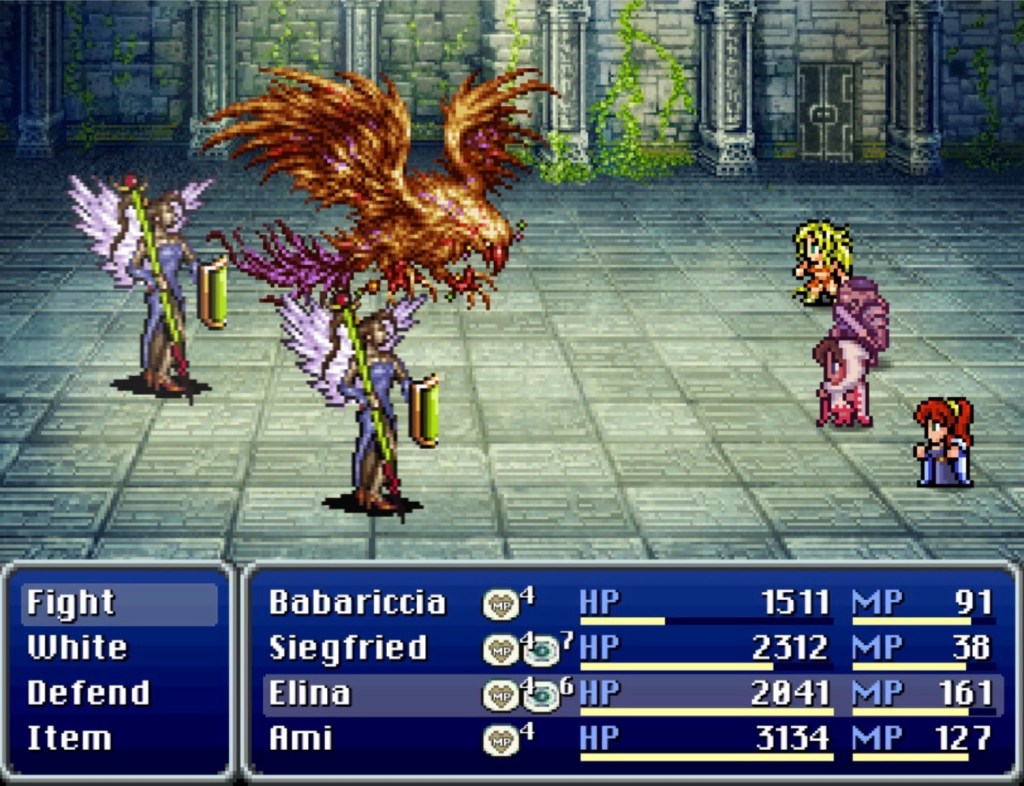
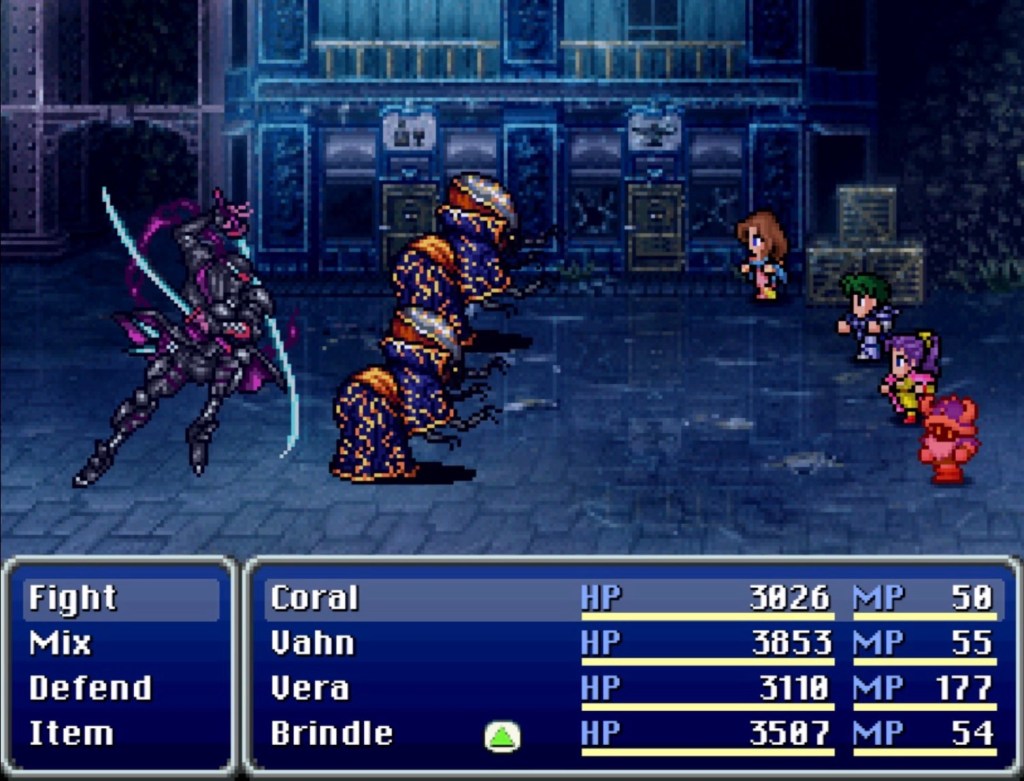
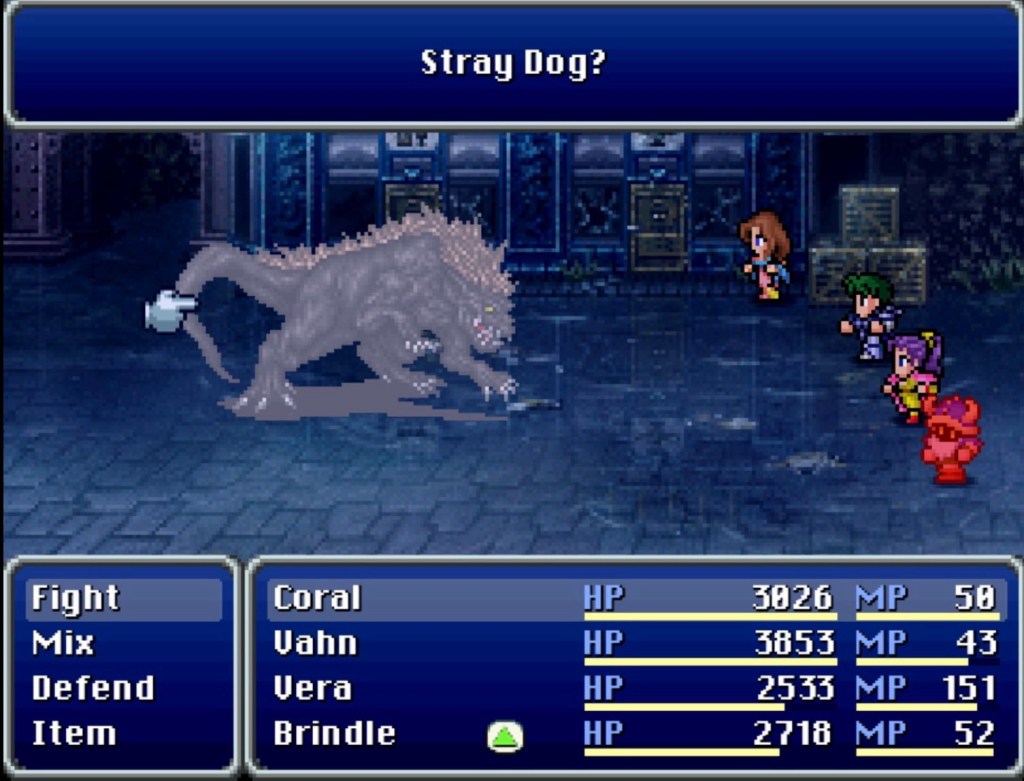
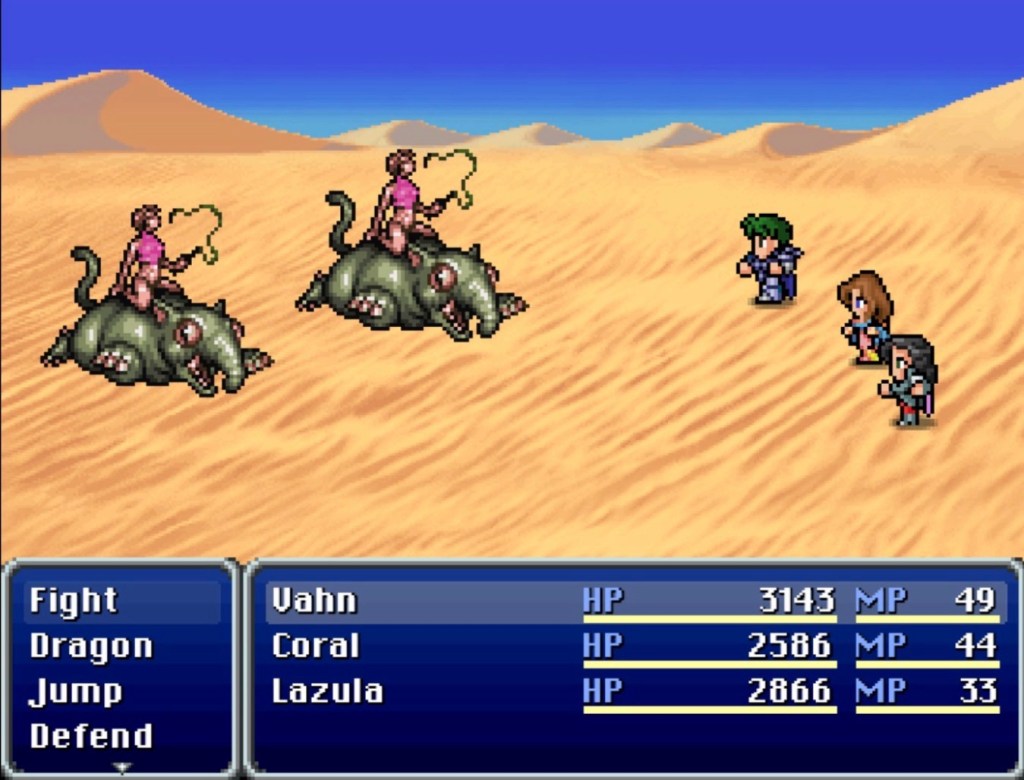
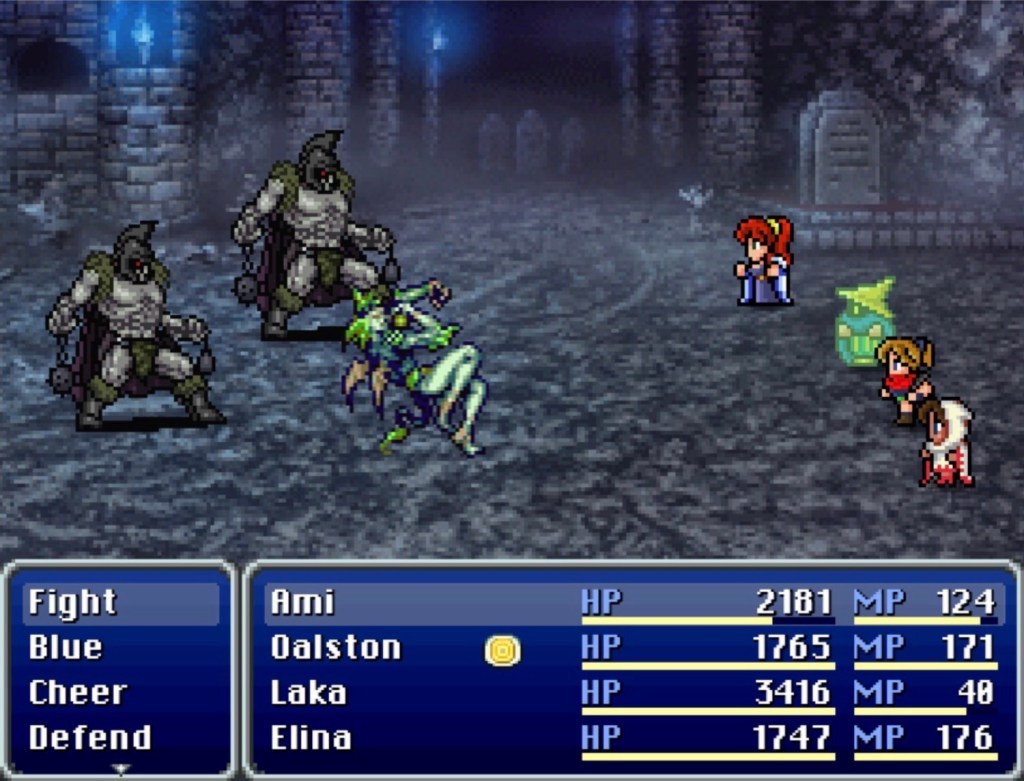
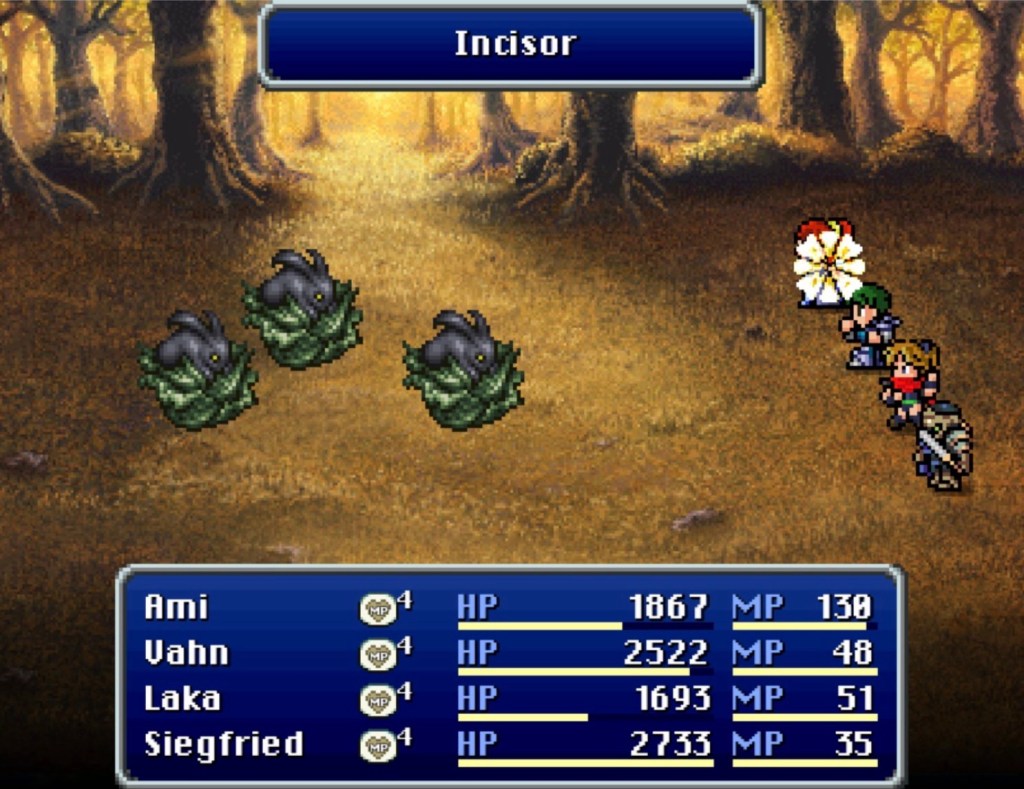
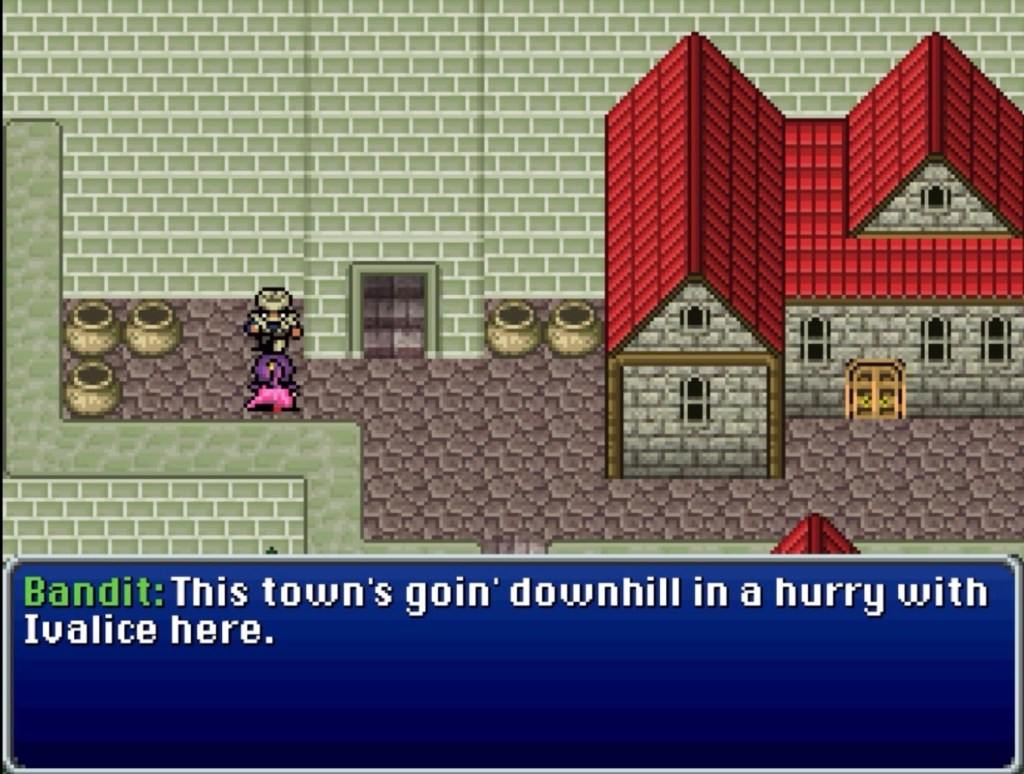
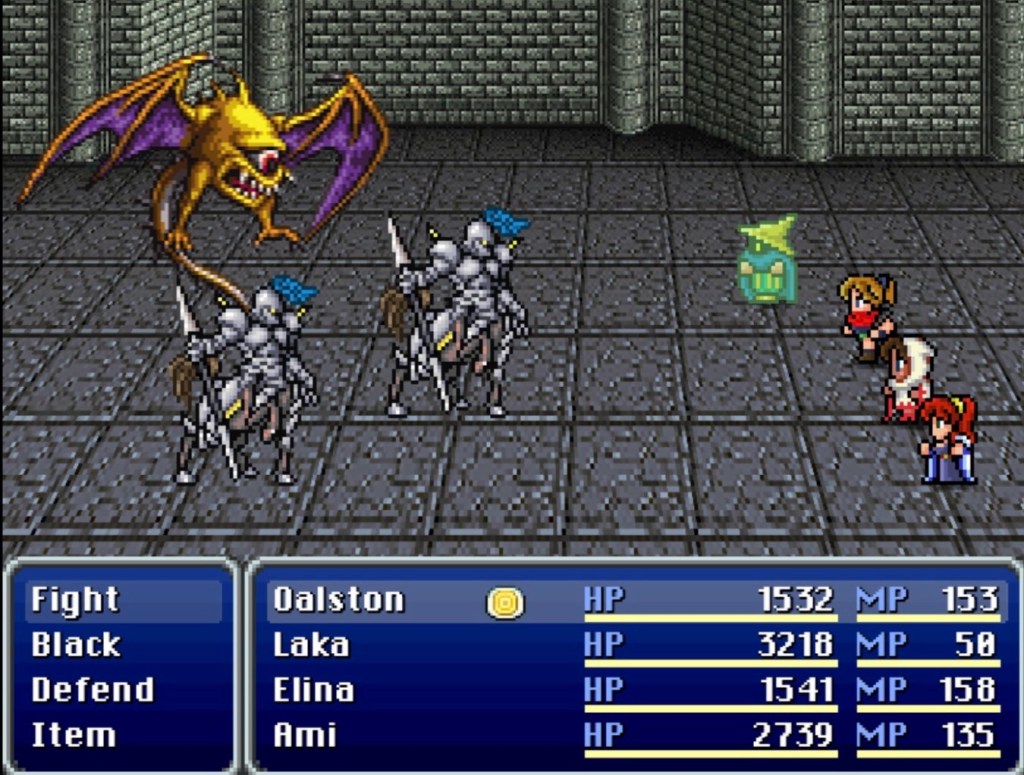
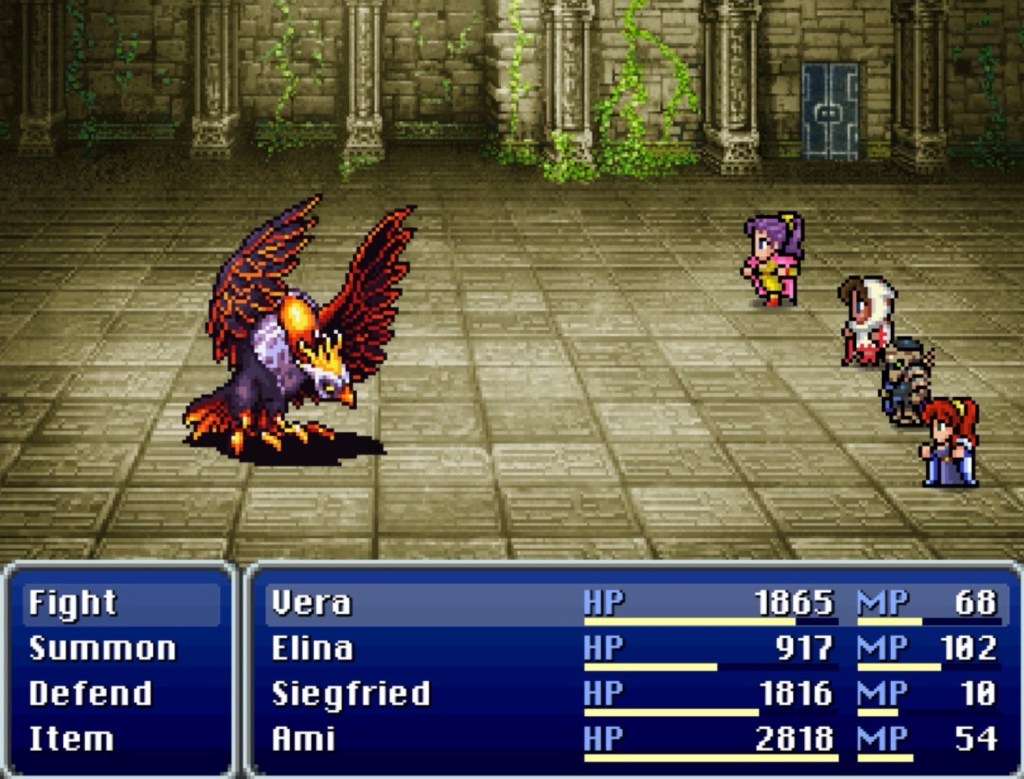
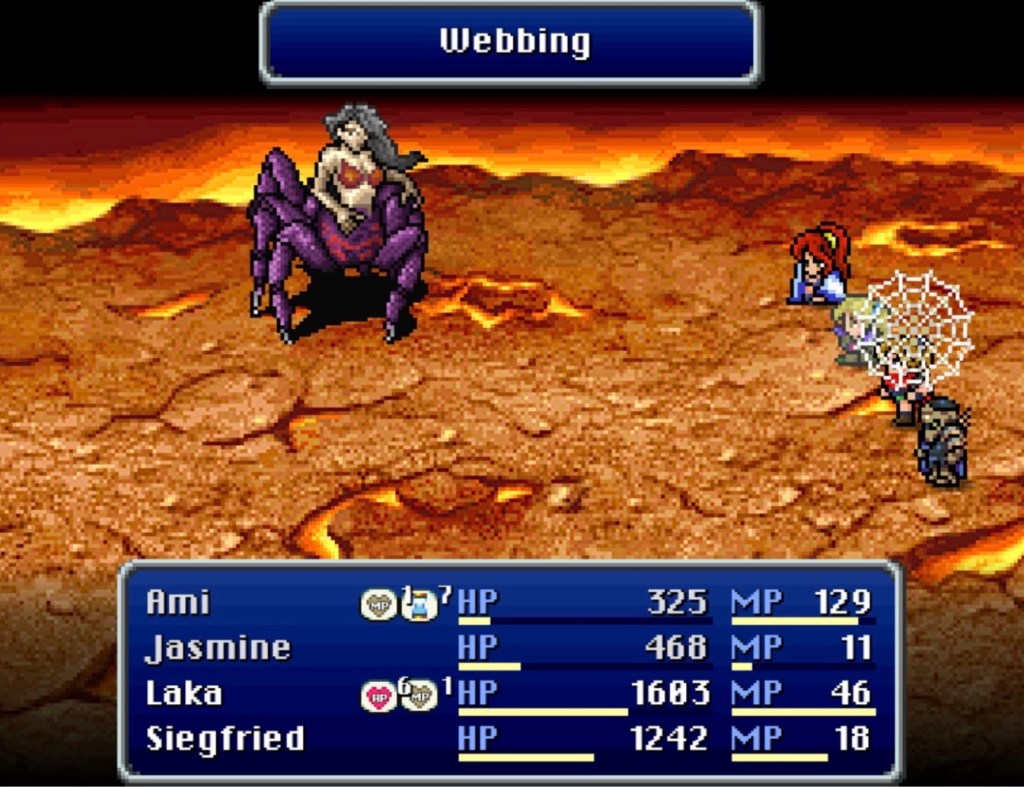
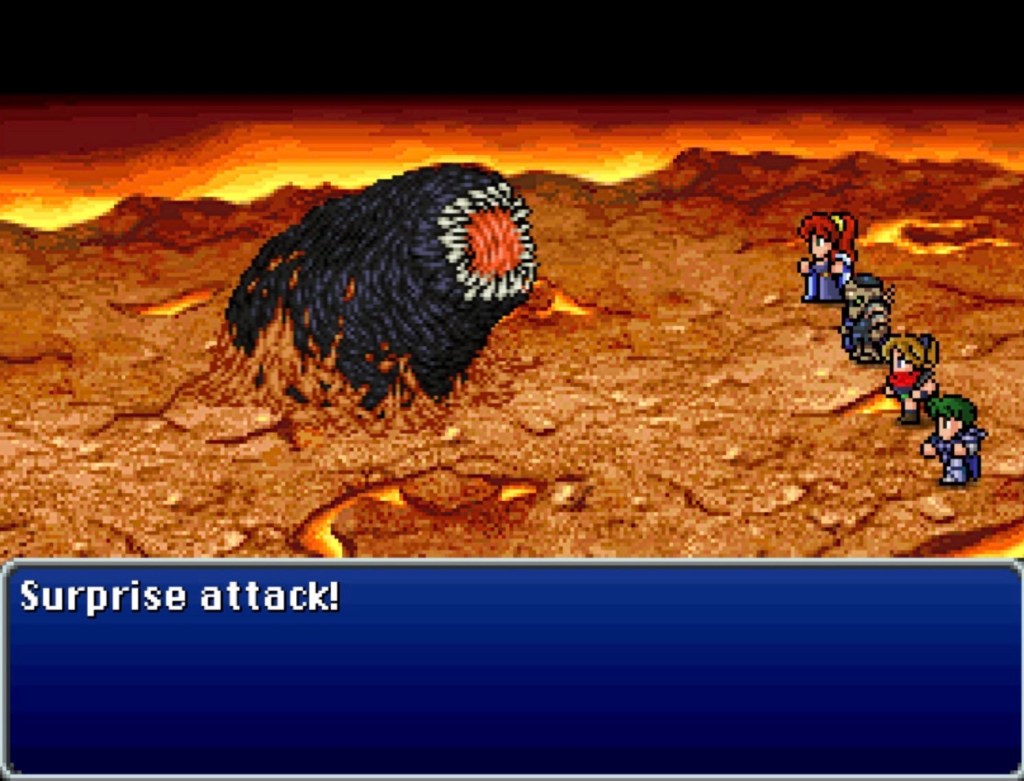
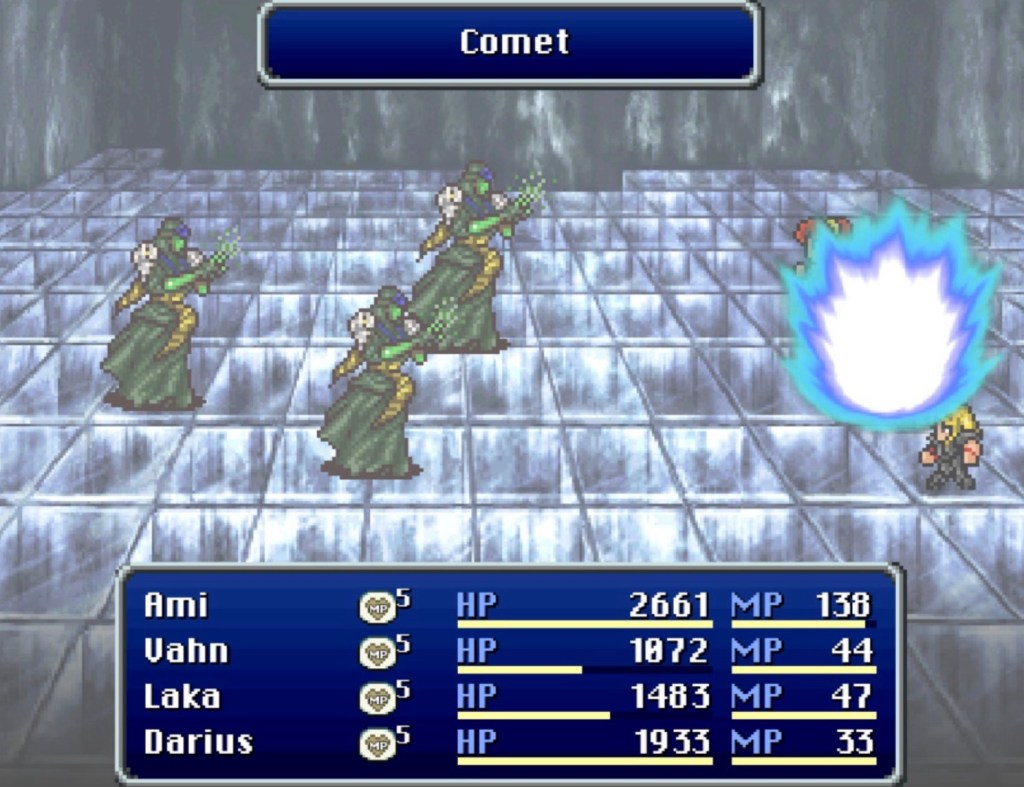
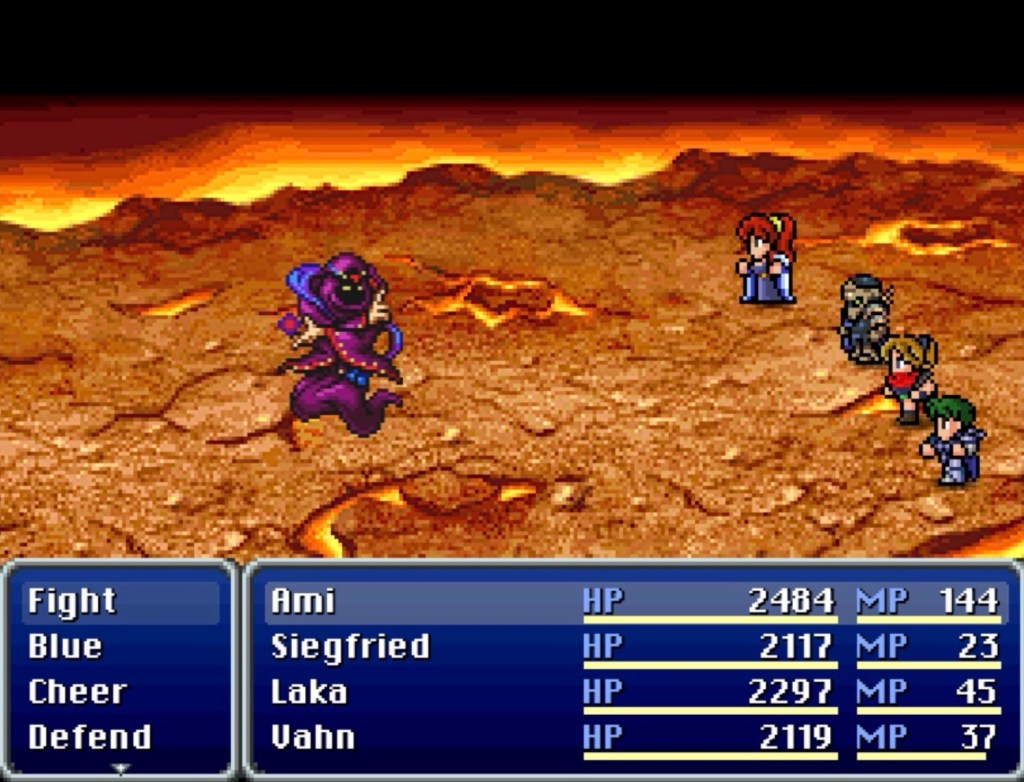
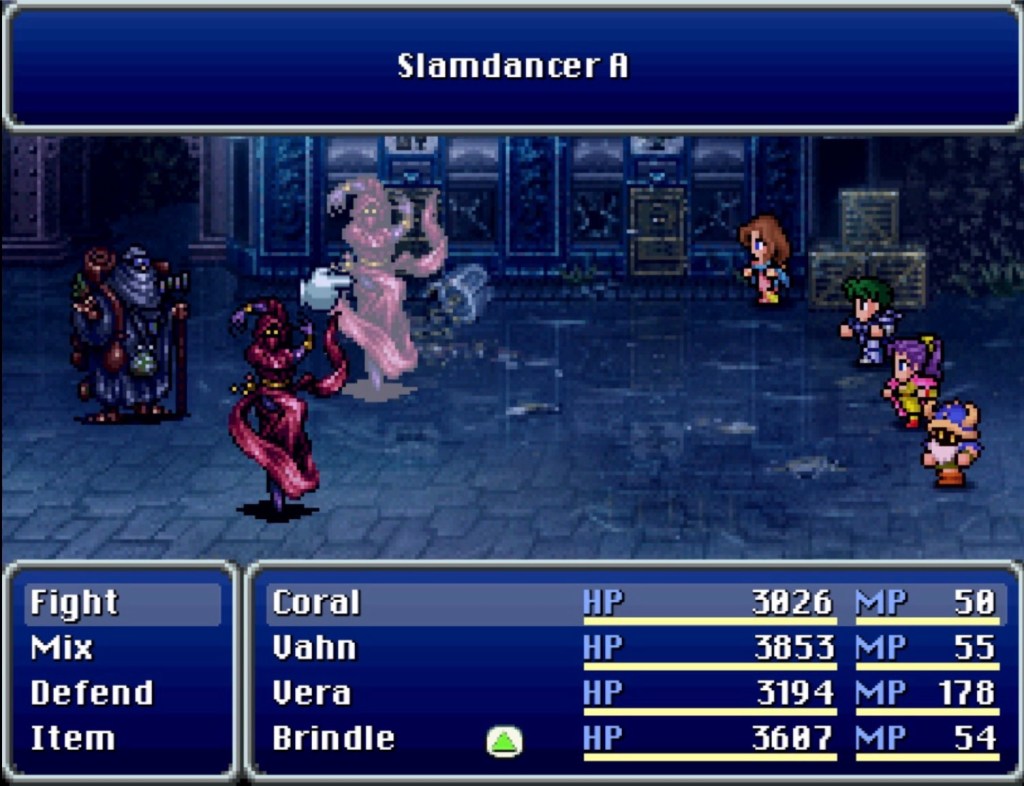
The real danger from Auslen’s random encounters are things like Cut-Throats (swordsman looking person above) and the Stray Dogs and the swarms of slightly weaker foes they often arrive with: Peddlers, Hive-Minds (hunched masked figures above) and Slamdancers. The Slamdancers can cast supportive magic on their party including Reflect which can be annoying.

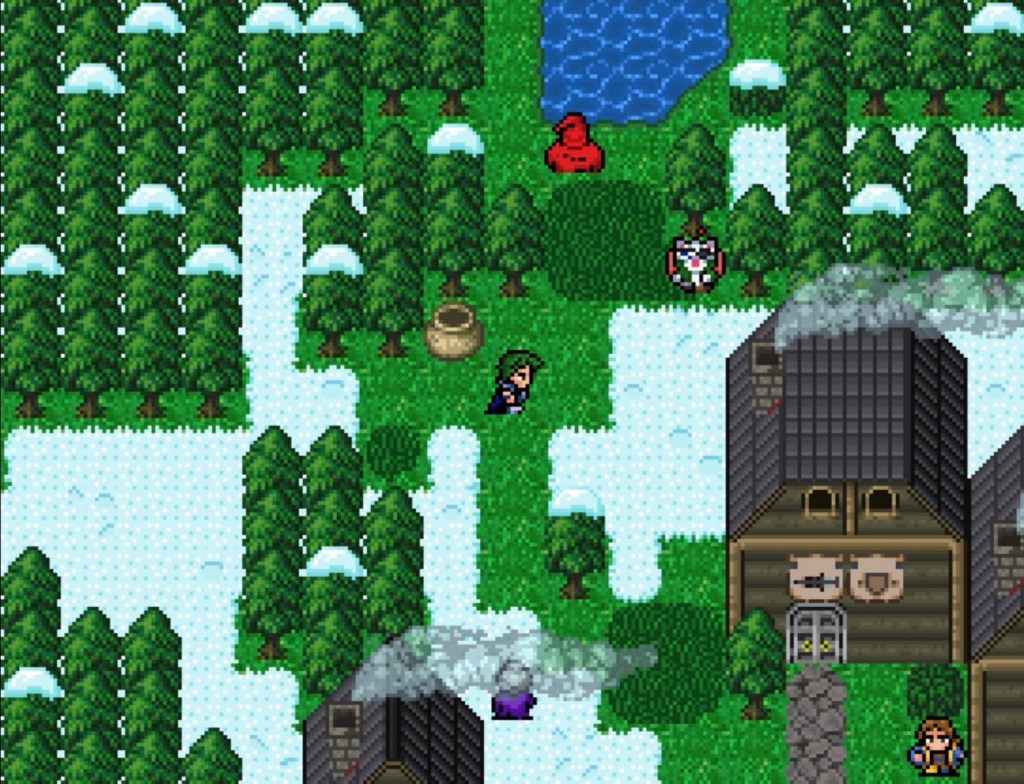
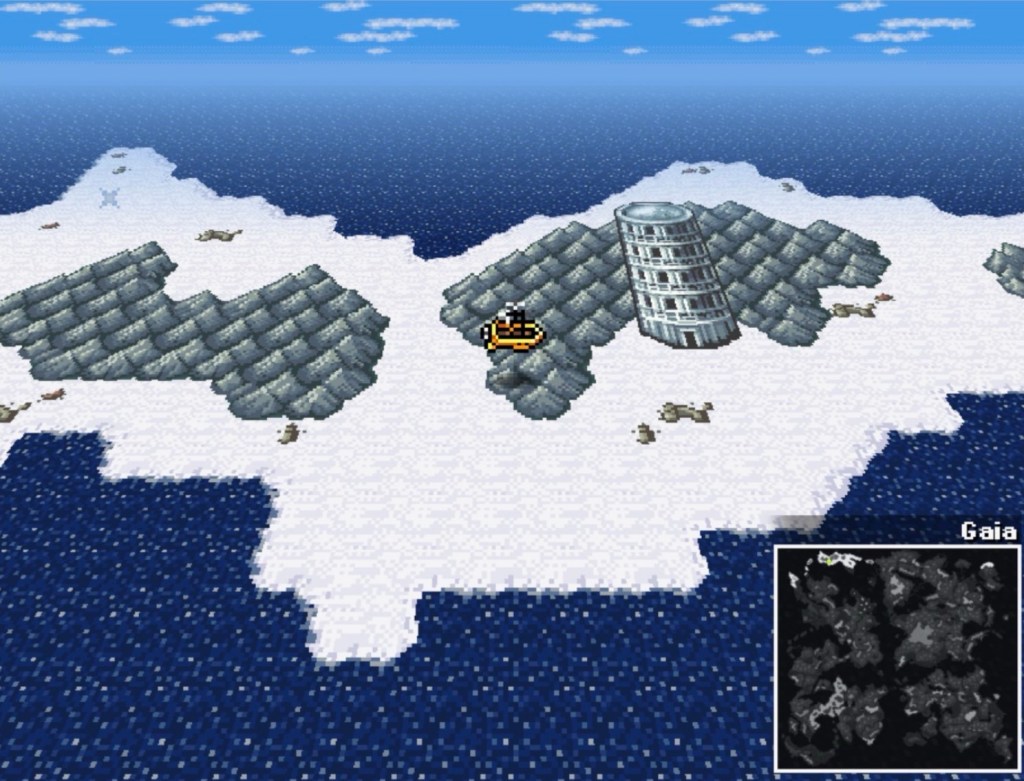
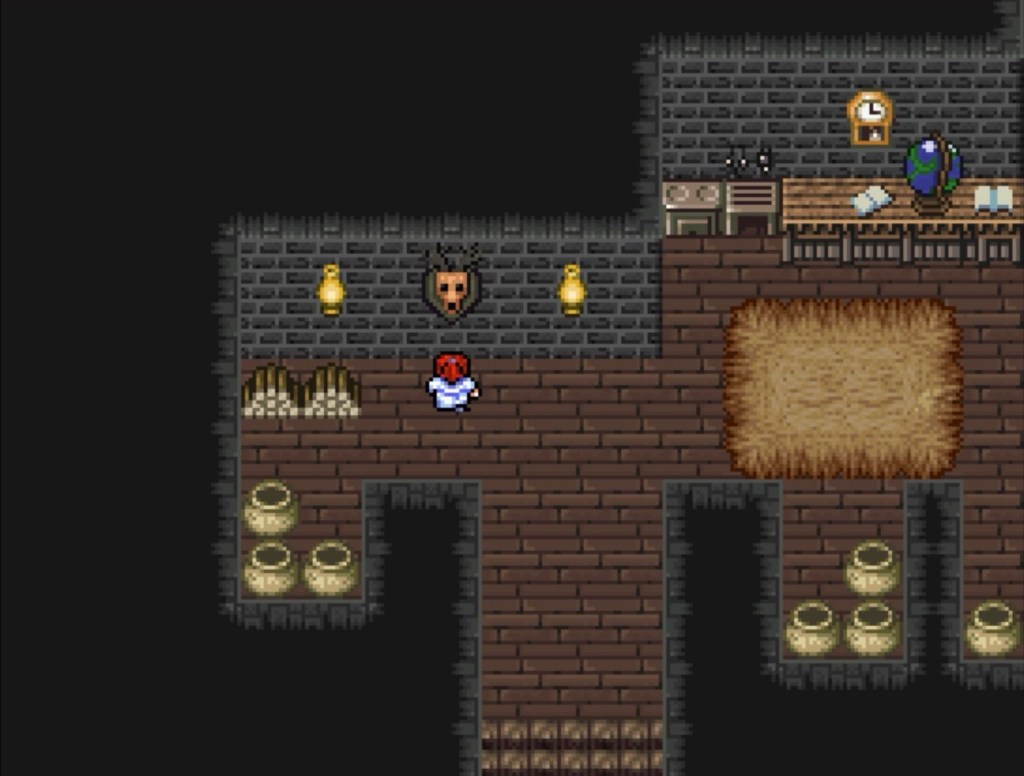
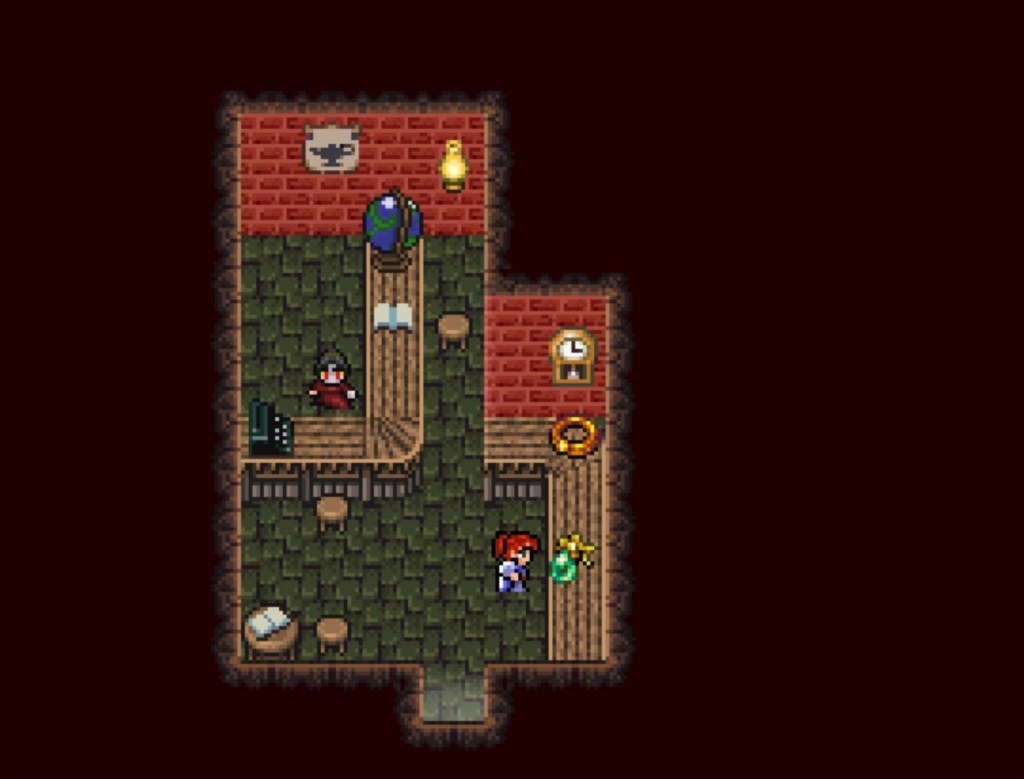
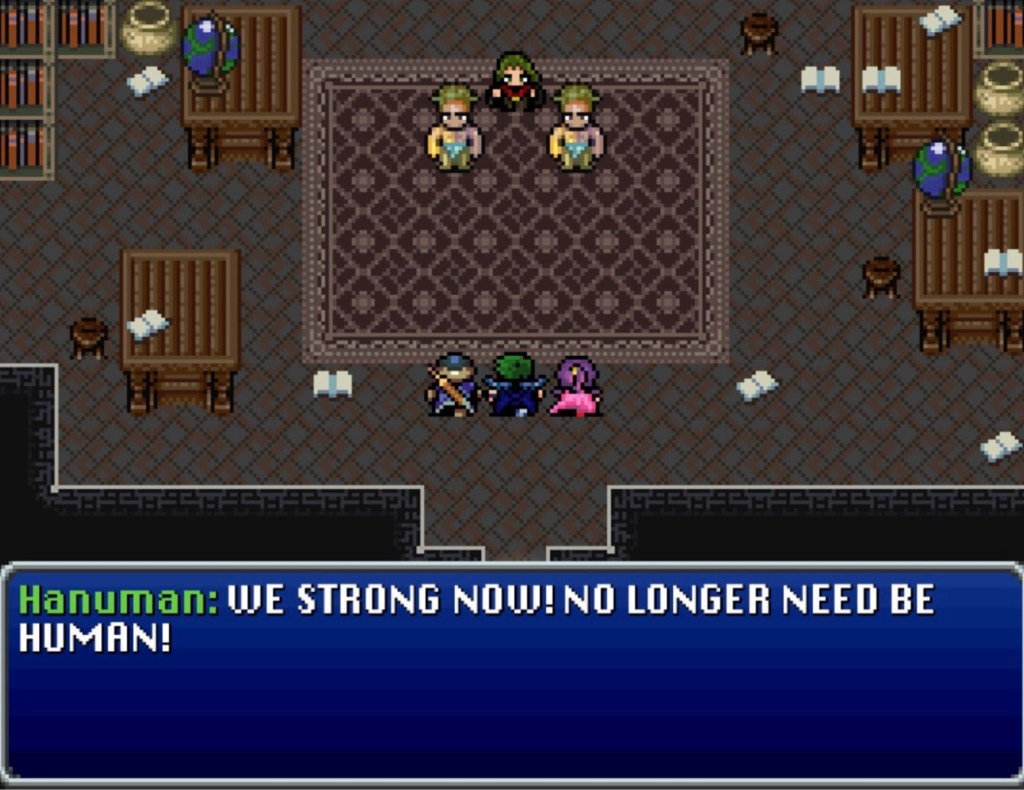
Beside a fellow who looks like a Narshe rebel and a green-robed wizard is a tower, of the kind typically seen throughout the thieves’ refuge of Zoso in VI. In a pot on the second floor, I found a key item called an Auslen Key.

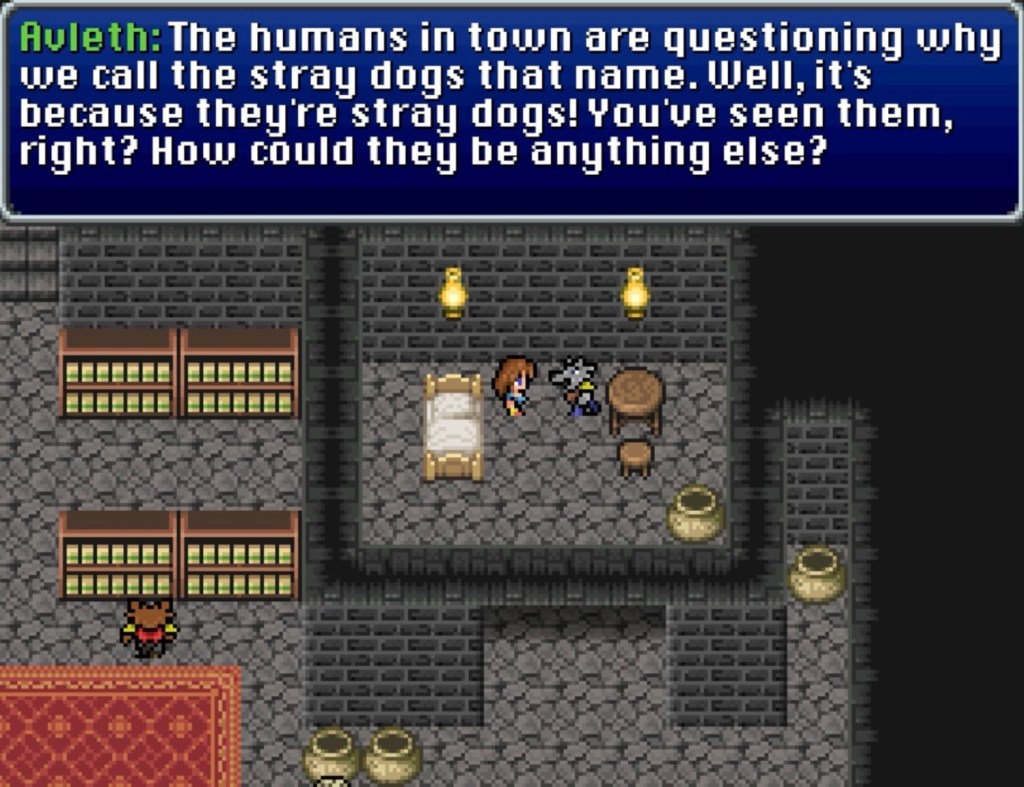
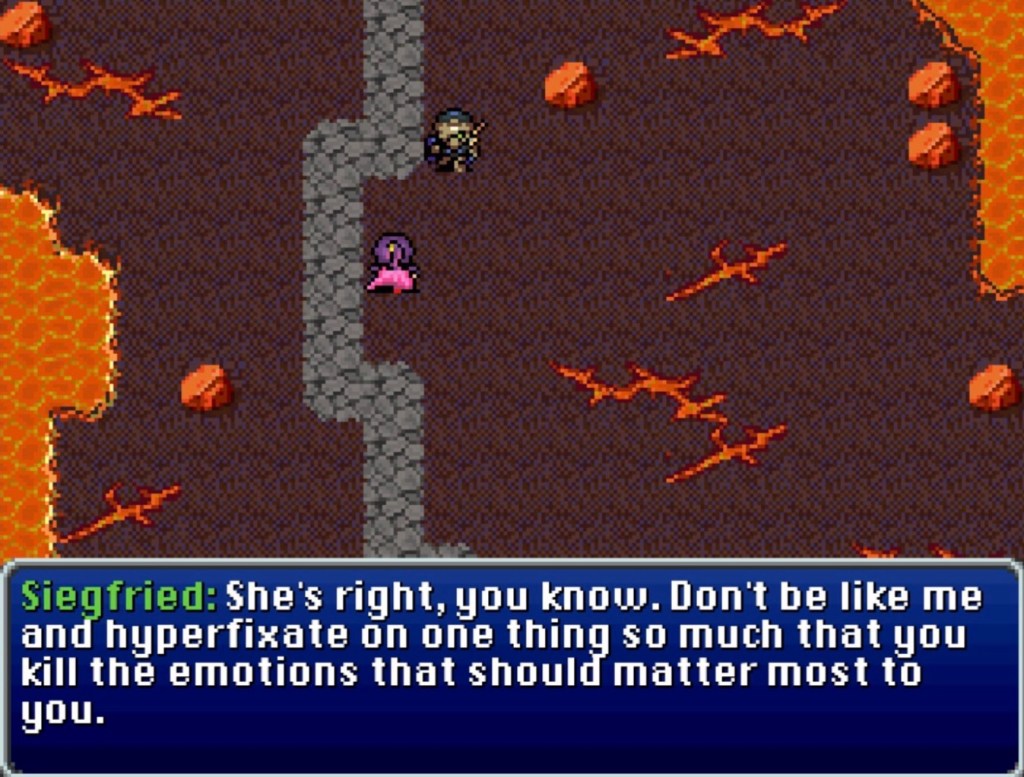
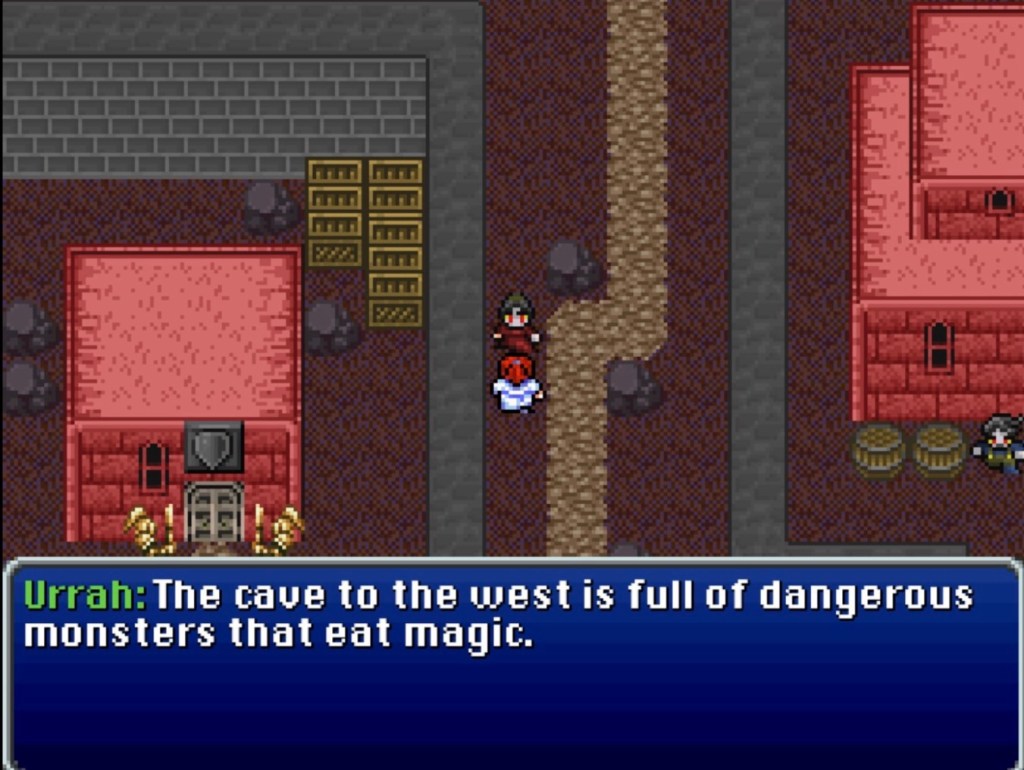
Beyond the Auslen Key and the absence of Laka, I did not find much here. The Espers can be fun to talk to; Auslen was always rainy but somehow ended up in a place with more rain on Gaia once the Merging contraction happened. The town is also filled with locked doors which made me wonder if a side quest might be forthcoming. Zoso in VI had the clock puzzles with hints scattered throughout town. I sorta assumed the Auslen Key was maybe one in a series of obtainable keys for the doors.

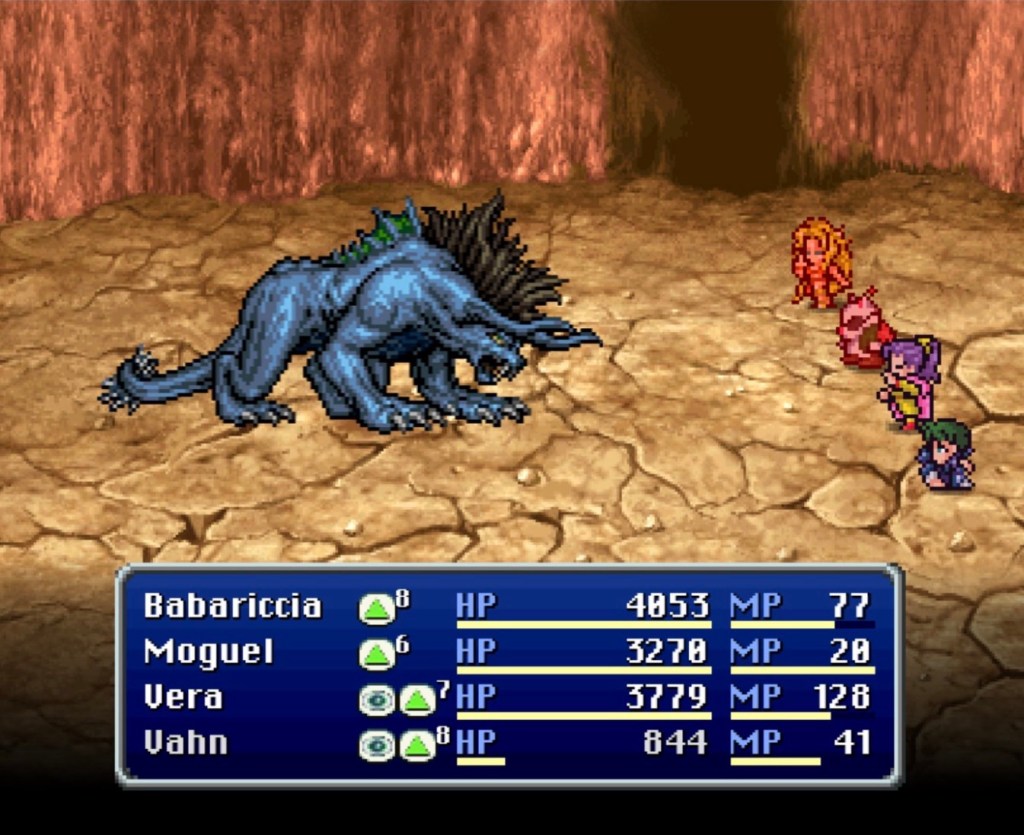
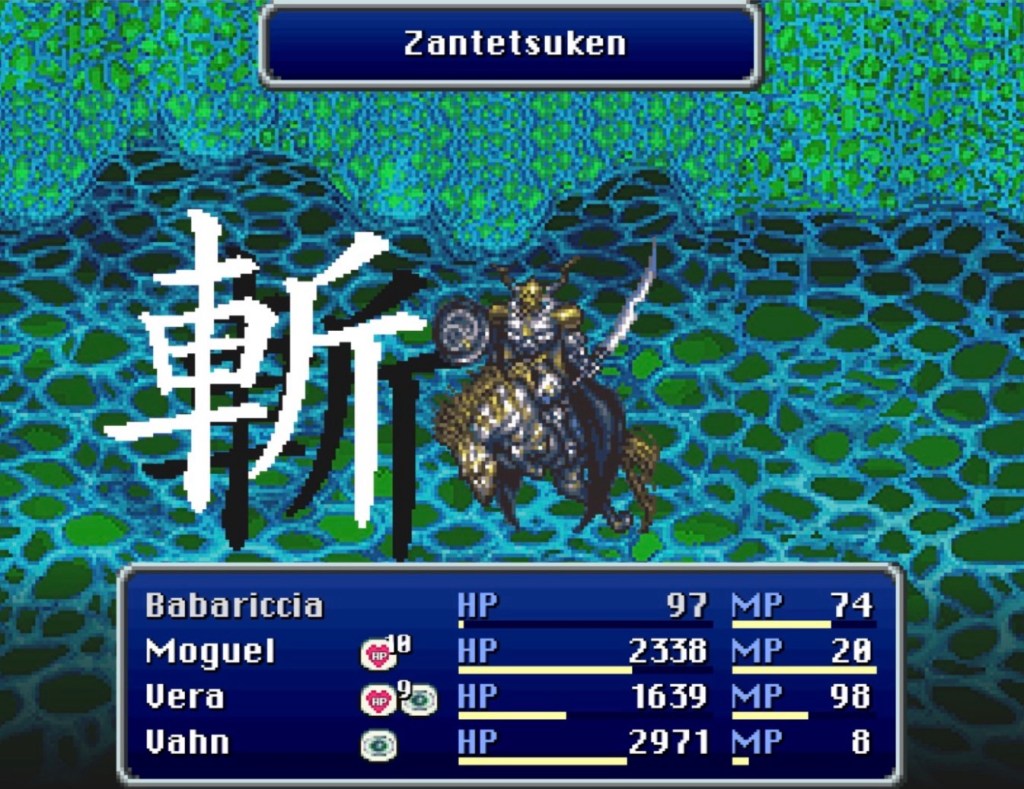
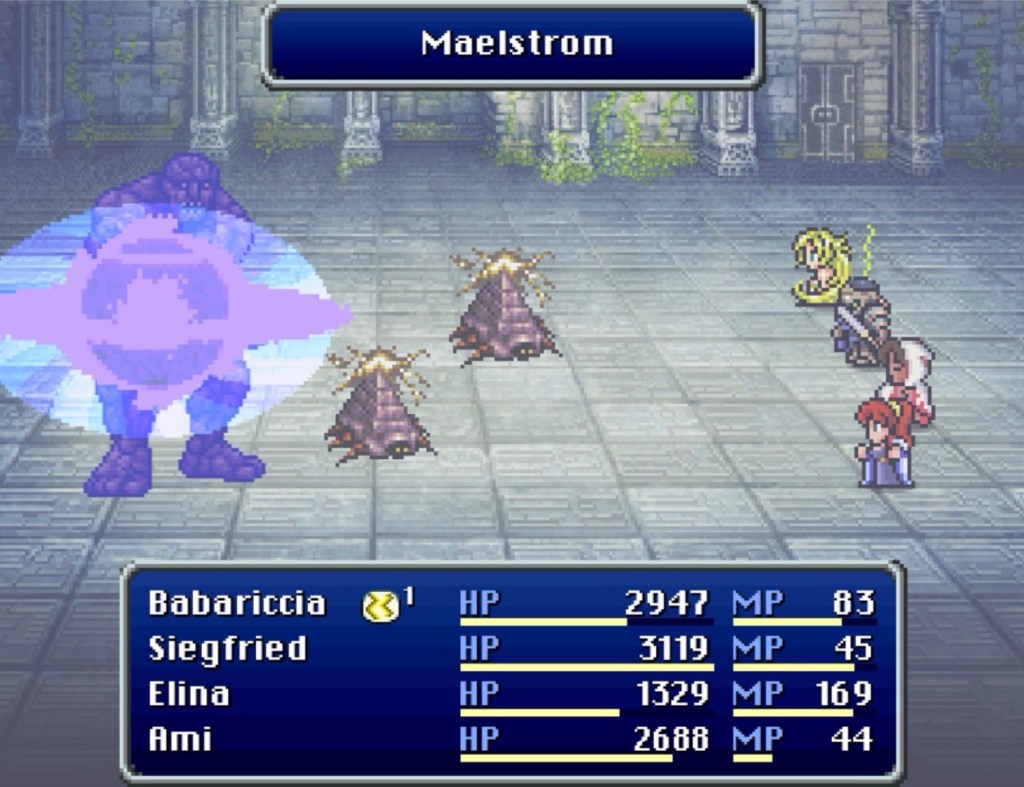
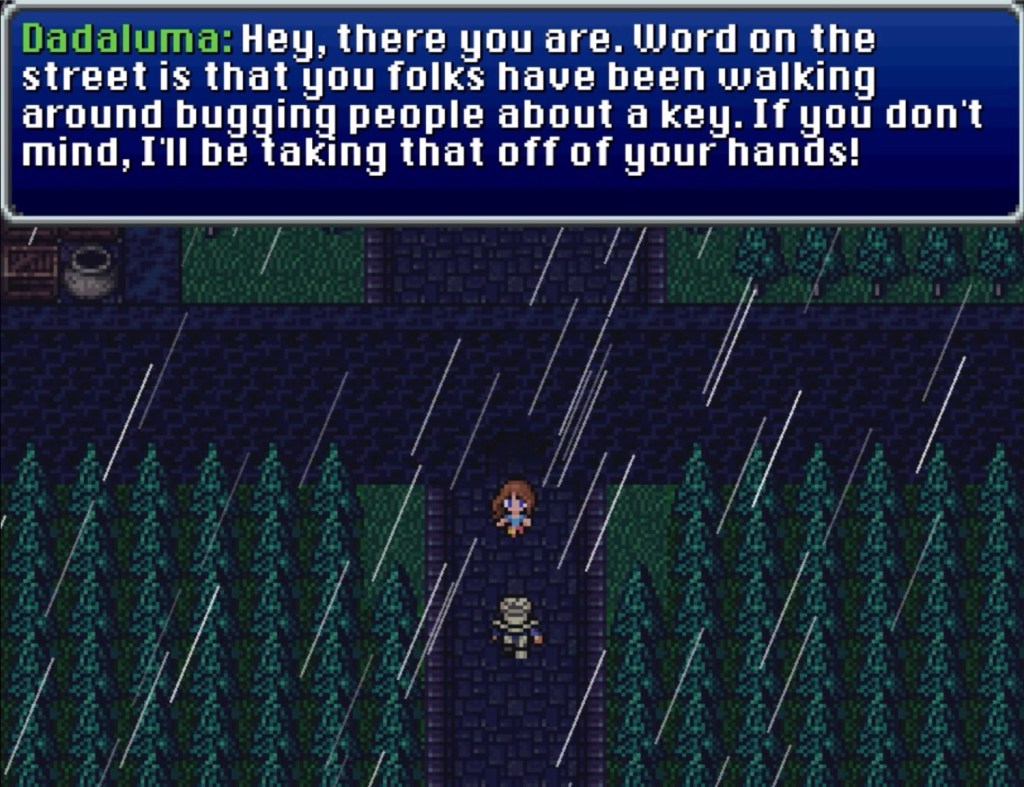
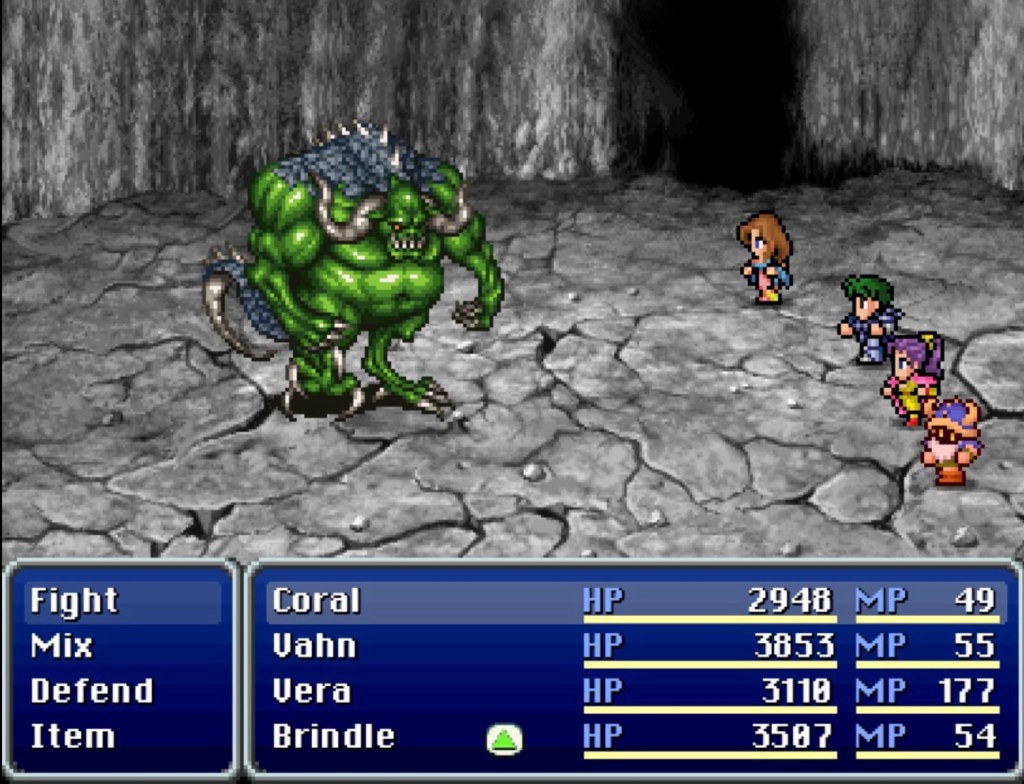
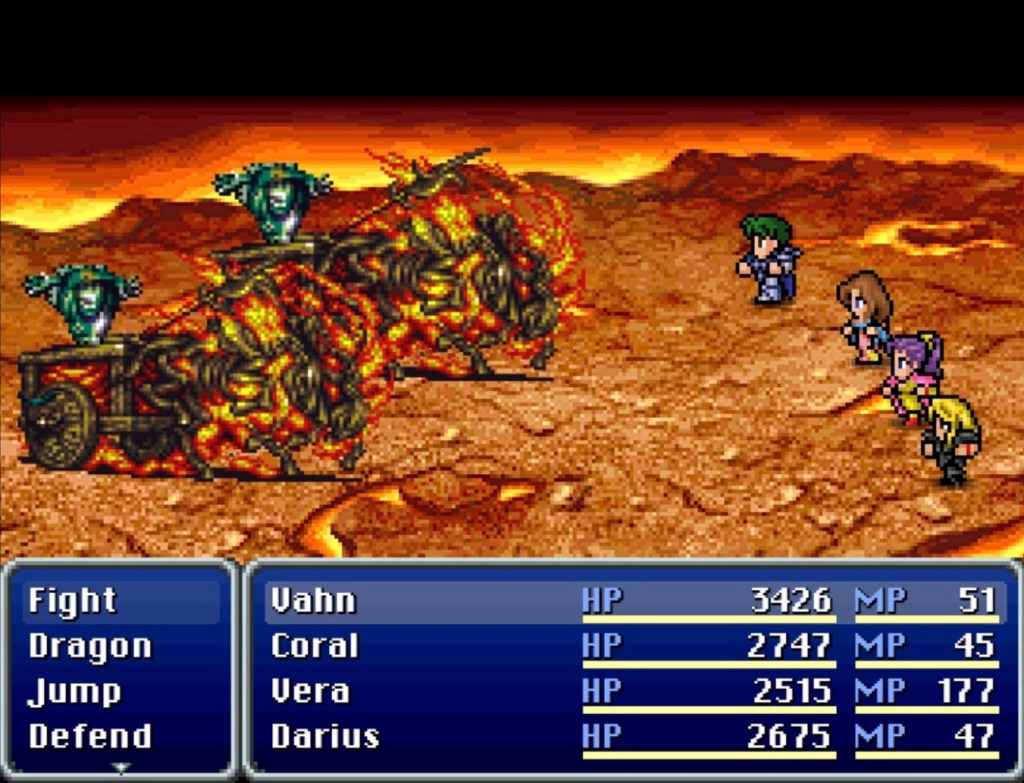
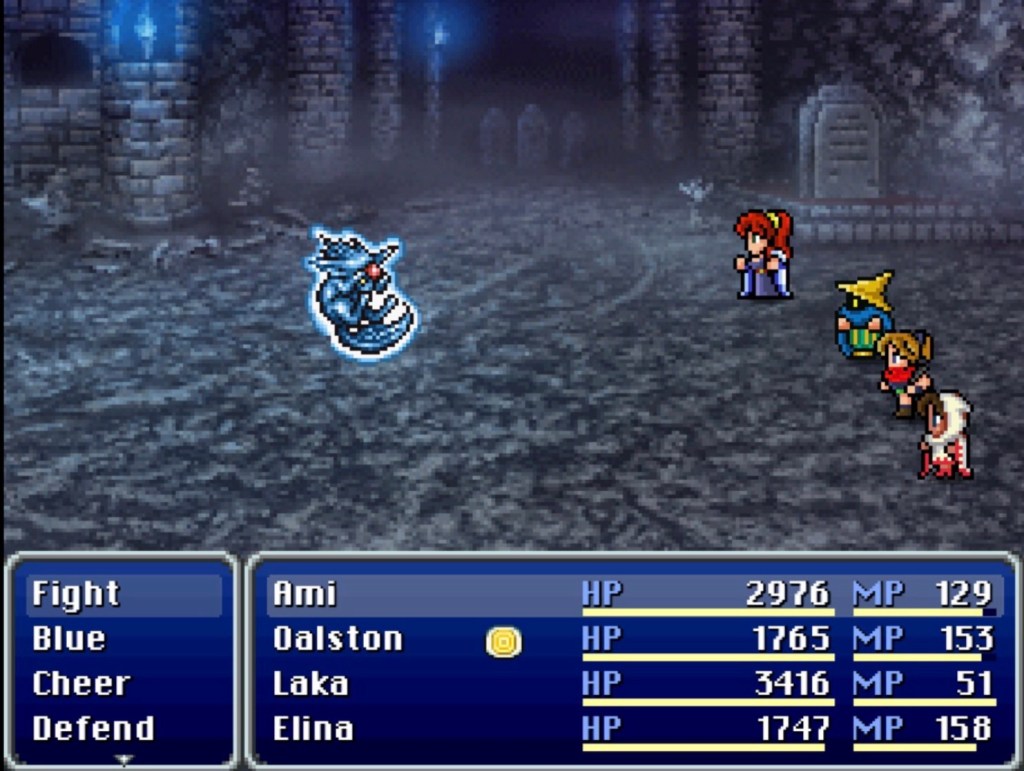
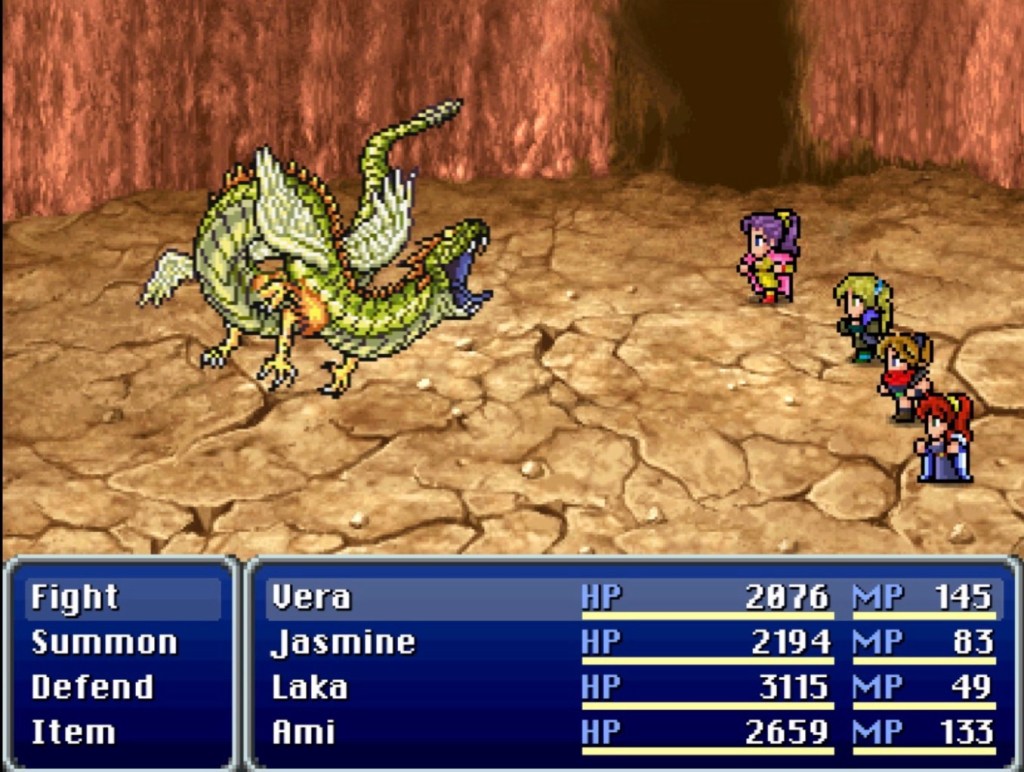
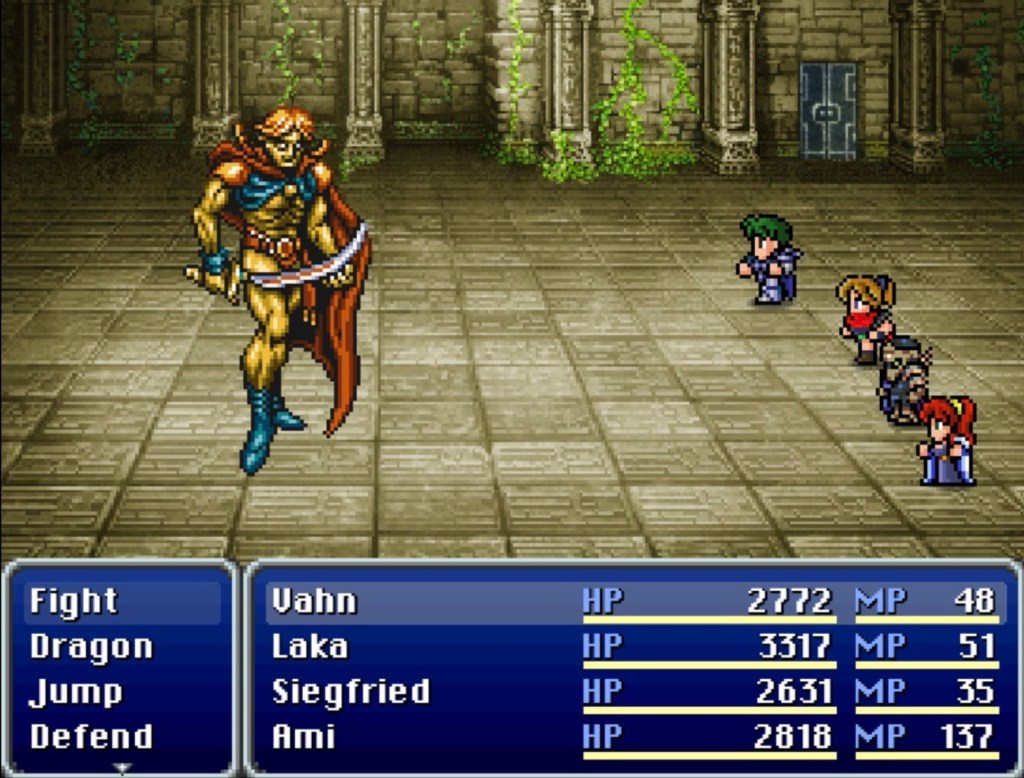
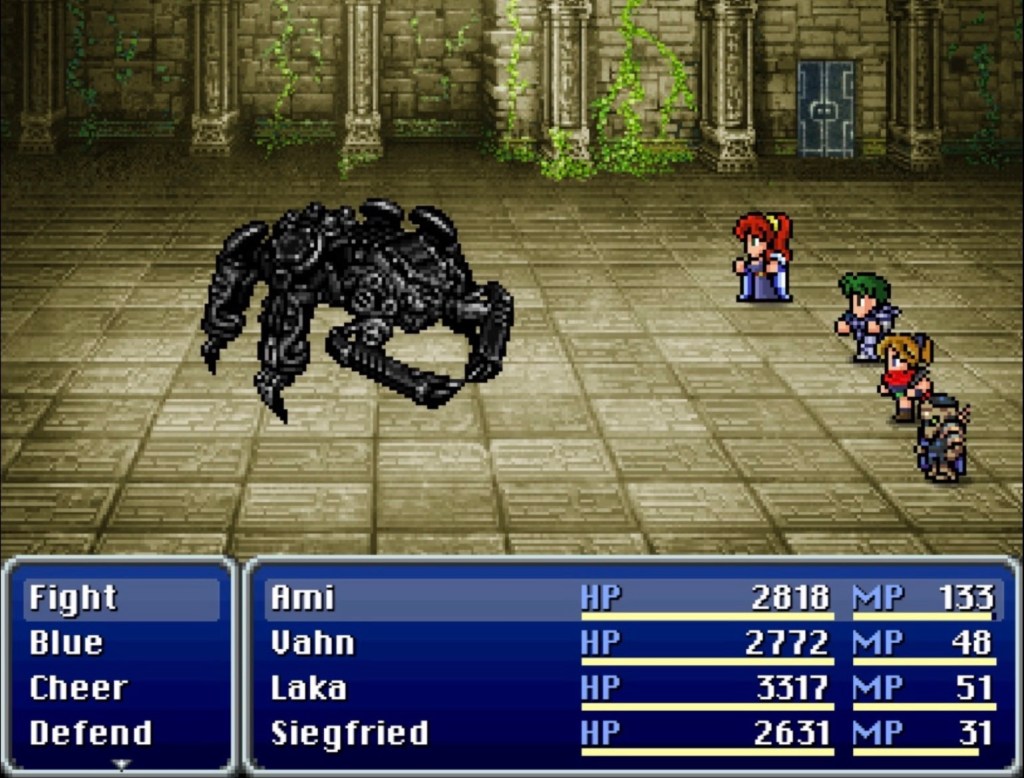
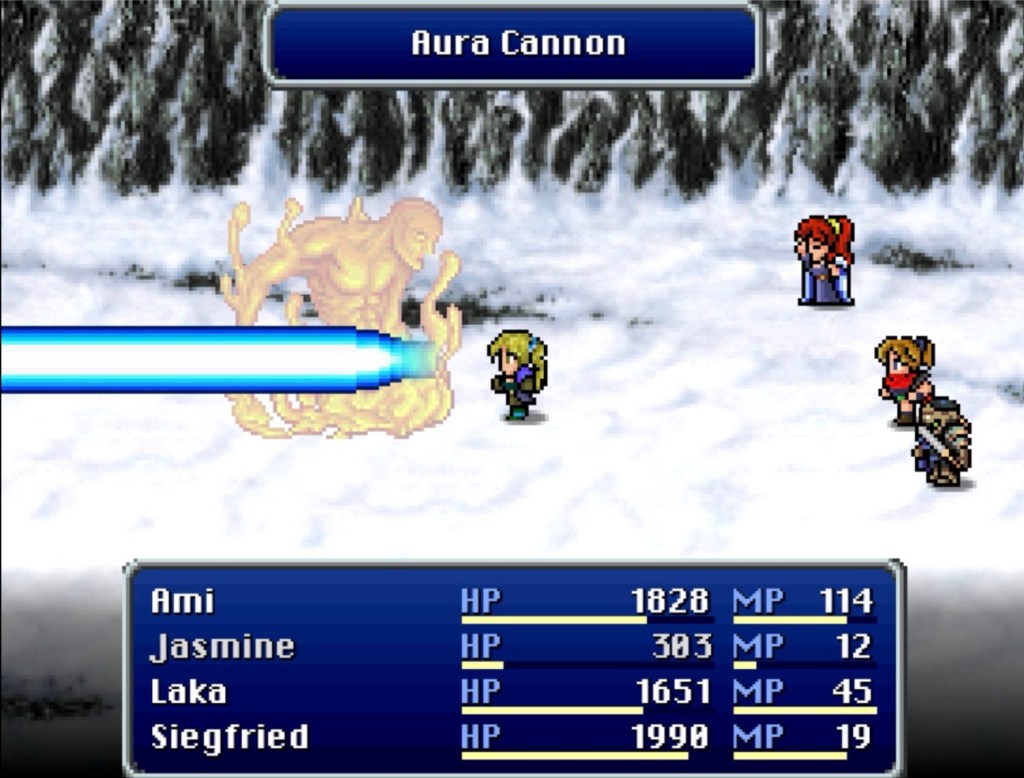
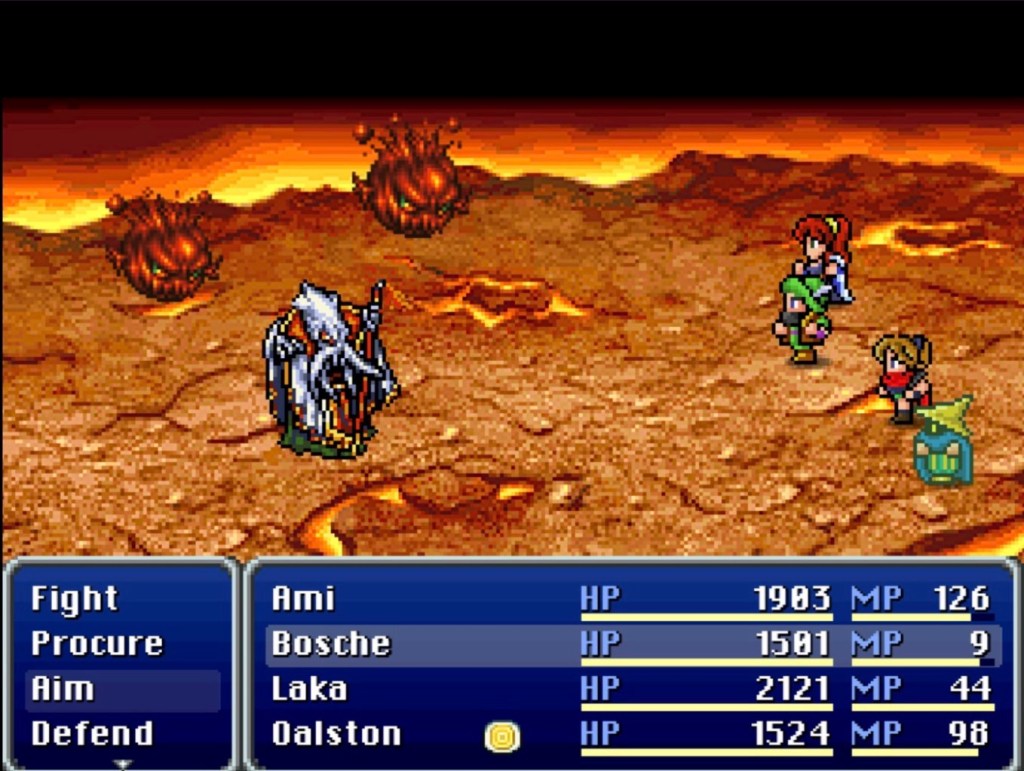
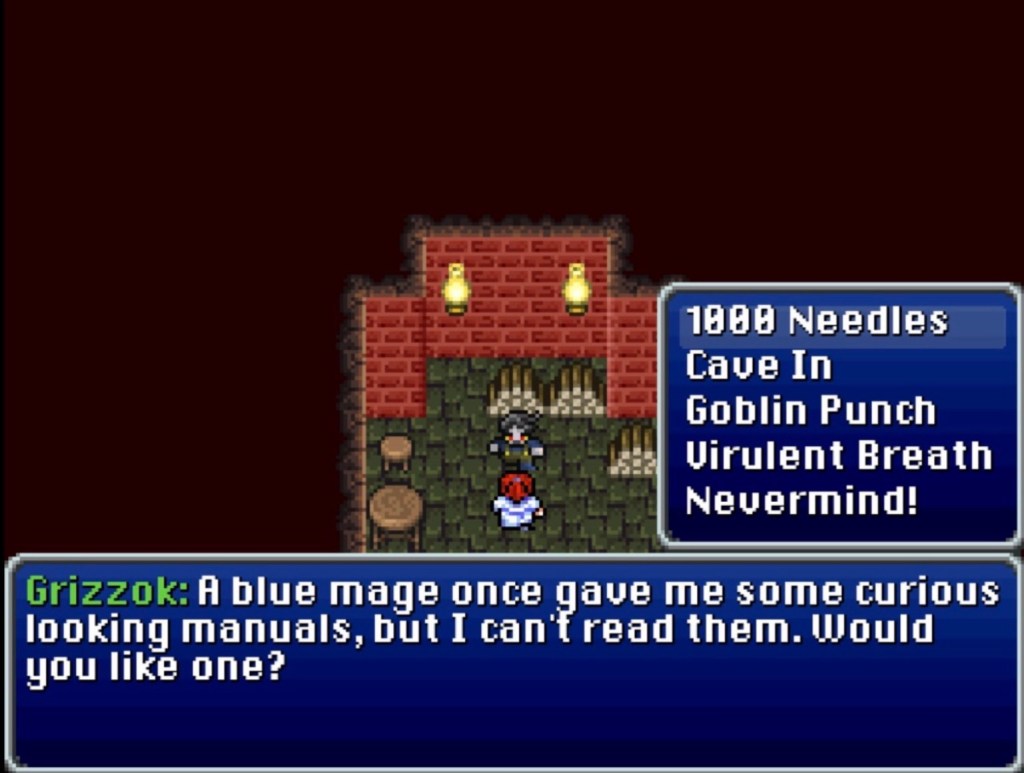
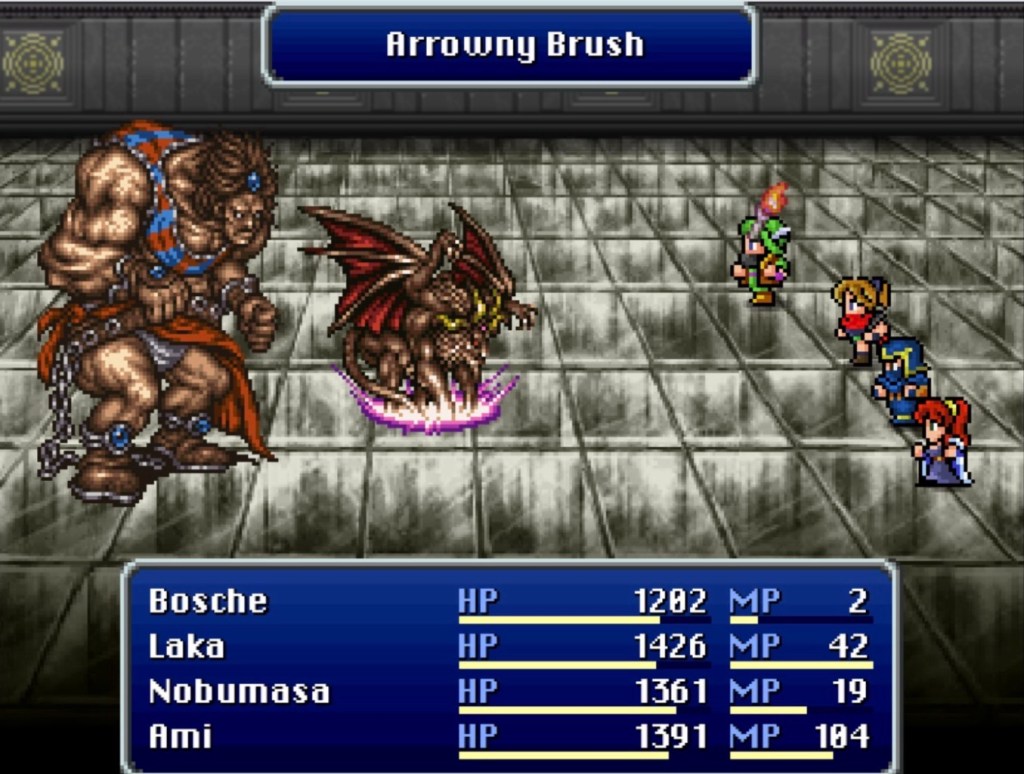
Instead, our old friend from VI Dadaluma tries to shake us down for the Auslen Key on our way out. His hardest-hitting attack is Sabin’s Pummel (VI) which deals multiple hits of physical damage; each in the thousands. If you grabbed the Golem summon from the Living Cavern, now is a great time to use it. Overall, I’d say he’s slightly harder than Phunbaba.

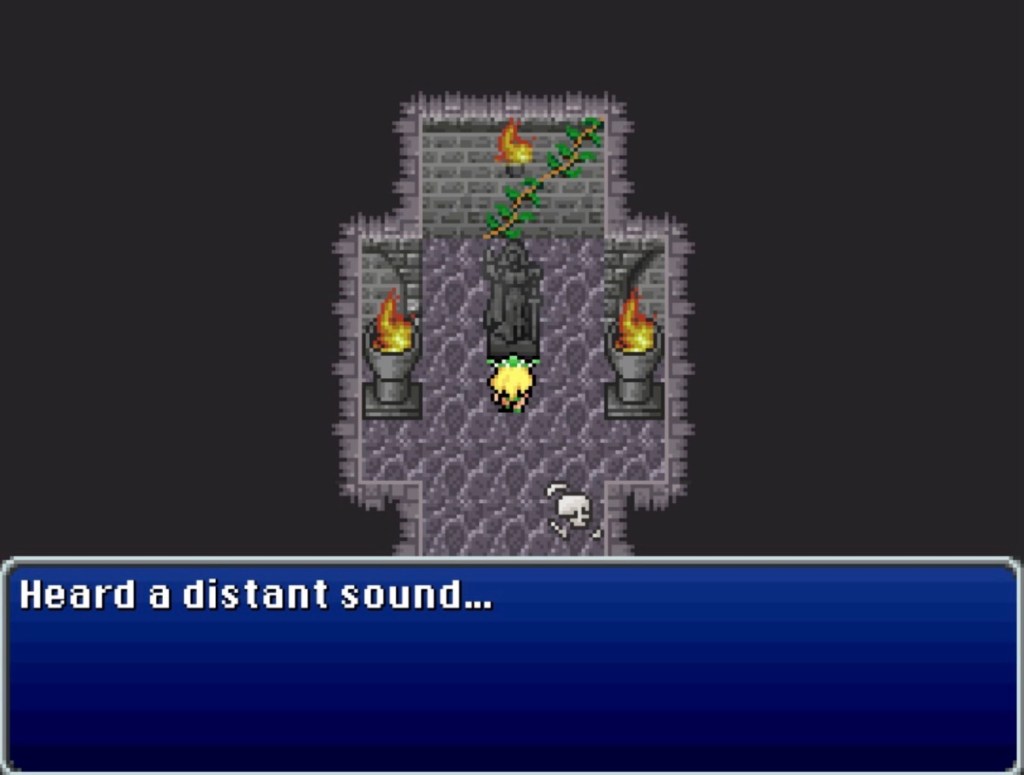
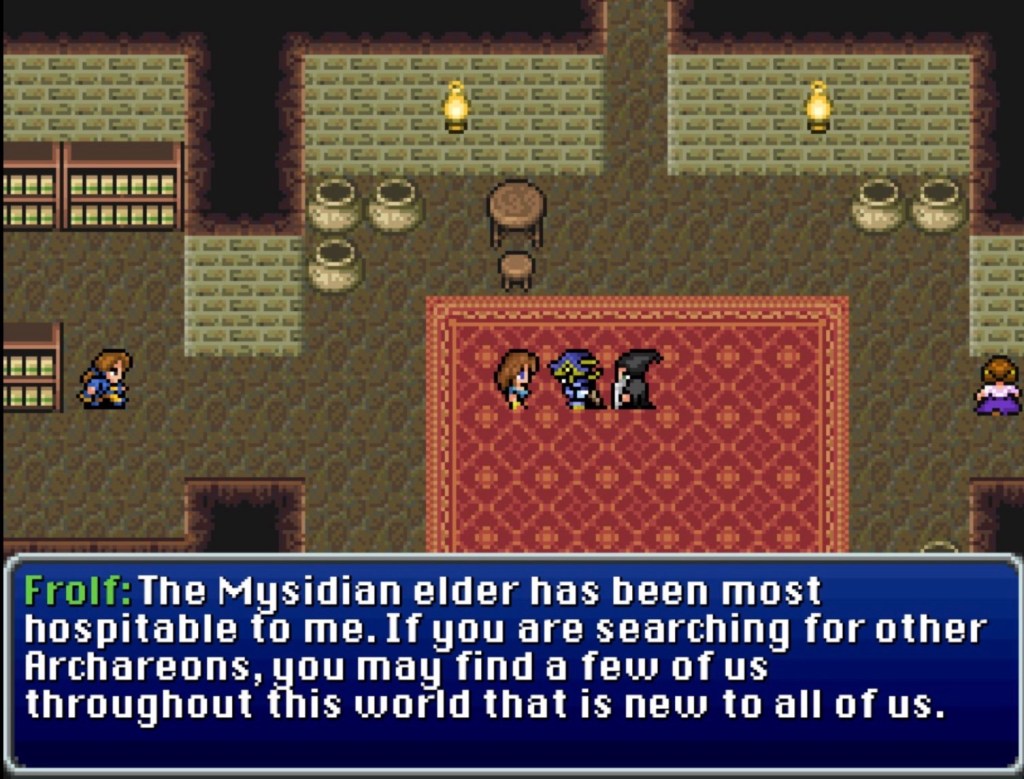
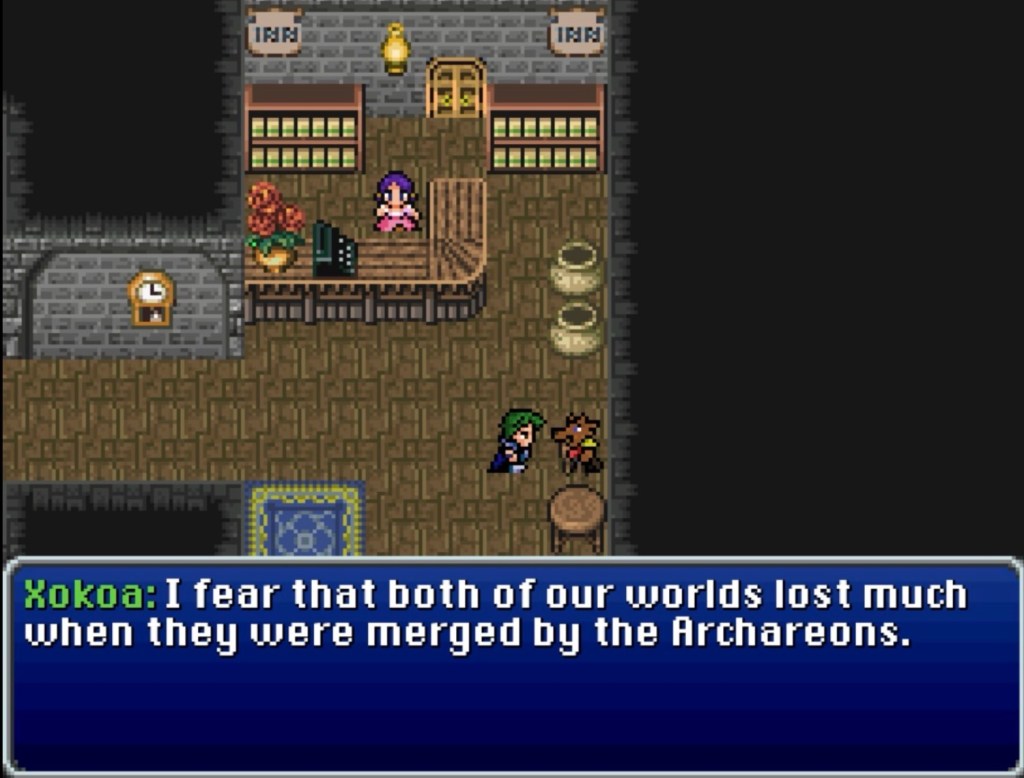
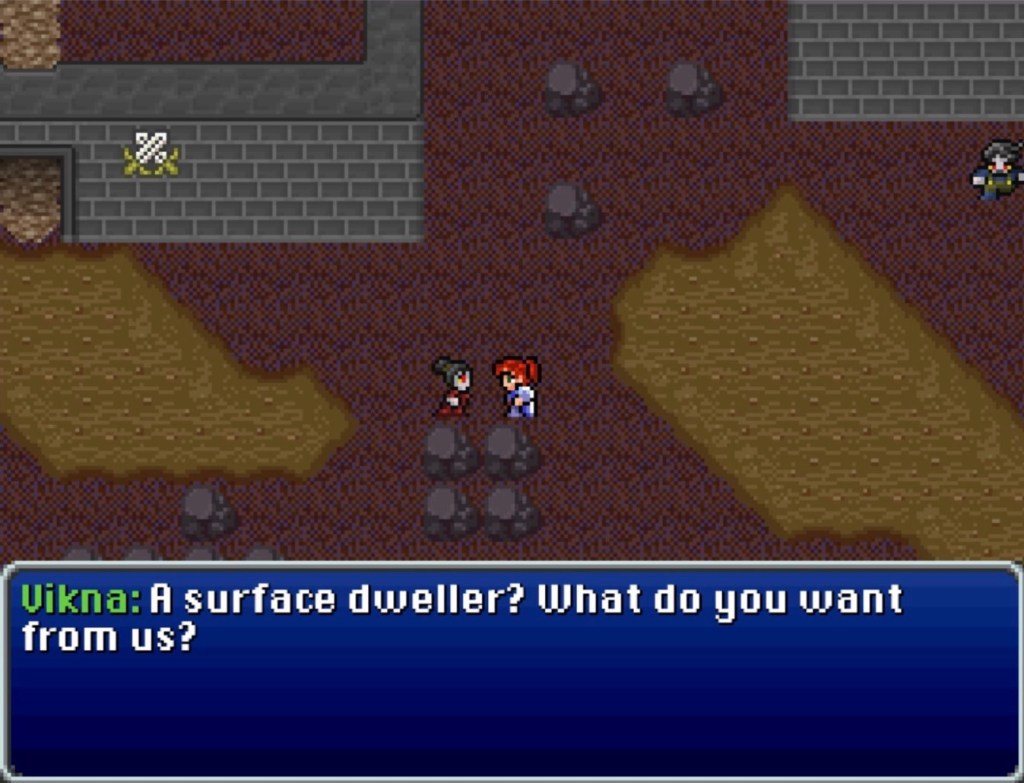
Mystic Mysidia is our last stop before Darnacles Castle which is accessible through a mountain passage called the Auslen Cave. Within, a Lupin called Koja tells us that the people of Mysidia built a gate in the passage to isolate themselves from the Auslen bandits. This is the door that the Auslen Key unlocks (one wonders if unlocking the gate was Dadaluma’s actual motive?).

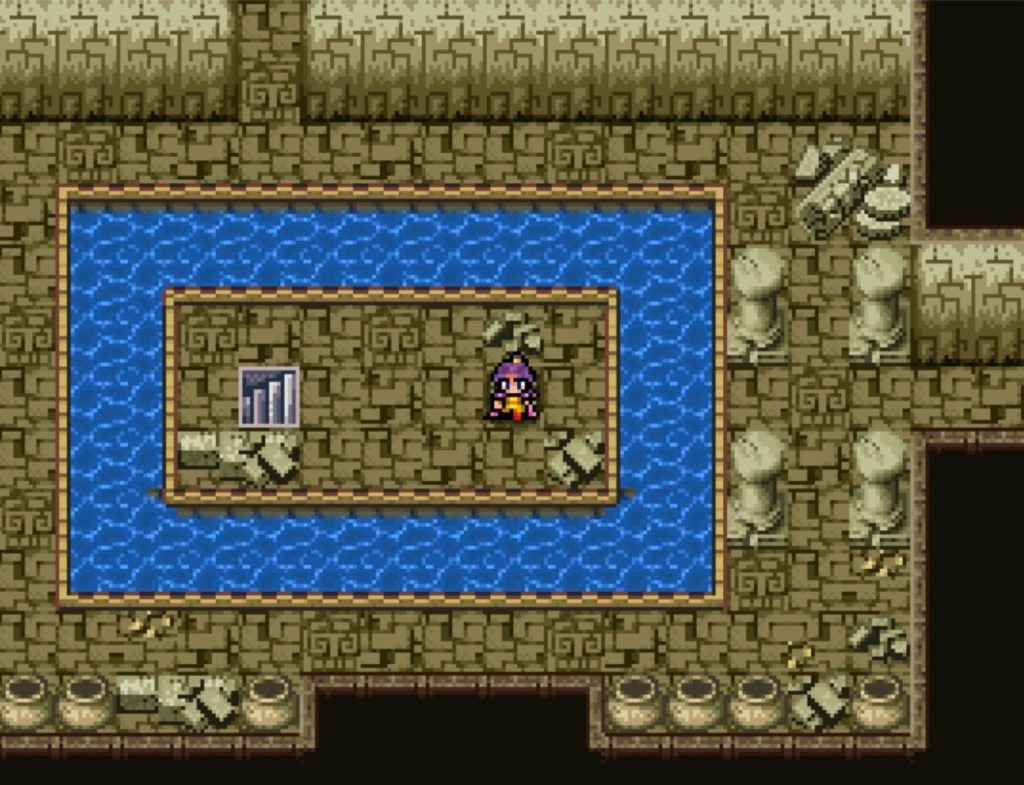
In the upper northeast of the labyrinthine treasure room beyond the door is a hidden path that leads to a Memoir Page (count rests at eight).

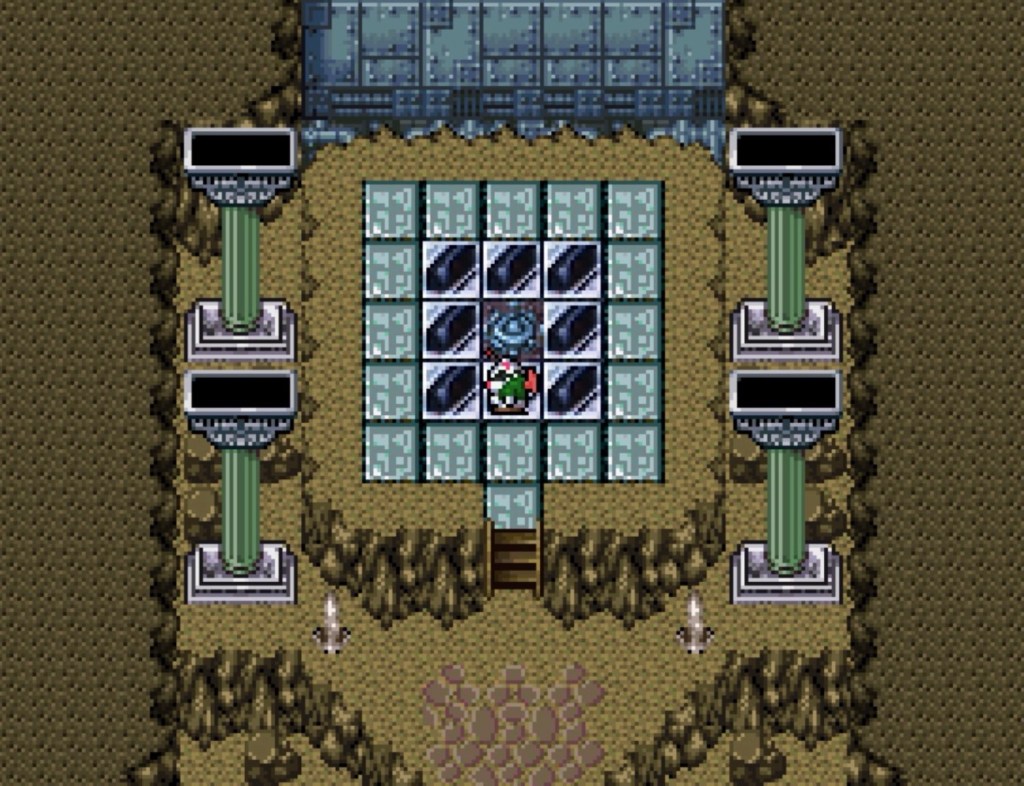
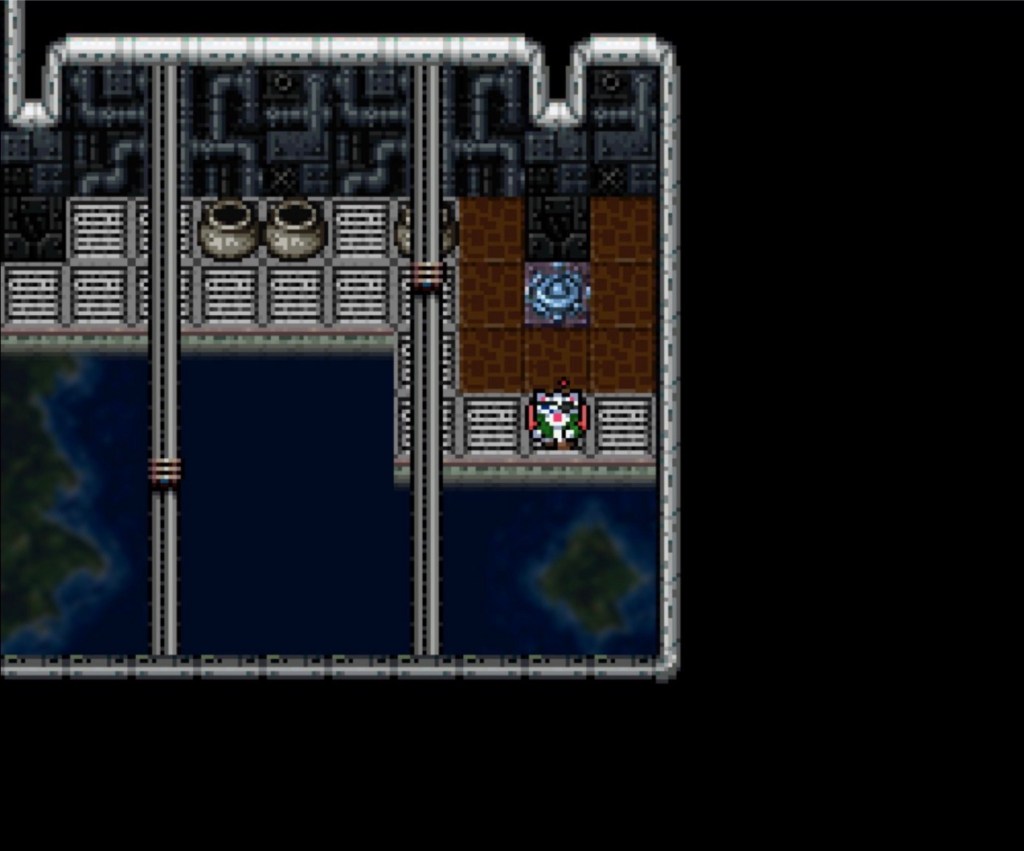
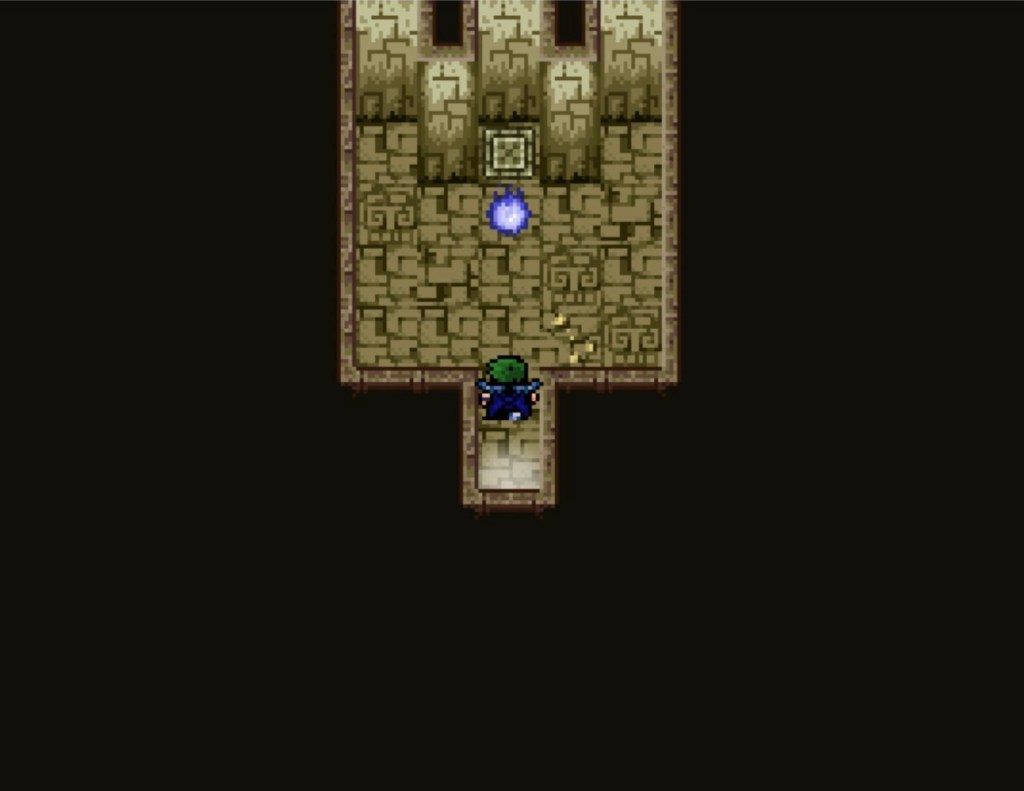
In the switch room ahead, pull the left and right levers, leave the middle one untouched and push the button to unlock the door. Luckily, this isn’t exactly a dungeon.

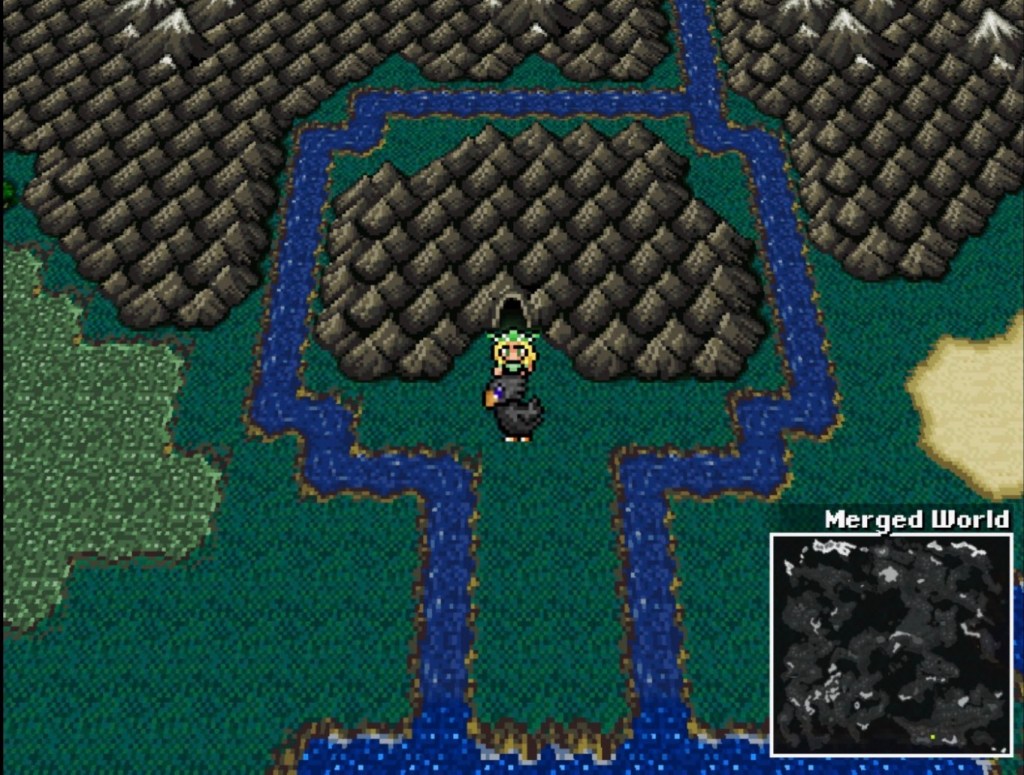
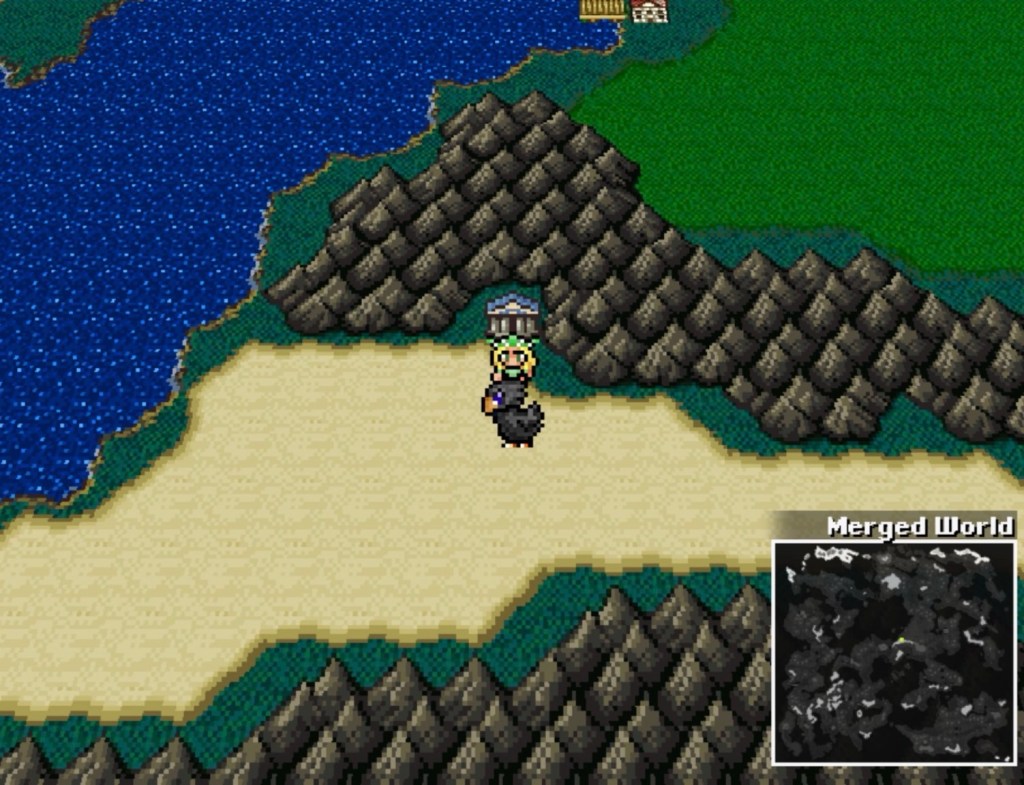
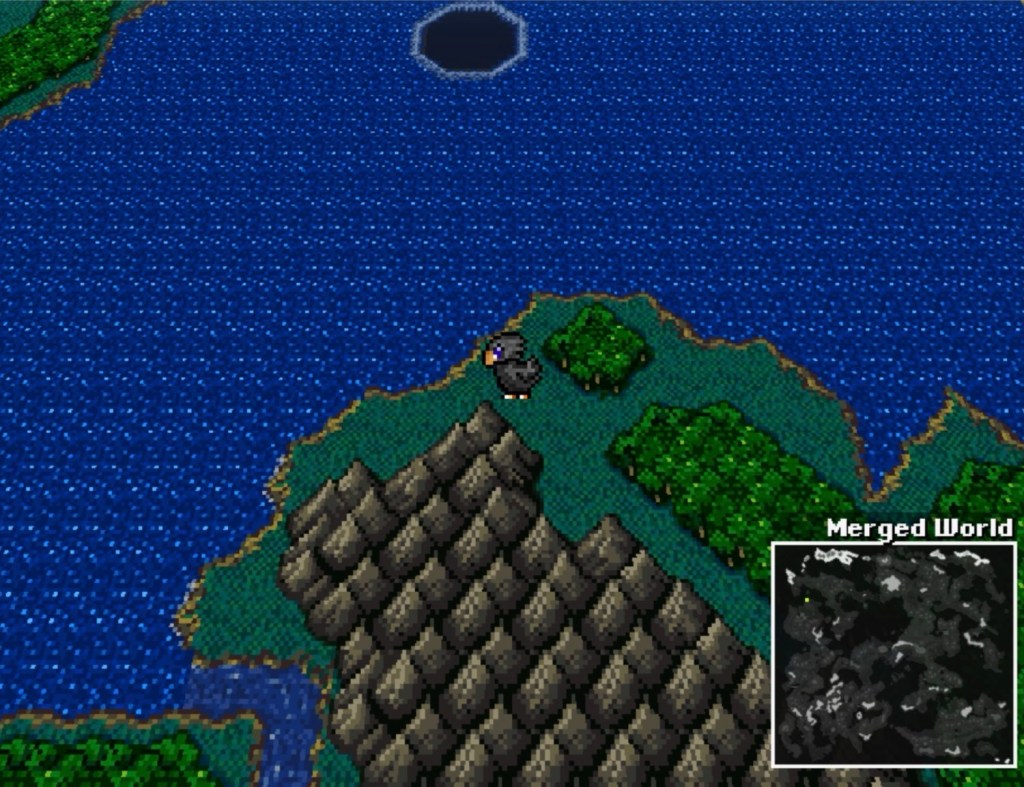
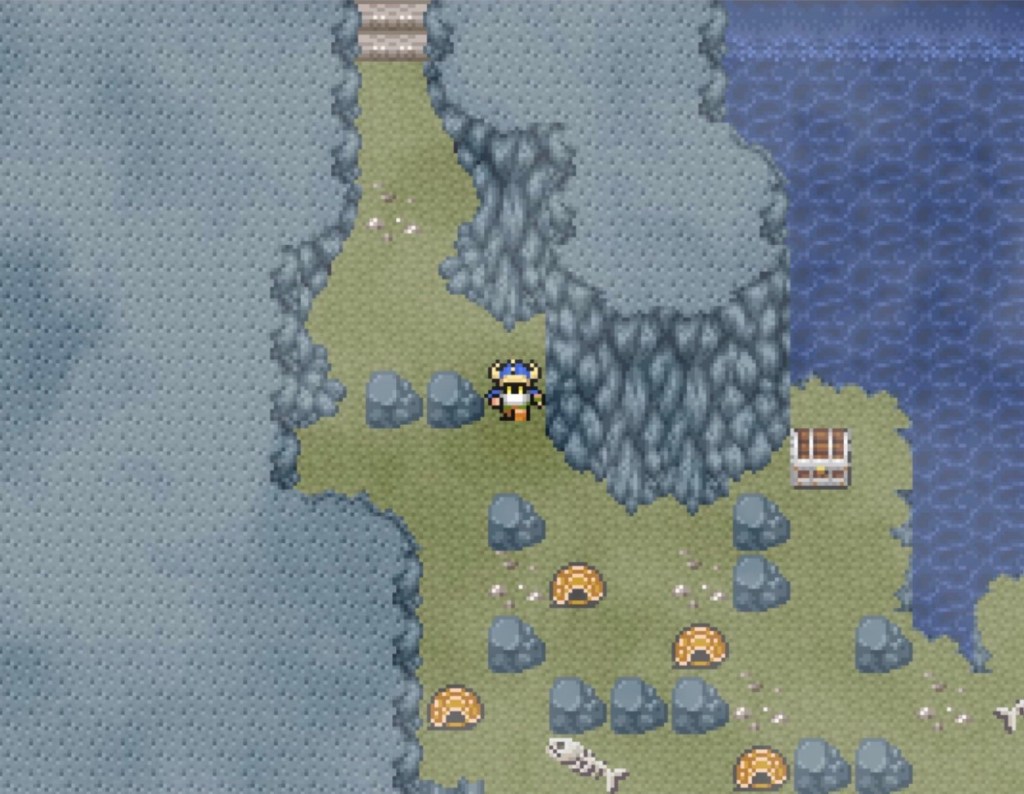
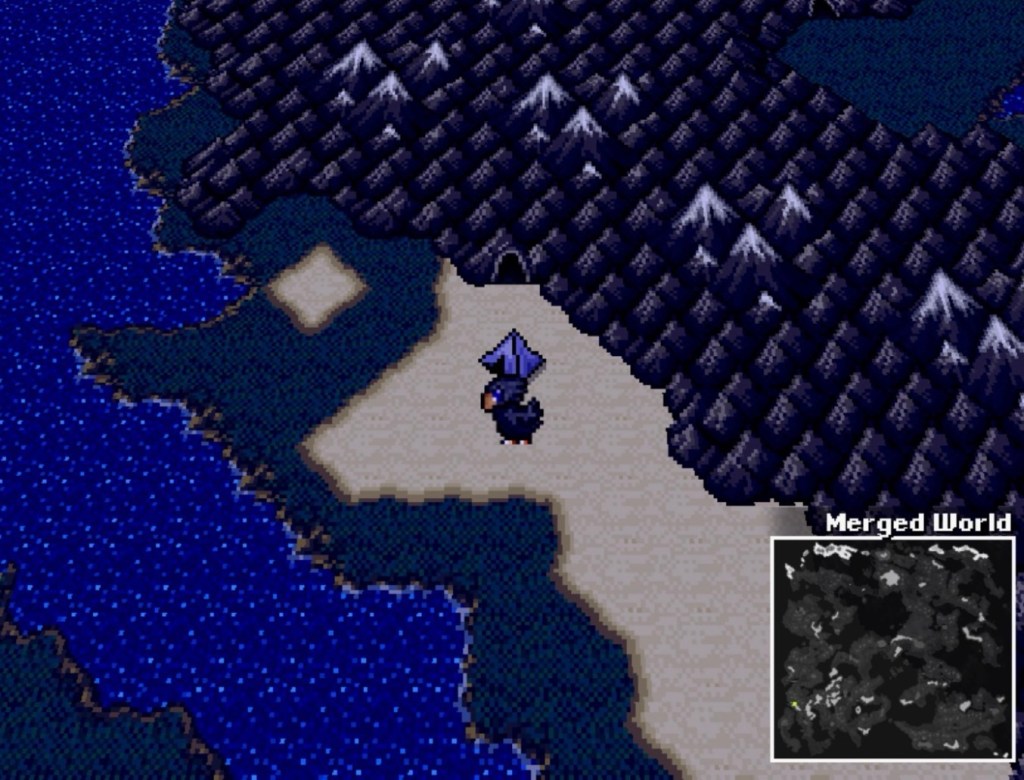
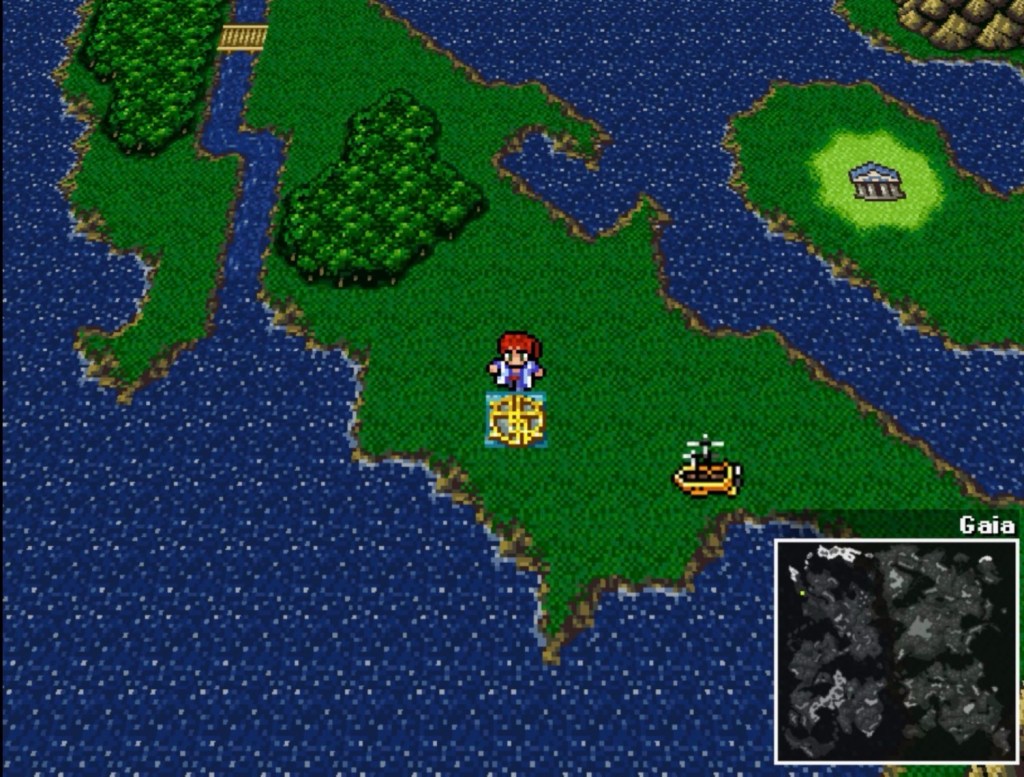
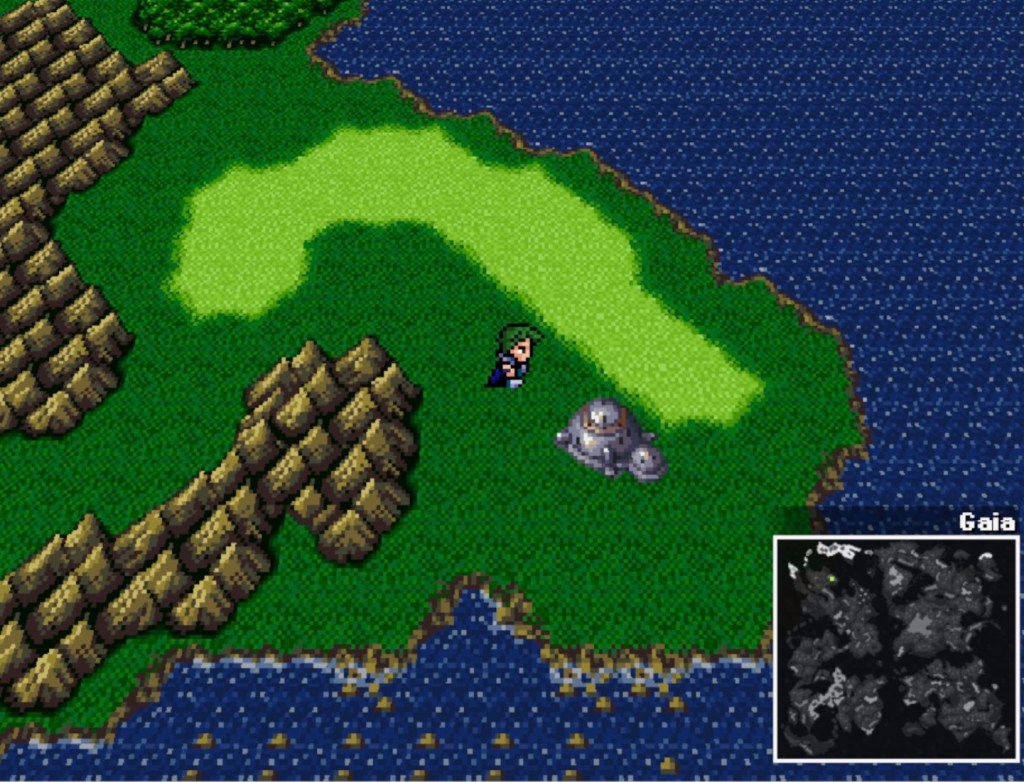
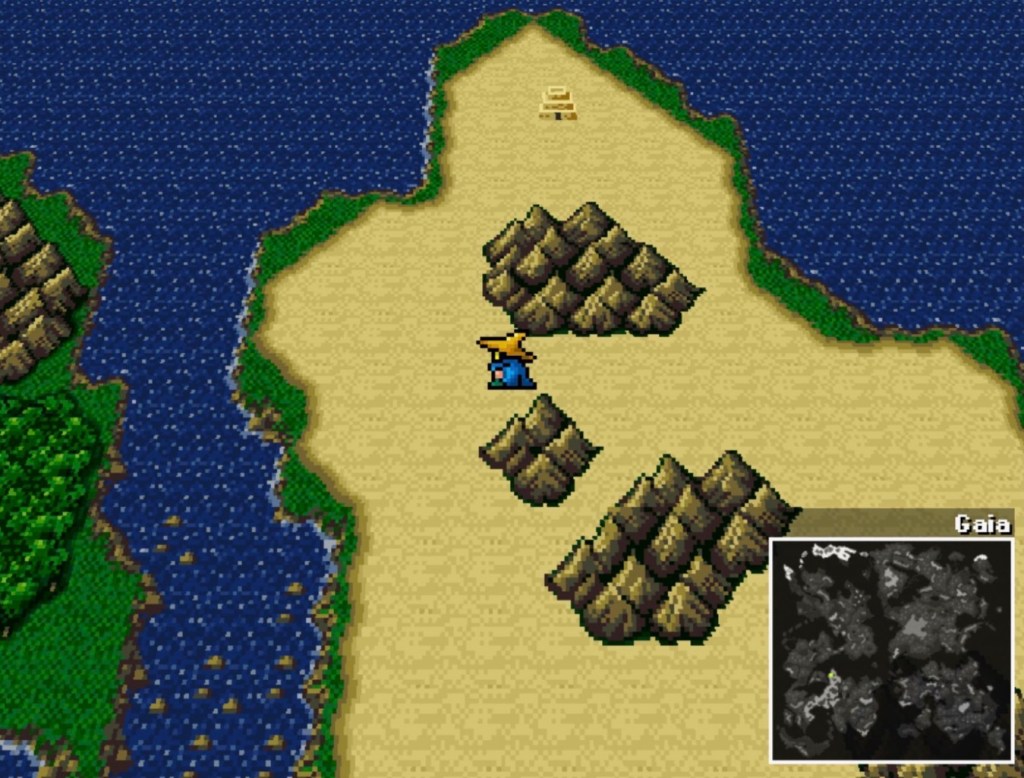
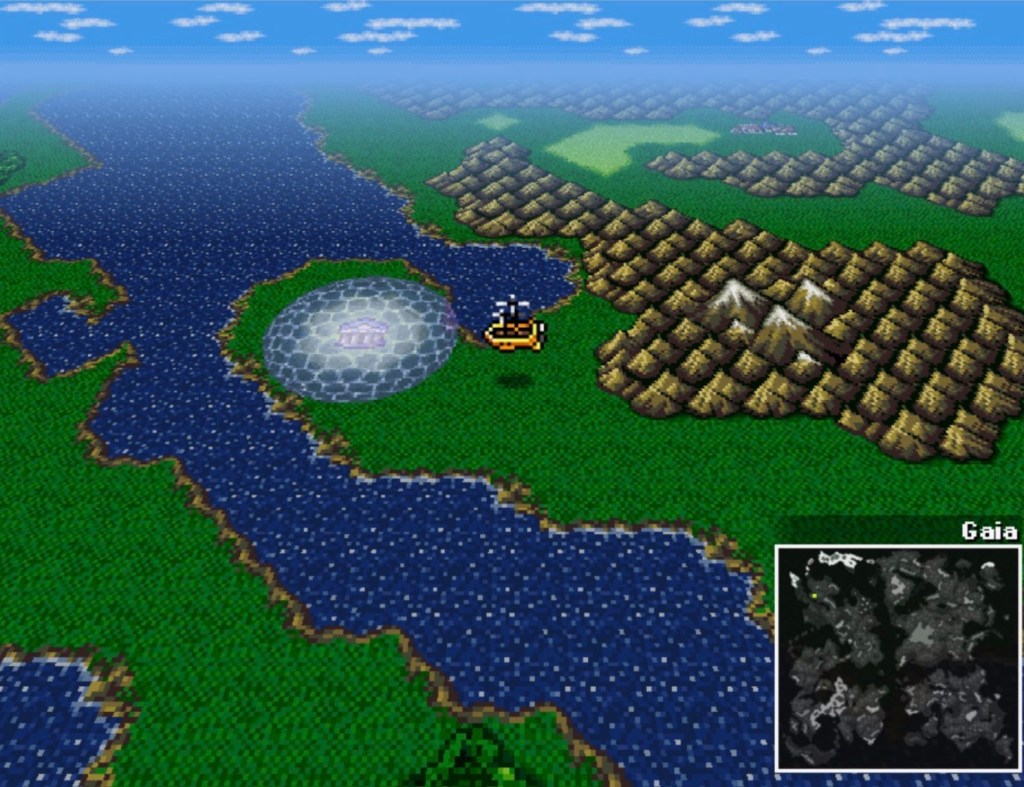
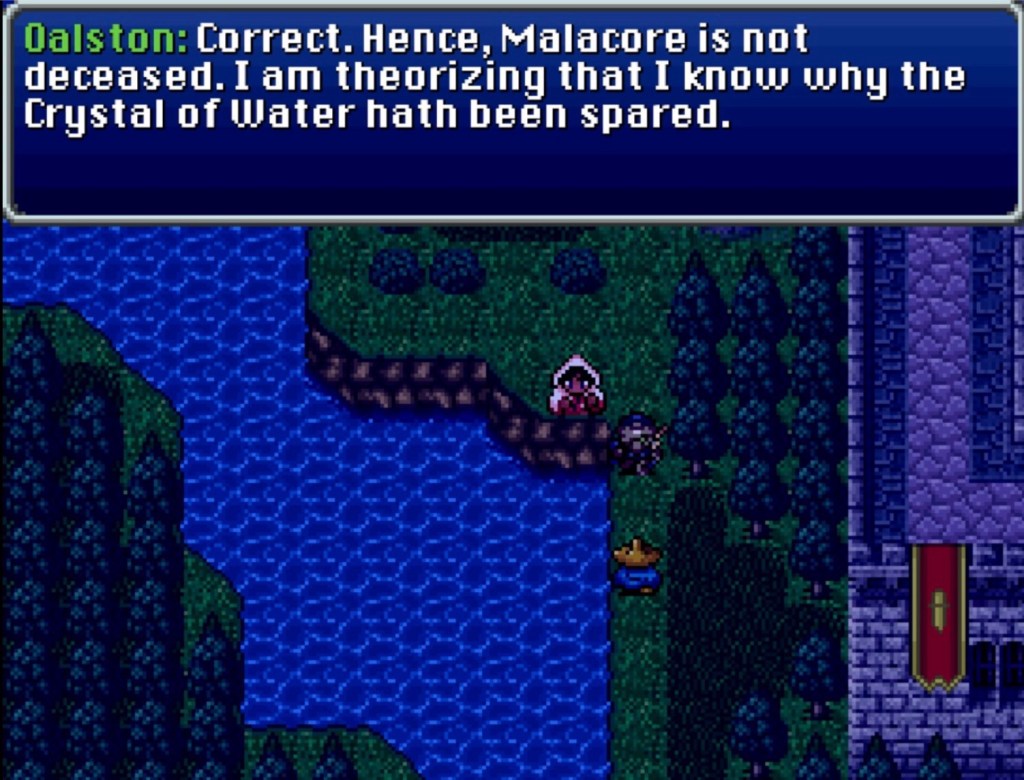
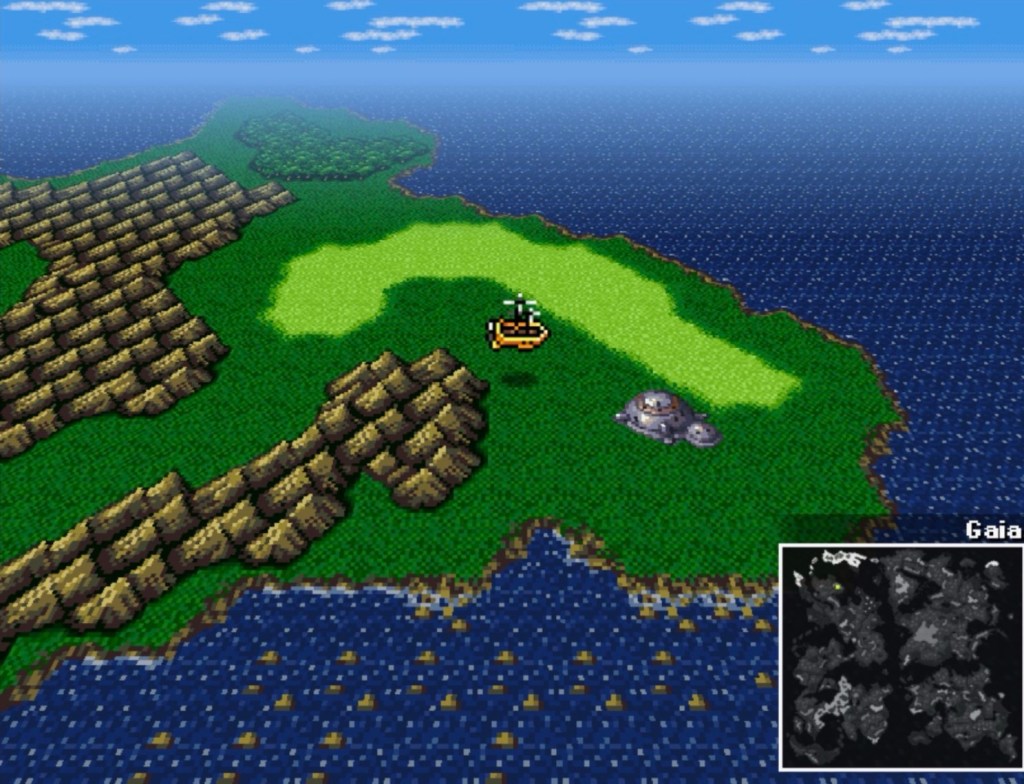
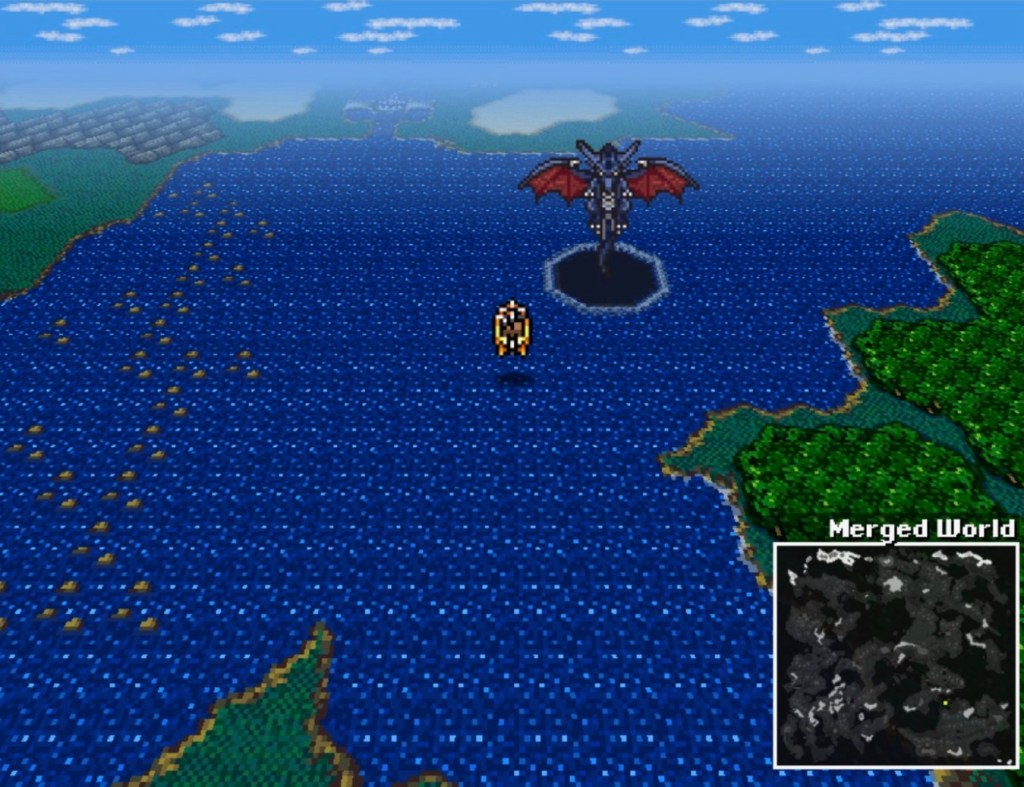
On the other side, both Mystic Mysidia and Darnacles Castle can be easily reached astride Shadow. Before Darnacles Castle, there is a river to the west. I crossed with Shadow and found a cave called the Cleft of Wind with its entrance sealed with what looks like a Mysidian glyph barrier from earlier in the game. You know, those things that Elina was unlocking when she first joined the party.

Turns out that’s not the case but we’ll be back here eventually.

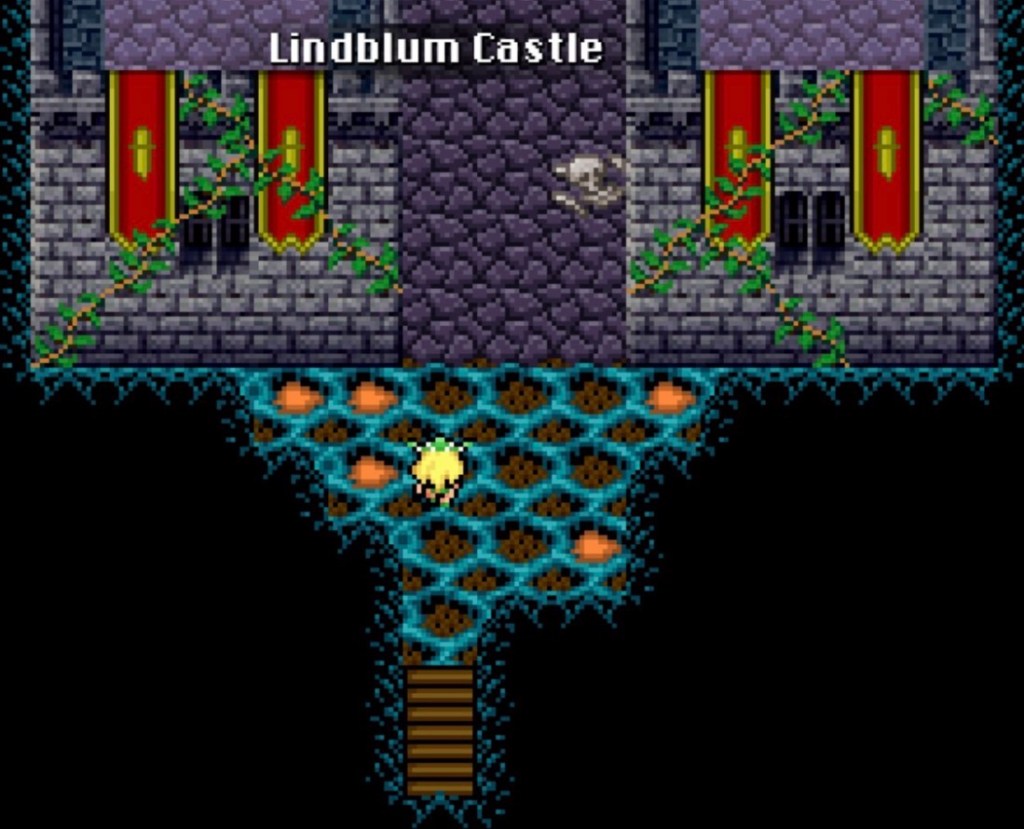
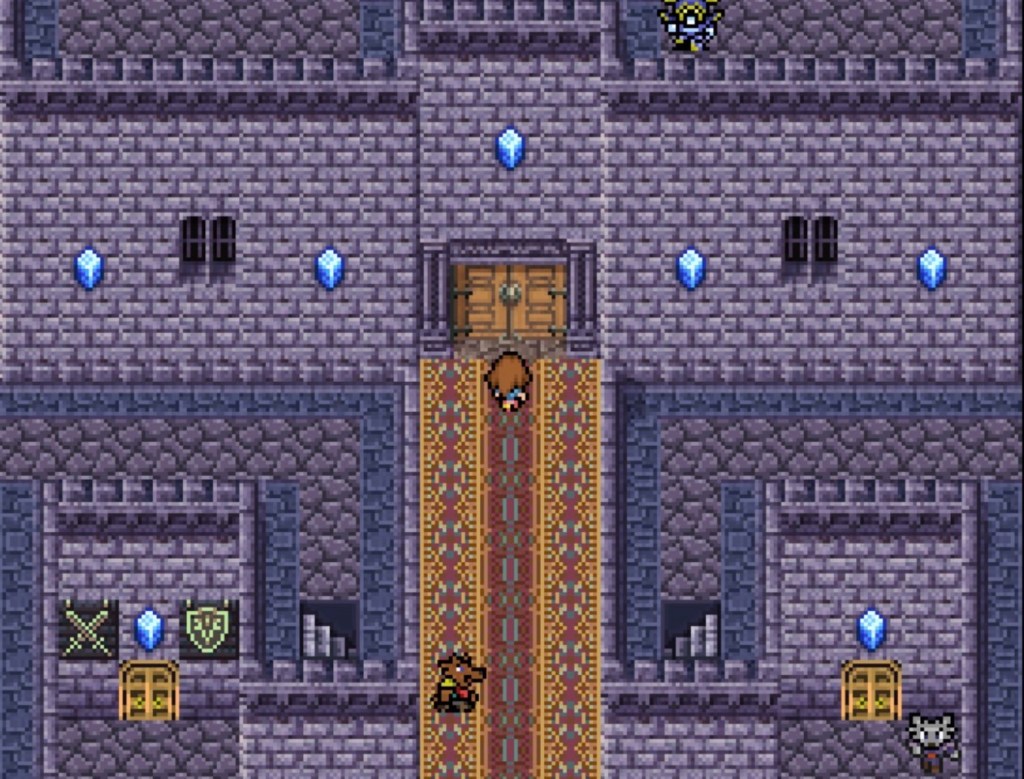
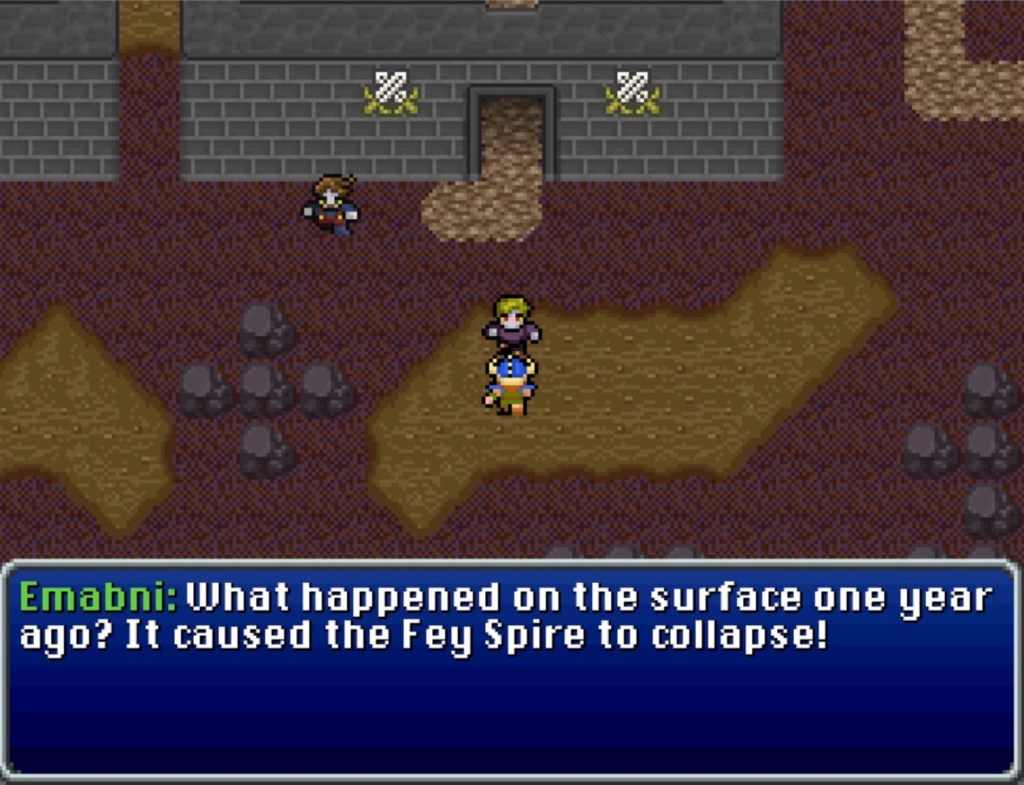
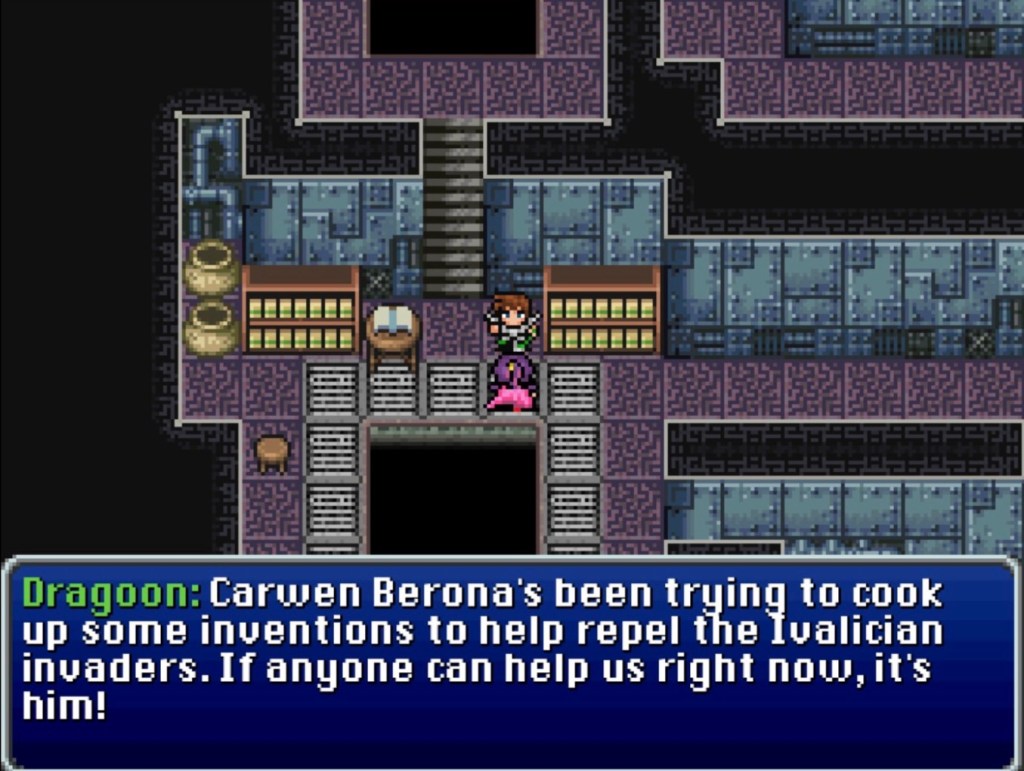
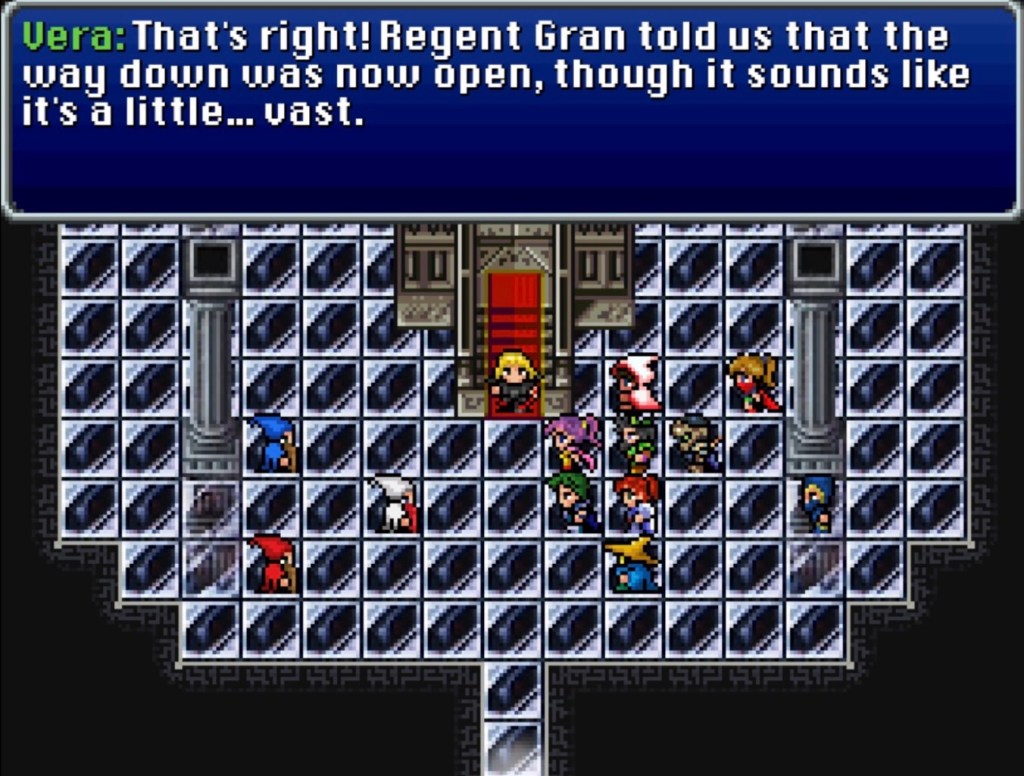
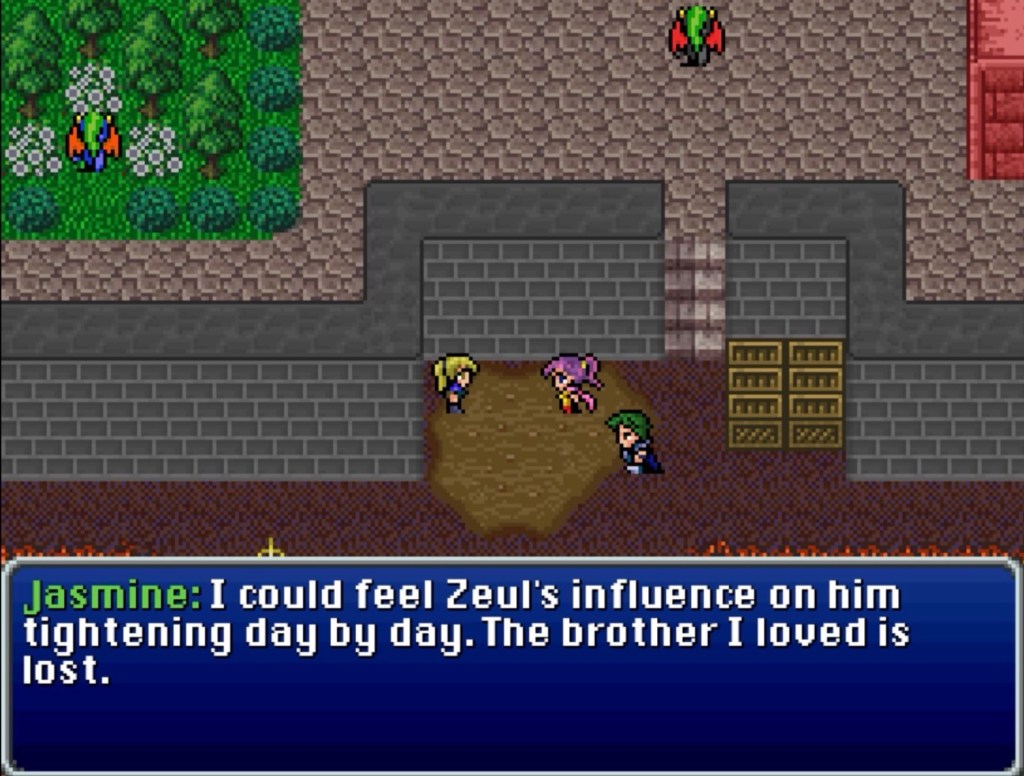
Unbeknownst to us…we are, in fact, in the Merged World’s version of Branch. There are also a number of dragoons, who joined the fighting forces of Darnacles Castle since it became the major power center in the area in the last year. Unlike Auslen, Darnacles Castle was once surrounded by forest and is now in the middle of a desert. Astov, in the stock room, sells Shards for tens of thousands of gil. He also sells Turbo Ethers and Hyper Ethers at the usual shop prices but no basic Ethers.

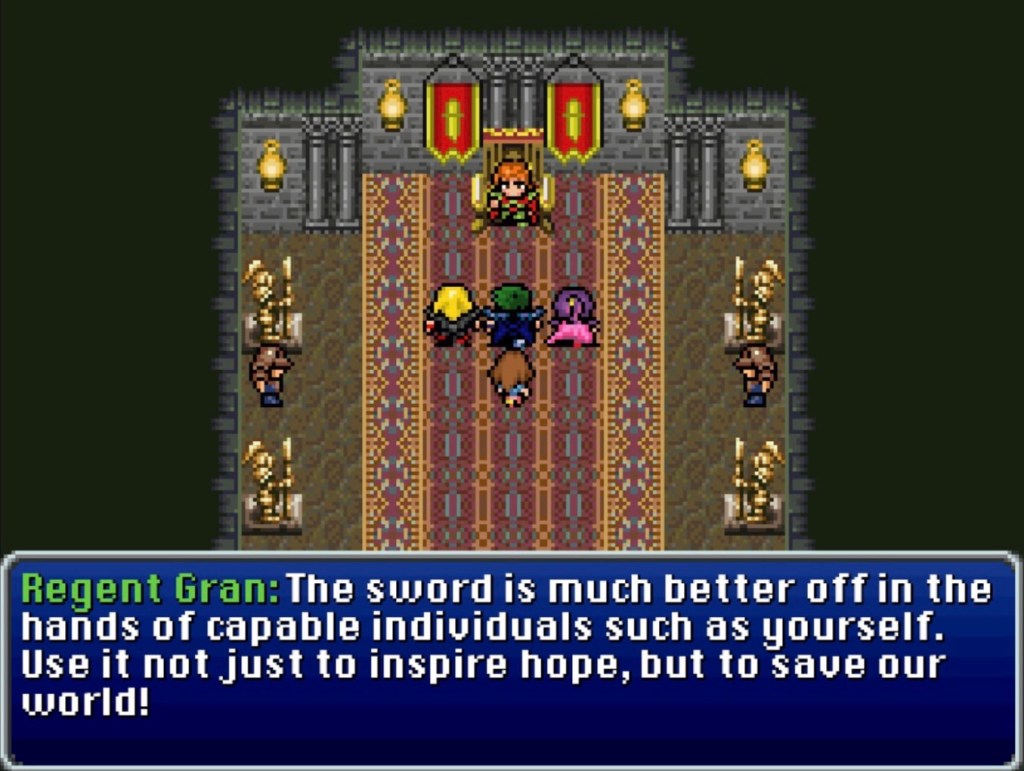
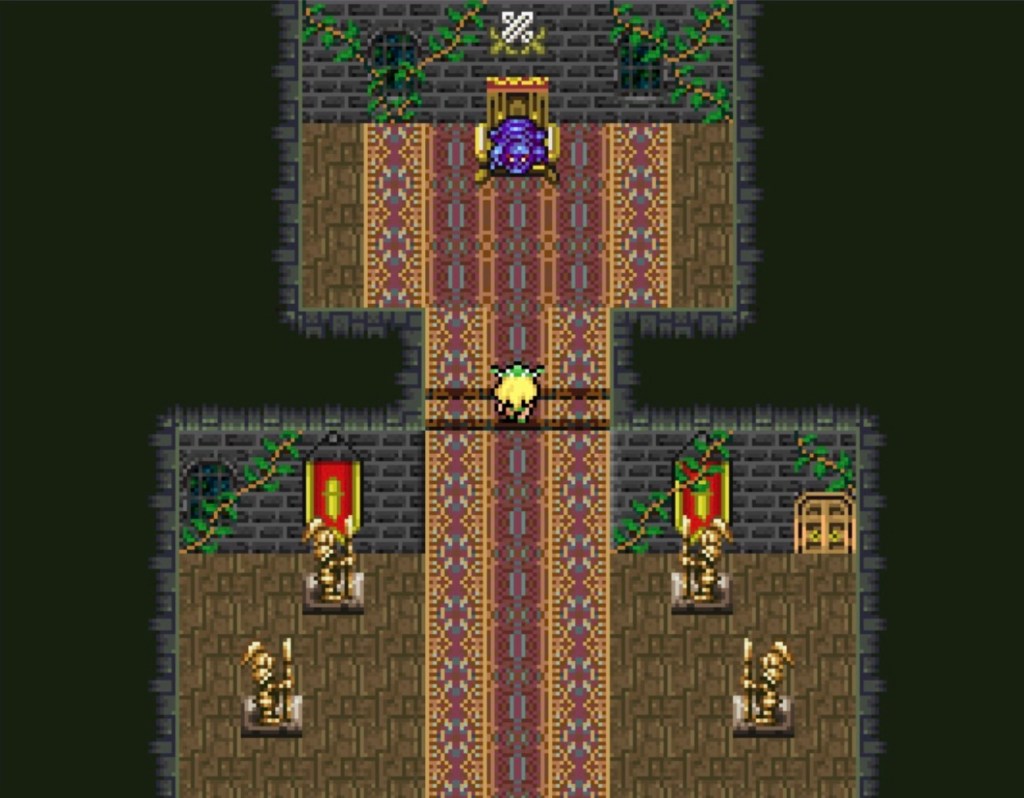
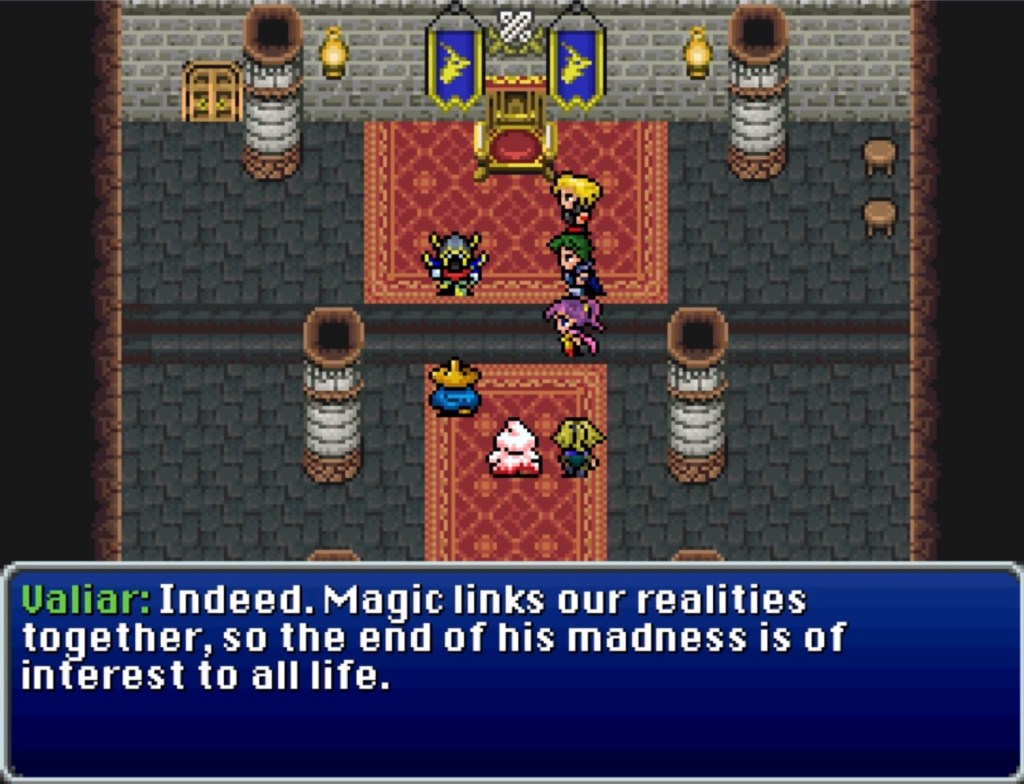
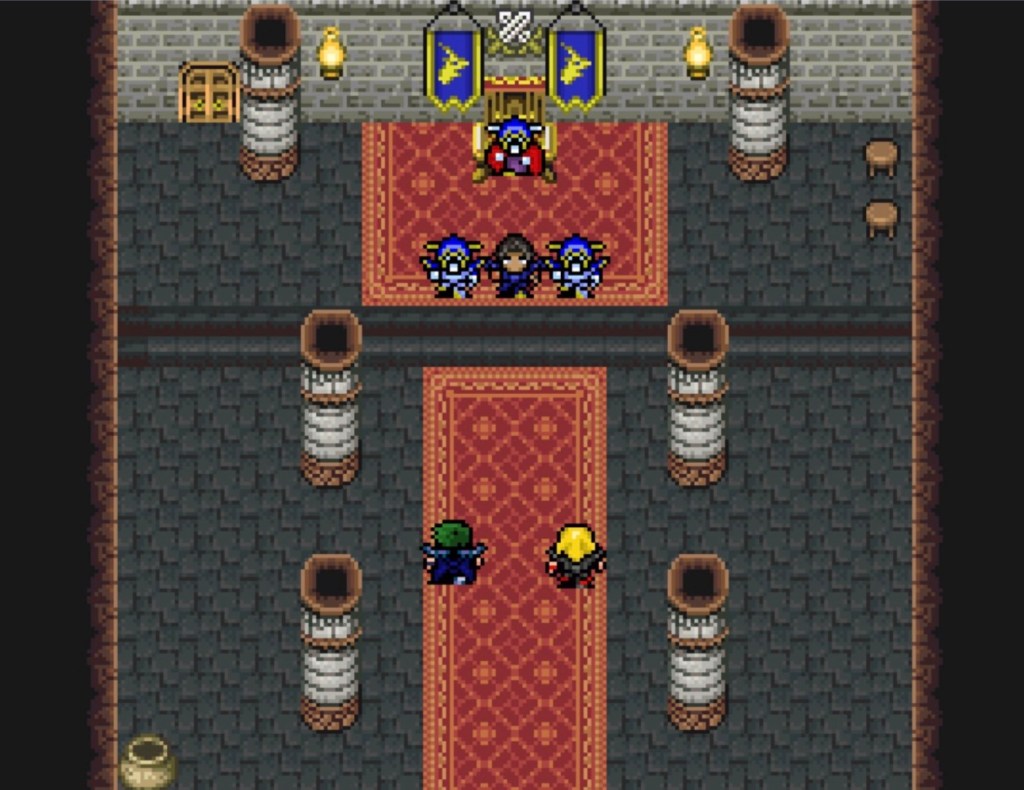
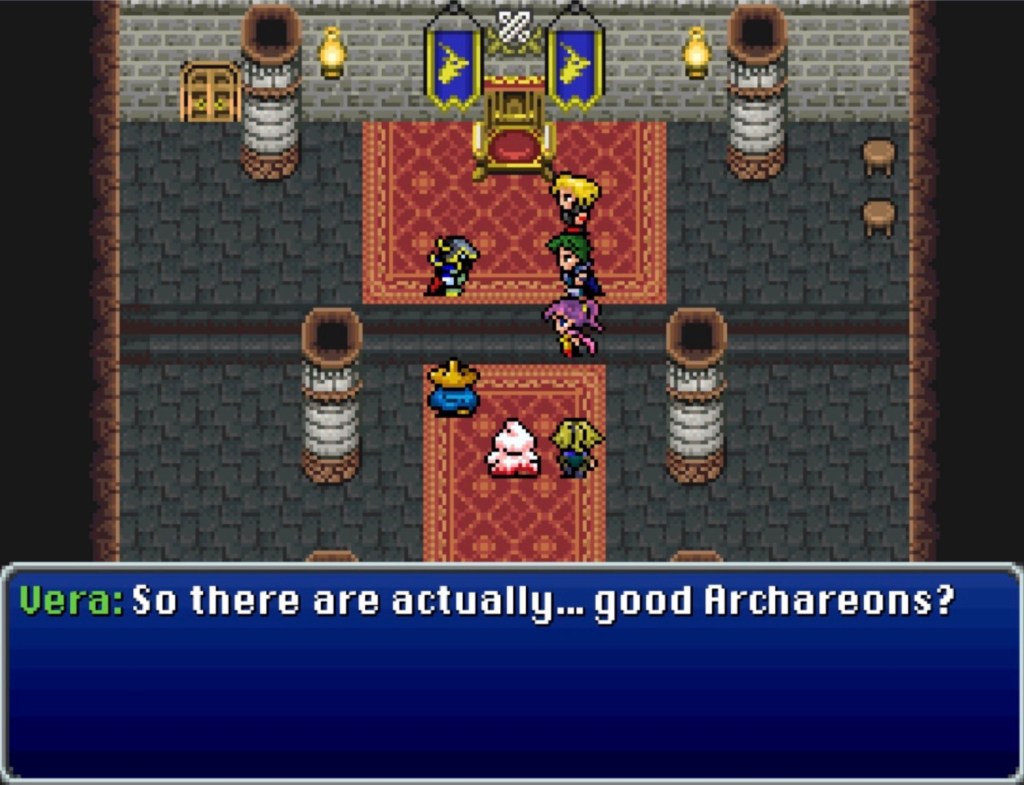
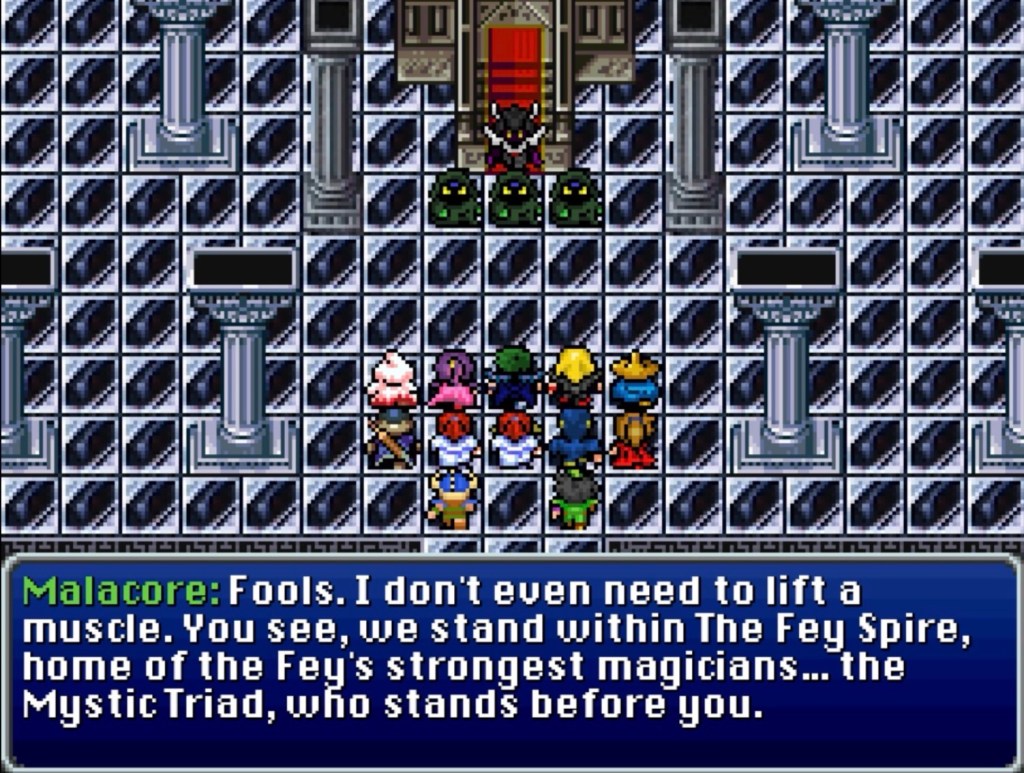
In the throne room, we catch King Vale up on everything we’ve been through. He seems to know who Malacore is but only by reputation. King Vale himself cannot help us but he knows someone who can: Godot, from the Rift Shrine.

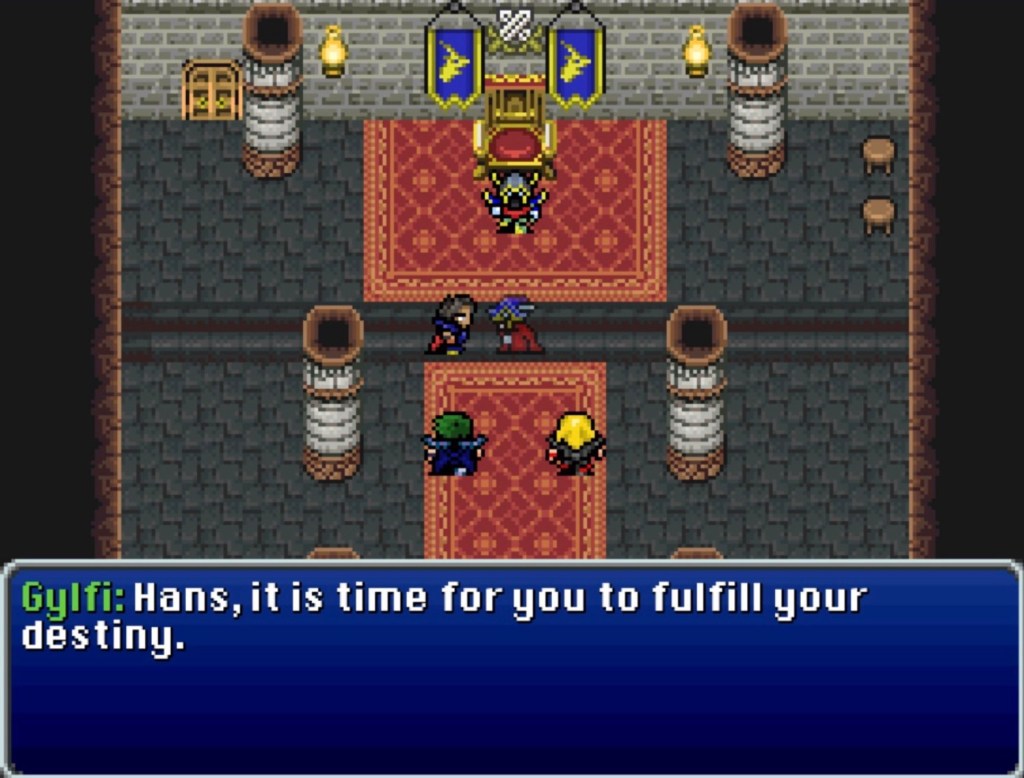
When the Archareons combined their energy to seal off the Shrine of Water, they tapped into their own collective energy which also tapped into a wellspring shared between worlds. From Gaia, tapping into this shared energy field has the effect of tapping into the “world’s” energy itself, which had unforeseen consequences. The Rift Shrine was engulfed in magic which attracted the attention of Gylfi-Hans.

Godot panicked and did what he could: use the last of his Esper World magic to move the Rift Shrine close to Darnacles Castle’s new location. The Rift Shrine moved before anything else, you see: it was originally right next to Darnacles Castle in the Esper World, where it was protected. This, however, was too little too late: Gylfi-Hans knew where to find the Rift Shrine and had brought followers.

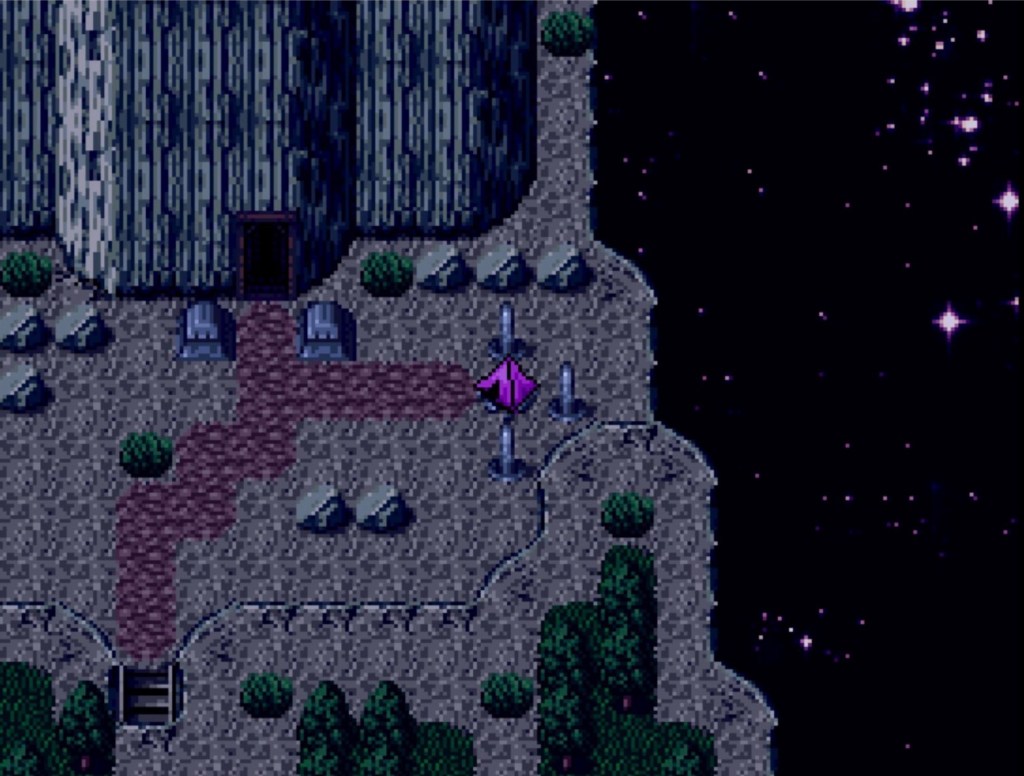
When we first encountered the Rift Shrine at the beginning of the game, either Ramah or Godot said something that made me wonder about its true nature. In both human and Esper worlds, it is a place one can go to but also partakes of external dimensional space, as though it were a three-dimensional expression of something else.

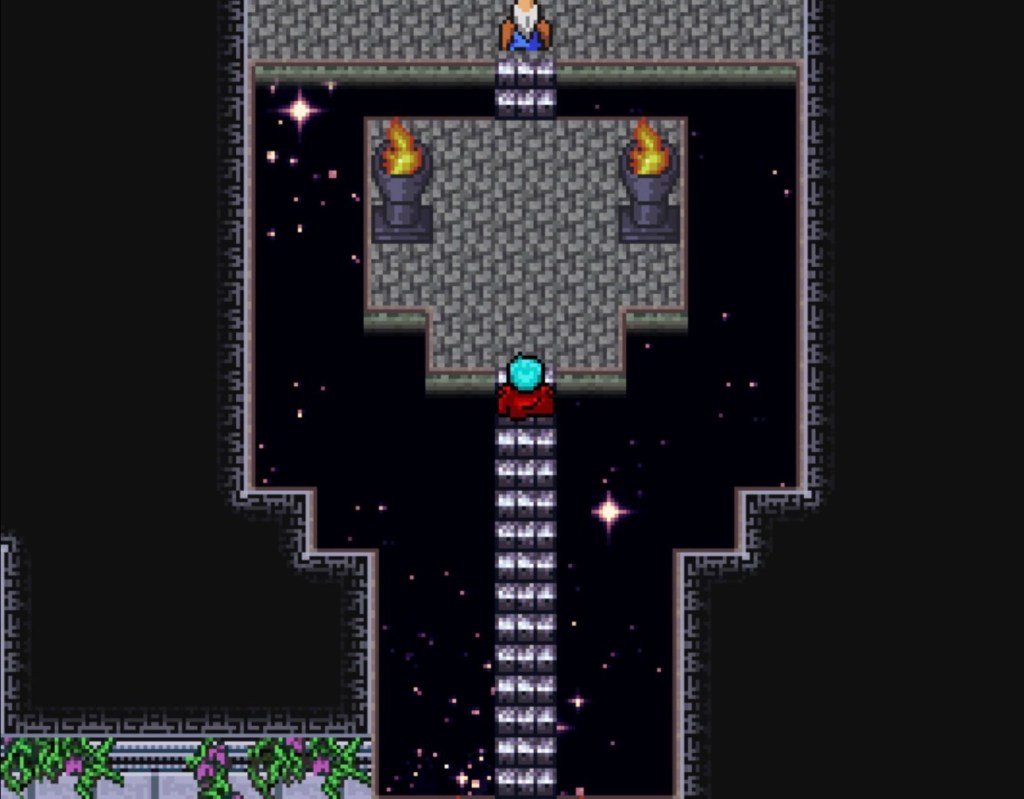
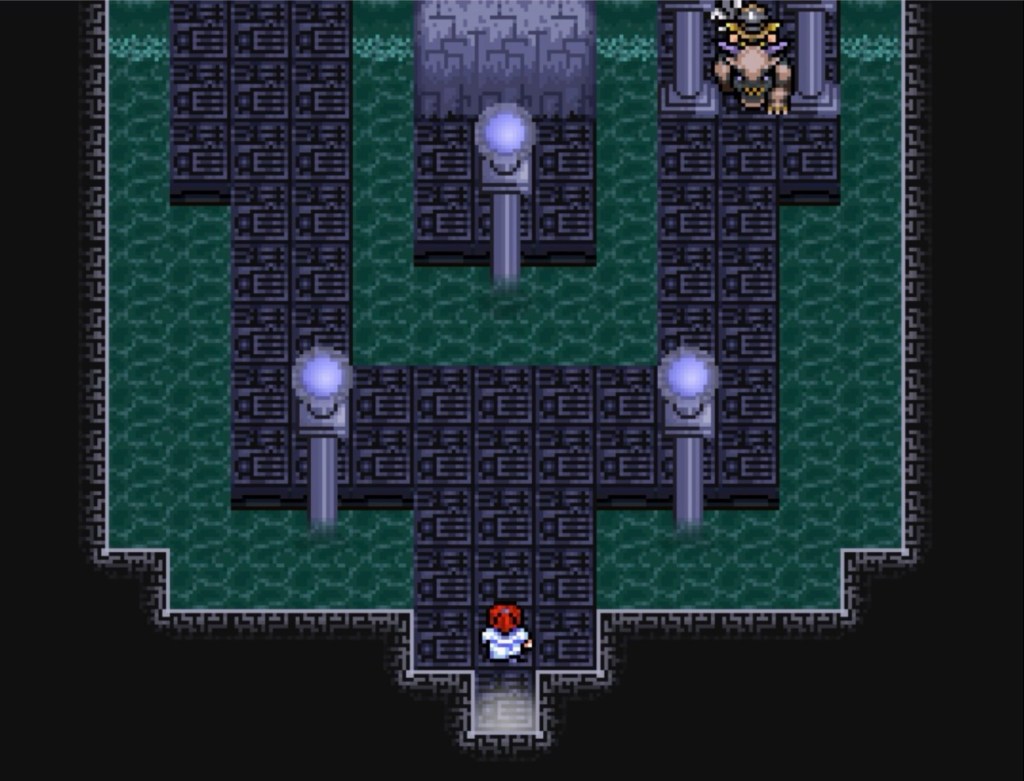
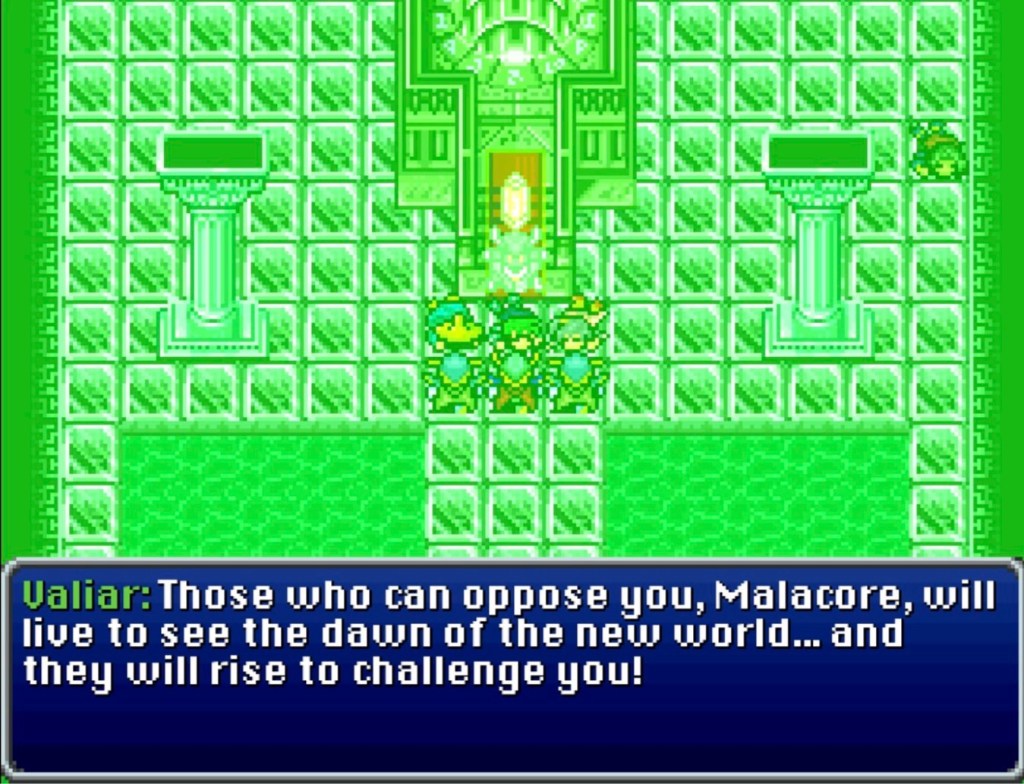
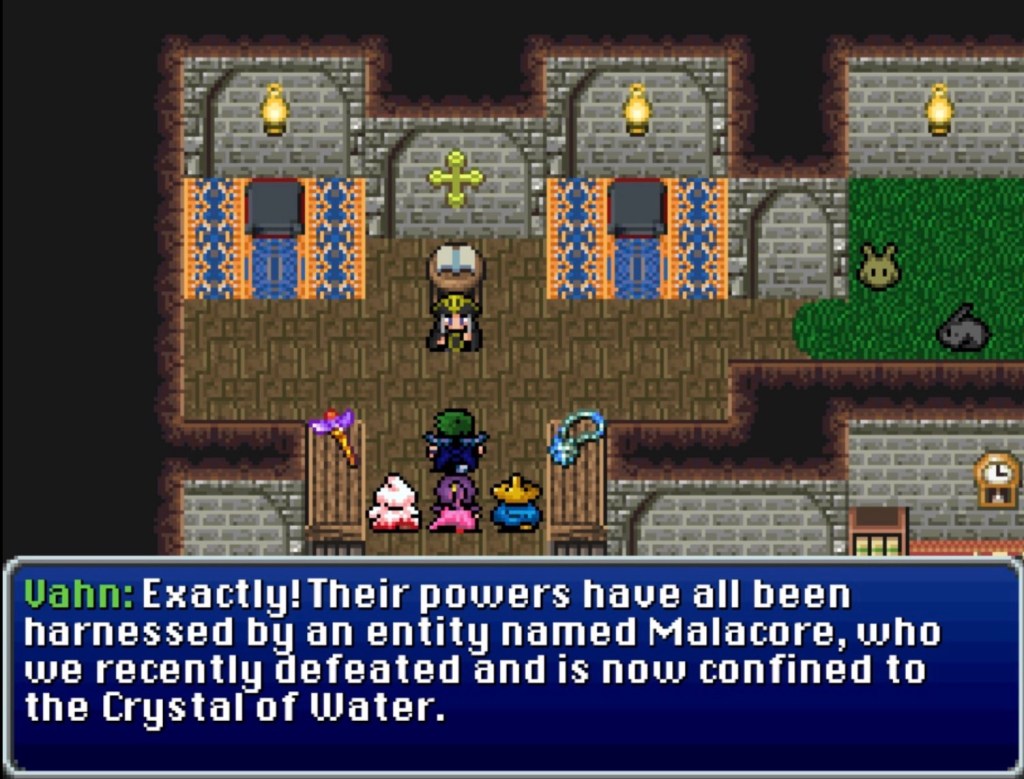
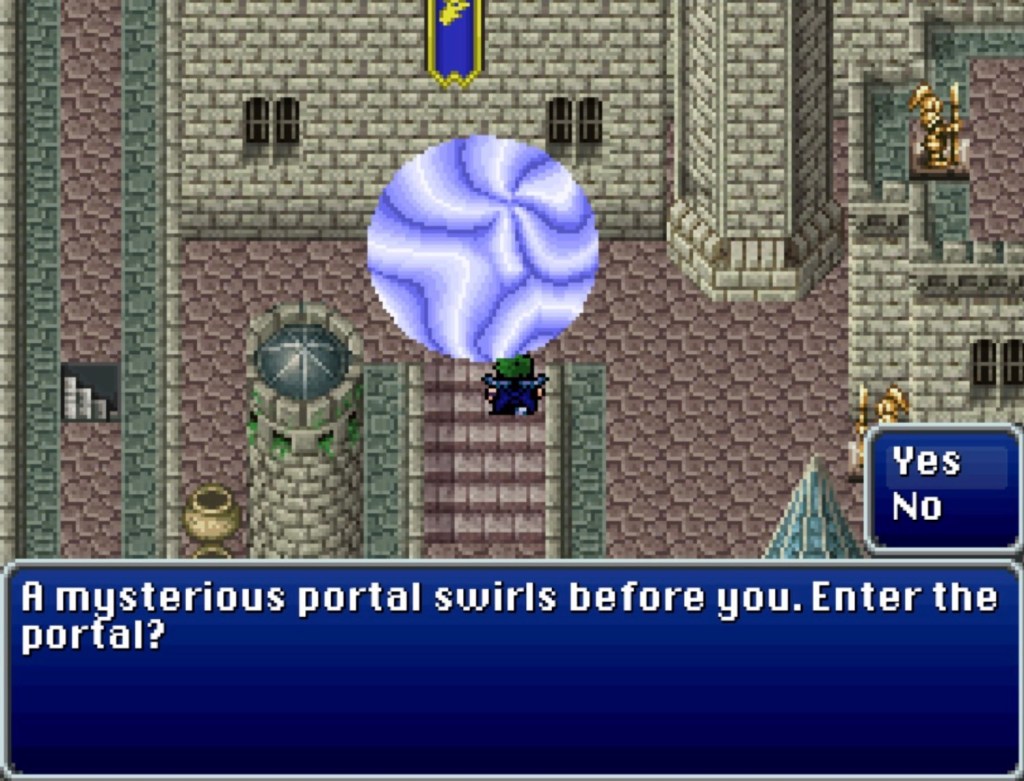
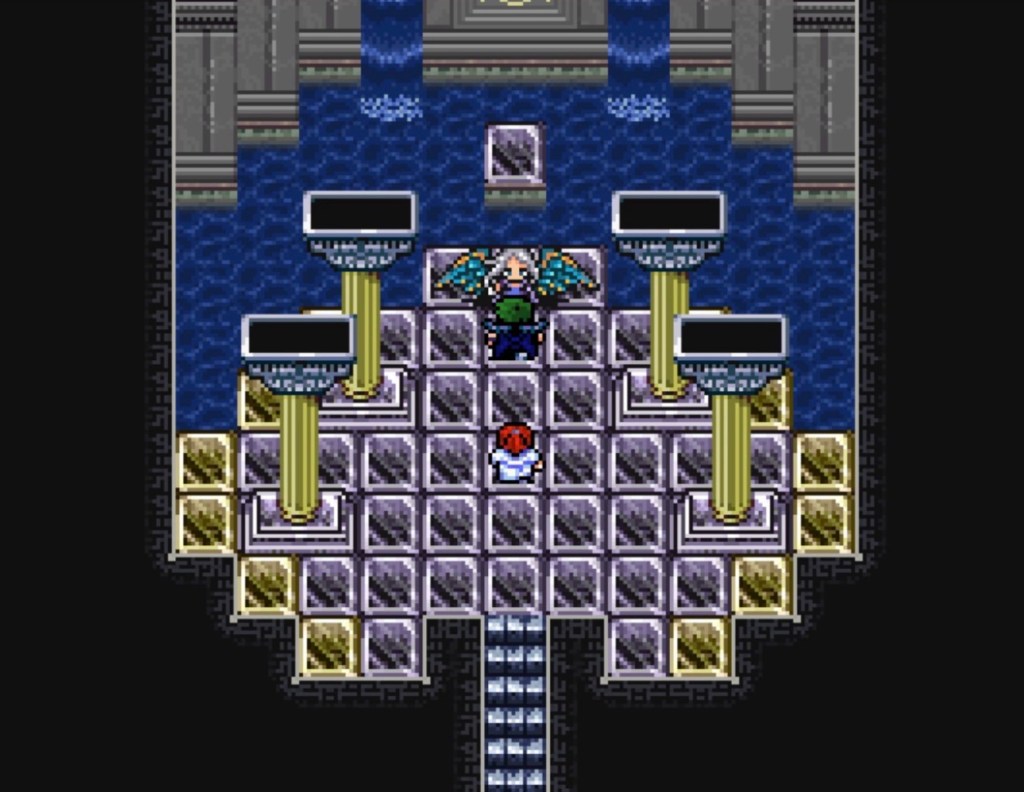
Gylfi-Hans and his followers have entrenched themselves in previously unexplored depths within the Rift Shrine and have taken control of it. They are, effectively, in charge of a dimensional gateway now. Since Valiar was the Archareon enforcer who channeled the wider exertion of power on Gaia, he was present for Gylfi-Hans to capture and is now being held in the bowels of the Rift Shrine, in a place called the Etherdepths. Godot and the troops of Darnacles Castle have been repeatedly trying to free Valiar since Godot moved the Rift Shrine over.

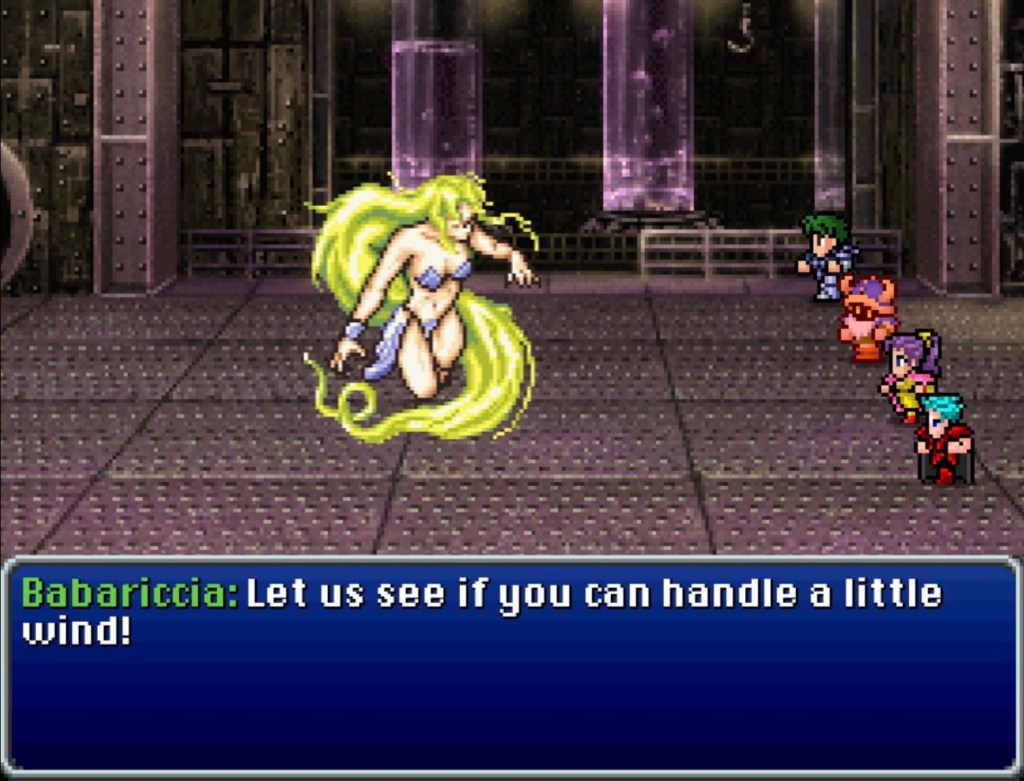
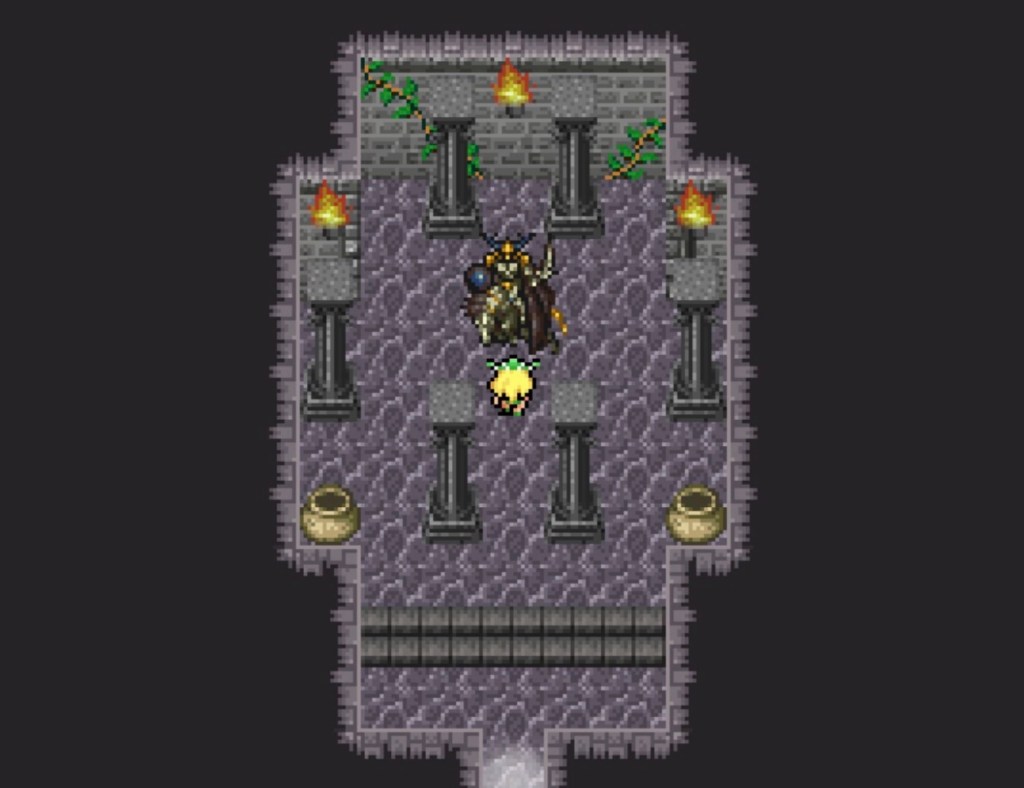
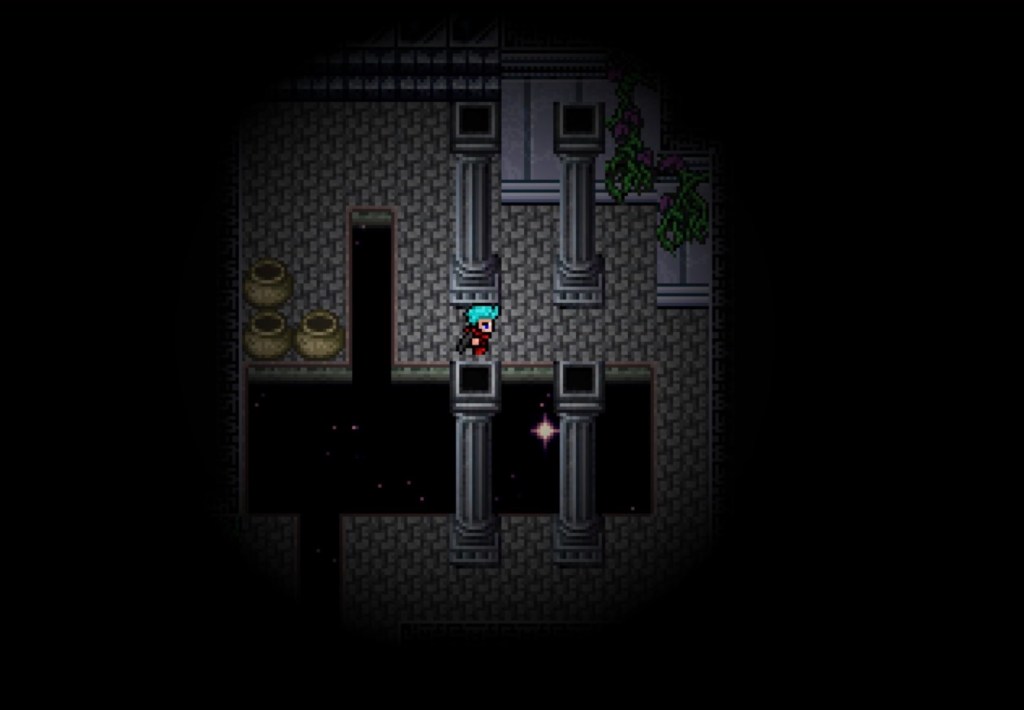
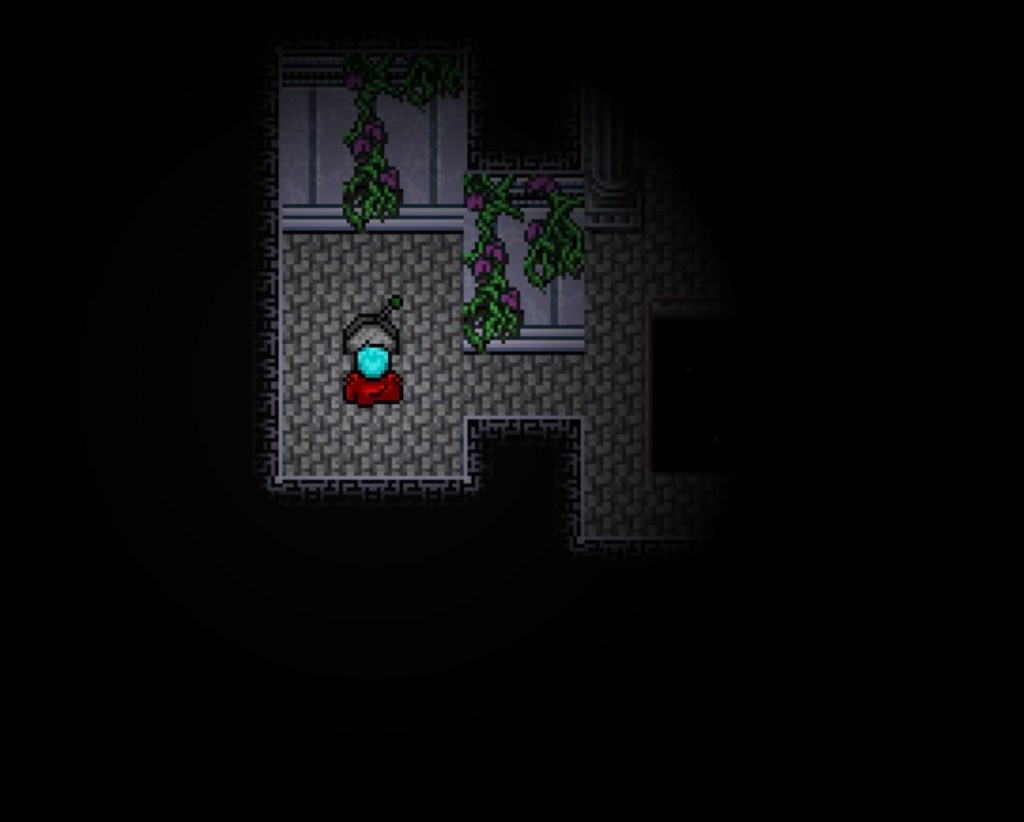
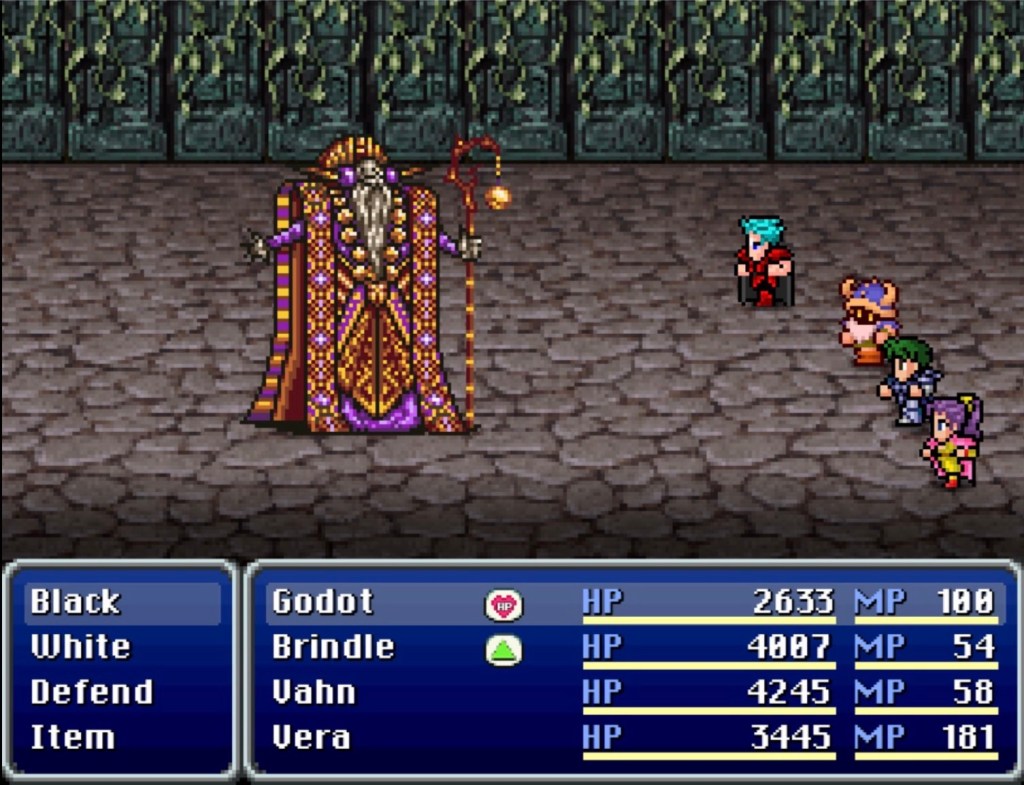
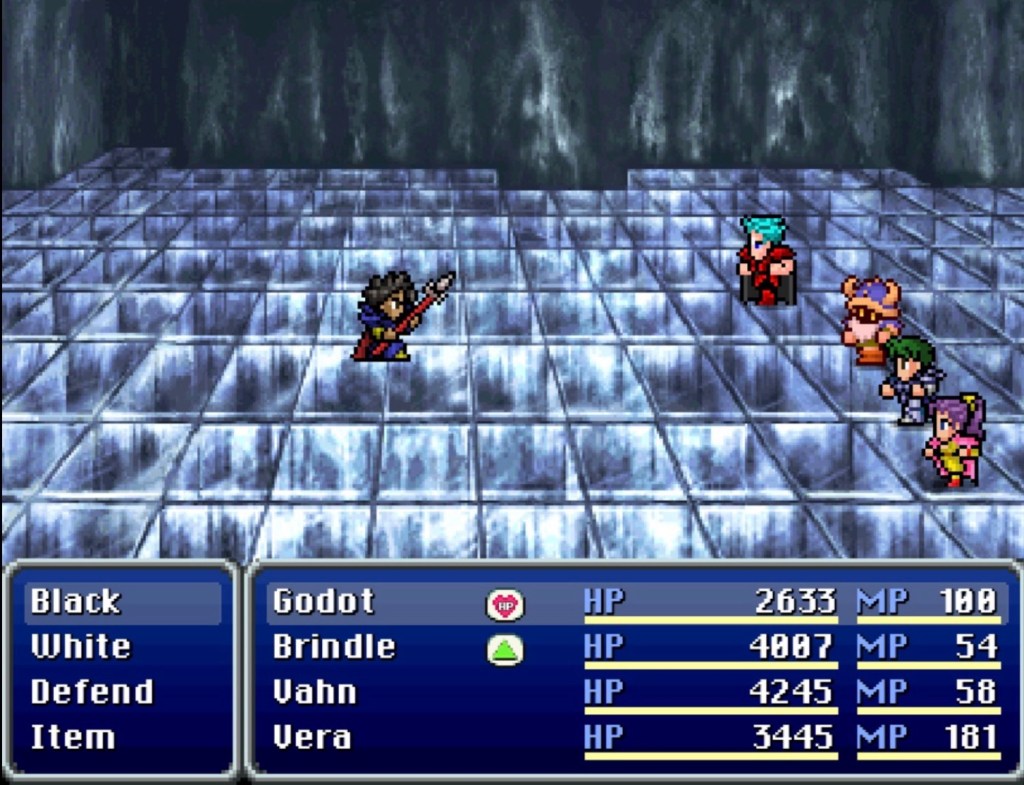
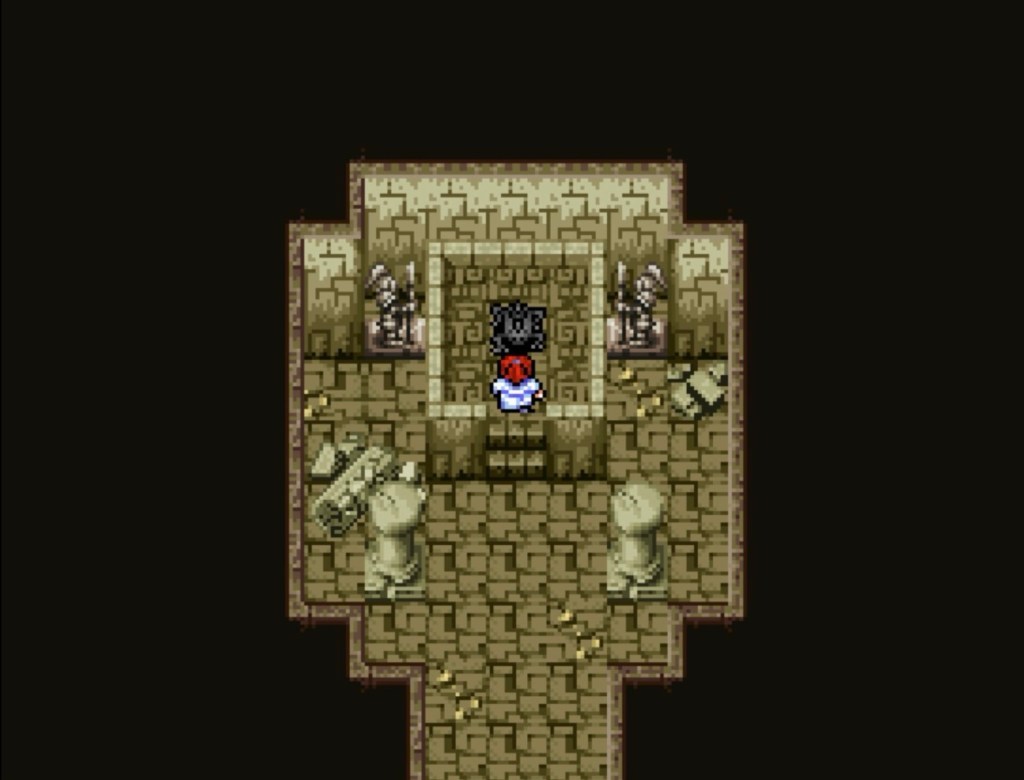
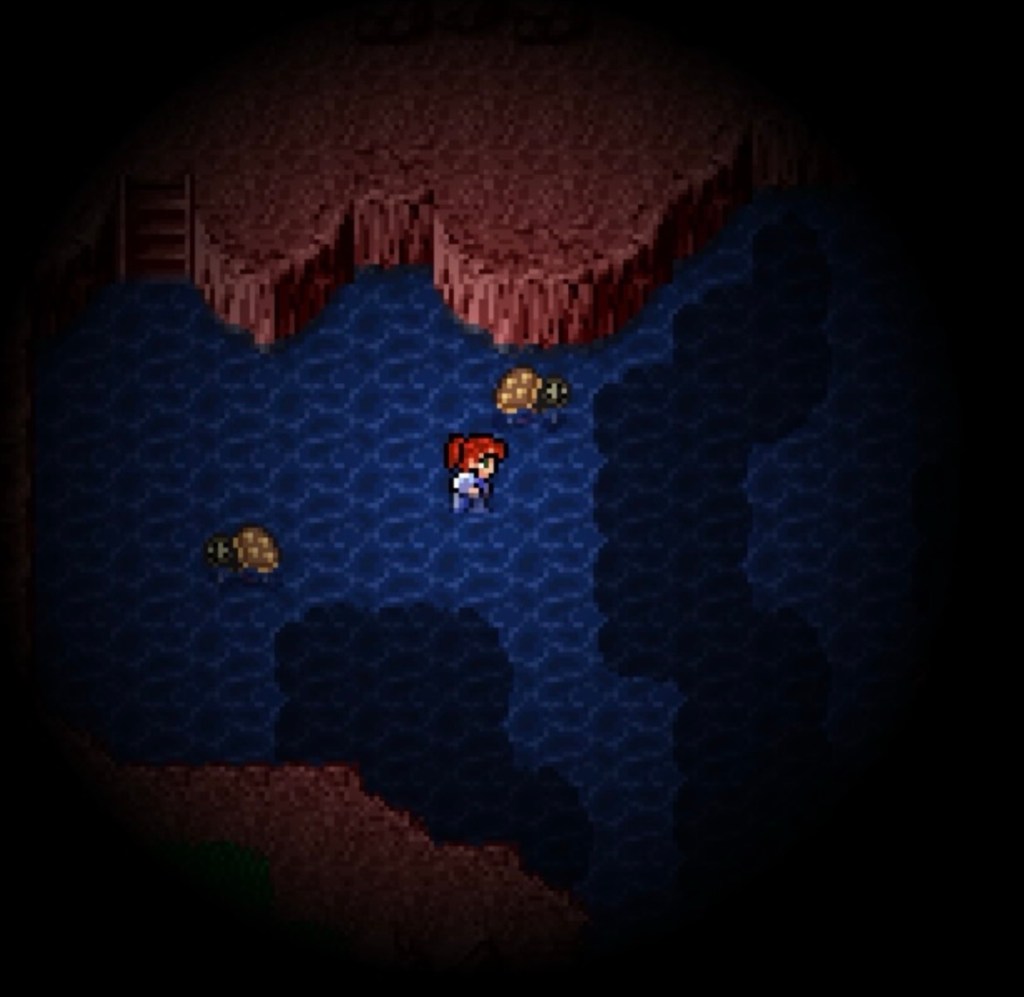
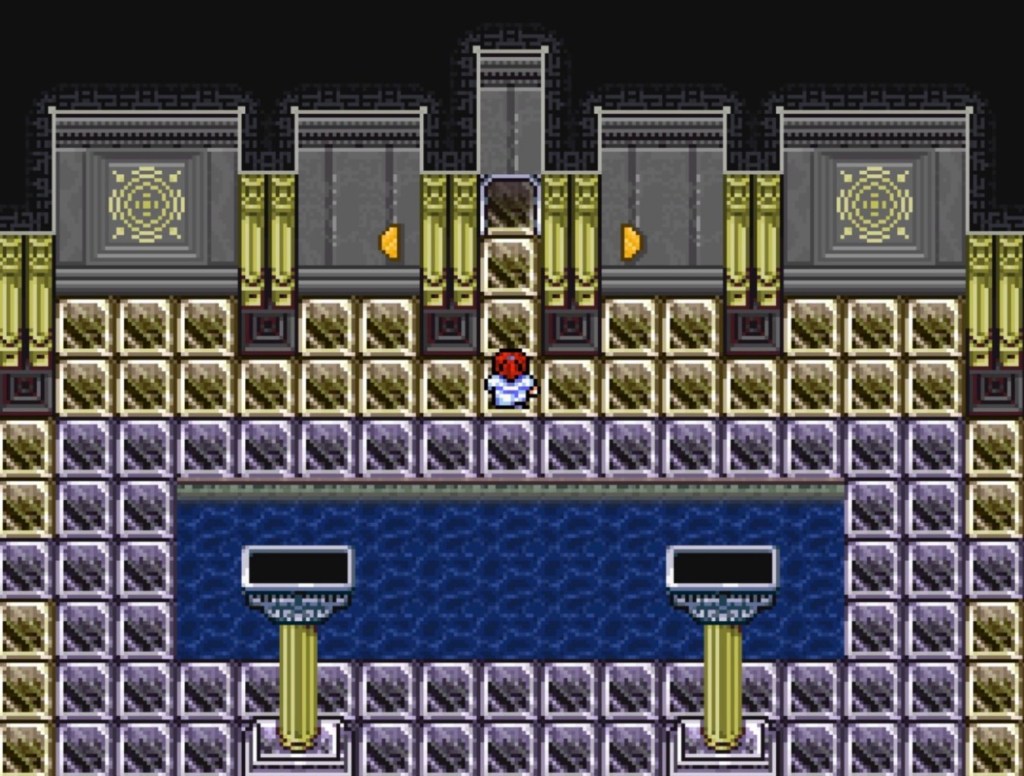
The Etherdepths are a rudimentary maze with a tiny little spotlight of visibility. I did not recognize the music here but it’s one of the more memorable pieces in the game so far. We also learn shortly that Godot is an exclusive mage with no physical combat ability. His character class is listed as Red Mage which- in Blackmoon Prophecy -amounts to someone who can use both black and white magic (equivalent to a Sage in IV). This also explains how the kinds of spells typically classified as red magic have been redistributed across a few other classes.

Godot really made me feel the absence of Ami’s Cheer ability. I’ve honestly been feeling it for awhile. Since awakening in the Merged World, we haven’t been able to use Cheer for ambient MP restoration and we no longer have Laudo at camp with his cheap Ethers. Both Oalston and Elina were effectively magic-only but at least we had Ami back then. At least Godot’s Malachite Orb weapon comes with +1 MP recovery each turn (Godot’s weapons of choice are magic orbs, which he can dual wield). Remember that the Darnacles Castle item shop has Hyper Ethers and Phoenix Downs, which you may need a lot of.

The Etherdepths also have the kind of monsters that you need to hit as hard as possible as soon as you see them which means lots of MP usage. One upside to having Godot with us is his white magic. We now have the ability to triage healing and status recovery outside of battle with something other than items for the first time since the Merger.

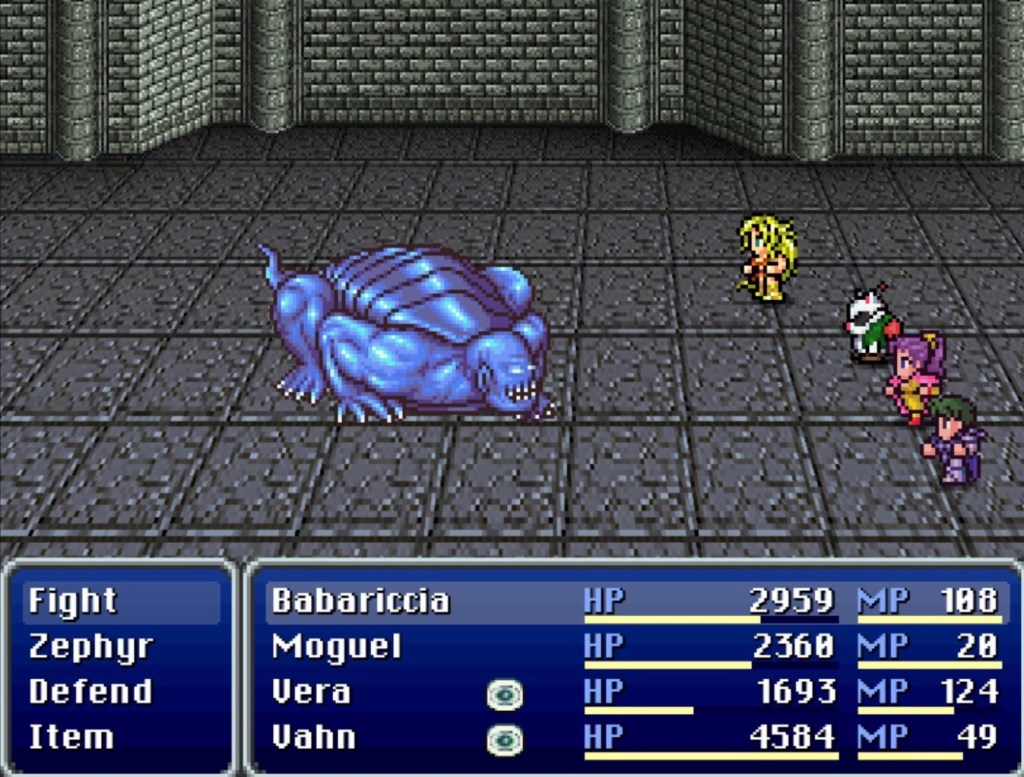
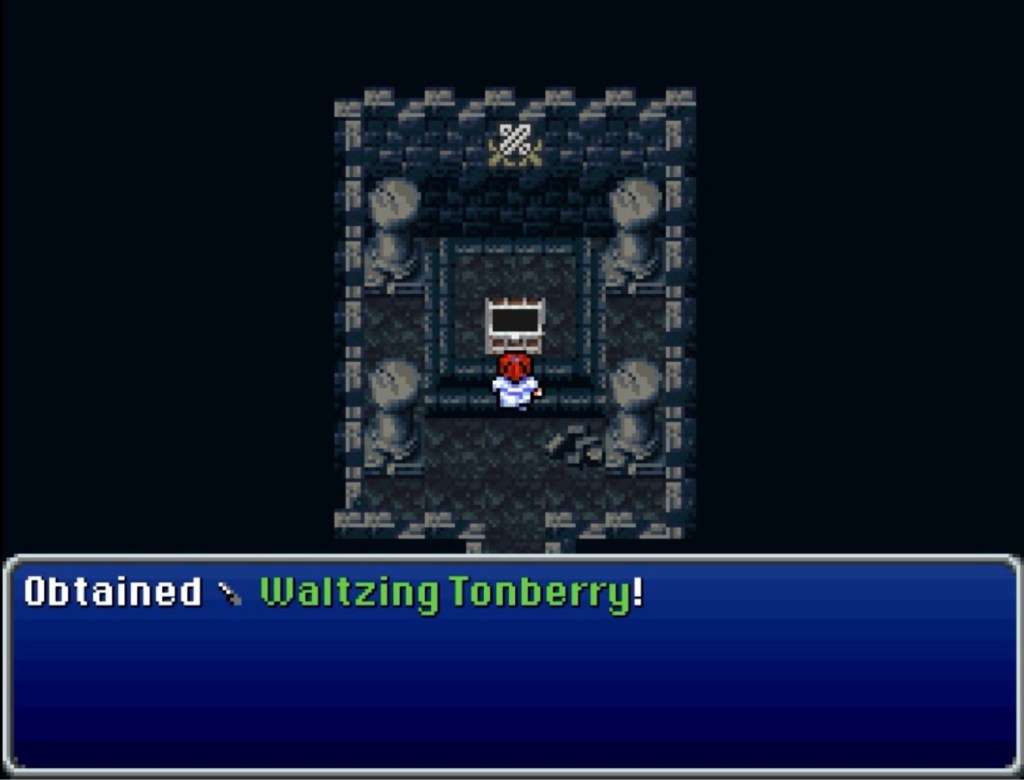
Vahn’s Stock Break can work on Tonberries but it works a little better when they take a few thousand points of damage first. I’m pretty sure the problem isn’t a four-digit cap on damage done, either, since when Stock Break lands on a Tonberry it deals about twenty-thousand points of damage.

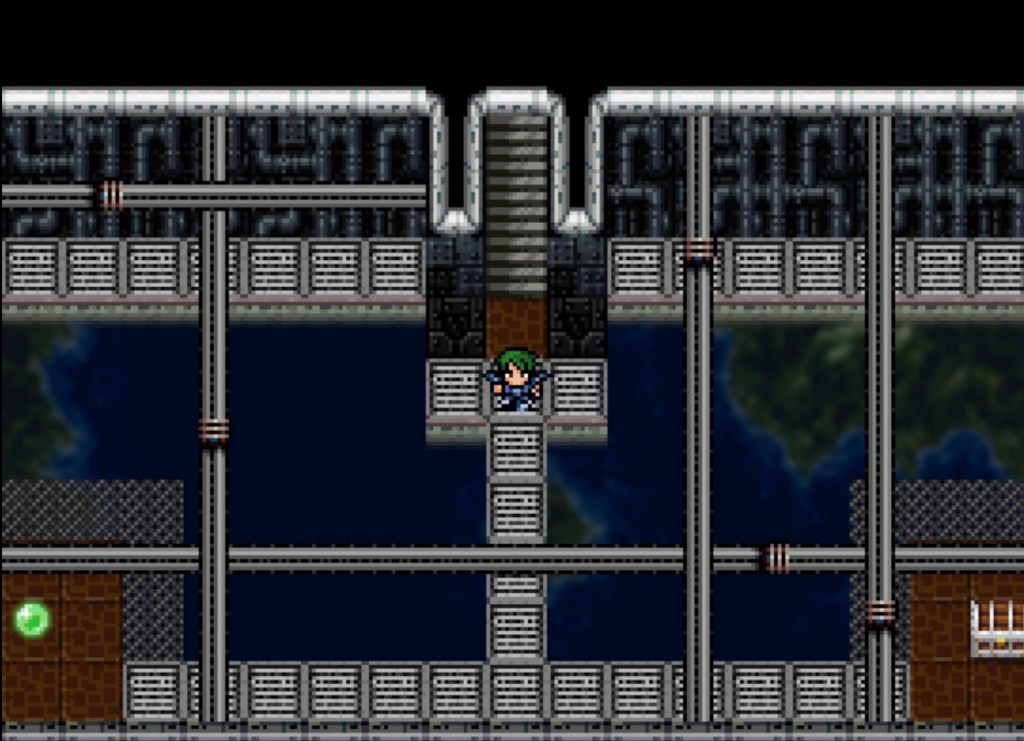
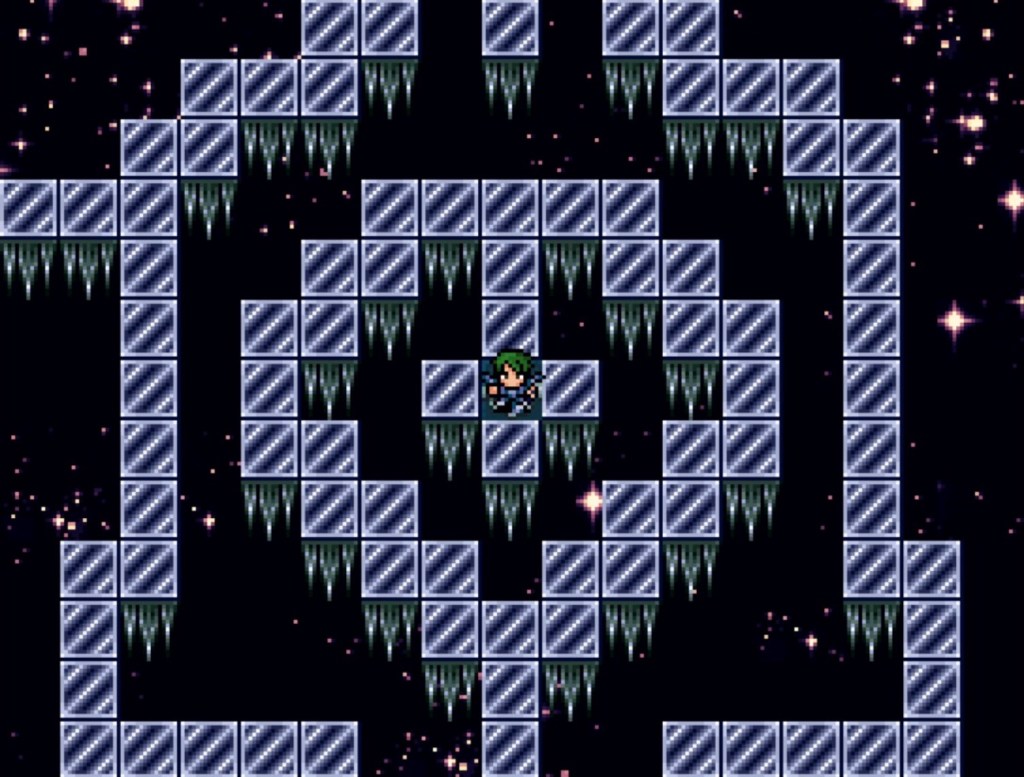
The Etherdepths contain three switches; each one materializes a path to the others. The problem is surviving long enough to hit all three. The first one can be found to the far east, relative to the entrance.

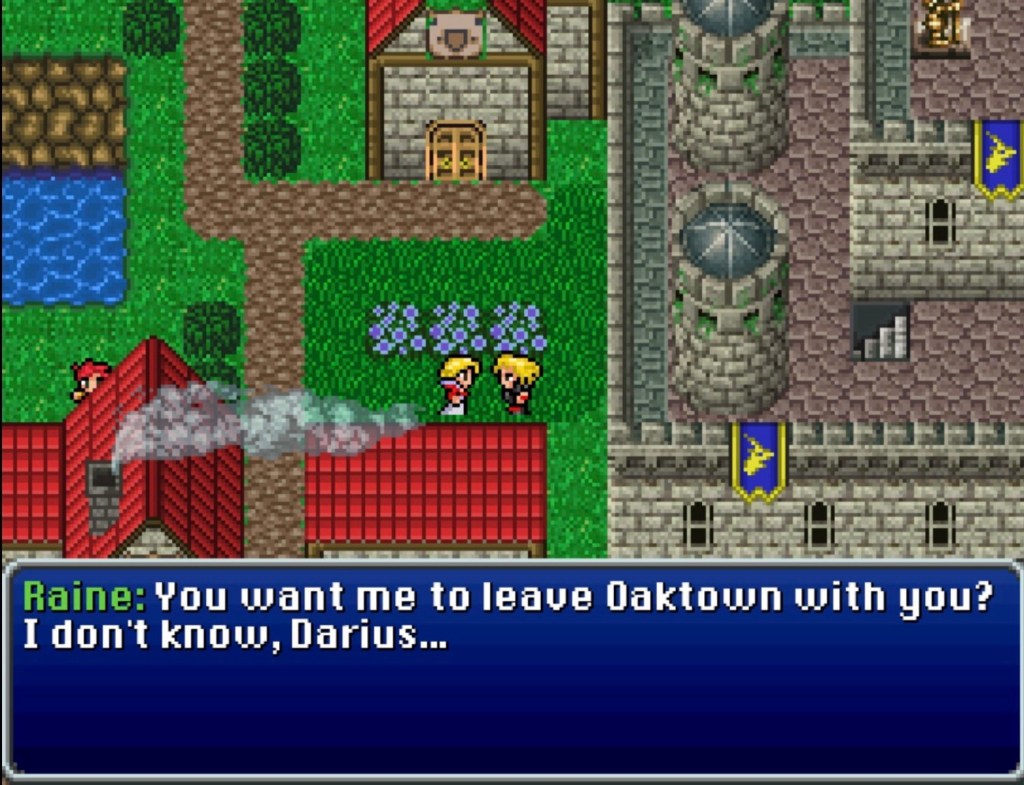
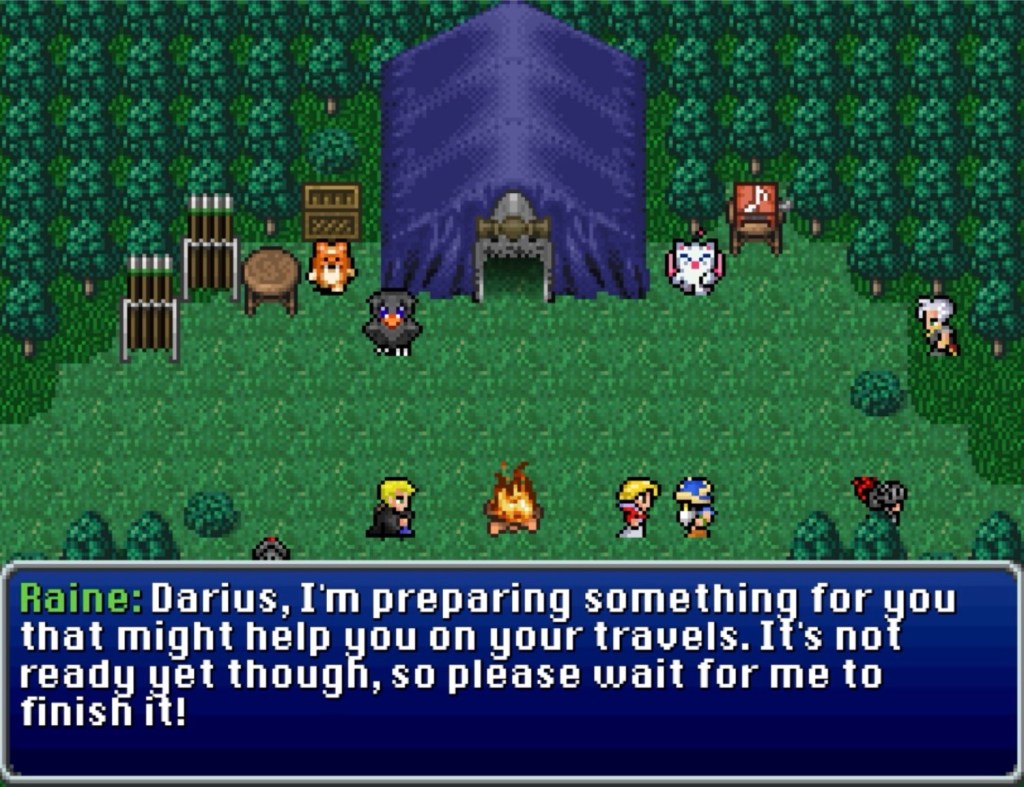
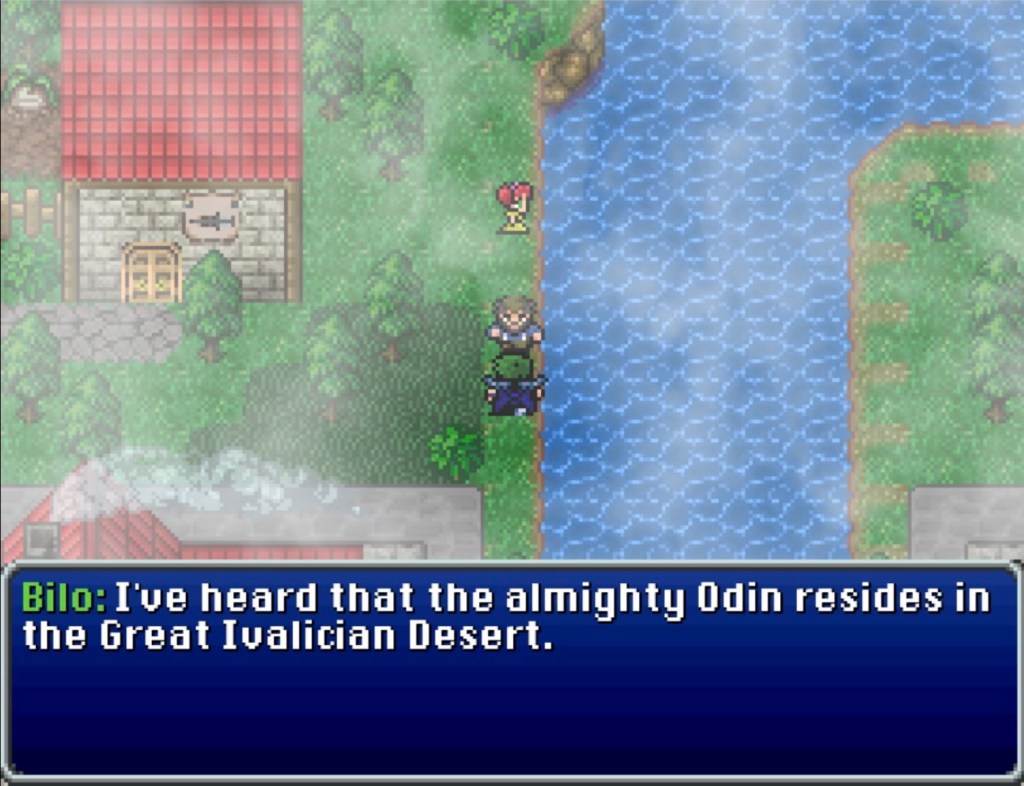
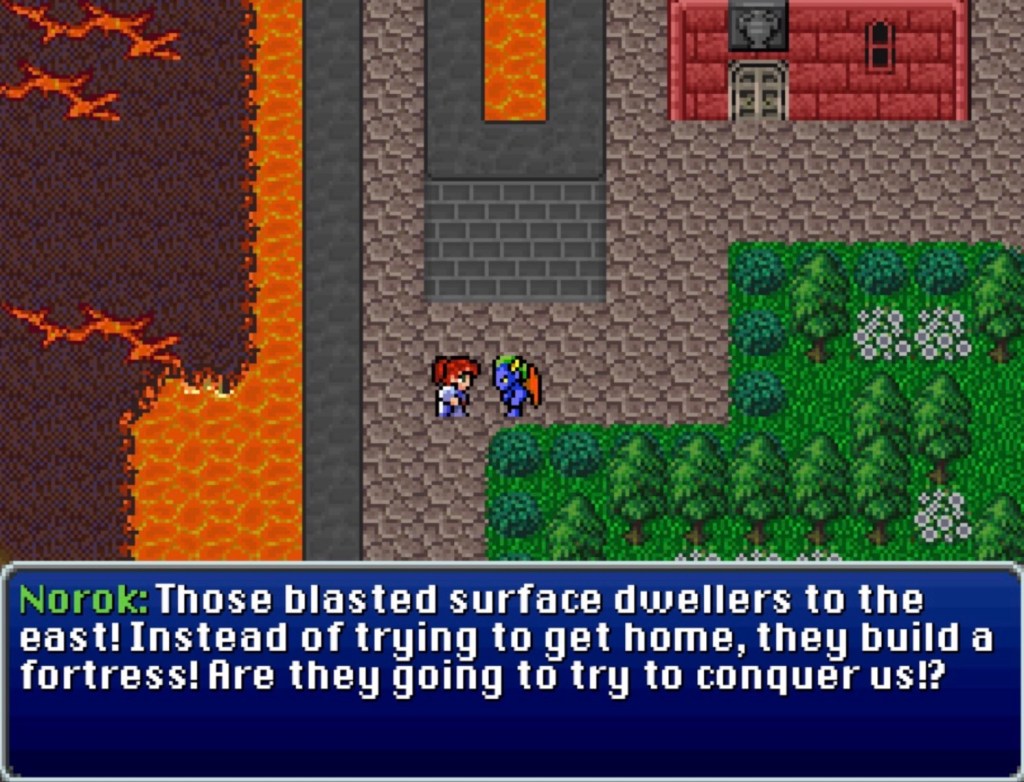
Once, after getting frustrated, I decided to check out more of the surrounding area and rediscovered Oaktown. This is where Darius is from, which- in the Merged World -is “Branch’s only active military stronghold.” Darius’ mother Raine also lives here and can be found wandering outside the armor shop. If we act like high school mean girls with personality disorders and rotate Darius to the head of the party out of curiosity, he will insist that his mother travel with us. He fears for her safety since the dimensional contraction nearly plopped an Esper castle on top of Oaktown. Immediately afterward, she was present neither in the party nor at camp.

Other townspeople have interesting news. One person says that Castle Branch may be “in the middle of the ocean” and another says that “(l)arge swathes of Branch are now deep under the ocean.”

Dion, in his room atop the fortress, says that many displaced dragoons found employment defending Darnacles Castle. Consequently, the Oaktown armory has not seen much use of late. For fear of it going to waste, he gives us a pair of Dragoon Boots, which enables the wearer to use the Jump command.

Evidently, Mount Gulug and its surrounding land mass has sunk, to.

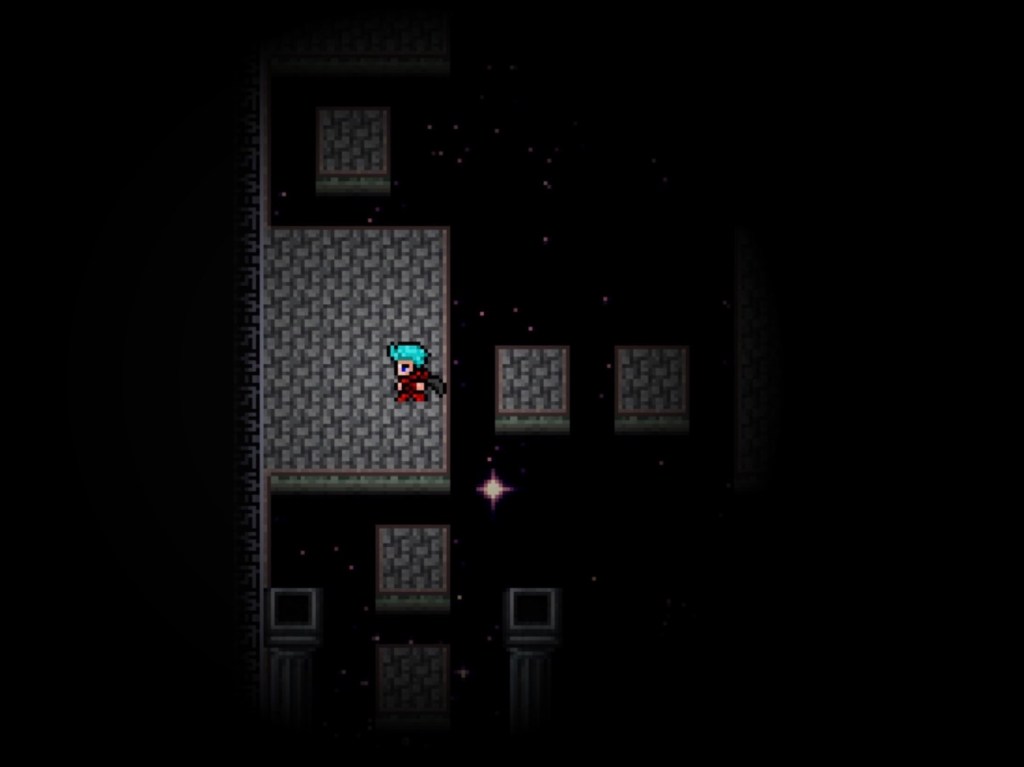
Back in the Etherdepths, I found another switch at what I suspect is the southwest corner of the map. The third switch lies in a roughly northeast direction starting from the second one. The third switch will require you to jump over two-to-three sets of floating platforms.

The third switch will unlock a path to a door. In the next zone, we immediately encounter a four-way platform-hopping intersection. The west path leads to a treasure chest with a tent. To the east are a set of platforms with a Phoenix Down and Gaia Gear.

Going straight ahead / down / south leads to a rectangular outcropping with two platform-leaping bridges off to each side. The one to the left leads to a chest with a Tonalite Shield.

The one to the right empties on a platform with a diverging northern jumping path that leads to a Glyphed Belt. If we proceed past the jumping path, we find a long corridor with a stairwell at the end. Within the stairwell is a save point and a narrow corridor leading onward.

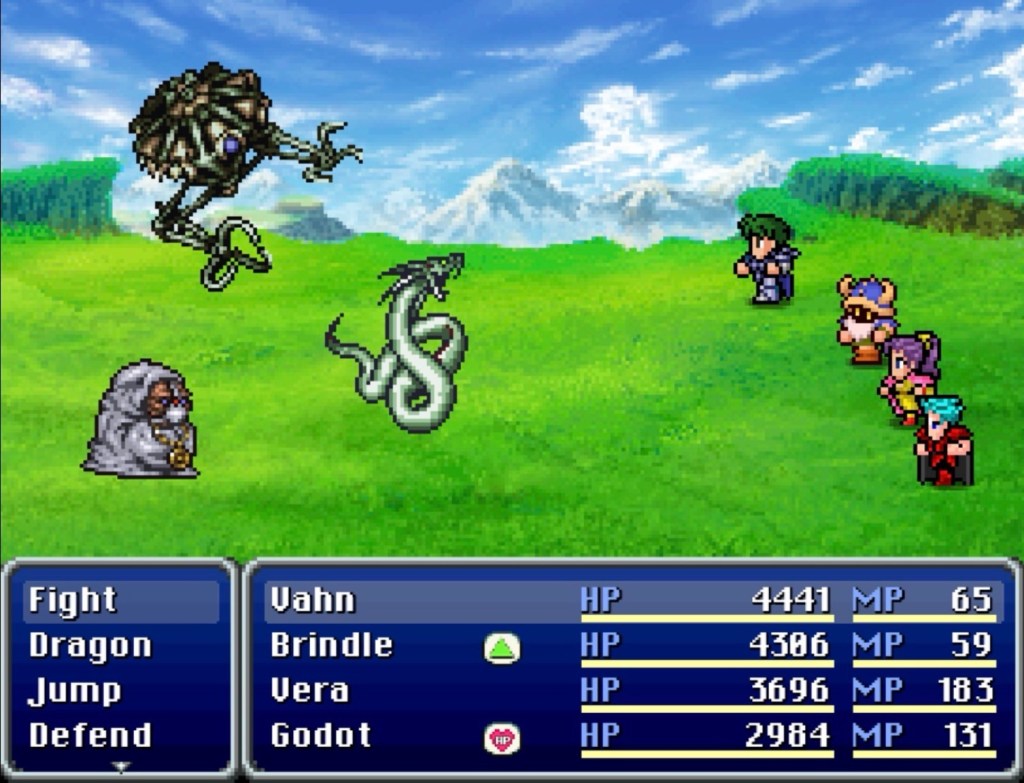
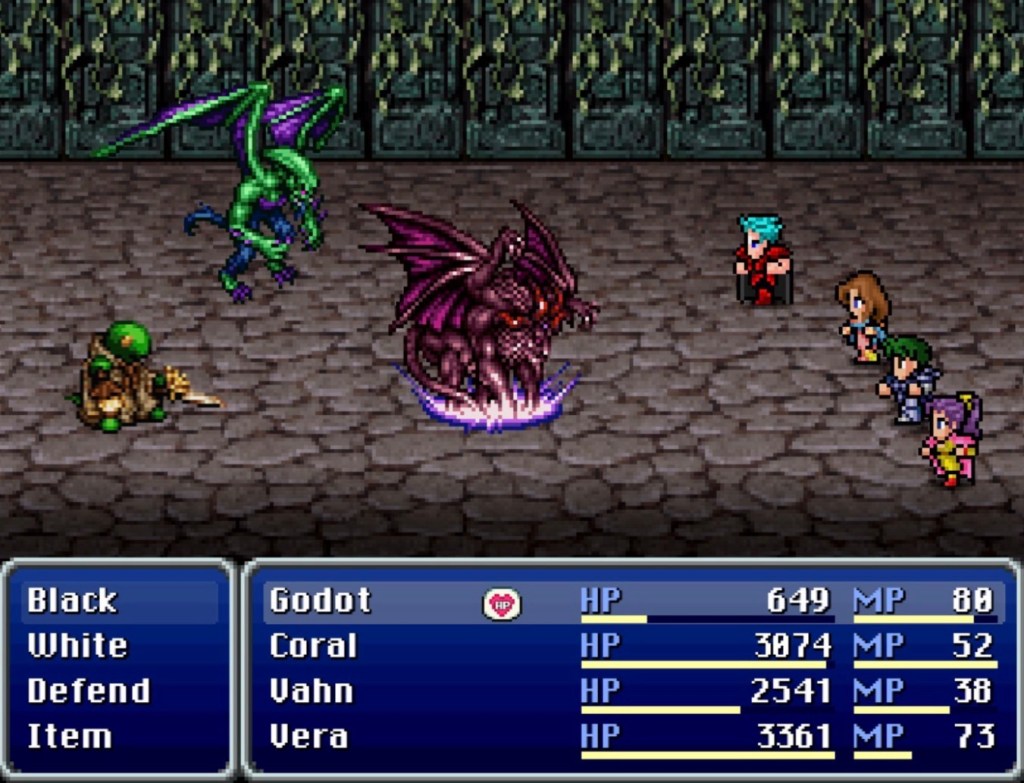
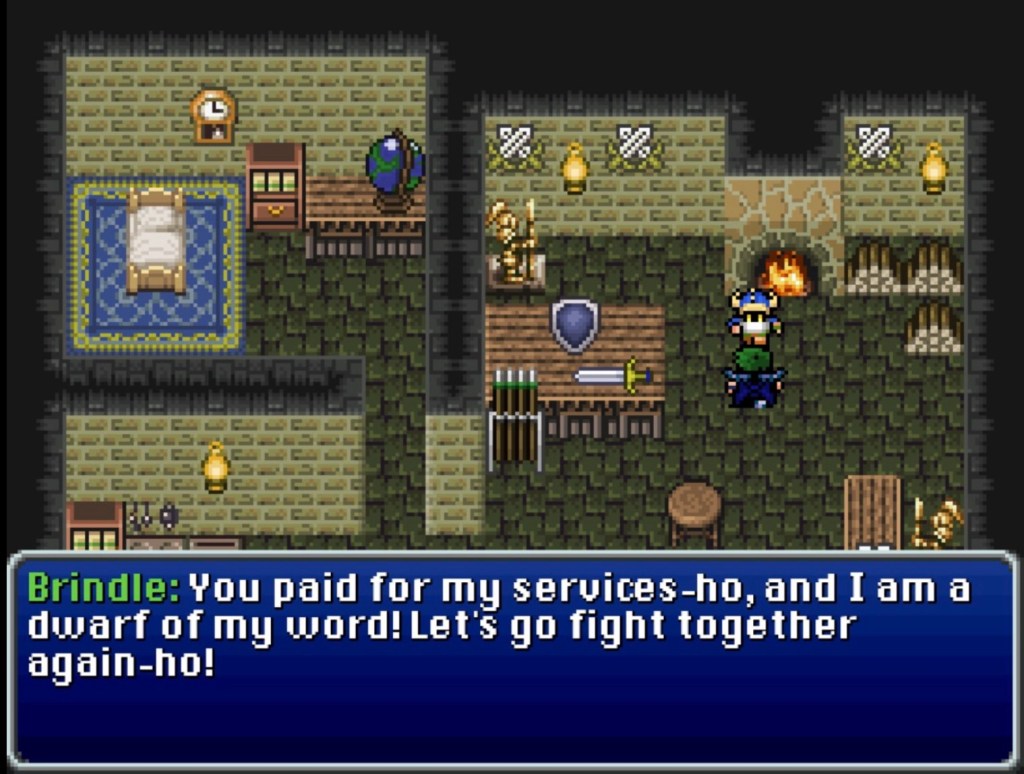
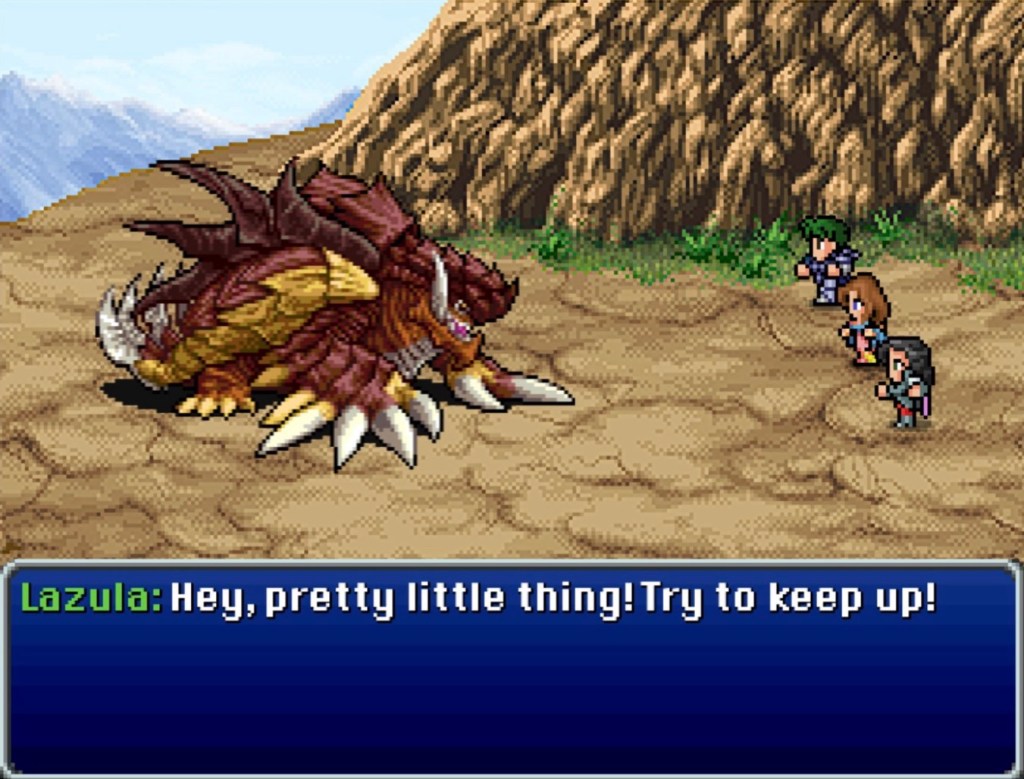
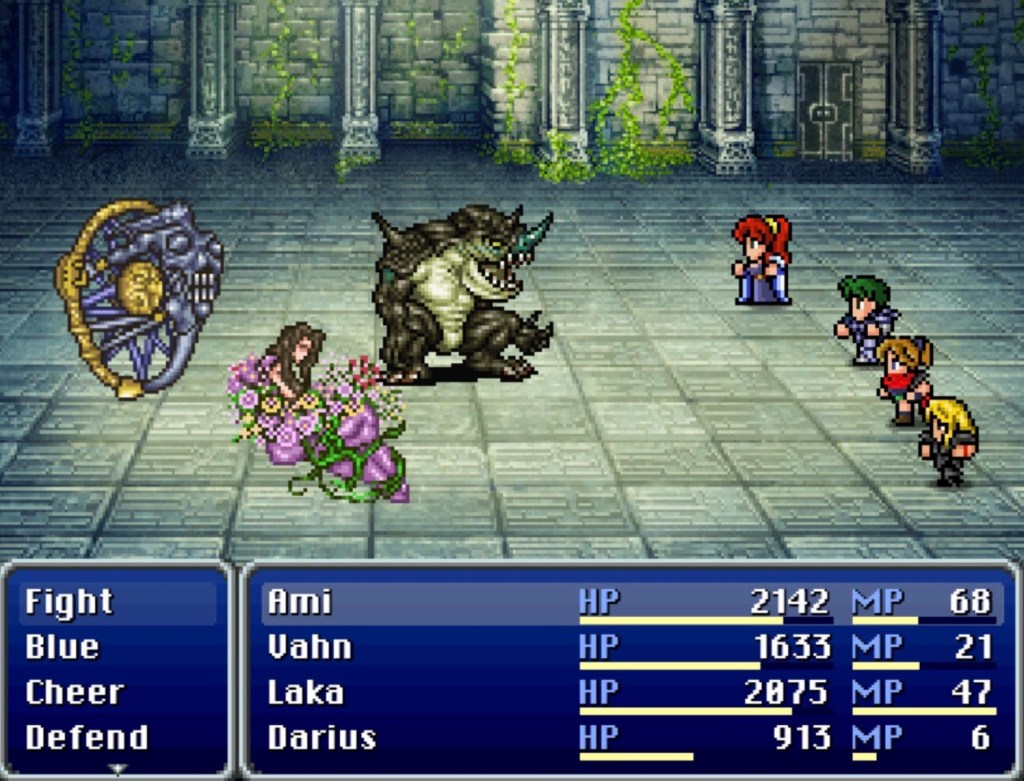
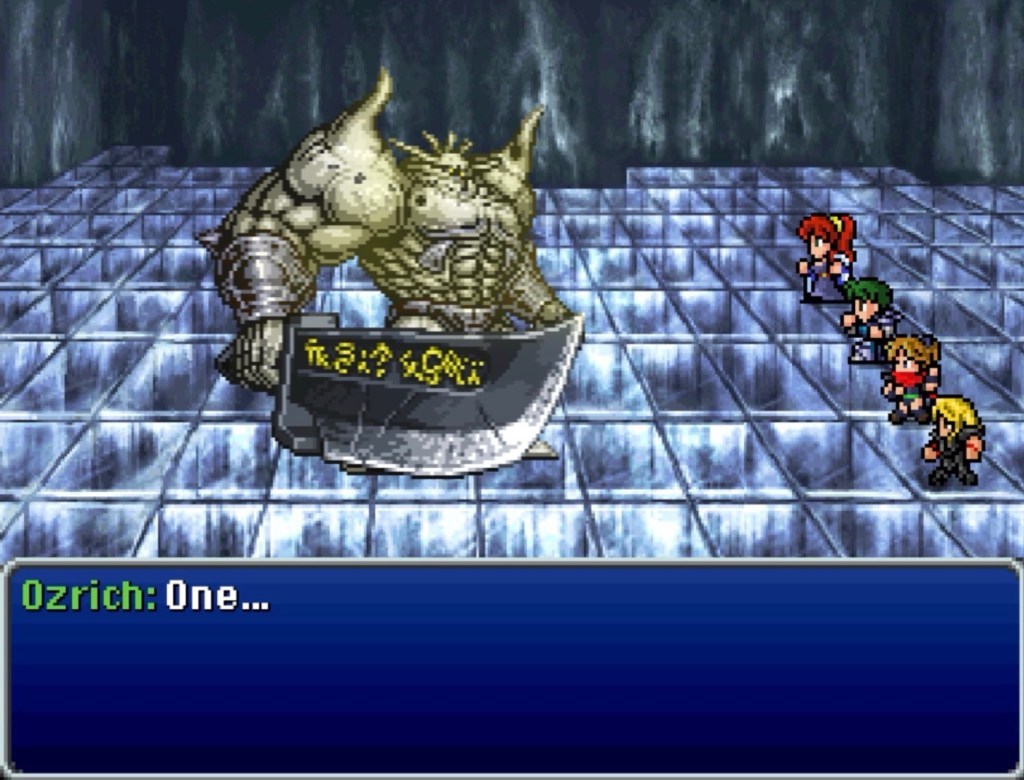
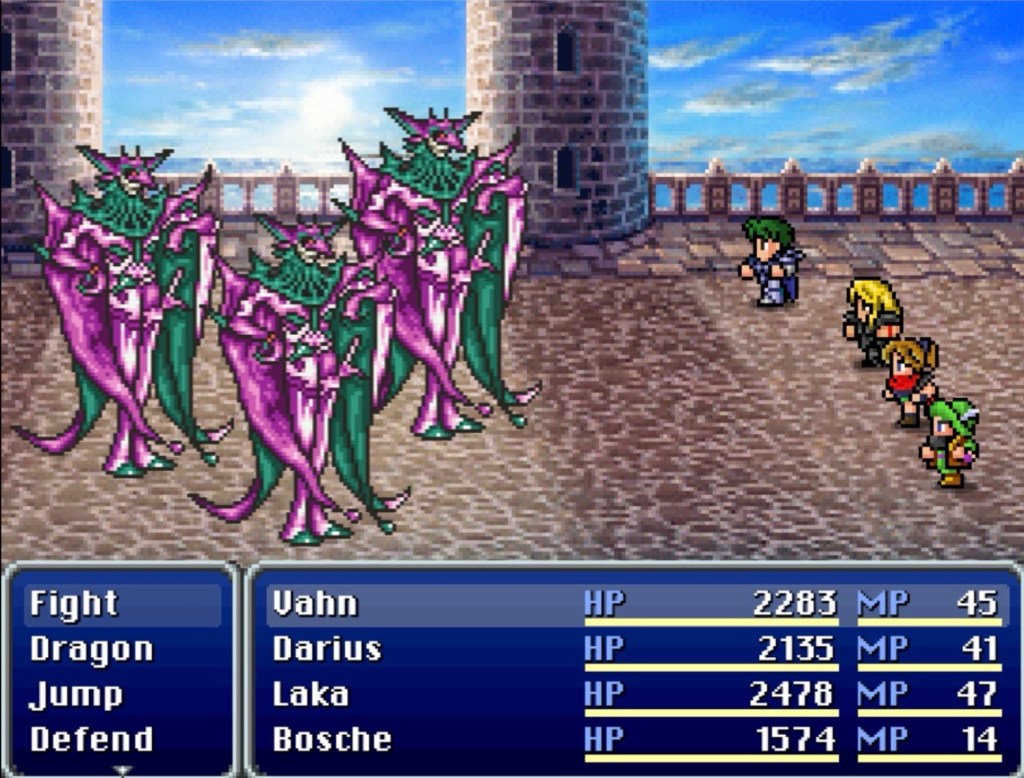
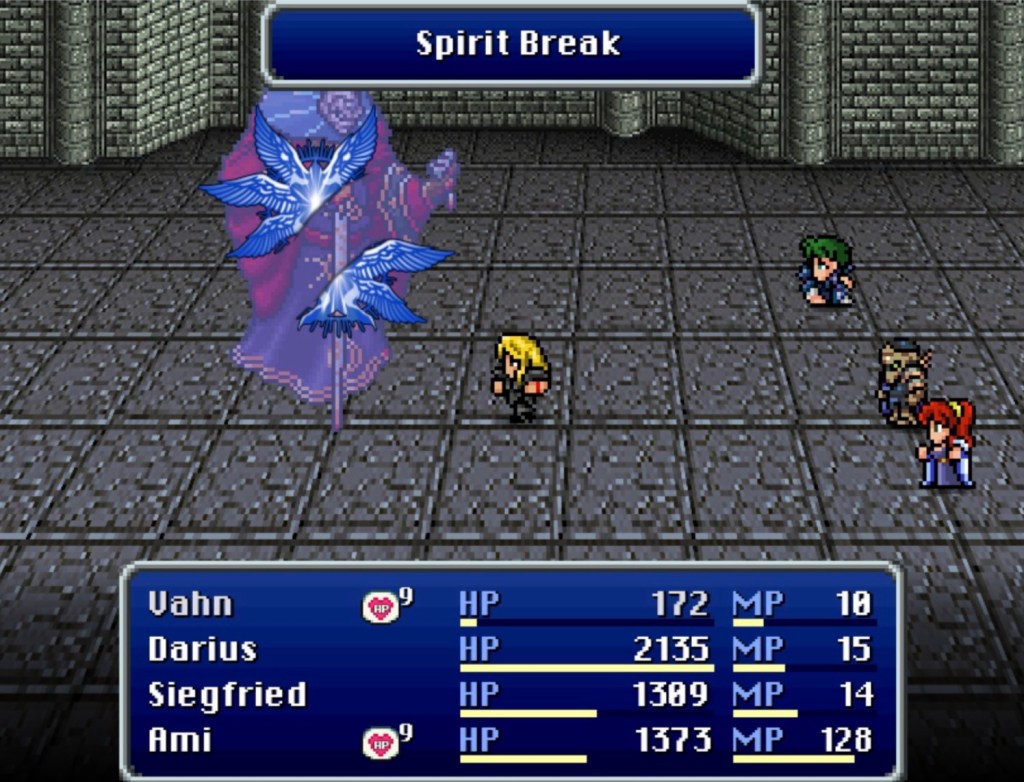
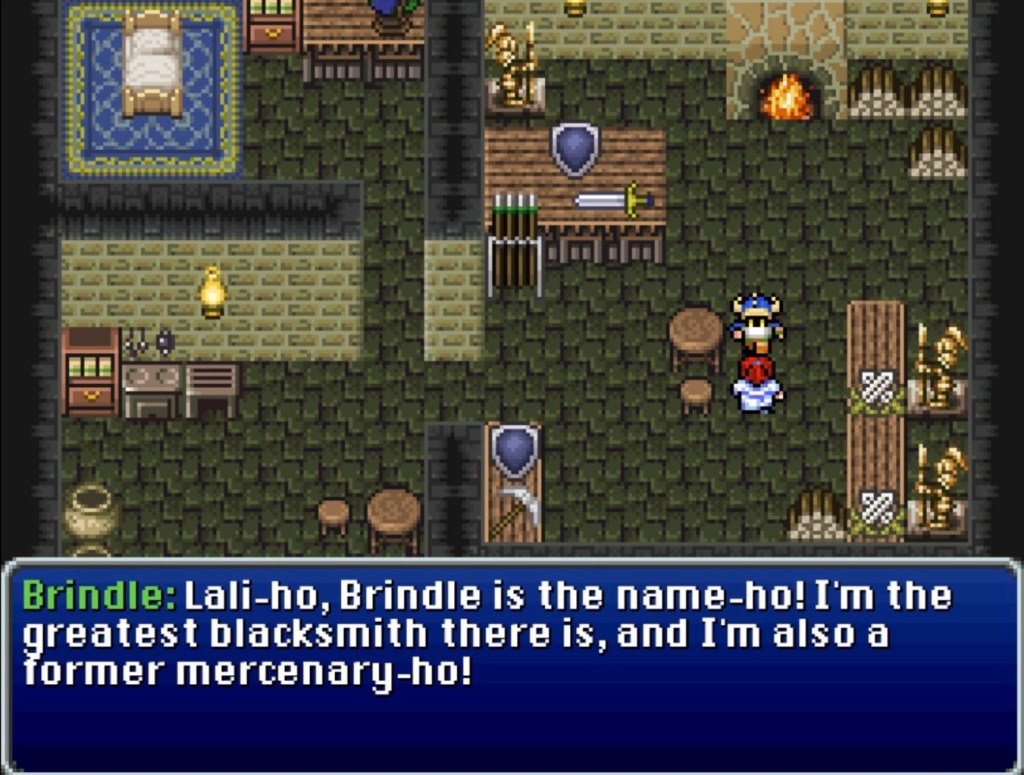
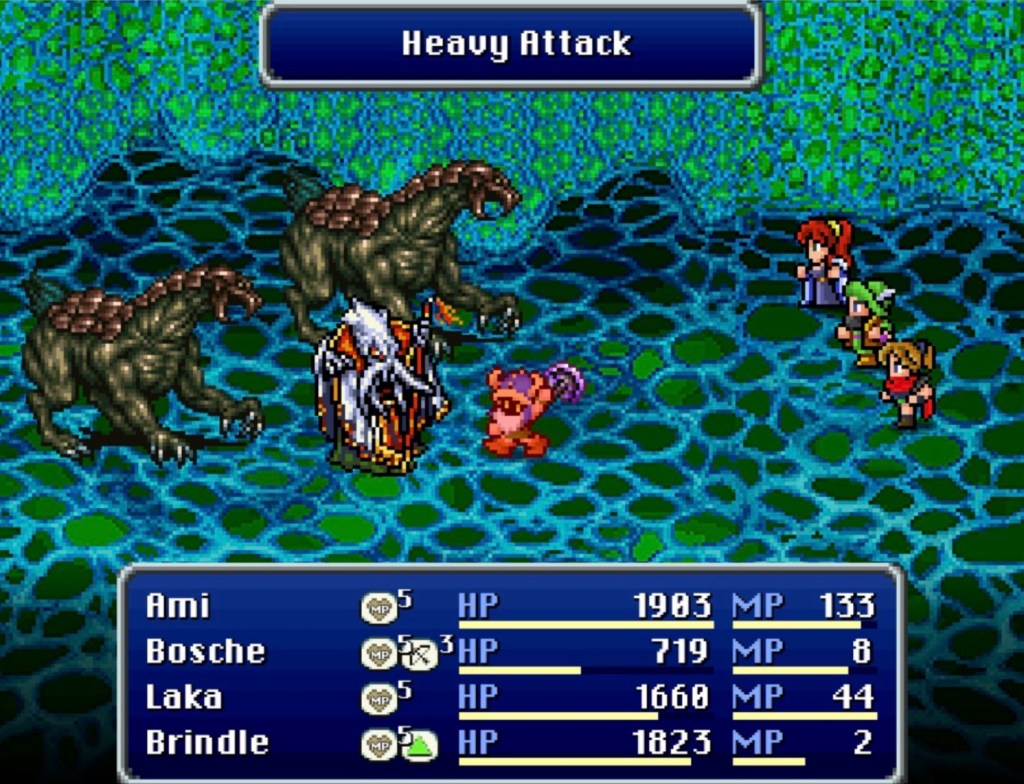
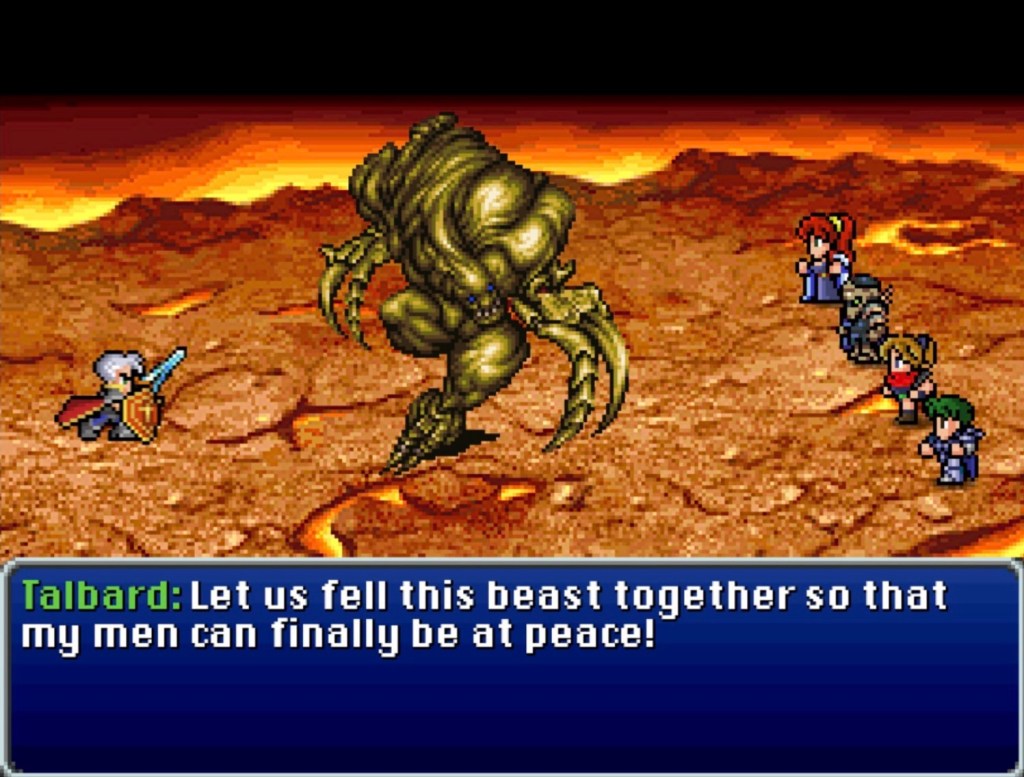
In the chamber ahead, we meet Gyfli’s follower Chiron. This fight is not much trouble if Vahn is leveled beyond 40, when he learns Dragon Strike. It may take out most of Vahn’s MP but it’s worth keeping him topped off for it. Not to mention Vera summoning and Godot spell-slinging. Even Brindle’s Heavy attack costs MP to so hopefully you stocked up on Hyper Ethers at the Darnacles Castle shop. With Vera and Godot being magical bad-asses, you should be fine so long as Vahn keeps using Dragon Strike and Brindle spams Heavy.

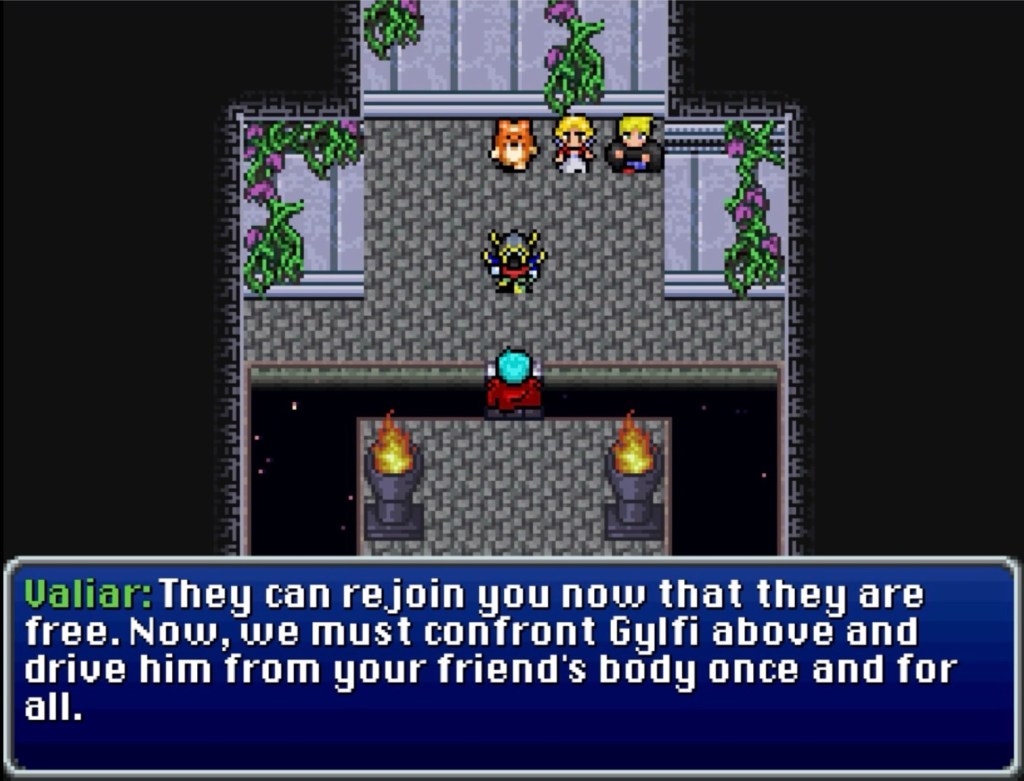
Once Chiron is no more, the four figures in crystal stasis nearby are restored: the Archareon Valiar, the moomba that Ami named Crepe, Laudo and…Raine? Darius’ mom?

Was she supposed to be recruitable to the camp (rather than the acting combat party) pre-Merger? With this moment being where we would ultimately “see her again”…?

In any event: Valiar says that Gylfi controls the Rift Shrine but taking out his servant Chiron “should weaken the magic protecting the doors leading into the main chamber.”

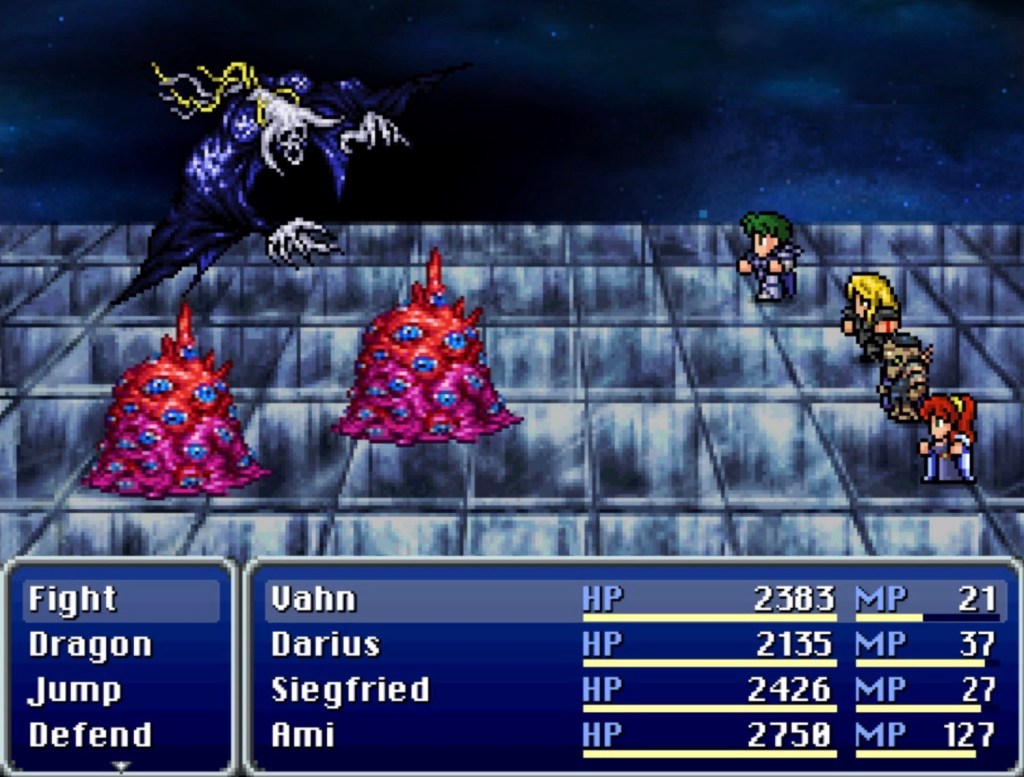
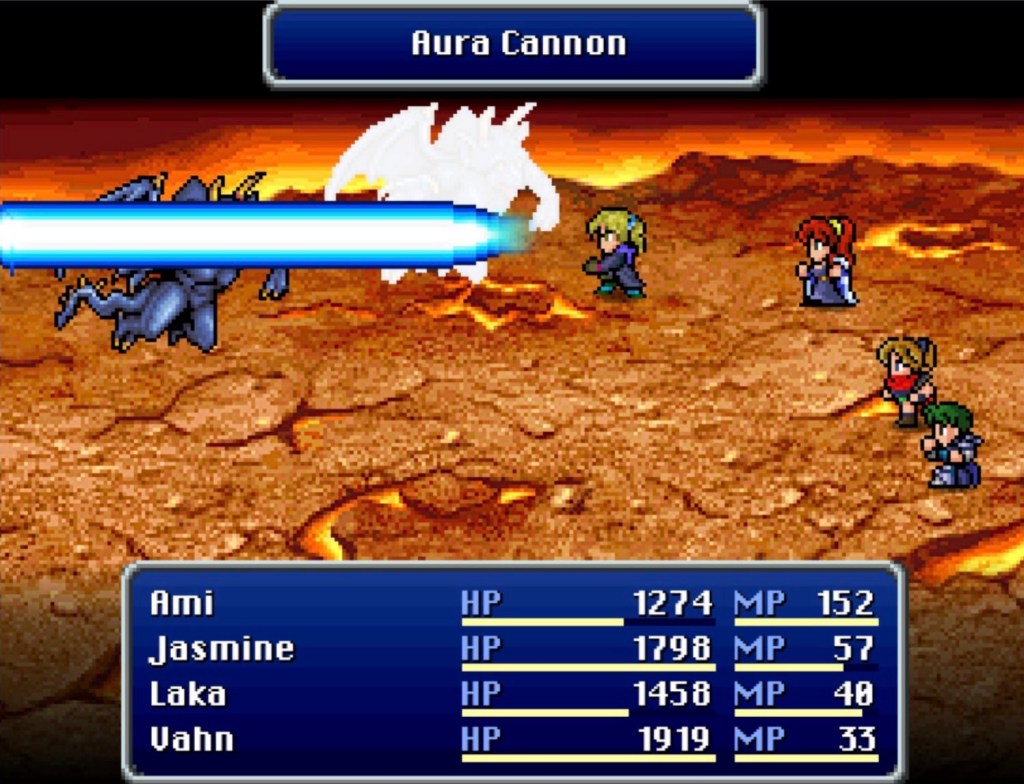
As usual, Gylfi-Hans only uses moves from the same ‘Dragon’ command roster that Vahn has. After two turns, Vahn succeeded with Stock Break, dealing over thirty-thousand damage. The next hit obviously won the battle (9000 exp!).

With Gylfi defeated, he loses his grip on Hans’ body. According to Valiar, he is alive but sharing his body with Gylfi all this time has taken a serious toll. All we can do for him at the moment is wait and see. Valiar knows how to access the sealed Shrine of Water but- until we have our airship again -that information won’t do us much good. So he does us the favor of teleporting us to the place where he believes it ended up: a distant island called the Eagle’s Cradle.

In the Eagle’s Cradle, there are a lot of water-aligned monsters with high defense. If you have the right supplies for Coral (like Swift Bolts for her Supercell Mixture), great. If not, than Godot is a good choice to. You’ll need someone who can give some magical, elemental hits to take some of that pressure off of Vera. She’s a magical beast with the summoning but she can’t be handling the magical damage alone, here. In fact, the longer I have Godot in the party, the more I’m realizing how well he and Vera compliment each other.

This is also a good place to make thorough use of the availability of Godot’s white magic outside of battle. Just grab a lot of cheap Ethers from Laudo.

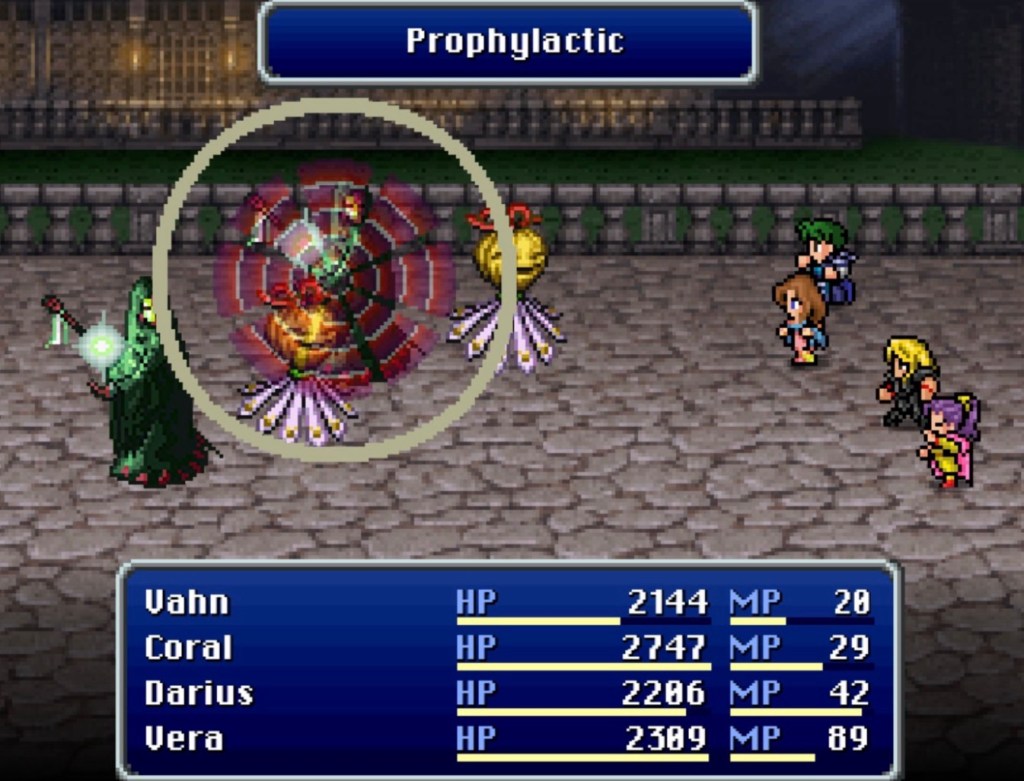
The Eagle’s Cradle also has monsters like the Ancient Coral that cast Protect, which is something Coral the human party member’s Prophylactic spell can help with. In the absence of Prophylactic, Godot’s black magic roster includes Dispel. The Amur Hammer can also be found here in a chest and it’s the best weapon I’ve found for Brindle so far.

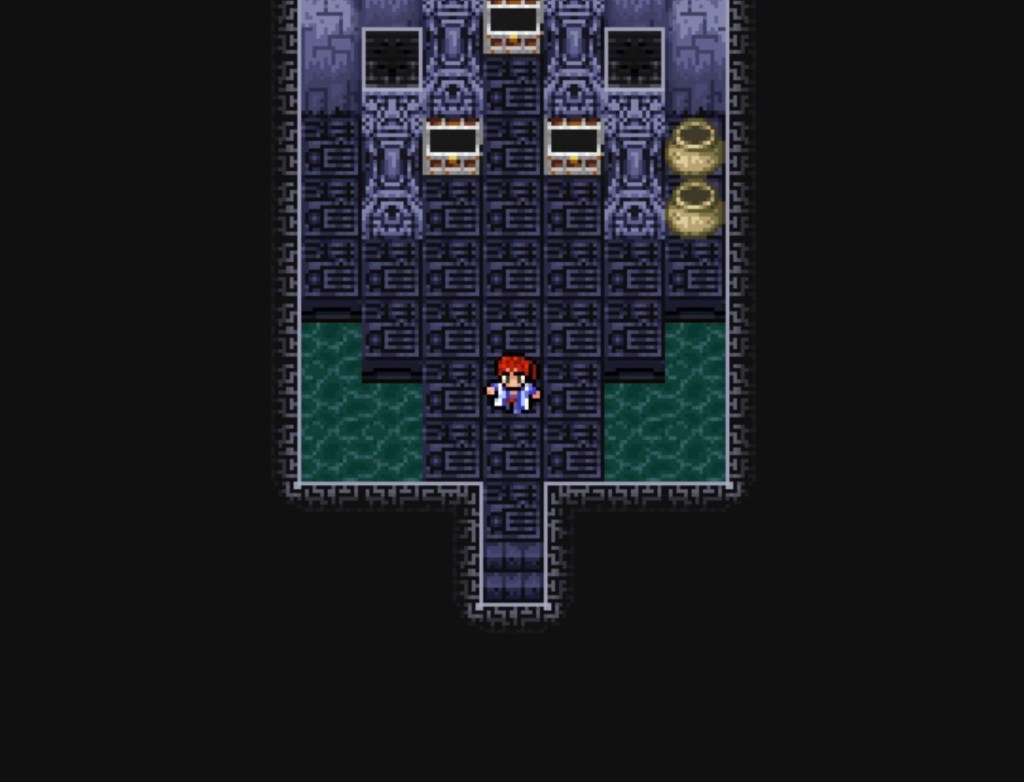
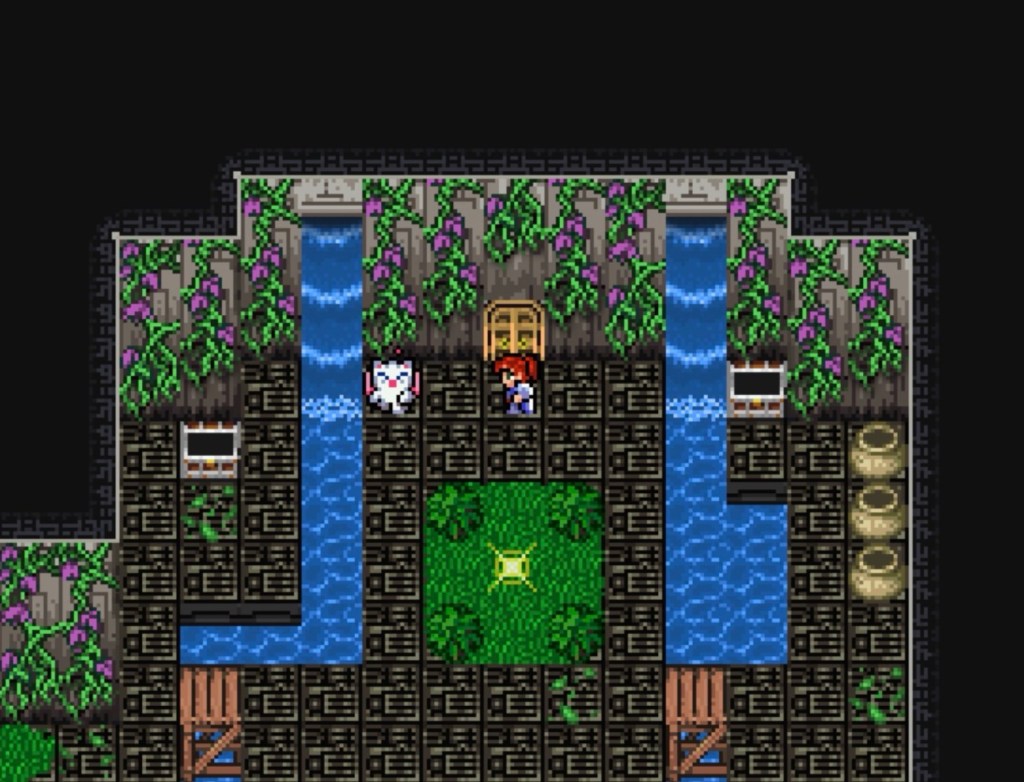
Just like the empty treasure chests in Torian Grotto, stand in front of the turtle shells and press the interact button. The end is not far off and it is absolutely nothing to be afraid of.

Our Vahn is rather straight-laced compared to FFXII Vahn, isn’t he?

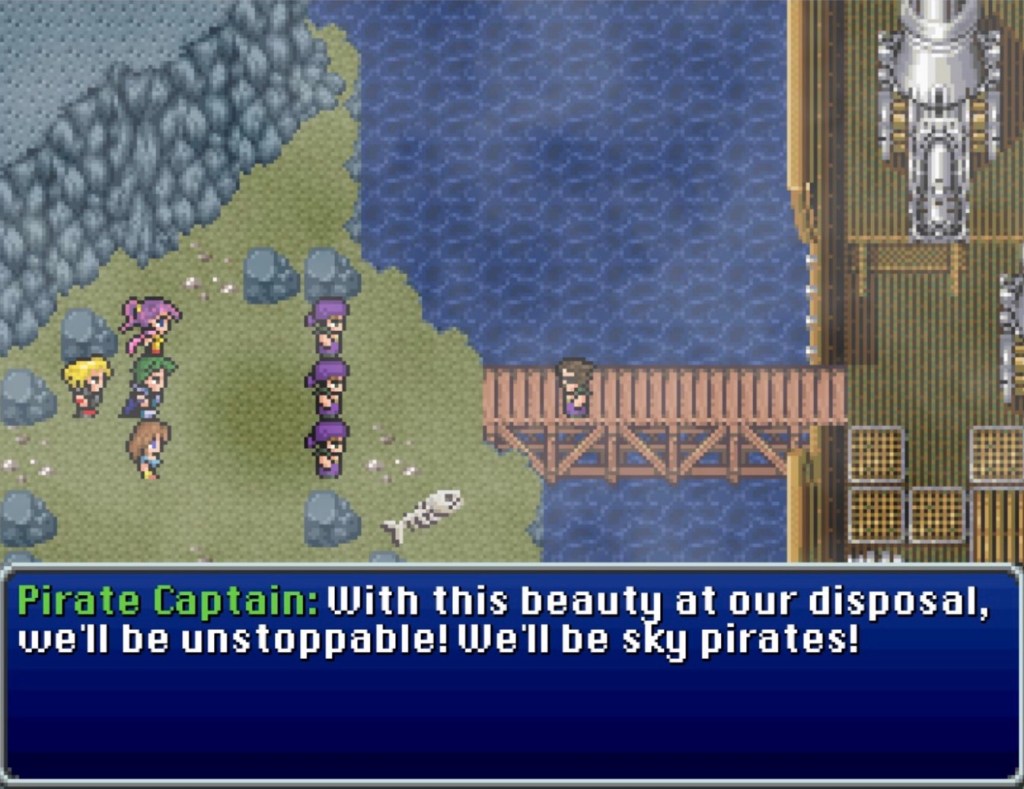
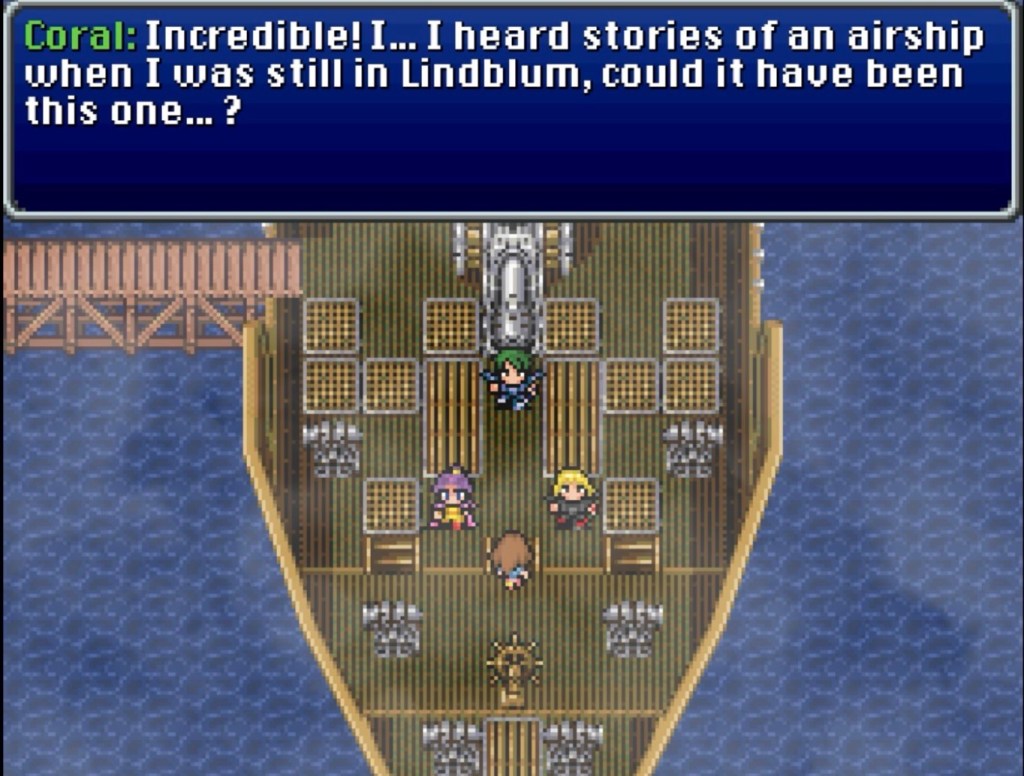
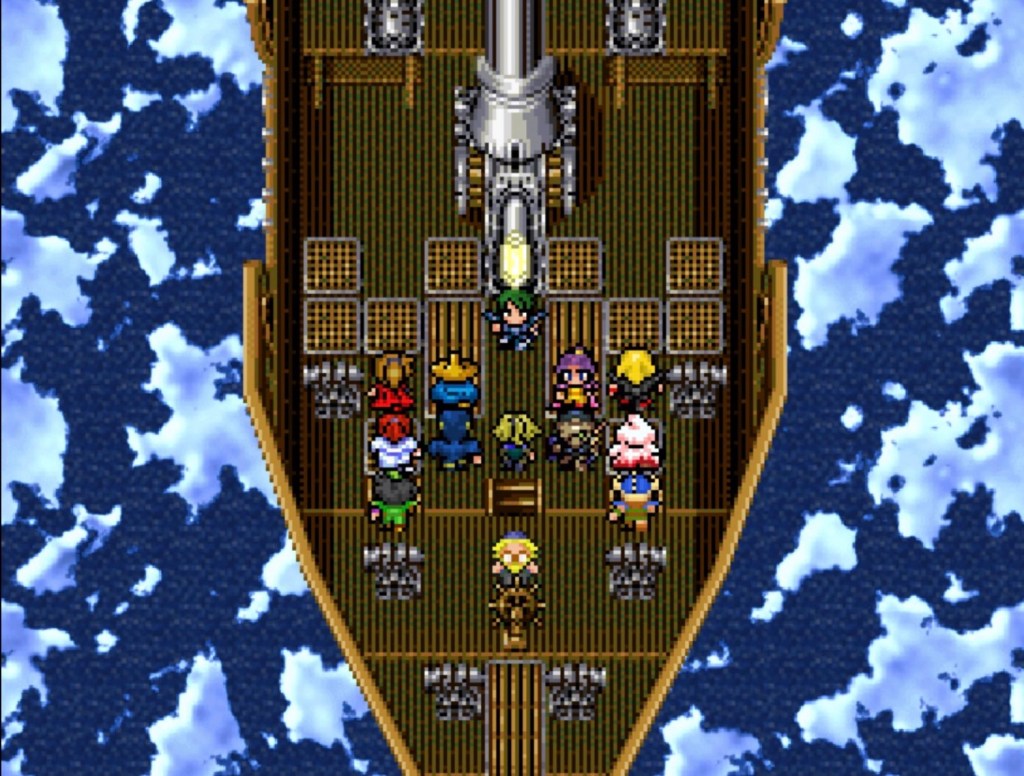
Once the bozos are out of the way, we finally have our wings back.

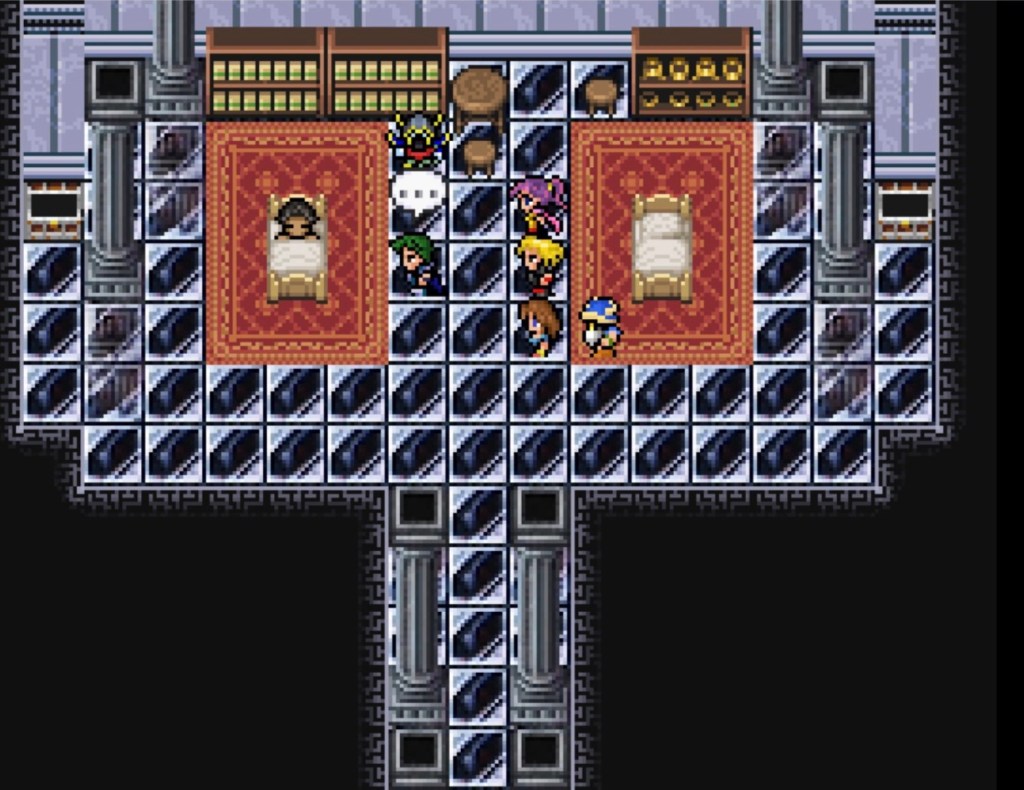
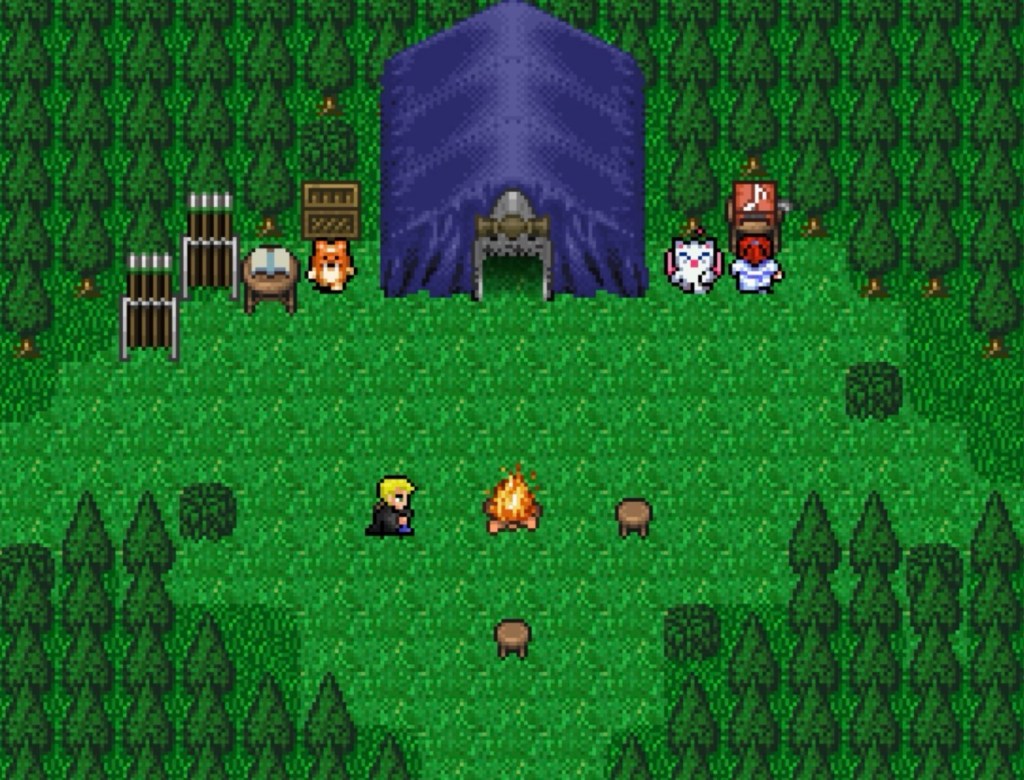
If we take the time to stop at a camp site, Crepe has Yoichi Arrows for us and holy crap those things give +25 to all stats. Yay Coral. Laudo has also come back to us, now with Ethers, Turbo Ethers and Hyper Ethers, all for hundreds less than in any other shop.

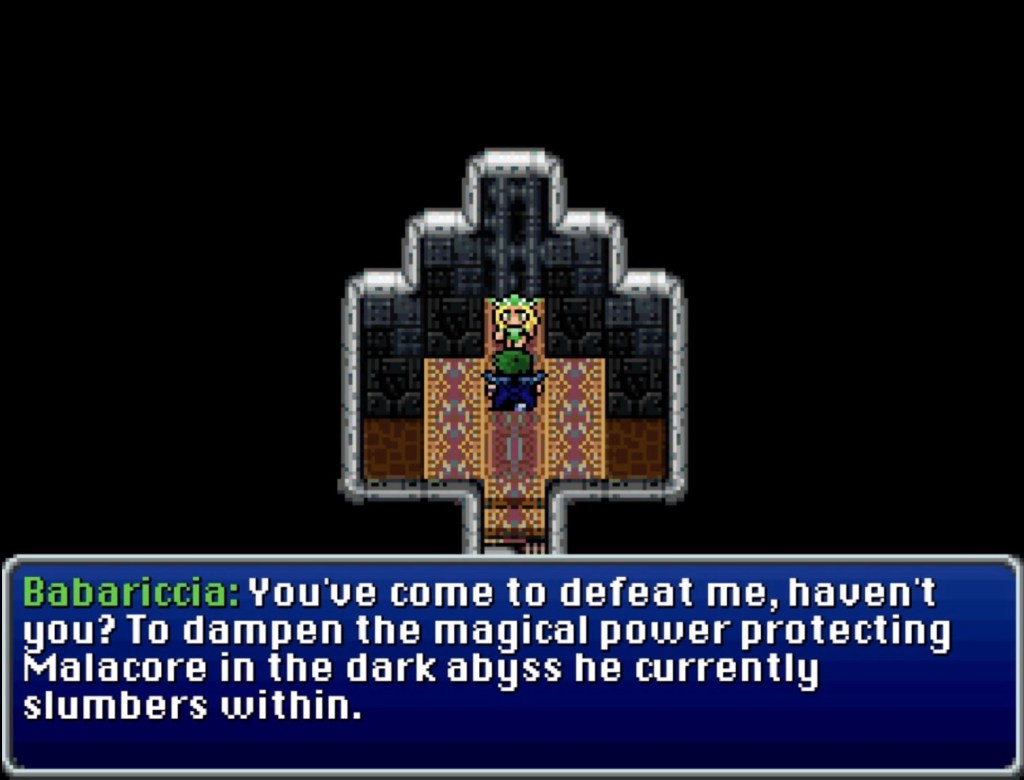
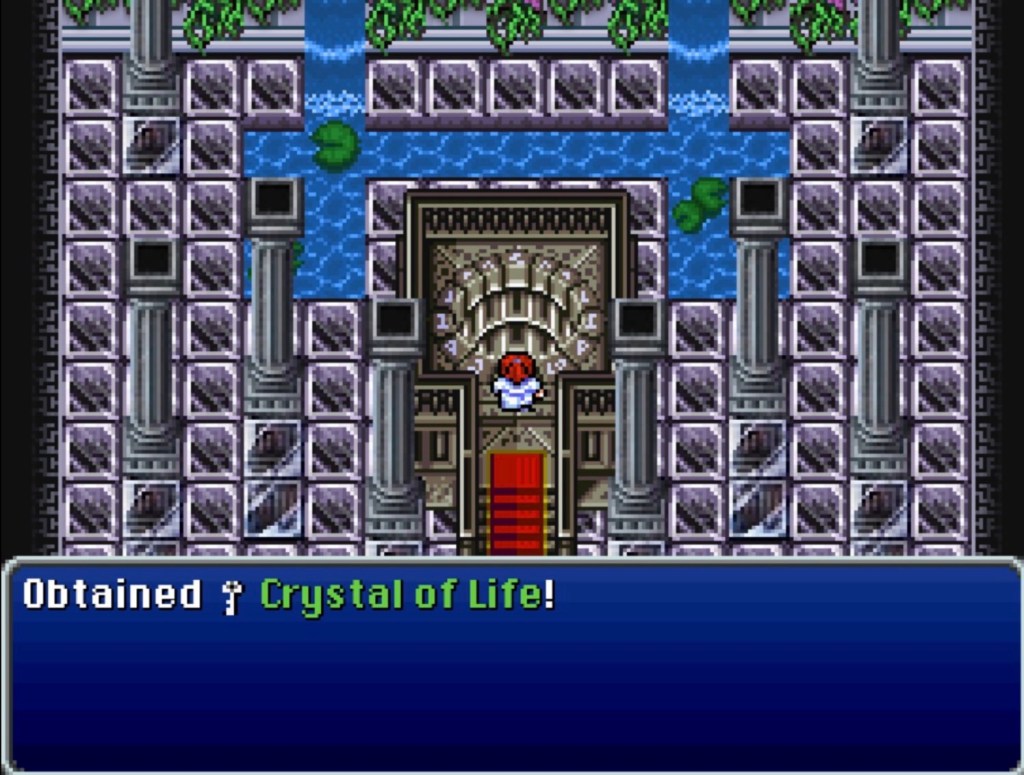
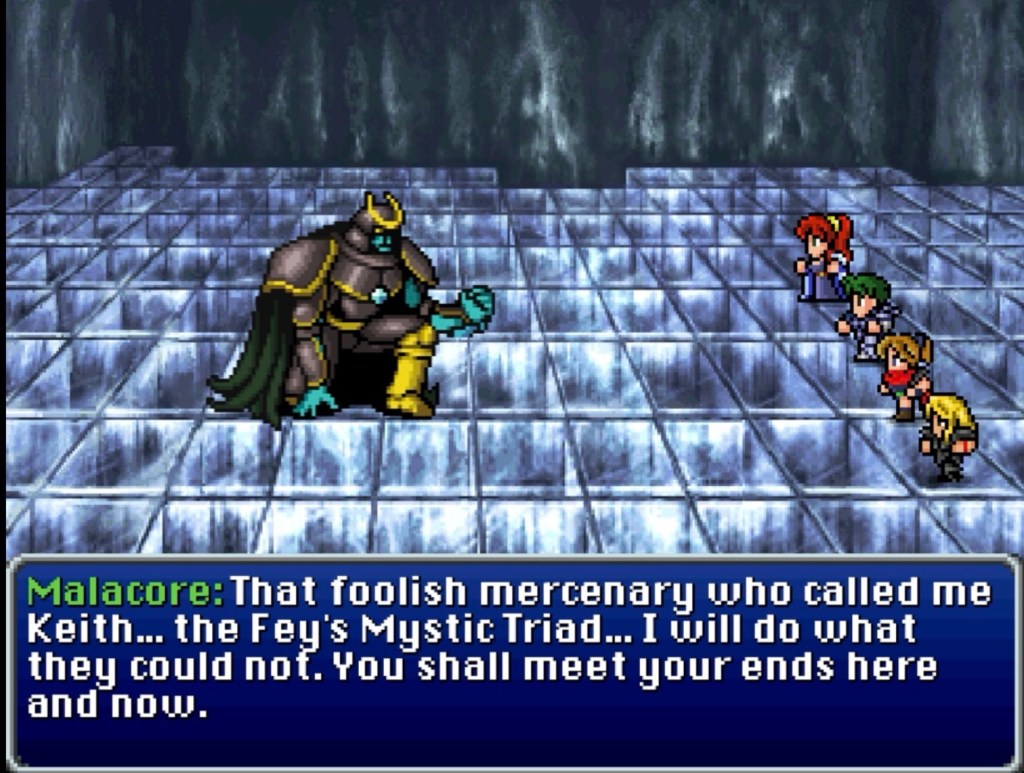
With the power to traverse the globe once again at our fingertips, Valiar tells us what he knows. Malacore is trapped beneath the ocean, under the ruins of the Shrine of Water and “infrastructure from the Esper world.” As Malacore now contains the five crystals, Malacore is now sometihng of a crystal domain himself. The five crystals have established a protective barrier around him. Enmeshment in his being and his malice over the last year has created monstrous personifications of each crystal now known as the Five Fiends; each of which needs to be defeated before the crystals can be extricated from Malacore.

Here’s the sauce

Until next time, TBC
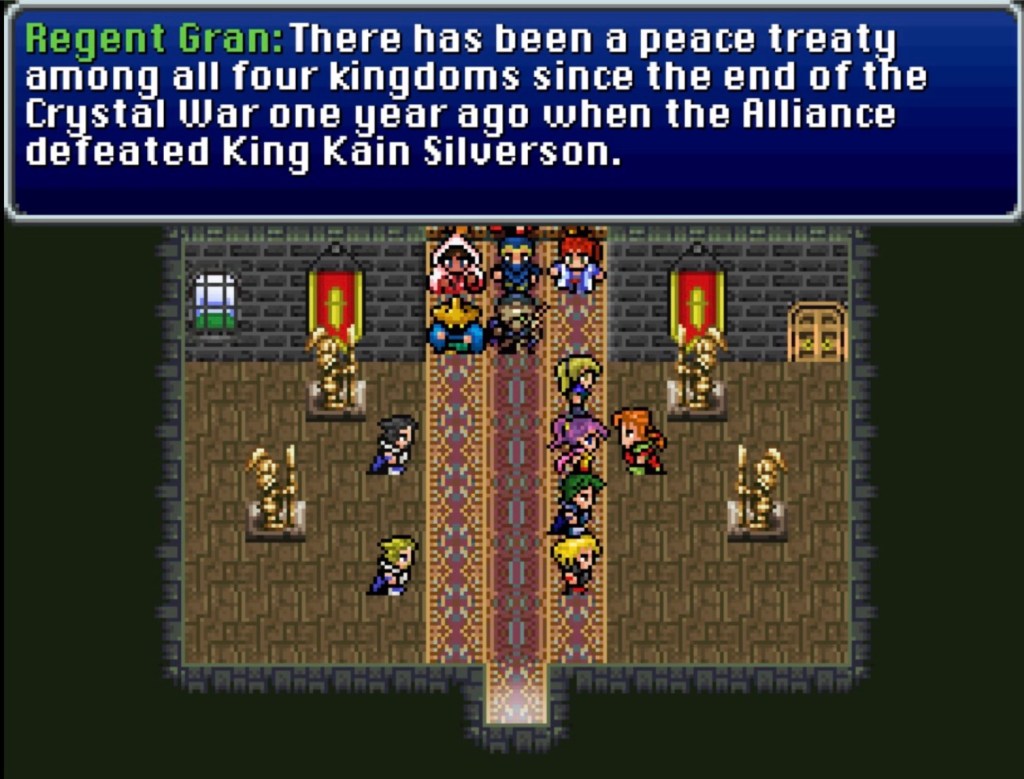
Playing Final Fantasy Blackmoon Prophecy part 11

Moderate spoiler warning

Here’s the first post, should you want to start at the beginning

We are, at this point, looking for Cid in the hopes of maybe recovering the airship.

In a nearby chocobo forest, Choco-Brett has a black chocobo for sale. He says they are fiercely loyal and remain by the side of their human companions (says the human selling them).

All for the low asking price of ten Gs. I had it so I did it.

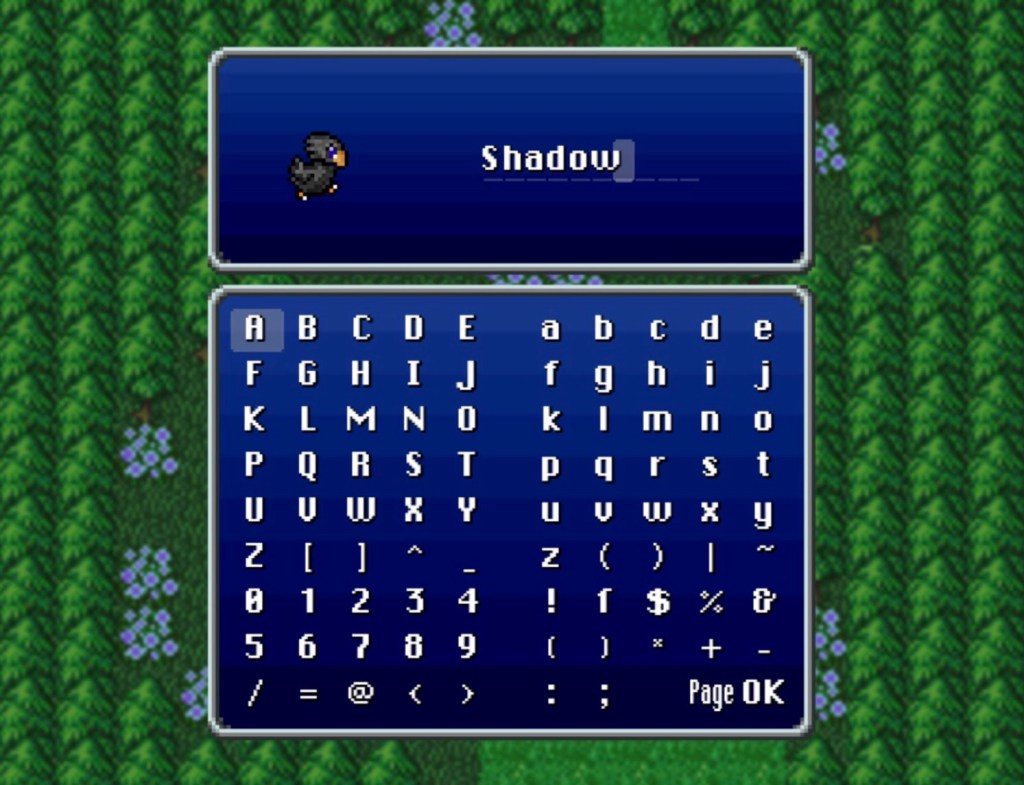
I kinda wanted to change the name to Interceptor but he can be Shadow if he wants.

Like most chocobos, the black ones are partial to Gysahl Greens. Choco-Brett gives us a whistle to summon Shadow but Shadow will only carry us if we have food.

A brief crossing over a reef takes us to a coastal town with Costa del Sol music and a familiar ship docked.

Better Cid in Costa del Vita than Hojo in Costa del Sol. Cid appears to be in perfectly good spirits, running a ferry between Costa del Vita in Ivalice and the western port of Marsh Cove. Shiroma and Cid don’t know where anyone is but Shiroma seems to think that we may find answers of some kind in Mystic Mysidia or Darnacles Castle. Darnacles Castle originally existed in the Esper world but ended up on Gaia during the dimensional contraction. The implication seems to be that Darnacles Castle is a place where the boundaries of the Merged World can be discerned and thereby better plan the search.

Darnacles Castle lies beyond Marshtown, which means going west on Cid’s boat.

En route, our first resting-chatty time happens, kinda like the little dialogue breaks that used to happen at inns. This, however, is a bit more of a (PS1 original) FFVII chatty time when you, the viewpoint character, have to manually walk up to people and talk to them. You can do this in any order but the one I ended up with had some interesting beats of consistency.

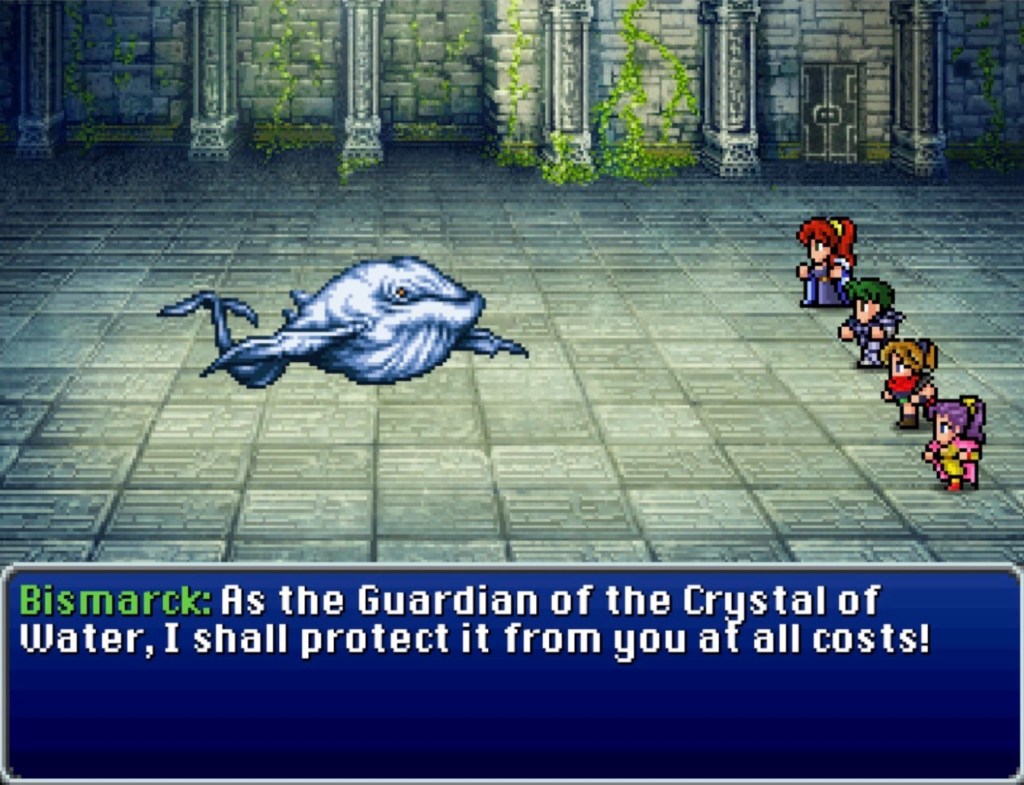
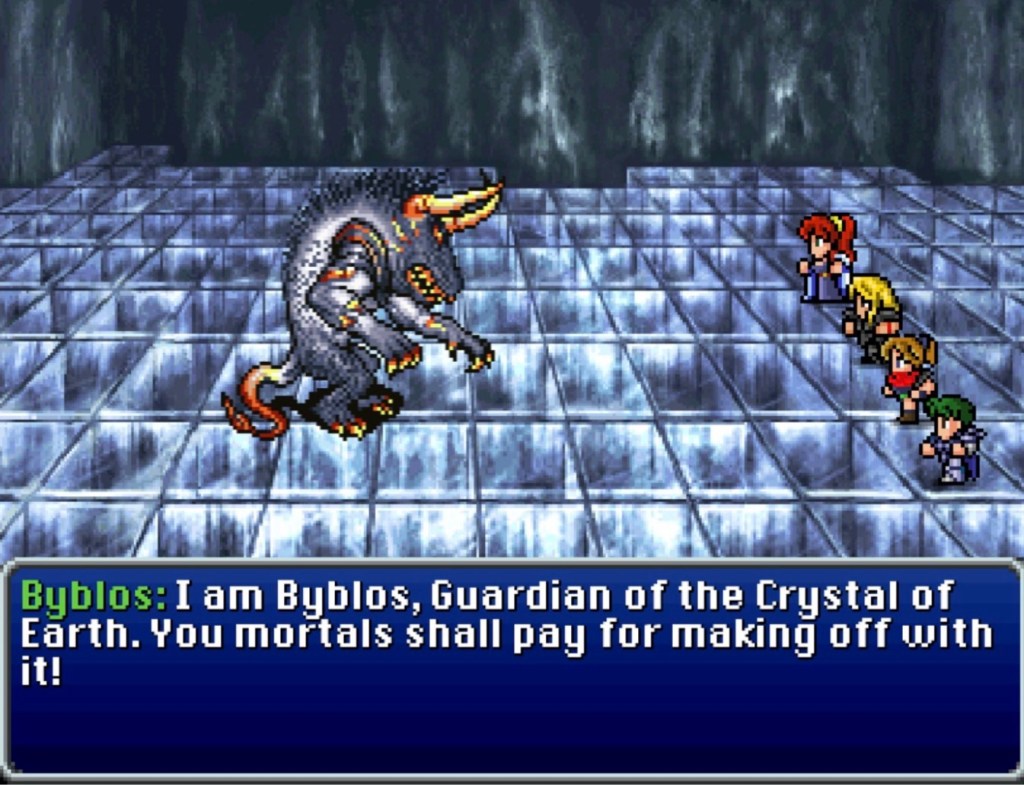
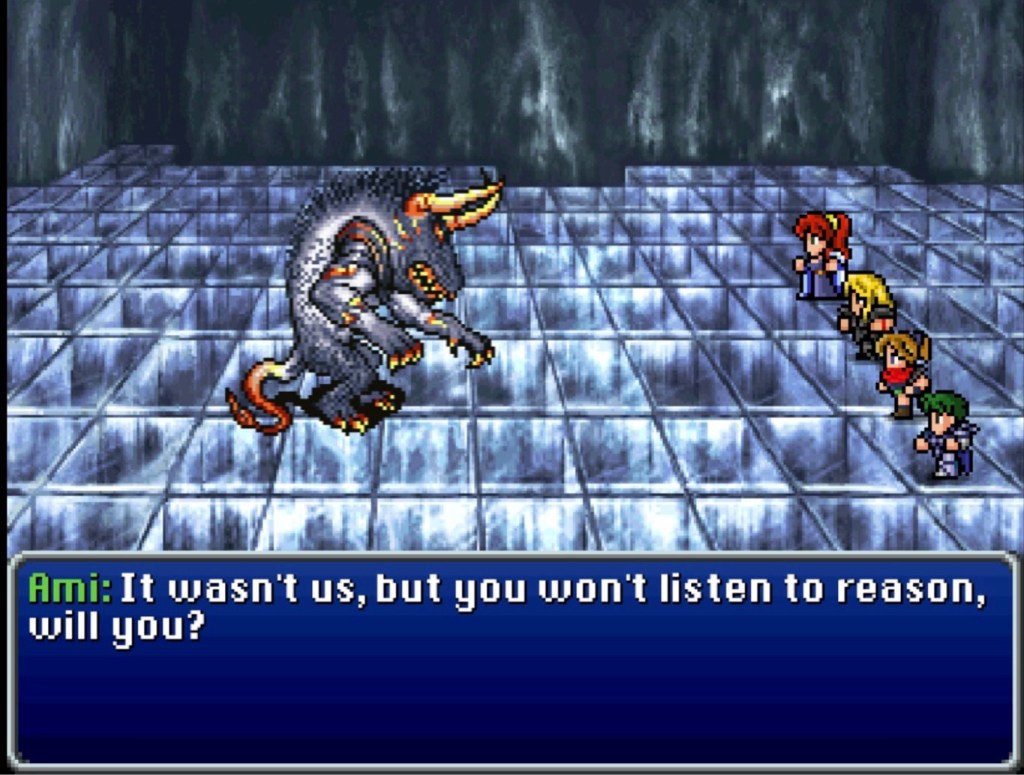
I walked Vahn up to Vera, first, who get things started talking about the erratic behavior of certain Espers we’ve encountered. Five Espers started acting almost animalistic, like Atomos, Carbuncle, Quetzalcoatl and Syldra. Byblos and Bismarck completely missed the loss of their crystals and attacked the party as if they were the first strangers to show up. Vera doesn’t have much to go on other than that things that happen to the crystals also effect Espers on Gaia.

Eventually, Vera has to mention something. “What Emperor Belmont said…I can’t let it go, Vahn. About your father. It was me and my squad who did it, Vahn. I didn’t know how to break the news to you after we learned about your parentage in the Temple of Visions.”

‘Squad’ might be the word that ties that together. Zeul was the one who enacted the mind control on Vahn’s father Kain. Zeul was also responsible for placing Malacore within the Crystal of Water. This attempt to sabotage the kingdom of Branch from within also included sending Braak who was promptly caught and hauled off to the dungeon.

Even if it was definitely an Ivalician military effort to influence Branch…the Ivalician military appeared to have five officers at its’ head: Zeul, Eva, Deckar, Braak and Vera. While ‘ultimate’ responsibility rests with the military of Ivalice, apparently different sections were doing different things. Vera’s words on the boat threw me off at first because when she said “(a)bout your father” I thought she meant the mind-control, which was obviously Zeul’s doing. If Vera did not mean that, than I can only assume that she means the actual killing of Vahn’s father. To Vera and the soldiers under her command, it was probably just a question of disposing of a mind-controlled asset that outlived his usefulness.

The intensity of Vera’s remorse tempted me to wonder if she did not simply send an order through the chain of command.

In any event, the worst thing Vahn has to say about it is that it’s “awkward.” He never knew his father when he was young and spent most of his life assuming that was the way it would be. Concerning Kain, Vahn knew what everyone else knew: he seemed to have gone crazy one day, attempted to seize the elemental crystals and had to be put in his place by every other nation.

By the time Vahn met the shade of his father, he was an adult military man dealing with the realities of things like internecine sabotage and hidden loyalties. He knew, by then, that people wear all kinds of masks for all kinds of reasons.

Kain Silverson, as far as he knew, was a dark and scary historical figure. Learning that Kain was also his father was a shock but not much of one. As a military officer acquainted with espionage, he is used to dealing with abstract values in his head and surprise shifts in alignment. Even learning about his father experiencing mind-control was a little academic: everyone crosses a distance between thinking and acting. Shocking information, of course, but nothing that doesn’t fit neatly within context.

In Vahn’s words, it is awkward. But all of this information about his father came to him in an abstracted form: either in the testimony of Kain’s ghost or that of Emperor Belmont, speaking in retrospect. Vera is directly in front of him and has proven her loyalty by fighting alongside him time and again. Plus, they have feelings for each other. One side of this is going to carry more emotional weight than the other.

Next, we have a little expositive chat with Darius. Darius catches us up on the global, geopolitical consequences of the contracting of the planet’s total surface space. He has also observed that water still exists; can still be made potable, still gets absorbed, still rains from the sky. The wind is still blowing and everyone’s lungs are functioning. Fire and earth still exist as much as they ever have. If the four base elemental crystals were absorbed by Malacore, this absorption has not stopped the normal functioning of those elements. As the conversation ends, Darius wonders out loud why Zeul took Emperor Belmont’s corpse with him on his way out.

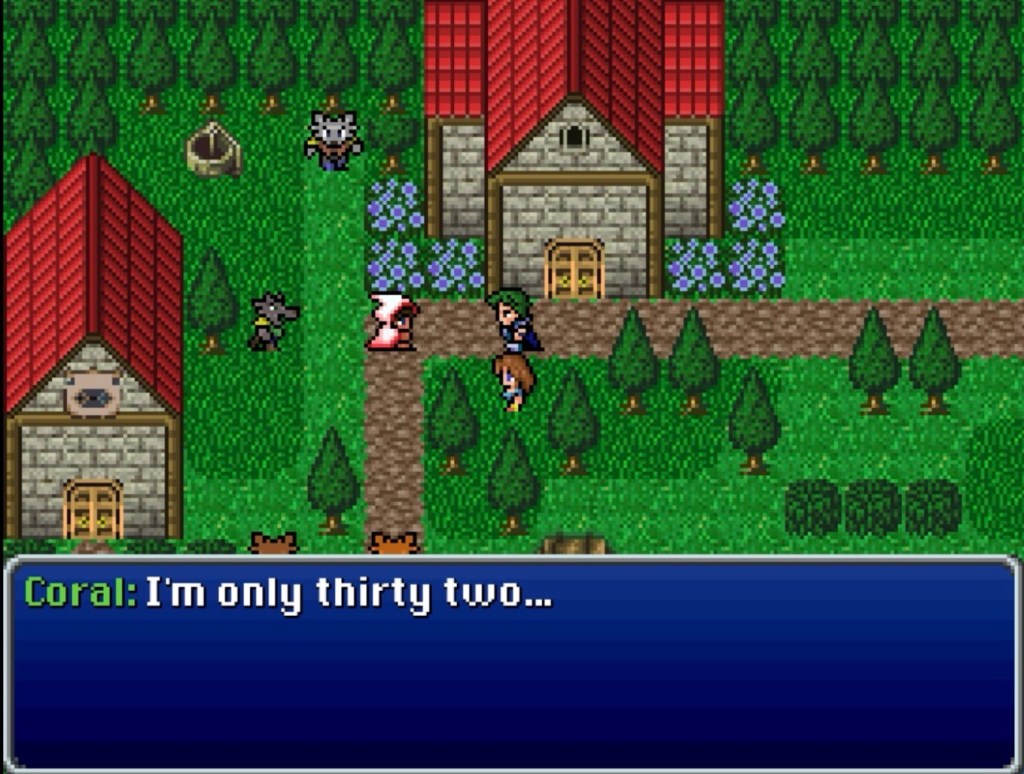
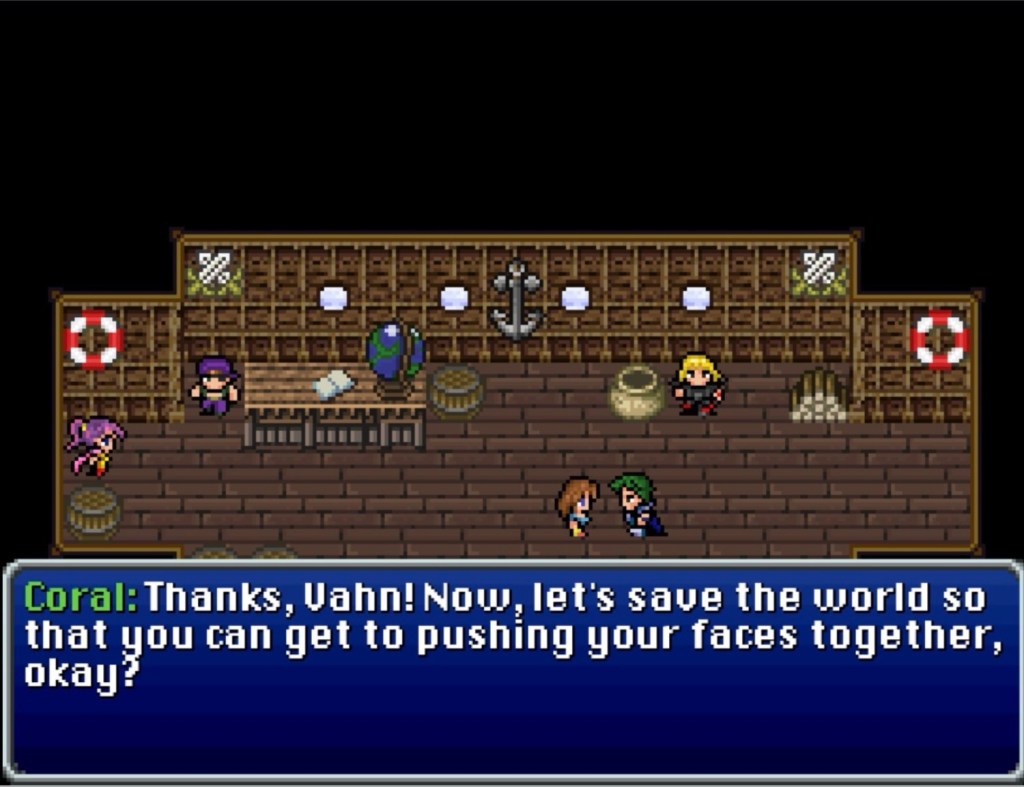
Finally, Coral has questions about Vera: did you two know each other before the cataclysm, etc. Vahn explains everything, including the fact that he and Vera are, tentatively, a couple. She is worried that Vera might resent her as a potential third wheel and Vahn assures her that no one is having paranoid, romantic-cloak-and-dagger thoughts. She ends with “Thanks, Vahn! Now, let’s save the world so that you can get to pushing your faces together, okay?”

I guess that could either be a barb or a joke to diffuse the tension. The overall mood leans toward ice-breaking joke.

Now…upon docking in Marsh Cove, Cid is about as good with verbal directions as he usually is. He only said Darnacles Castle is beyond Marshtown, past “A FEW CAVES” (Cid’s deafness and loudness reminds me of both Gordon Cole from Twin Peaks and Meyer Wolfsheim in The Great Gatsby).

In Marshtown, Mizuda has a bow with +200 to vigor and +45 to speed named Chronicle that she is willing to give to Coral. (Not that it’s a huge detail but do different NPCs use different gendered pronouns while talking about Mizuda? I could have swore she was a woman with people referring to her with her and she. Now one of the villagers says, while talking about Mizuda, that “he” came from Rodenia a long time ago?)

You’ll be sacrificing the reliably frequent slow-infliction from the Strong Bow but the difference in damage dealt is worth it.

If you go as far northwest as possible in Marshtown, you’ll see a path through some trees to the right of the weapons shop. Pass by the old man and the little girl and follow the narrow path between the trees. You’ll soon find a little dock space-looking platform with a treasure chest. This contains the Yojimbo nethicite: 50% passive resistance to blindness and leveling bonuses of +3 to vigor and +1 to luck.

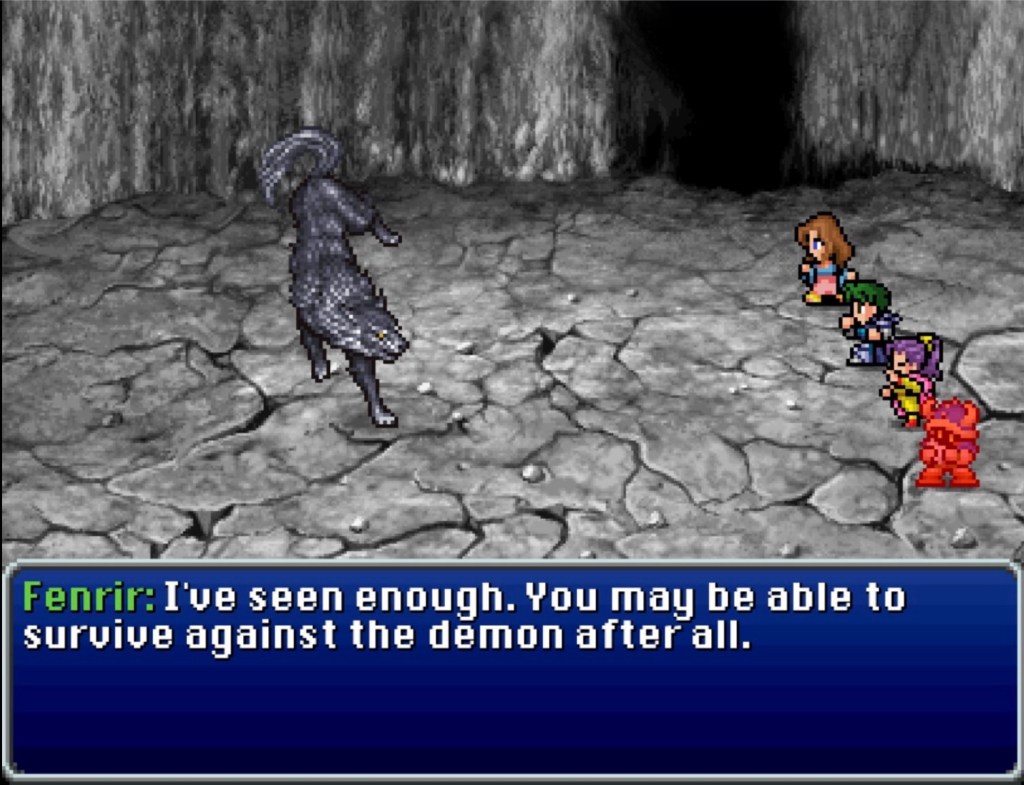
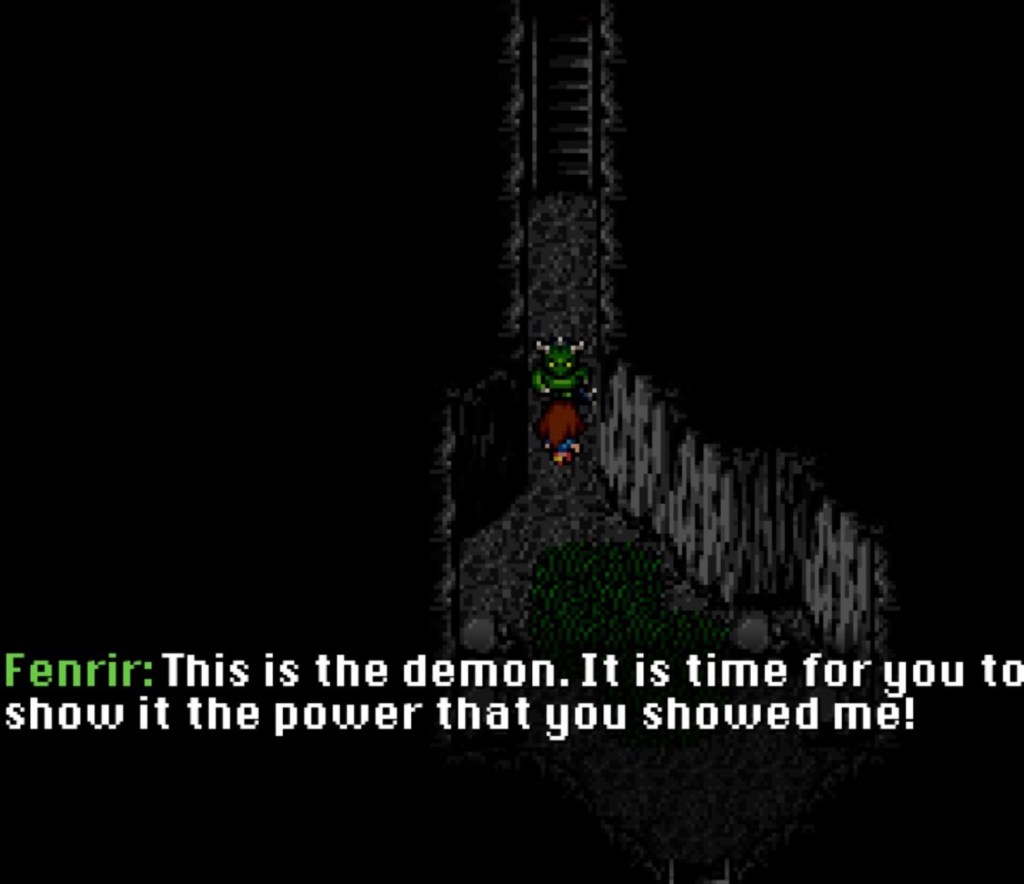
North of Marshtown, the Esper Fenrir guards the entrance of Torian Grotto. He will only let you pass if you prove your strength to him and- having tried it multiple times, early on -I wasn’t sure where the benchmark was. He never attacks; the whole thing is about how much damage you can inflict in a limited amount of time.

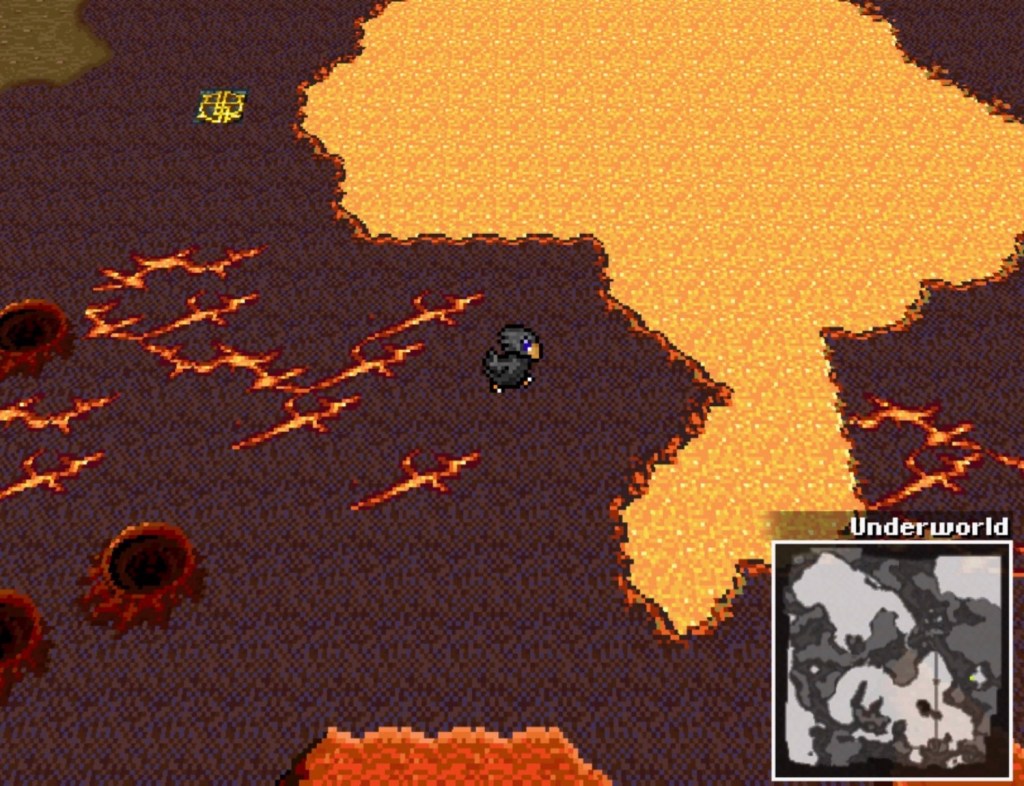
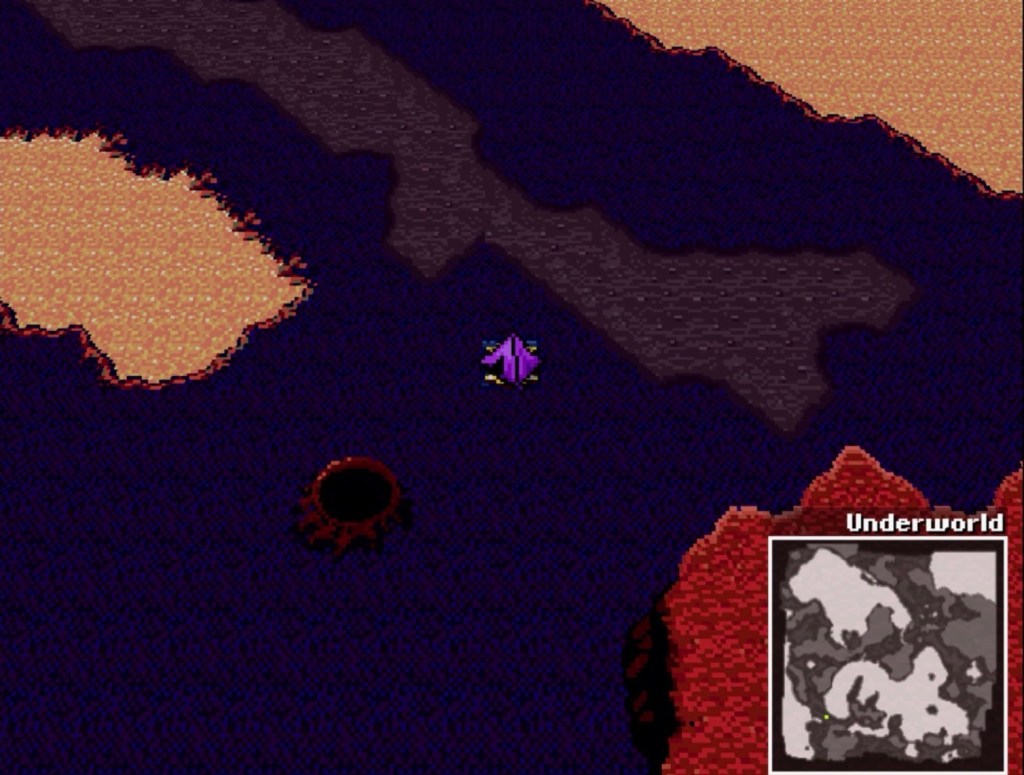
South of Marshtown and east of Marsh Cove is a cave containing Giott’s Elevator. Engineered and staffed by dwarves, it goes to and from the Underworld. Since our only directions are ‘through caves past Marshtown’ and the Underworld is the only place close to this continent where we can move further north at all, it looks like our only viable option.

Hey look, more Chrono Trigger assets!

The monsters in the Underworld are now strong enough to initially make me wonder if this actually was the way forward. If Esto Yensa was the hardest dungeon so far, traveling north in the Underworld is now the hardest combat gauntlet so far.

The Ribbon we stole from Bismarck is seriously useful, down there. With the fixed party, I gave it to Vera. Yes it matters to collect a metric ton of Hi Potions and Mega Potions for Coral but- provided you have both Kirin and Phoenix -then Vera can rescue the party when Coral can’t. It also pays to not have Vera’s offensive summons get canceled because she got status-effected with something mid-turn.

So as much as I enjoyed the mental image of Vera wearing the Fairy Ring, I switched it out for the Ribbon.

The relic slots that don’t have protection from status effects should be used for mitigating or nullifying fire damage. If you don’t have much there (I only had one Fire Ring which of course went to Vera) than hopefully you got some armor with decent fire resistance.

Only after getting the equipment in order was I able to actually try heading north in the Underworld. In the year since the dimensional contraction, the monsters have gotten more vicious and diverse but the overall layout of the inhabited Underworld was only marginally affected. In addition to getting the right equipment in order, you’ll also want to make sure you successfully fight and win a few battles to. The exp difference will help get you more caught up with the monsters.

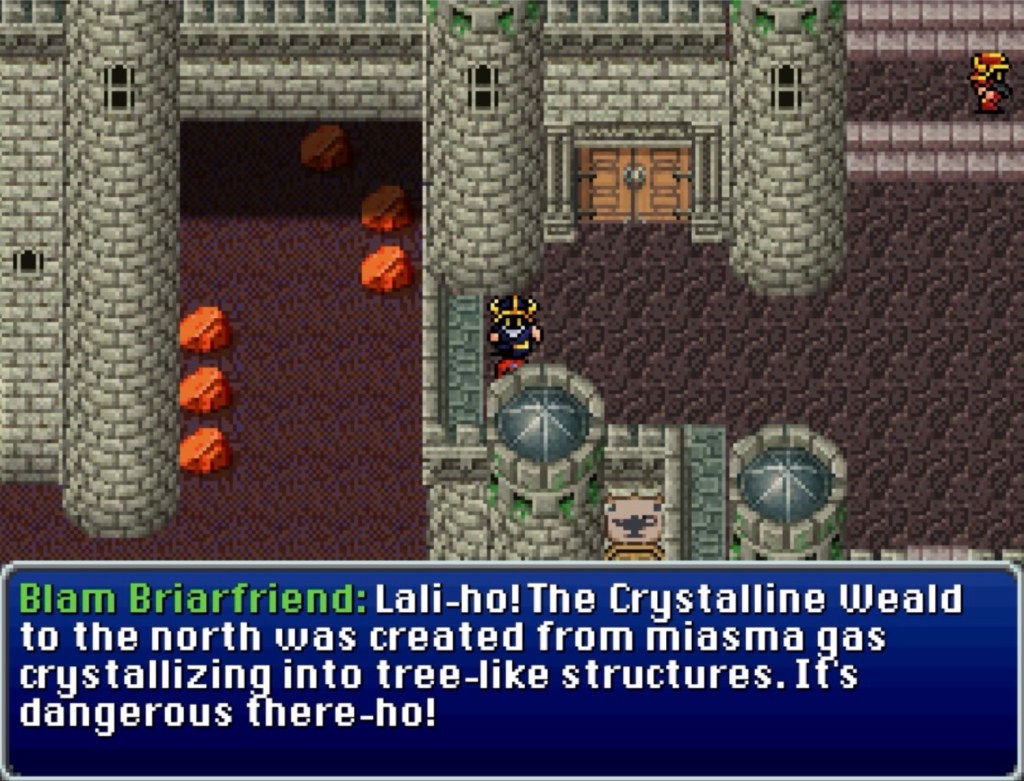
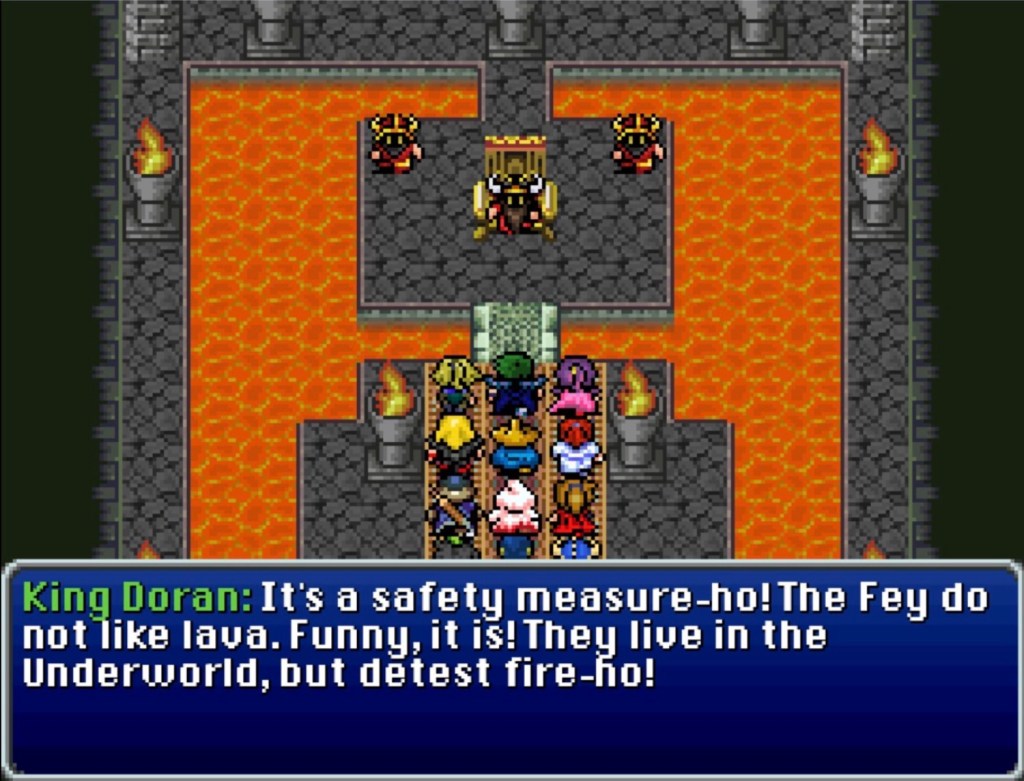
The long bridge leading north from Giott’s Elevator ends shortly before Castle Tomra of the dwarves, where everydwarfs dialogue is exactly the same as the last time we were here. Last time, didn’t King Doran say that the gates of the Crystal Weald are only opened occasionally? and if there’s no new dialogue addressing the new situation than…than…

Fortunately the gates were unlocked- it’s just easy to miss. The entrance point in the gate is where there’s a teeny tiny little dip in the otherwise straight top.

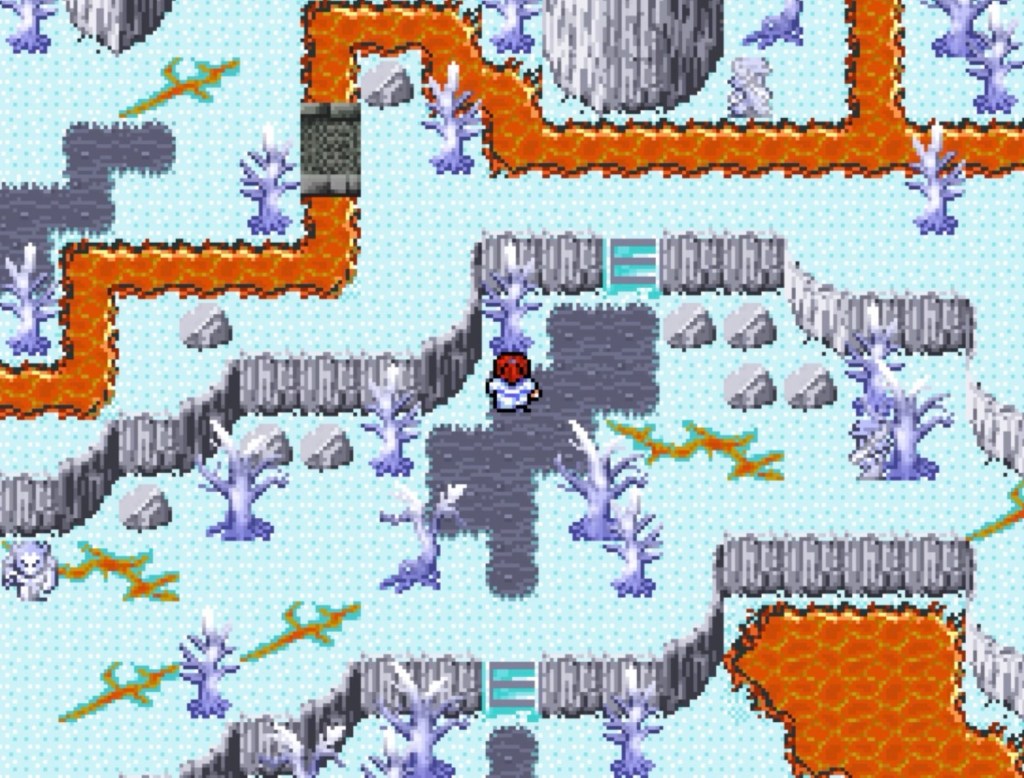
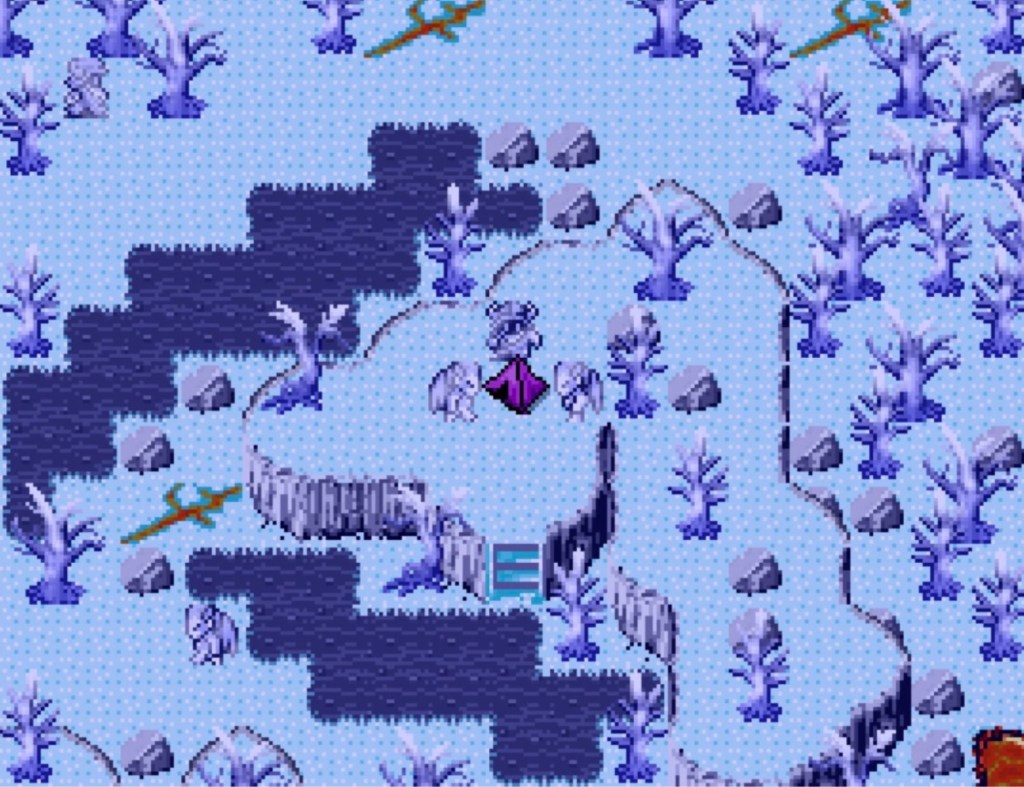
In the Crystal Weald, the monsters are- fortunately -exactly the same as when we passed through earlier. Either talk to the moogle to go straight to the other end or enjoy the leisurely stroll with its relatively risk-free-yet-substandard exp yield.

Not knowing what else to try, I pushed on to the Fey Spire and found that it no longer existed. I then searched for a route back to the surface in the Torrid Grotto, to the east of the camp site beyond the Crystal Weald.

I muddled through that whole thing with it’s meager haul of gil, low-level restorative items and Shards. Like-

Shards are fine, I guess. Shards are a part of how character building can work in this game. There’s only one or two there, though.

Little by little, inching through, getting wrecked by monsters and going back to the entrance to use a tent and inching a little further…emptying the chests was more of a way for me to track my progress, anyway.

What Torrid Grotto did not have was a route to the surface.

…

At this point I was starting to wonder if I even did a single thing right since disembarking at Marsh Cove. What if there’s some NPC, right outside of the harbor, who just shows you the direct way forward on the surface?

Before starting from square one again…I had a funny idea. On the surface, Shadow responds to the Chocobo Whistle. Let us assume, for now, that this has something to do with the chocobo’s potentially supernatural hearing and that the chocobo is typically outside when they hear it. We are typically outside when we’re blowing it.

This would make no damn sense but it would be 100% consistent with certain early-to-mid-nineties JRPG conventions.

Wow. It worked. Shadow heard the Chocobo Whistle sounding from beneath the surface of Gaia and appeared before us in the Underworld.

So…I’m kind of a nut…but is it possible that the chocobo Shadow is a local incarnation of FFVI Shadow? Unstoppable, everywhere you need him and “fiercely loyal” sounds kinda familiar…

Anyway.

Having a chocobo to ride means no more monster encounters. I just did a big fat slog through monsters that can easily KO the whole party in one or two turns for no reason ^^

Well maybe not no reason. Grinding is grinding.

So…

After I got back on the right side of the Crystal Weald, I went down toward the southeast corner of the Underworld map. Eventually I found Jachol Cave, which I initially took for the path that led us into the Underworld the first time.

But it wasn’t. It was a Lost-Woods-like maze of four-way paths with slight changes with the rocks and pebbles which may or may not have meaning.

After flipping through my screen caps, I figured out where I was going.

X_X

Maybe Jachol Cave was the right place to start after all. It’s an X factor but it’s also looking like the only thing that might not be a dead end.

Before that, though, I made a little stop.

Who knows. Maybe those character-specific-obstacle-transcendence abilities aren’t gone from the game yet.

I returned to Jachol Cave with Brindle at the head of the party and no obstacle-transcendence was forthcoming. I hadn’t hit the dead end yet, though.

It becomes obvious that the differing piles of rocks and pebbles are not unique to individual rooms, there still may be patterns. If the rock piles stay exactly the same while you’re heading in one direction, you’ve hit a wall. Returning to a room you just left always produces a room with different rock piles. Systematically rotating directions always returns you to the maze entrance (logically it should lead back to the first four-way room but we know better than to default to logic here- only patterns).

Alternating east-to-north in a stairway pattern will produce two rooms with the same two alternating rock piles over and over again. An alternating west-to-north pattern will do the same thing. Reversing these rotations toward the south brings you back to the entrance.

The problem is that it might not make any sense to treat this as a physical maze with consistent locations. This is likely not a scenario in which drawing a map will help. A sequence of directions that goes somewhere may be an arbitrary combo, like the button pressing sequences in a fighting game.

Somehow, though, I did it.

I have no idea how but I did. Save points are often situated before boss rooms or entrances or exits. This one is right before a locked, blue chest. And nothing but.

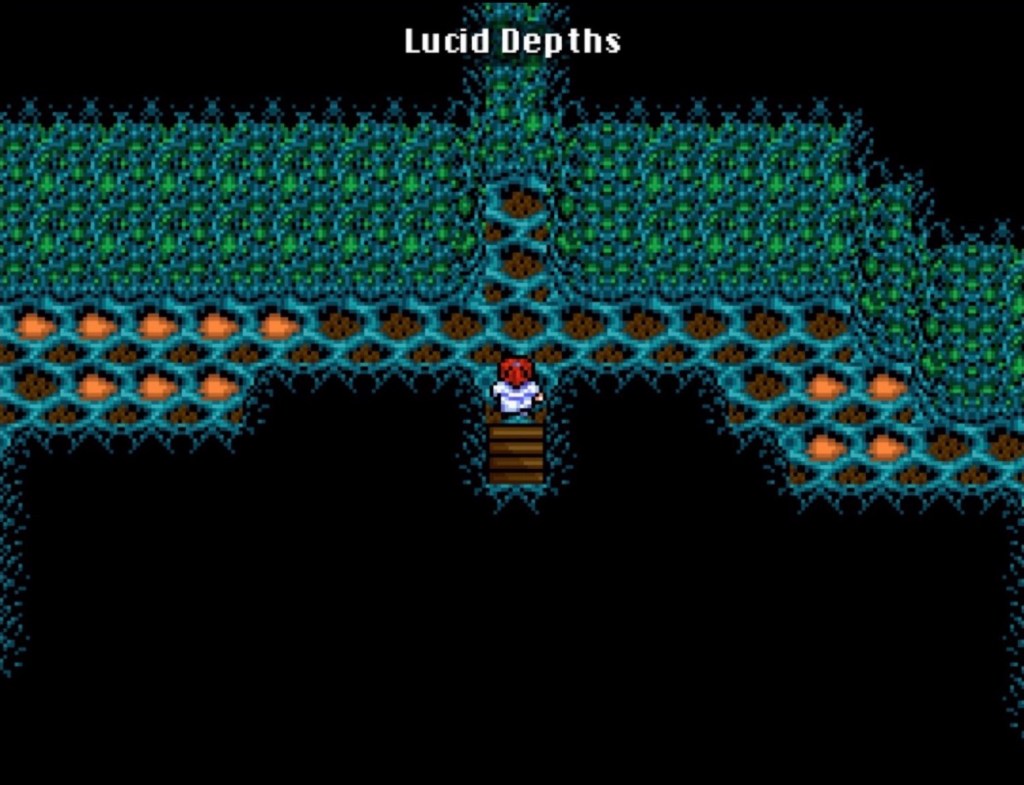
In my desperation, I did more exploring and found that Balmag is the first town in awhile with a magic item shop, to restock for Coral’s Absolute 0 and Firestorm attacks. A cave called the Obsidian Hollow was a complete bust. If you explore every last inch of the Lucid Depths, there is an Artifact for Bosche, if / when we ever get him back into the party. While scrounging for literally any place in the Underworld I haven’t been yet, I found another glitch and this one was fun for a change.

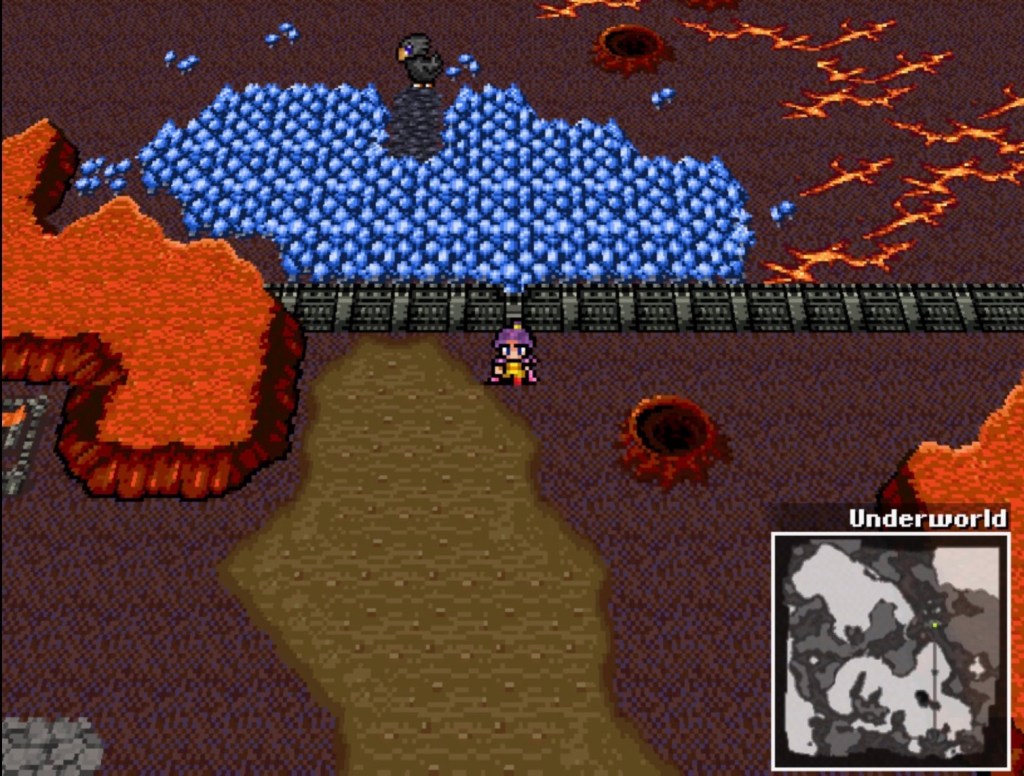
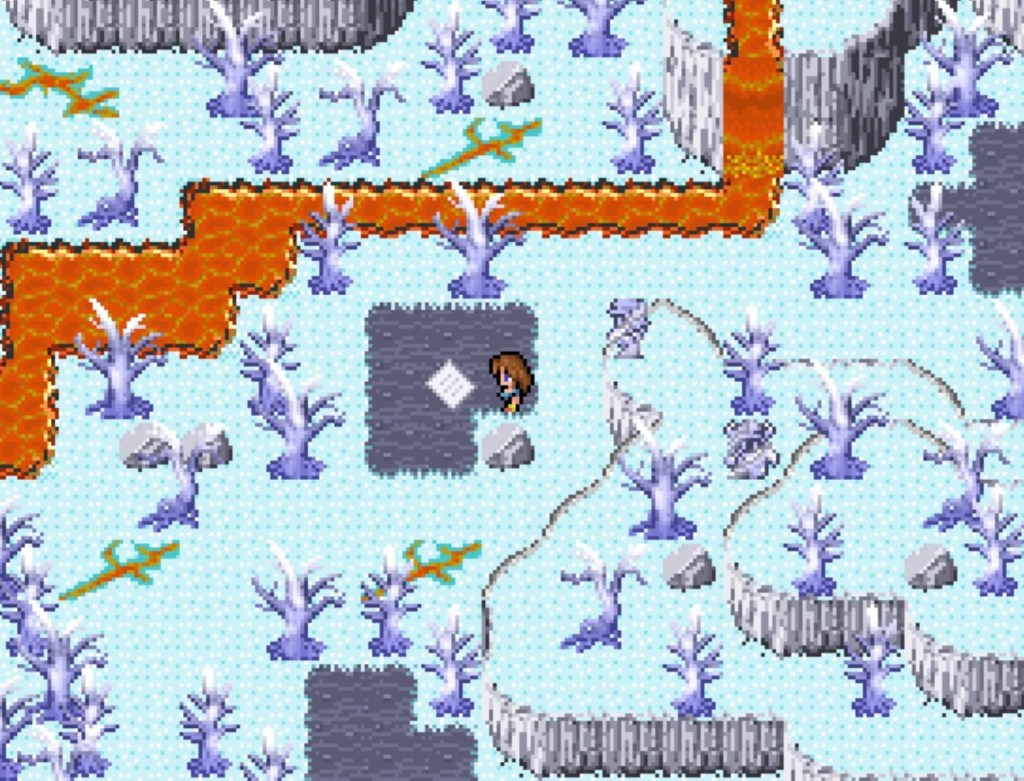
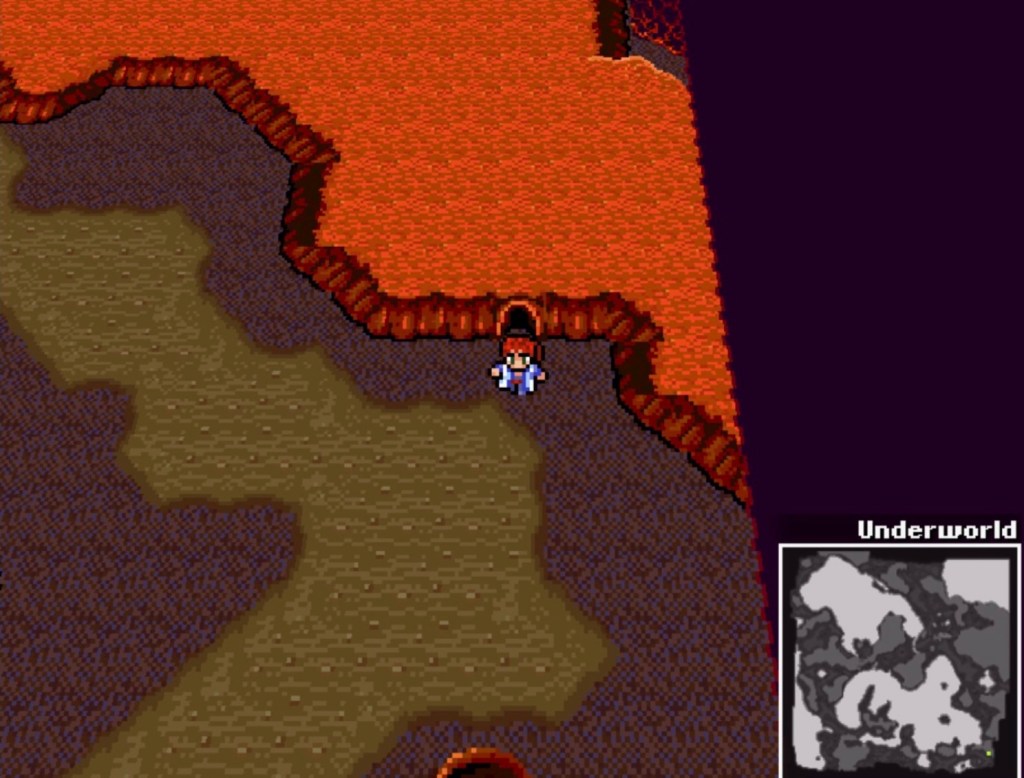
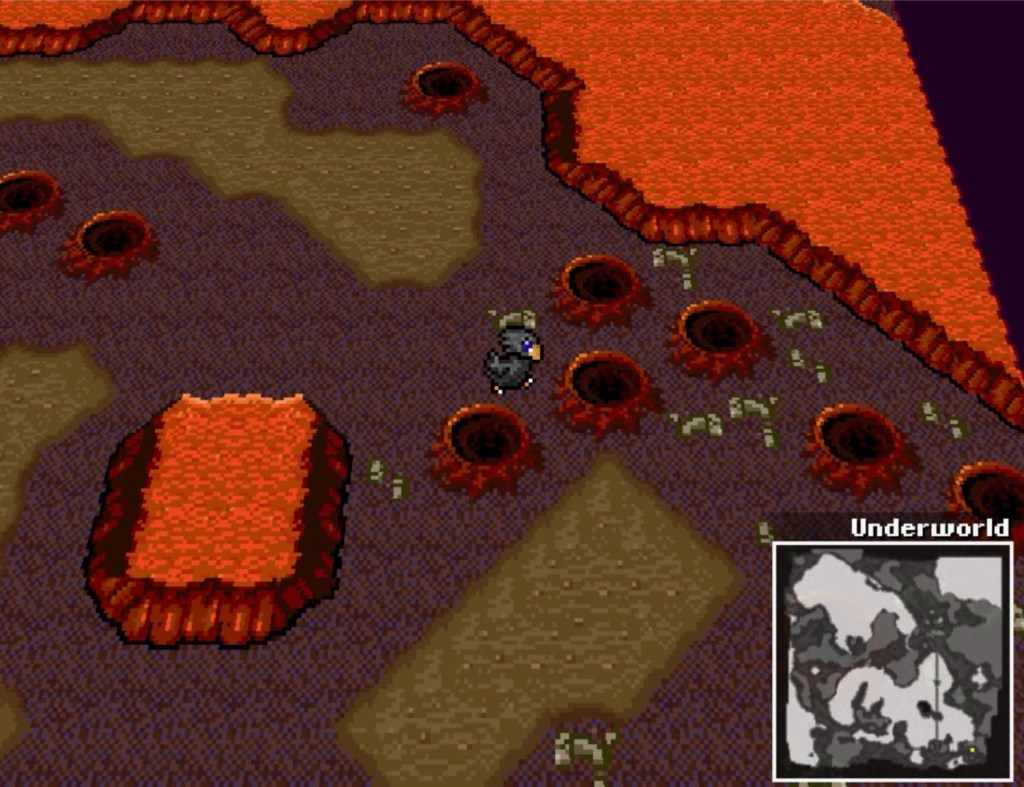
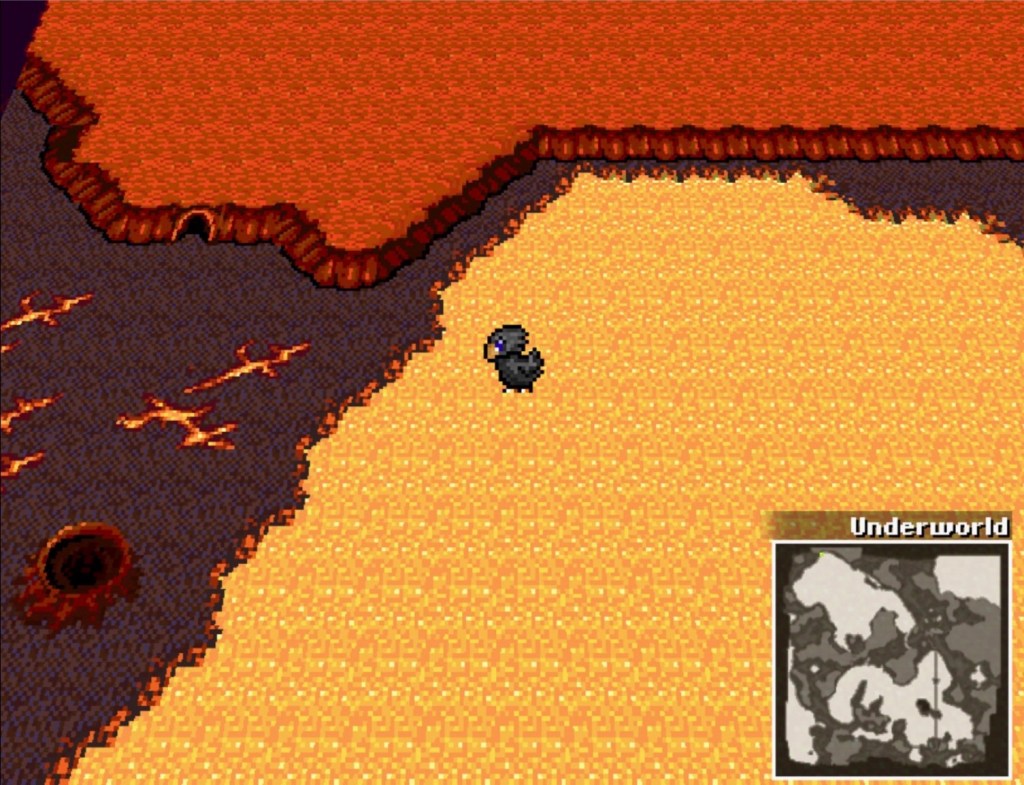
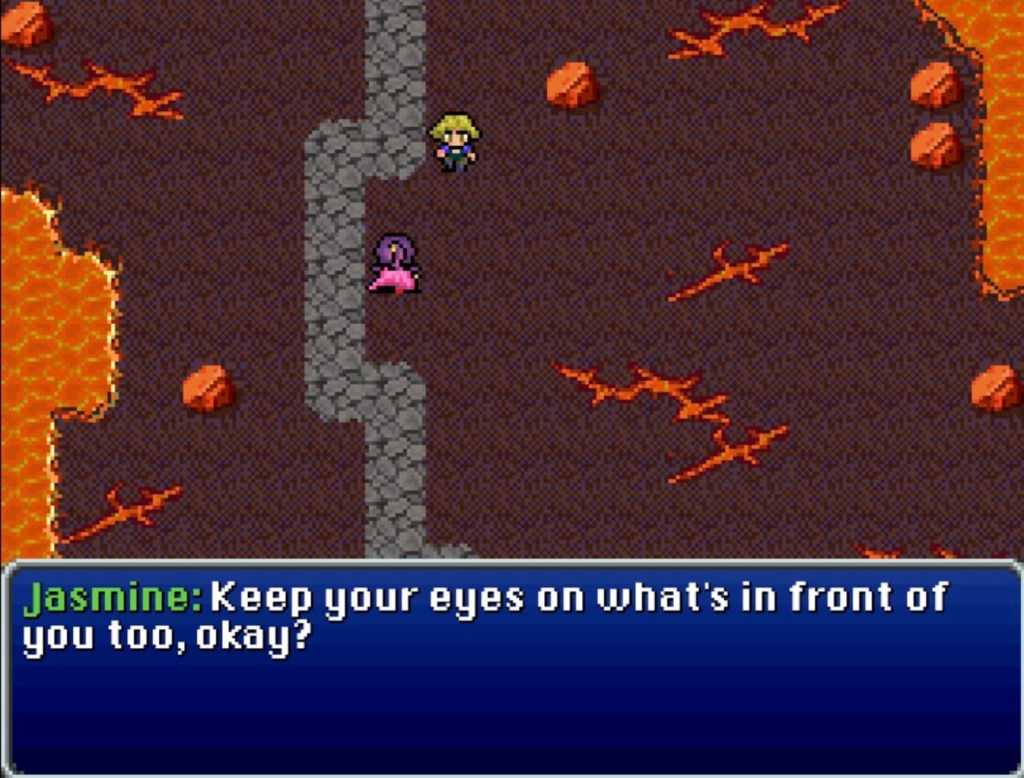
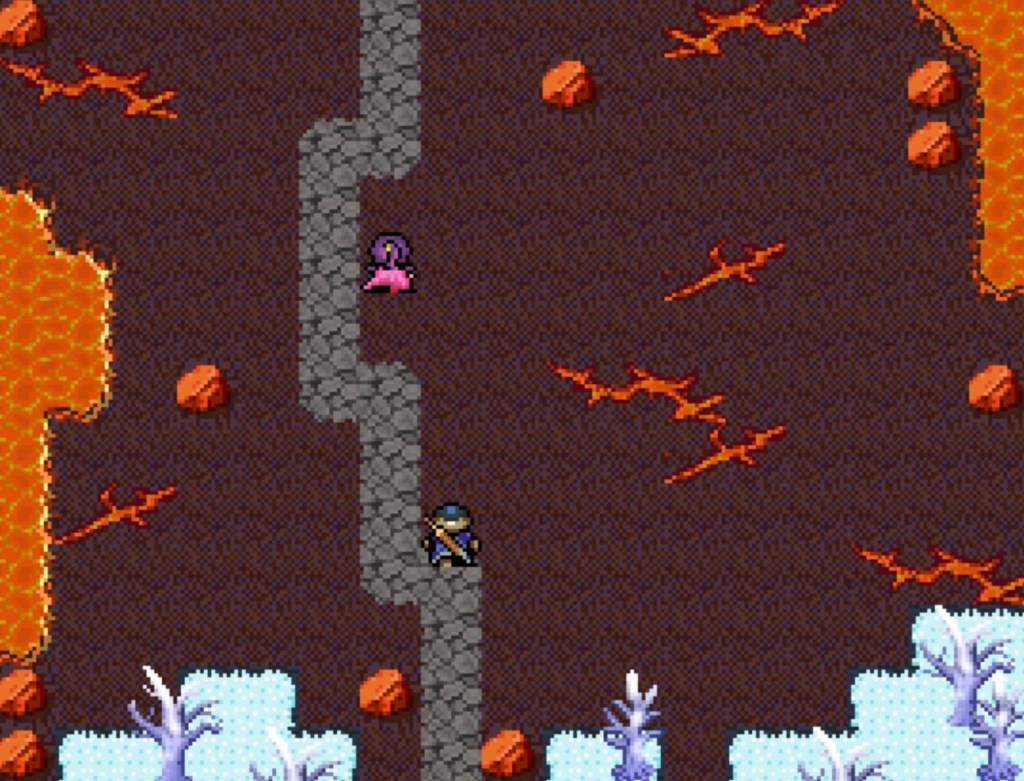
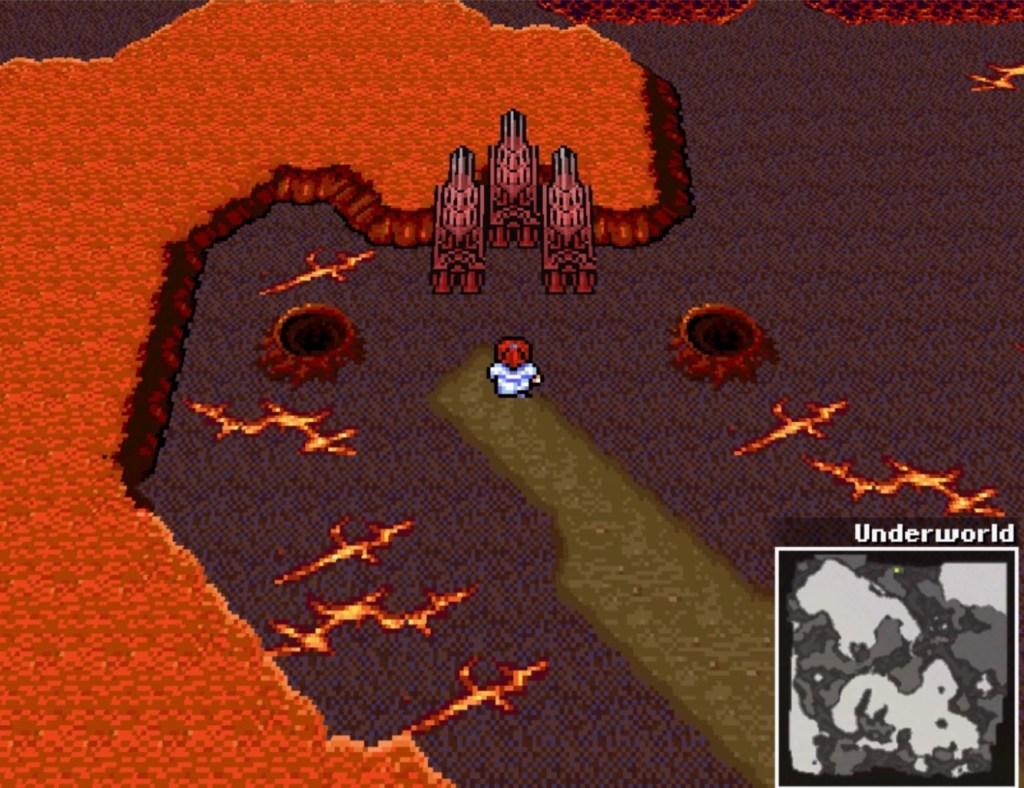
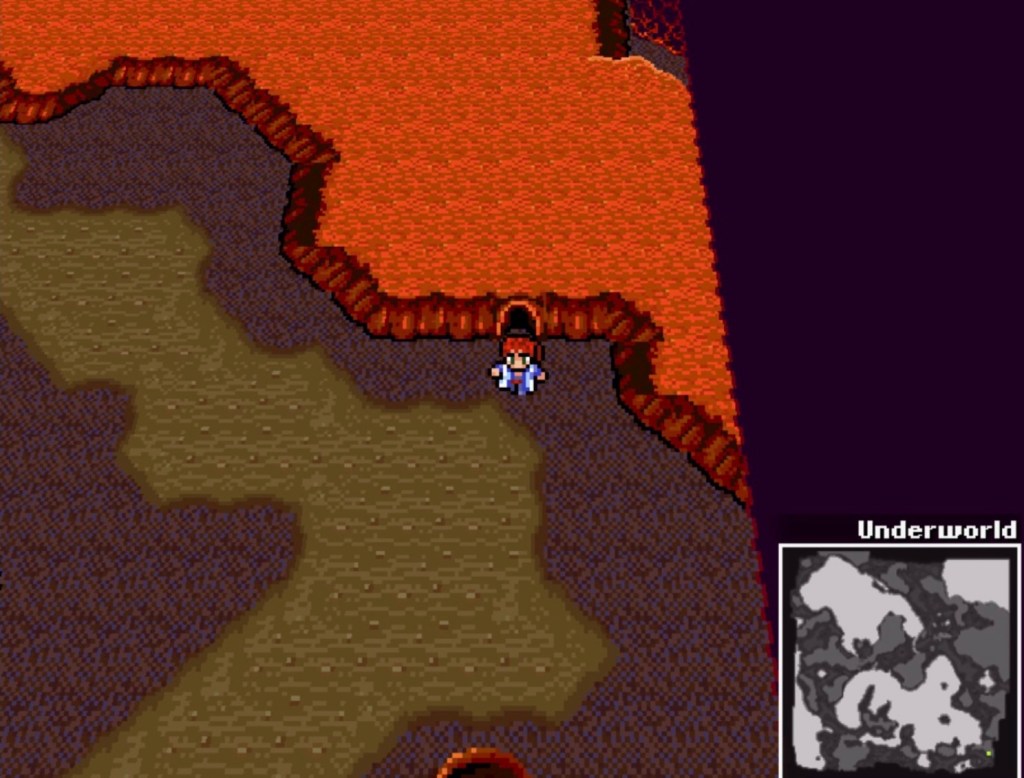
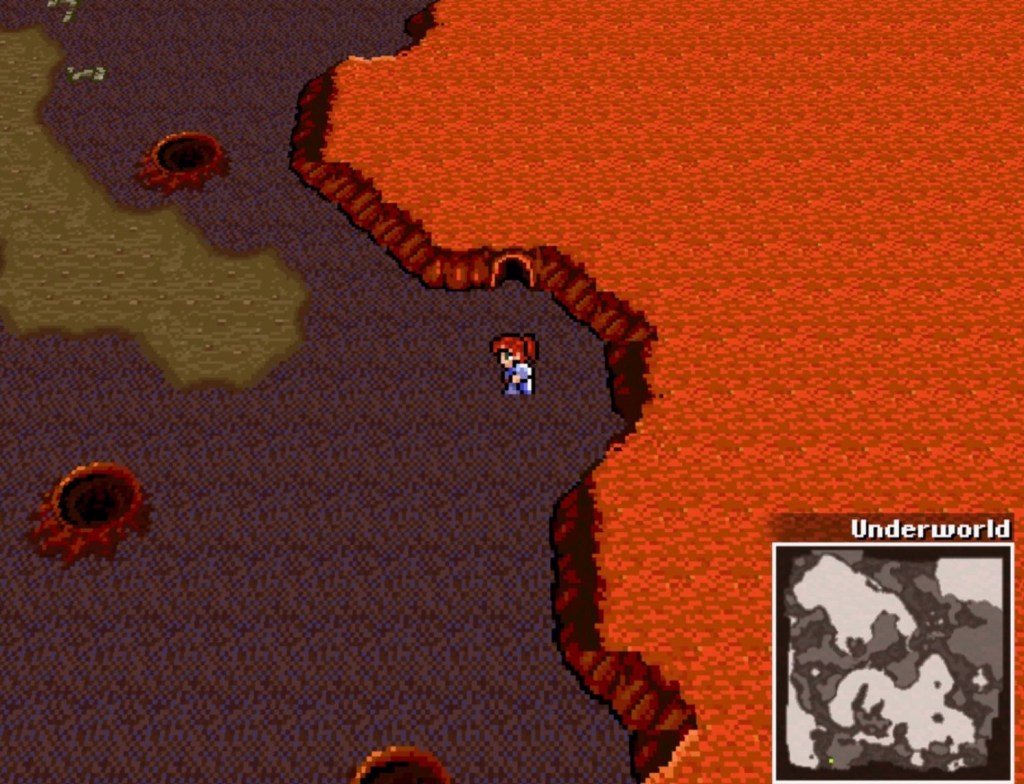
If black chocobos in this game were meant to be capable of running over lava that would be bad-ass…but I don’t think they are. If it was supposed to happen, there probably wouldn’t be two unmarked lava banks as the exclusive entrance points. Prolly just a collision detection oversight.

BTW- since Final Fantasy Blackmoon Prophecy Remake went up on itch.io, there have been a number of updates. If you haven’t downloaded the game yet, then you can do so now and potentially experience none of the glitches I’ve mentioned so far.

Back to the game-

Through process of elimination, my search led me to the Living Cavern. The level of difficulty suggests that this place was designed to be accessed during the first visit to the Underworld. In a hollow to the far northwest, the Golem magicite waits.

Ultimately, though, there was no path to the surface there, either.

One thing I have not done yet? Actually walk all the way through the Crystal Weald for a second time. Since then, I’ve been going from one end to the other by moogle D:

One thing I found, during round two? A Catoblebas magicite! I wasn’t expecting to encounter those creatures as an Esper-shade summoned by their crystallized remains but I can see it.

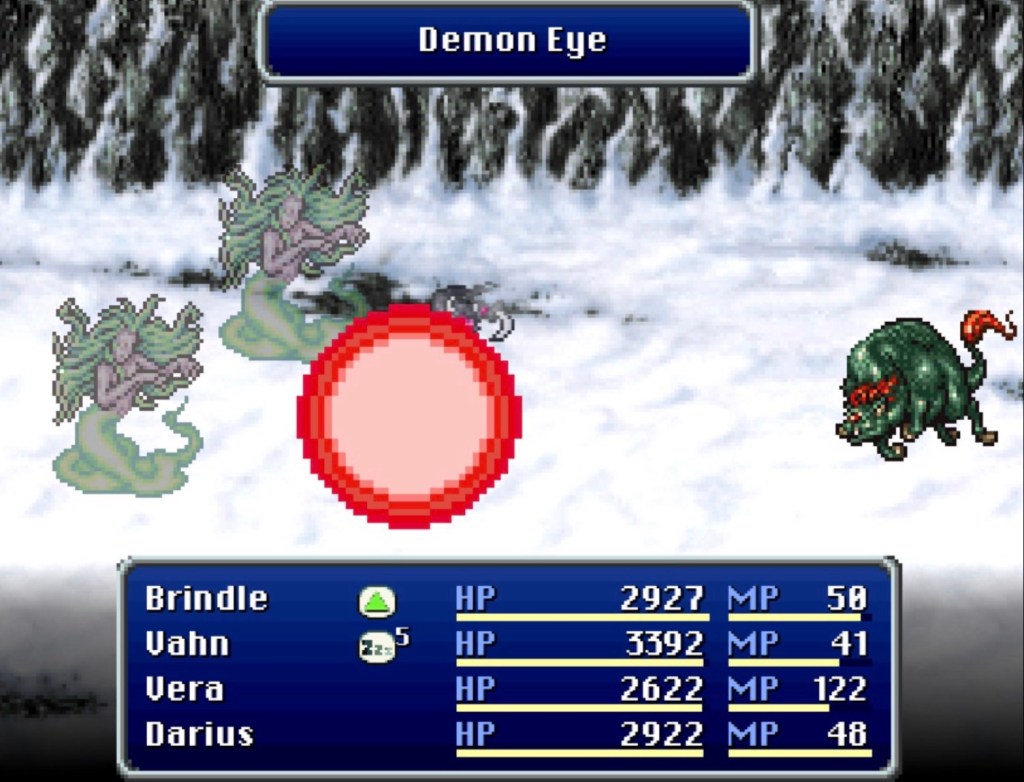
Sometimes, the Catoblebas’ Demon Eye attack will make one or more enemies drop dead on the spot, which is unexpected since the ‘ability’ menu description says that Demon Eye petrifies.

Unfortunately, that was the only noteworthy thing I found upon returning to the Crystal Weald.

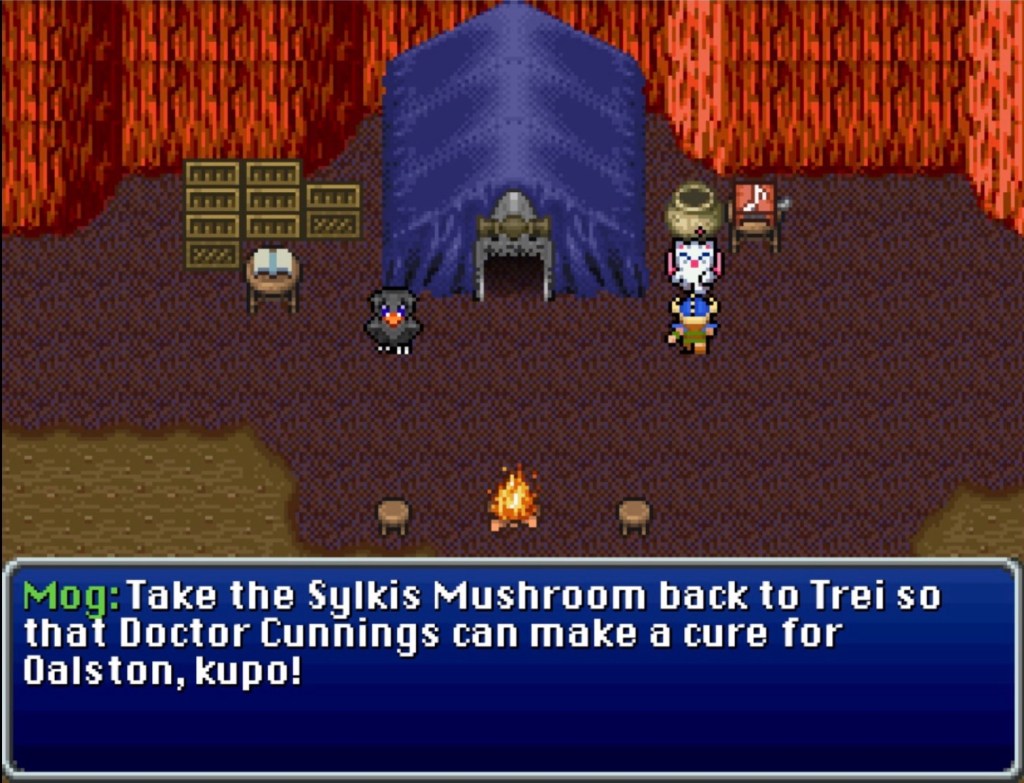
In the demon village of Vos, attitudes have grown more sympathetic to the neighboring humans at Valefor Fortress. Upon our visit, Colonel Talbard is troubled by news of the upheaval on the surface. He wants to begin relief-effort expeditions above ground. Unfortunately, he and his soldiers don’t have a plan to get there outside of Giott’s Elevator. What they are willing to do, though, is follow the party’s camp around, search around us and bring us treasure they find. For ten-thousand gil, they will travel to various surface locations without us, providing help wherever it is needed. Because of all the gil I hoarded from all the monster encounters, I sent them on several of these expeditions with nothing but random handfuls of stuff to show for it. I mean, there was some decent gear in some of the treasure they brought back but none of those expeditions brought us any closer to Castle Darnacles.

At this rate it wasn’t long before I lost all of my patience with the Underworld and went back up. I took Cid’s ferry back to Costa del Vita and rode Shadow everywhere I possibly could. It would be weird if the next step in the progression was in the opposite direction that the story framing and plot told us to go…but over on the western land mass, there’s Giott’s Elevator going to the Underworld and a rather non-specific combat benchmark. A hitherto unbeatable enemy could be something you can grind your way past or it might be a brick wall that won’t go away until the plot says so.

In any event…taking a second run at Fenrir north of Marshtown was one of the few things I hadn’t done.

It went the same way as last time for awhile, then I switched Darius out for Brindle and gave Brindle new equipment (the dual-wielded weapons he ended up with were the Morningstar and the Basanite Axe). Brindle was completely incapable of hitting Fenrir so I gave him a Sniper Sight so he can’t miss any more. Earlier, I was using Vahn’s Jump as frequently as I could since it dealt higher damage on average. The problem is that Jump requires one turn to pass before Vahn lands with the spear and we seem to have four-to-five turns before Fenrir decides we’re not worth the effort. One of my reasons for bringing in Brindle was that Darius casting Shadow Veil for maximum damage required a turn to go by before we can start with Darkside or Dark Wave (learned at level 25).

Brindle’s Heavy attack requires MP and he has virtually none, so I fed him every Miracle Fruit I had left which got his MP into the fifties and gave him all of my remaining Gold Apples, which permanently increase all stats by one- kinda-sorta like a Rare Candy from Pokemon without the visible level increase.

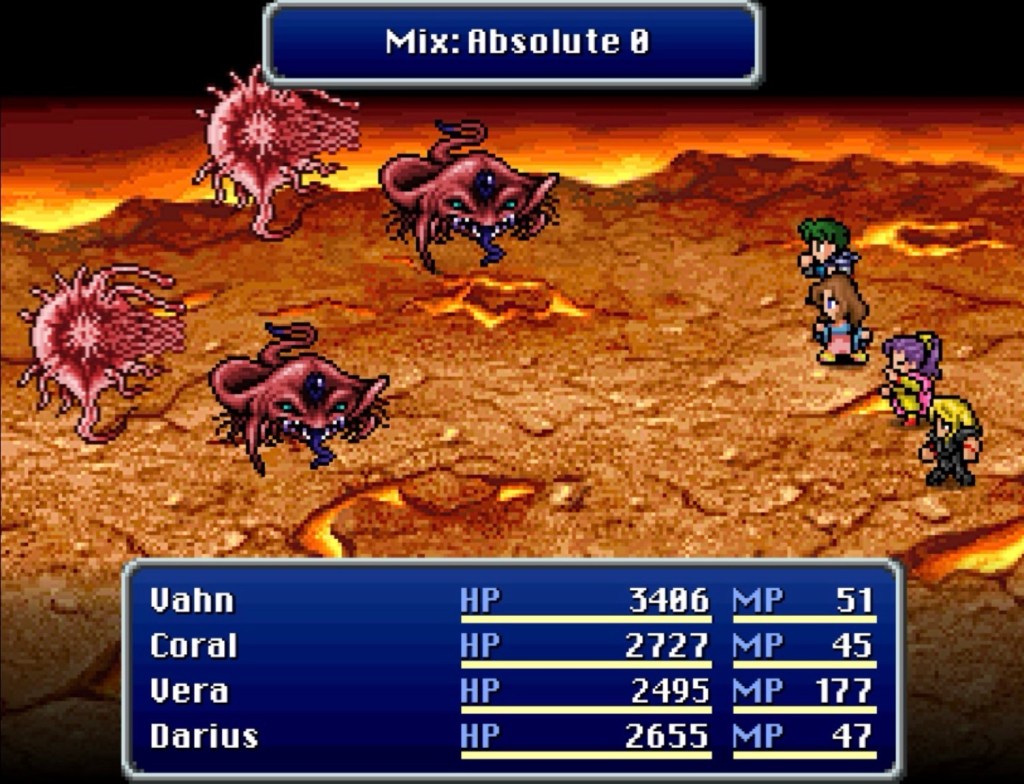
So no one was allowed to pass a turn without dealing as much damage as they can and Brindle had enough MP to use Heavy during every turn without missing. Coral had also learned Supercell by then (acquired at level 34), which sacrifices three Swift Bolts for lightening damage against the whole opposing party. I don’t know if Fenrir has elemental affinities but Supercell hit him harder than any of her other offensive Mixtures. Out of Vera’s summons, Catoblebas dealt higher consistent damage to Fenrir than anything else. Ifrit hit hardest after Catoblebas, then Ramah. Shiva did the least damage against him, so I just rotated through the other three according to her cool-down periods.

It fucking worked.

That and, presumably, all the grinding and Shard gobbling I did in the Underworld. Fenrir was also apparently a ghost Esper, since he promptly bequeathed his magicite to Vera upon our passing his test. Coral and Vahn were both level 35, Vera was level 32 and Brindle was level 25, for whatever context that might be worth. Vahn and Vera had been using various nethicite crystals and consumed a number of Shards throughout the game until then and I of course used Miracle Fruits to get Brindle’s max MP up which also substantially increased his max HP.

Because of both the Umberbloom and Dirtlasher monsters, it pays to have Coral’s Antivenom Mixture (learned at level 32). Eight Antidotes are expended to give any single party member immunity from poison for the rest of the battle. It can also be used to treat poison. It grants the immunity in either event.

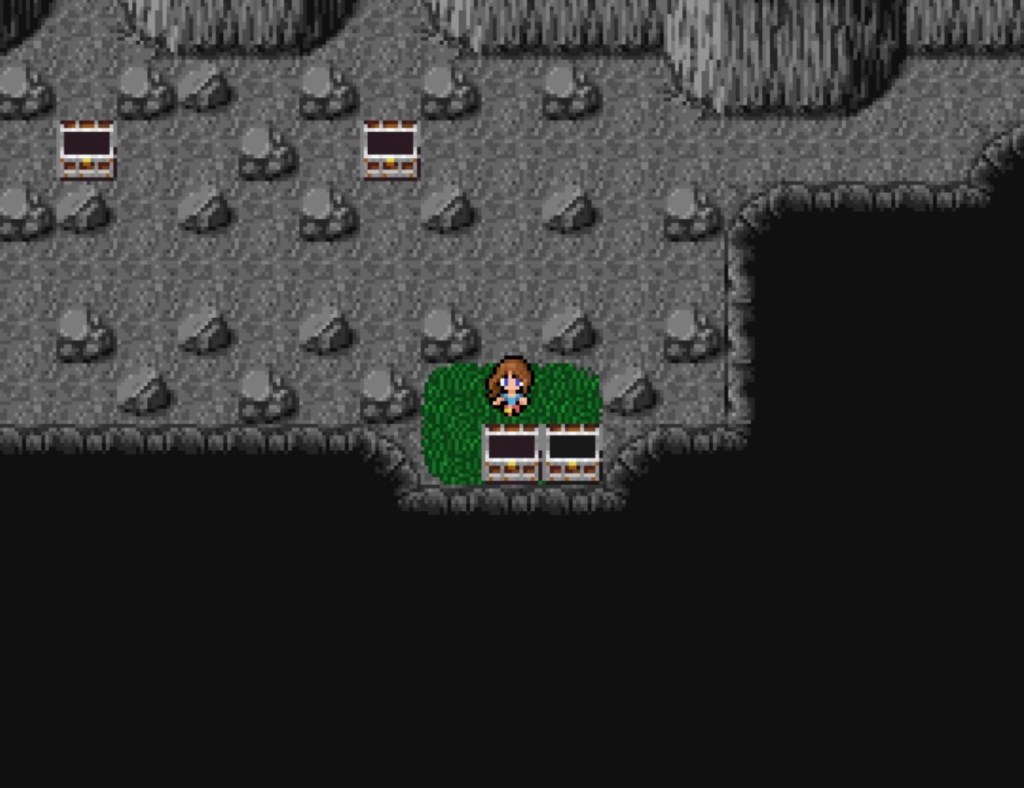
Eventually, you’ll get to this room. It may not seem intuitive but you can push the empty treasure chests by standing in front of them and pressing the interact button.

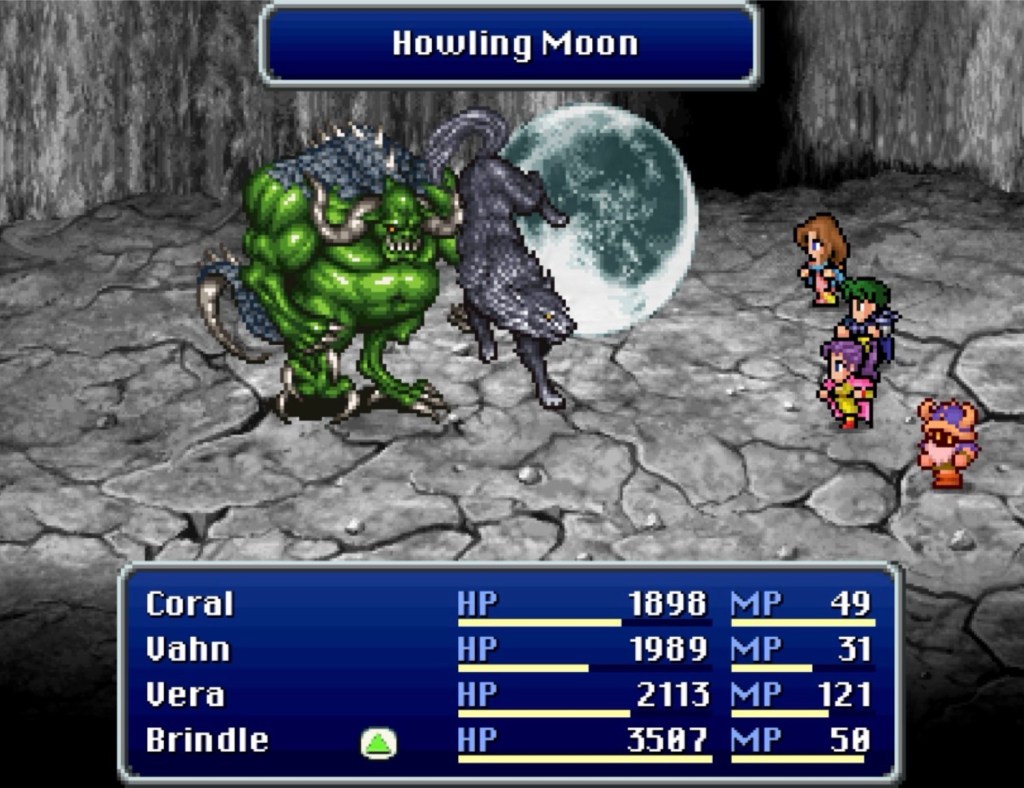
Maybe it was all the leveling the party did in the Underworld but the demon Phunbaba did not last long at all. Vahn alternated healing duty with Vera (Reis’s Wind and Kirin, respectively) while Coral and Brindle kept the damage coming. I used one Hyper Ether. Vera summoning Fenrir helps to: his Howling Moon ability grants haste to the entire party. Planning moves gets easier when every one of yours happens before theirs.

The camp site, outside? The name Auslen is listed next to a northeast arrow on its little MogNet GPS Service text box. Auslen and Mystic Mysidia were two of the cities that Cid told us we would pass on our way to Darnacles Castle.

This was it.

At least one path forward includes proving your strength to Fenrir and defeating Phunbaba.

I don’t think I’ve encountered a normal Final Fantasy difficulty spike since playing through XIII and discovering the different versions of IV. Come to think of it…maybe all of A Realm Reborn in XIV counts as a typical FF difficulty spike?

XV had nothing of the kind. XVI is harder than XV but stays pretty consistent with each rung of difficulty resting just over where you are (unless you move the difficulty above normal or attempt any of the late-game DLC).

What just happened wasn’t exactly like that, though. Fenrir assesses the damage you can do in four-to-five turns. A gate that only opens once you do a certain amount of grinding or are provident enough to have leveled everyone into the early-to-mid thirties to begin with. You can do a bunch of stuff in the Underworld. Maybe get Brindle, update his equipment and give him a Sniper Sight. There’s nothing forcing you to, though.

I’m still wondering if there’s some other path forward through the Underworld. Or if I’m just paranoid from stress-testing every inch of everything to see how it works.

Here’s the sauce

Here’s the next post

Playing Final Fantasy Blackmoon Prophecy part 10

Moderate spoiler warning

Here’s the first post, should you want to start at the beginning

At the Water Shrine, Malacore absorbed the four base crystals and wrested the Crystal of Life from Oalston. Valiar and the Archareon enforcers showed up and Malacore had no idea who they were, disproving the possibility of prior collaboration.

Being in possession of the essences of the five crystals, ordinary combat would not have worked. Valiar and the enforcers therefore did something drastic: combining their energy to seal the Water Shrine under the surface of Gaia. This was an extremely dangerous thing to attempt with unforeseeable consequences. Valiar saw no alternative, though, other than letting Malacore walk off with all five crystals.

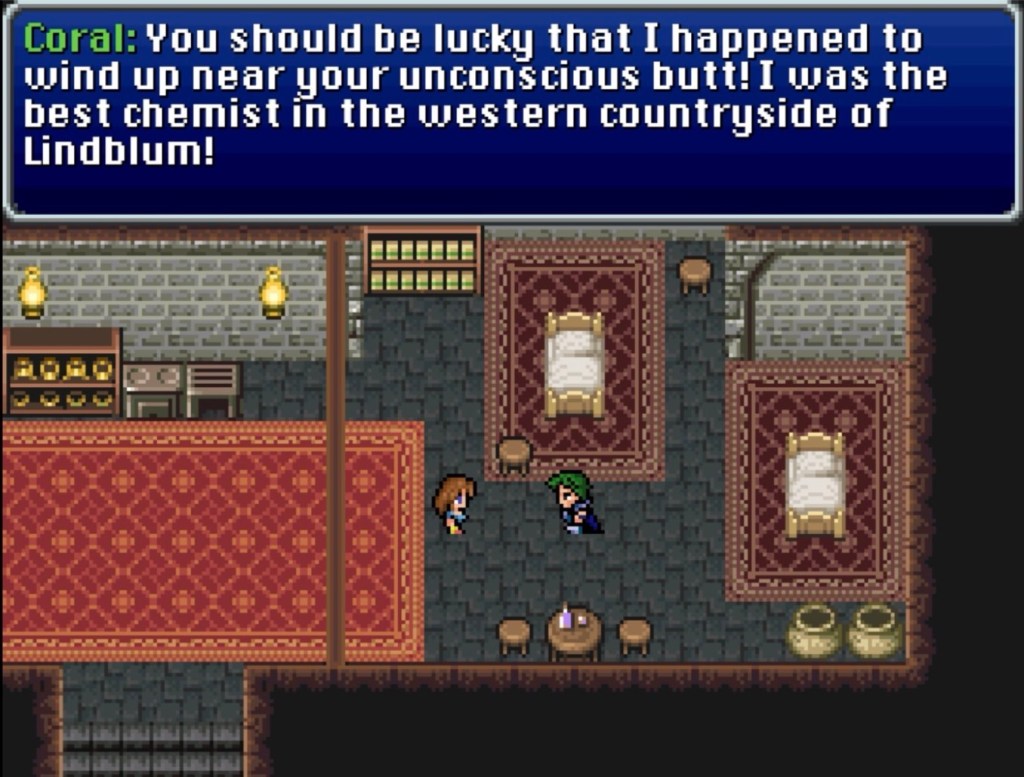
One year later, Vahn wakes up in a strange place, in the company of a Lindblum Chemist named Coral. Being both a scientist and a physician, taking care of the comatose person was simply an intuitive thing to do amid the chaos and destruction that preceded all this.

Coral tells Vahn about the global catastrophe, Vahn tells her what he knows and the accompanying Kids Run Through City Streets track sounds more romantic than normal.

From what we know now, a sort of global contraction has occurred. The Water Shrine appears to be gone, the surface of Gaia filled in the missing space and the resulting distribution of the absent surface space was blended with the Esper World. As if a foundation stone of Gaia’s surface disappeared and everything contracted inward, including the outer Esper World. This blending explains the new name for the world map in the lower right corner of the screen: Merged World.

Pre-merger
Post-merger

Vahn, having no one and nothing at present, wants to search for his friends, however improbable such a thing may be. Coral, for her part, is not particularly rooted. The house in which she lived and cared for Vahn was a random dwelling whose owners were apparently lost in the upheaval. Since Coral has scarcely set foot outside any more than Vahn has, she elects to follow him.

Not far from the empty house is Visage: an Esper village that was displaced during the merger. Visage is populated by canid folk called Lupins- no further context yet but they seem almost like an Esper ethnicity. The people of Visage tell us that a powerful, airborne demon called Pazuzu has been regularly destroying their bridge which left me a little confused when I just walked over it.

See…in these kinds of JRPGs, there is distance between representations and what they represent. I guess it’s possible that the broken bridge could be illustrative of current damage. We’ve seen a number of glitches before, though, and no other broken bridge has taken us directly across before now.

Remember that we now have a Chemist in the party. I’ve never had much use for those disposable spell items in most Final Fantasy games. Dazers in VII are one exception but a lot of that just felt like clutter in my inventory until a Chemist like Coral or Rikku shows up. While you’re in Visage, you’ll find a whole shop dedicated to those things and it’s worth the gil to stock up. You’ll get less frustrated at Mount Ozma, to the north.

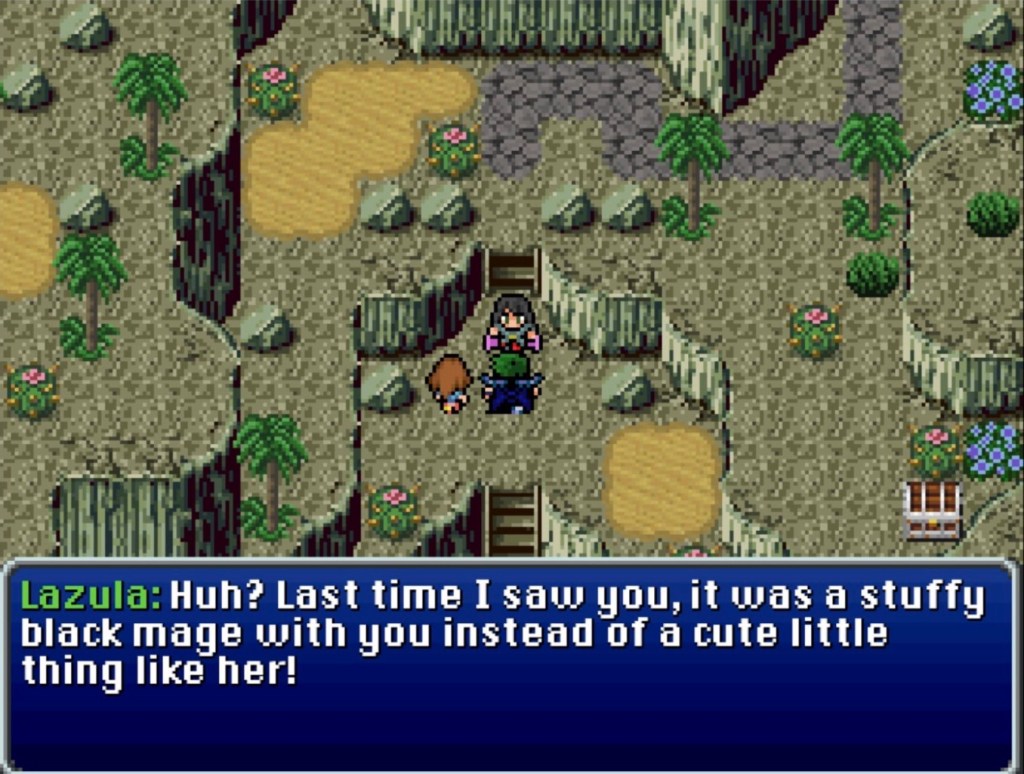
Lazula, the swordswoman from the beginning of the game, is conked out at the foot of Mount Ozma. Lazula is en route to the Gigas Coliseum (Jasmine fell down a hole and Lazula has been wandering for years…does that place even exist?) and her determined route goes through Albrook. Strictly speaking, Lazula is a “friend” from before so we follow her. On the surface, there is no reason for Vahn not to do that but I wondered if he was hoping to find Vera. We briefly glimpsed her old house, there, once.

There is a monster-in-a-box that’s worth fighting. I don’t quite remember the name of the monster but I think they’re called Vortiflor. They look like an extremely angular goat and they drop a Force Bow for Coral, with a decent vigor increase and the potential to inflict slow. I suspect Coral’s beginning stats are calculated to reflect the party’s pre-merger average so who knows if this will work for everyone this early…but the Force Bow has inflicted slow more often than any other weapon with status effect potential (for contrast, I spent most of the game with Elina equipped with a staff that may cause petrify which it never once did).

You know what’s great to have against Notochelone? Coral’s Prophylactic ability, which stops an enemy from buffing themselves. In addition to her various Mix abilities which scale items up by combining a number of the same kind, Coral has two MP-consuming spells. Like a lot of turtle JRPG monsters, Notochelone has a range of defensive capabilities so cast Prophylactic and pile on the damage.

We pass, then, through the Albrook cave which empties between Albrook and Rivera. By now, you have likely encountered at least one camp site and discovered that none of the NPCs we recruited are with us. Not that I had a ton…still: no Laudo and no Crepe. Mog is still there, as always, but he’s apparently as disoriented by all this as we are and has no advice to give. If you’ve had Laudo up until now…you will, unfortunately, start noticing the prior Ether scarcity again (monsters rarely drop them and they’re a little spendy at the shops). Between Vahn, Coral and Lazula, Vahn is most likely to use more MP, especially if he knows Reis’s Wind (learned at level 28) and takes over the group-healer role from Coral when there’s no longer enough Hi Potions and Mega Potions for a mixture. This can be mitigated with Vahn’s Lancer ability (learned at level 26) which sacrifices a small amount of HP to drain an enemy’s MP. The Ether scarcity will start hitting harder pretty soon, though.

In Albrook, rumors are circulating about a man in dark armor coming and going from General Vera’s old home. Unlike last time, there is no one guarding it. Within, a series of progressively longer hidden paths leads up to a downstairs room where we find Darius and Vera.

Vera and Darius awoke from the merger to find that the shifted geography brought them into Ivalice, which is now a coastal nation. They made the best of the situation and decided to gather what information they could on the state of the Ivalician court. Not much can be ascertained save that Emperor Belmont was playing less of a role in leadership as Zeul played more. With the addition of Vahn and Coral, a more thorough reconnaissance is now feasible.

Below the basement floor of Vera’s house is a cave with In Search Of The Man In Black (VII) for background music. Coral’s Prophylactic ability has also proved useful for dispelling enemy buffs that are already in effect and the Clairvoyant monsters love to buff themselves.

Considering how well Coral’s Prophylactic is working, I think she’s one of the better recent party members. I like Jasmine fine as a character but I don’t think I’ve enjoyed a new party member this much since Ami or Siegfried.

It is not long until we pass into the sewers beneath the Citadel. Luckily or not, we emerge quite close to the entrance of the dungeons.

We emerge amid the cells to the Vector theme music (VI). No one and nothing prevents us from exiting the dungeon and entering the outer halls.

I of course stocked up in the castle town. Buy enough Hi Potions and Mega Potions to make use of Coral’s Mix abilities Heal and Heala. Mix actually makes it worthwhile to continue gathering those, effectively scaling them up (with a proportionate increase in gil spent).

Quietly, the question takes shape: return to the Citadel and go down the same hallway we did last time? After a while, there is little else to do.

The fight music reminds me vaguely of Final Fantasy Tactics

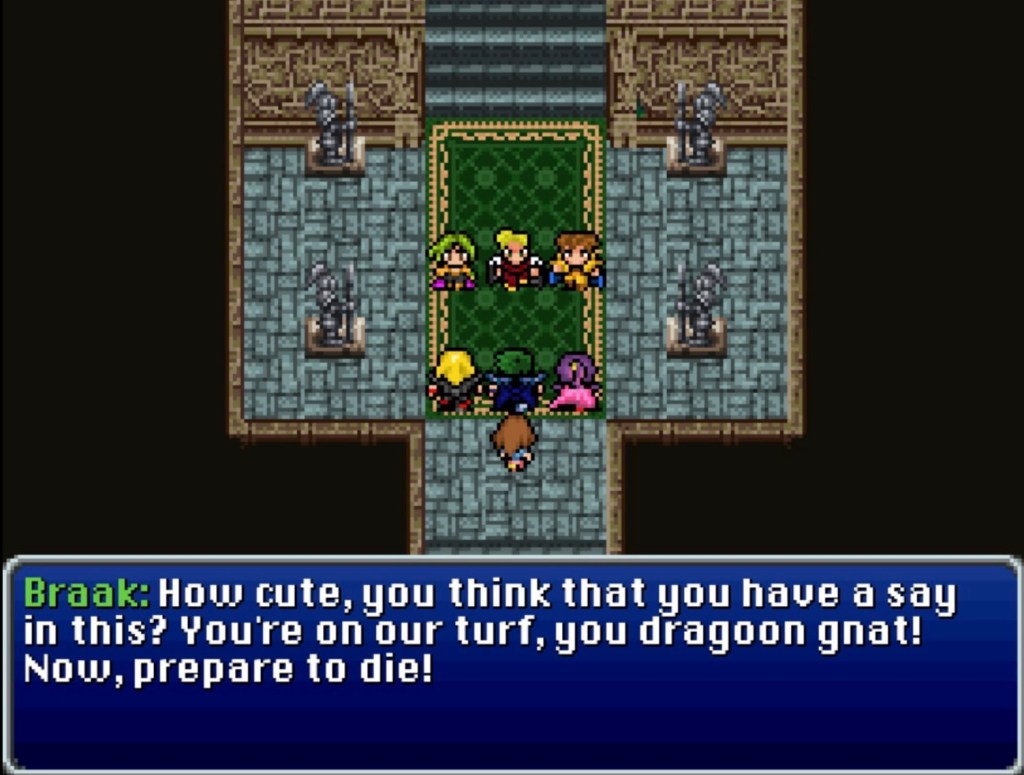
Behind the door, we are greeted by Vera’s former comrades Braak, Deckar and Eva. They claim that they knew Vera was in Albrook the whole time. Braak makes an odd claim about somehow causing Vahn to come to Albrook, specifically to flush her out.

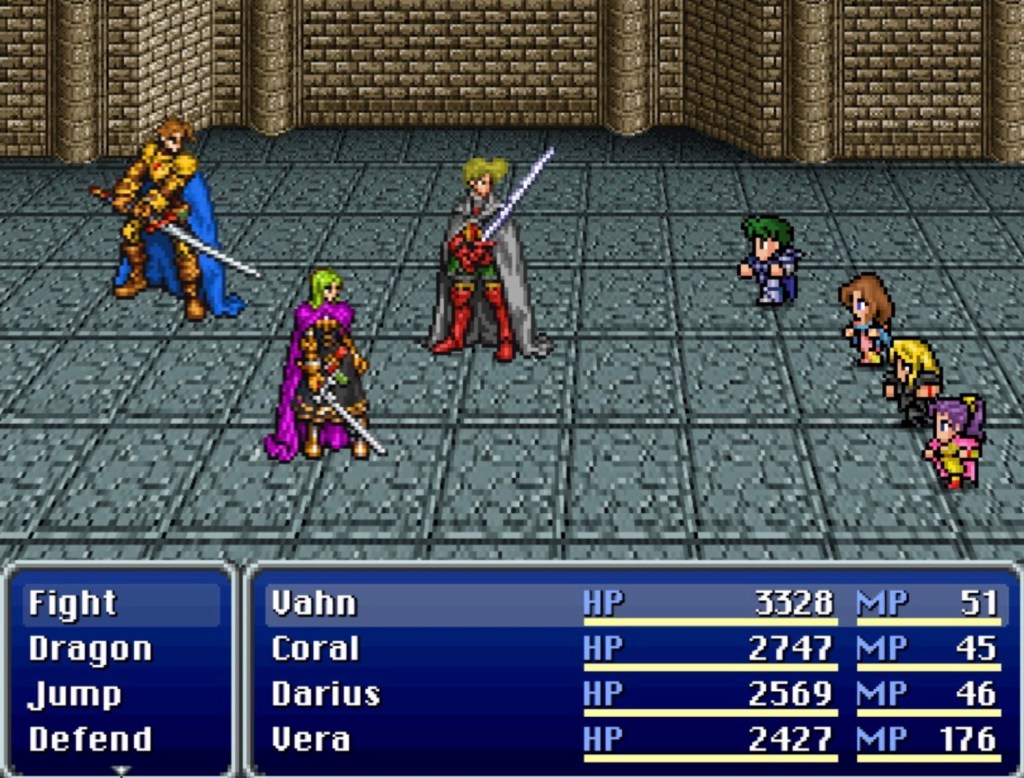
With our party currently set to Vahn, Darius and Vera, I don’t know how I would have got through this without having picked up the Kirin magicite in the Arcane Library.

Well…nevermind I do know: spend enough gil to keep Coral’s potion stash comfortably full. If you forget to do that like I did then Vera can fill the group-healer role. Outside of healing, Coral is also good with maintaining steady attrition pressure which can help in this fight.

If Eva is the last one left, Prophylacting her will prevent her from casting Curaga on herself (depending on the FF, healing magic may or may not be treated similarly to buffing).

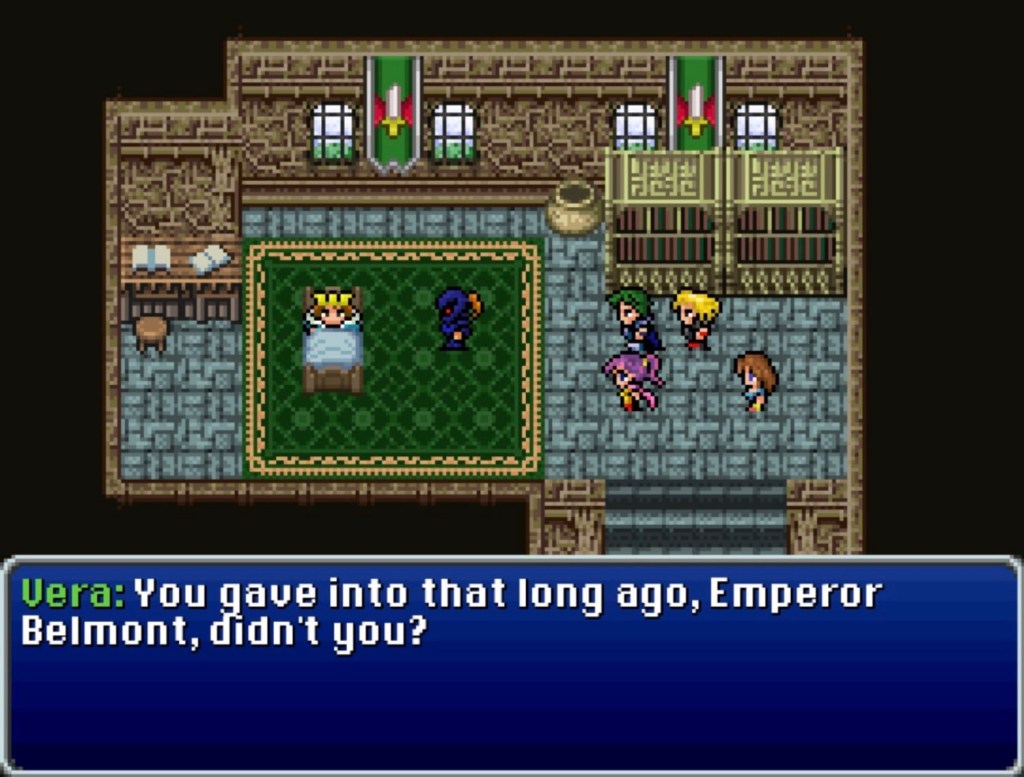
With the three remaining generals out of the way, we proceed to the court room to find it empty. In Emperor Belmont’s bedchamber, we find him in conversation with Zeul, evidently making plans to elevate Zeul in the event of his own death.

Zeul begins to move against us and Belmont orders him to stand down. Evidently at death’s door and full of remorse, Emperor Belmont speaks plainly with us. He says that Ivalice “instrumented the entire war.” This was because Branch was the only kingdom capable of standing up to Ivalice. Lord Zeul eventually took telepathic control over King Kain and compelled his sudden and single-minded search for the crystals.

Emperor Belmont did not expect Lenadia and Lindblum to stand down after King of Branch was killed by Ivalician soldiers. Ordinarily, Ivalice could not have crushed Branch openly without losing credibility on the world stage.

Belmont: “Little did we expect some random general to rise up, take the throne and revive Branch so efficiently from the Brink of Death.”

Thus began Belmont’s attempt to influence Branch governance with mind control and manipulating the Crystal of Water (anything involving the Crystal of Water at that time would have reflected directly on Branch).

Earlier, Belmont said that Zeul was the one who subjected Kain to mind control. The message gets a bit more mixed when Belmont says that Braak was the agent deployed for this infiltration before he was caught by the dragoons. Vera also knows something about this which she has yet to share.

Now, in the post-merger world, all of this is moot: “The cataclysm eliminated the kingdom of Branch” (Gylfi’s sect of Archareons actually did that before the cataclysm but nevermind). Vahn asks why Ivalice does not simply make her move for global hegemony with Branch out of the equation. Belmont is then forced to admit that Ivalice herself has been crippled by the contraction of worlds and all this has been in vain.

Belmont was behind everything, it seems, except Malacore. As soon as Vahn mentions the name, Zeul murders Belmont in front of us. He turns to us and says that he, Zeul, “created” Malacore. He further claims to have installed Malacore into the Crystal of Water while propagating a rumor that King Kain made Malacore “as a living weapon.”

Malacore started out as nothing more than a spell-craft robot, made by Zeul in an effort to create “the perfect being.” He has since become more than that. Zeul’s priority, for now, is putting down his mad dog. Surely the party can’t take issue with that? In his words, he “simply wants to rule” as opposed the world-ending havoc that would ensue should Malacore re-emerge.

Zeul vanishes in front of us, taking the dead body of Emperor Belmont with him.

On top of all this, we still don’t know where things stand with regard to the Blackmoon Prophecy. The sky is visible in the Merged World, so it hasn’t happened yet.

Archareons and Espers are deeply invested in prophecy yet are nowhere near as isolated as they once were. Esper society has (to some extent) been scattered across Gaia and the Archareons are reacting to the drastic fallout of an act they never imagined they would go through with. Zeul created Malacore for his own reasons, in recent memory. Yet Malacore is the axis that the whole Blackmoon Prophecy turns on. Malacore is a spell-craft robot scarcely older than a human toddler…which means nothing if the ripples of their actions go far enough to be visible to ancient prophecies.

Here’s the sauce

Here’s the next post

Playing Final Fantasy Blackmoon Prophecy part 9

Moderate spoiler warning

Here’s the first post, should you want to start at the beginning

In Marshtown, Mizuda said that Rodenia Isle lies south but is “difficult to reach.” Locals are shy but may be willing to help the party once they see that we possess the Astral Key.

While it took a little exploring to the south in the airship, I wouldn’t exactly say that it was difficult to reach. Just fly around directly south and find a place with no forestry or mountains where the Eagle can land.

As anticipated, the guards refuse to let us pass until we show them the Astral Key. Once in Rodenia, the chatter of the townspeople carries some interesting insinuations and assumptions. Once upon a time, outsiders with Astral Keys were more of a known, socially-established thing. In some distant era, Astral Keys were something of a passport in and out of Rodenian society. In the present, Elder Germonique says that this Astral Key that we carry does not bestow license in and of itself so much as it simply conveys the blessing of Mizuda: the only one on the outside whom Rodenians still trust.

Elder Germonique directs us to the Osteinchyl ruins west of Rodenia. None can enter, save those with an Astral Key upon the back of one of the local, green-fledged chocobos. Green chocobos must be lured with Mimett Greens which Germonique is happy to provide us with.

I did not do as much experimenting with the green chocobo as I did with the blue. In the short time I spent with them, though, they did not appear to have any of the typical color / terrain differences. Overall, the green chocobos have the same range as Bluebell and Elder Germonique gives us what amounts to a bottomless bag of Mimett Greens.

I get it; it means that this is supposed to be a straight-shot to Osteinchyl with nothing going wrong, like “running out” of stuff. If we delay this just a little bit, though, and head to the far north of Osteinchyl until the land runs out, there is an interesting weapon waiting to be found. Harmonius is a dull axe, “once wielded by a pacifist magician”, with -75 to vigor, -5 to speed and +150 to magic.

On with the story, then.

The music in Osteinchyl sounds so damn familiar but I can’t place it. The digitized choral voices run through the melody of the main theme of FFIX. It sounds vaguely like the music from Oeilvert but it can’t be. The Oeilvert music had soft woodwinds and- I think -percussion and rattles. Up until I discerned the FFIX melody, I briefly wondered if it was the Hymn of the Fayth from X.

Like the Fey Spire, the puzzles are simple and most of the challenge comes from the stronger monsters and long distances between switches and their corresponding doors. The encounter rate isn’t the worst but still frequent enough to make the distances between switch rooms and locked doors daunting.

There’s some decent support gear to be stolen: Nitemares (fiery horsies) carry Survival Vests and Mischief Makers (looks like the Fey monsters from VI, also kinda like Christopher monsters from VII) carry Lucid Caps. If it’s worth the time and effort, Guard Shards can be stolen from Vectagoyles (Chimera lookalikes).

The floaty mirror Speculum monsters reflect all magic, not just black and white (other magic-bouncing enemies in the past often had blind spots for green and blue magic). When hit with multi-target spells, the Speculum will only reflect damage back on the caster. Watch out if you have someone equipped with one of those weapons that occasionally cast a spell in response to the ‘Fight’ command. At least you can steal Turbo Ethers from them.

To the north of the second room is an inscription: “The Knight of the West stands guard when the moon rises.”

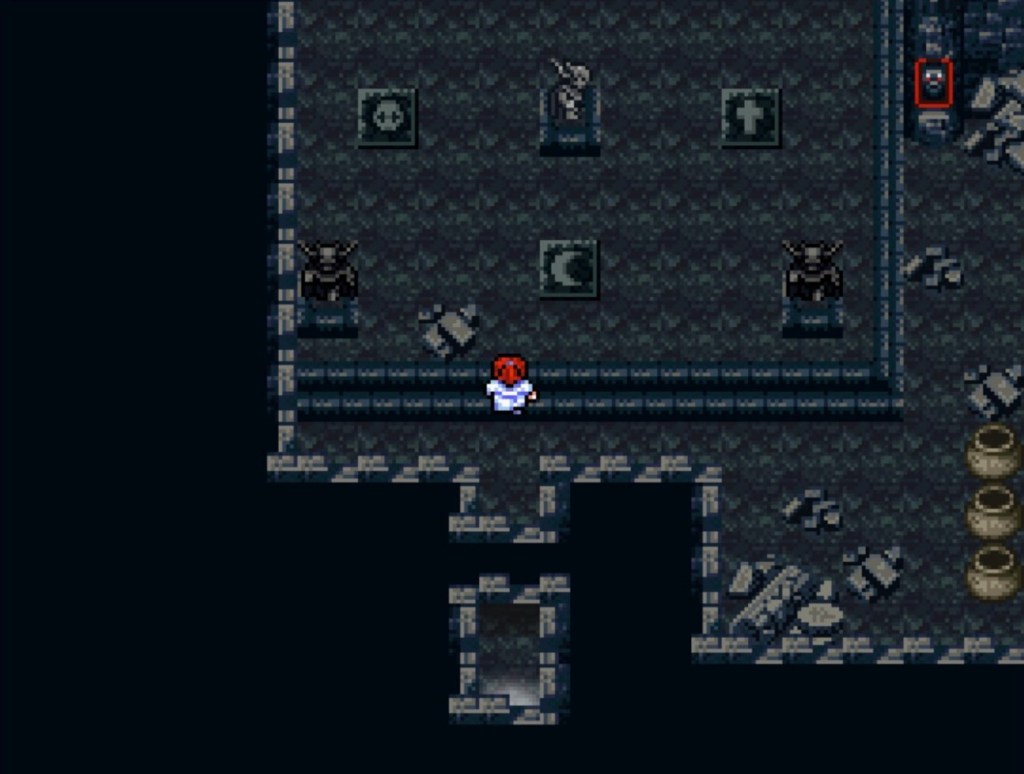
Off to the west, there is a room with five knight statues: two in front, two behind and one in the center. The center knight is surrounded by tiles with symbols and can be rotated. Simply follow the directions on the inscription. There are two more puzzles like this that operate identically. If the apparent direction to turn a center knight isn’t working, press the interact button in front of the tiles and whoever is at the head of the party will recognize the proper name. As I said, most of the difficulty here comes from the distances you have to cross and the encounter rate.

Carbuncle, of all (apparent / potential) Espers, is our Leystone guardian. I didn’t want to lift a finger against them either but they will kill you if you stand there.

Carbuncle reflects all magic except (as far as I can tell) Bad Breath which explicitly bypasses magic defenses. In circumstances like this, Bad Breath functions like the magical version of Goblin Punch. Not only does it deal damage but it might also (ironically for Carbuncle) cause status effects. They shot Oalston with Ruby Ray once and then I kept them petrified and blind for the entire battle. Bad Breath could potentially cause any status effect and Carbuncle kept getting petrified, blinded and slow so I’m guessing those are the three that they’re vulnerable to. A Safe Ring can be stolen from them.

Mizuda goes to work as soon as we bring her both Leystones and the barrier around the Water Crystal is no more. From our first visit to the Ivalice Citadel, to Esto Yensa to Osteinchyl, it’s been a decent stretch of questing and dungeon-crawling since we checked in with the crystal side of the plot. Yet something feels…soonish? Definitely too soon for a Final Fantasy plot to wrap up.

Considering all that happened after this point, I wonder if I should have checked in with Valiar and Ramah first. Instead I went straight to the Water Shrine.

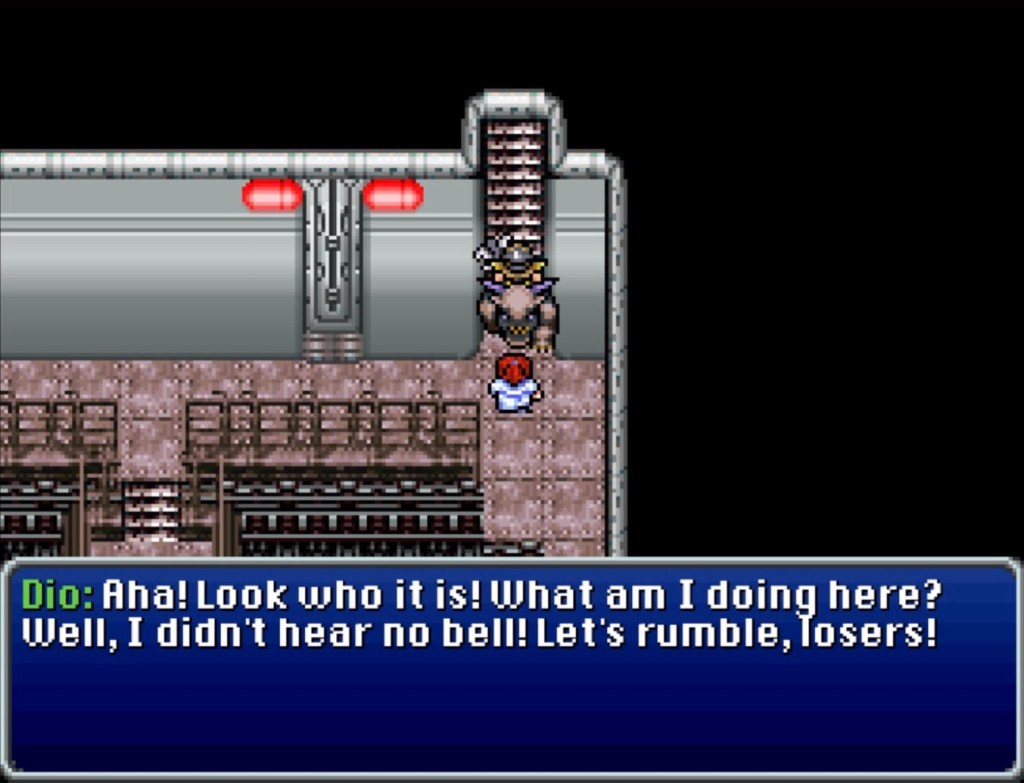
For fuck’s sake…I should have known he’d be back-

Wait, is Dio one of the Fey? It feels vaguely possible. I’m surprised that didn’t occur to me until just now.

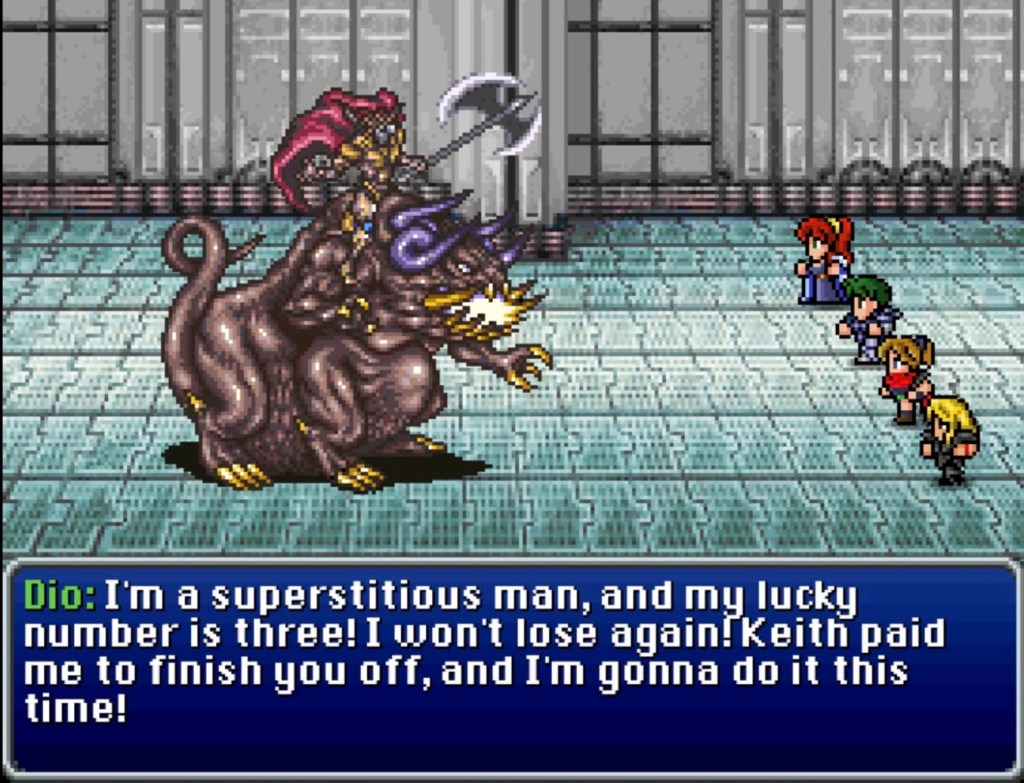
This time, Dio dismounts from his Barghest and we fight them both at once. Only two attacks are worth worrying about: Serrated Edge from Dio and Chewing Frenzy from the Barghest (Chewing Frenzy reduces one character to one HP, like Gylfi’s Fallen One attack). If you don’t have a Labrys axe yet, you might take this chance to steal one from Dio.

Once Dio storms out in a huff, we are free to proceed.

Maybe it was only a little over a month ago that I walked through here as Vahn at the start of the game but a lot has happened since irl. Encountering the rooms I’ve seen before and treasure chests I’ve already plundered feels funny. Especially with all these new, stronger monsters that seem to have proliferated under the barrier.

They’re tough and you might have to step out for a tent break but it’s nothing we can’t handle. All the monsters can take some hits and can maim your party if you don’t have someone ready to do a bit of on-again-off-again healing. Laka can farm tents from the psychedelic mammoths called Lamarmorais. Mega Potions can be farmed from the huge centipedes called Andragandas even if their utility is slipping a little, what with the party’s average max HP these days. Gigas Gloves can be farmed from the Novialoidea dragons if you either have people who need them or the gil they’re worth.

That camp site on the land mass southwest of the Water Shrine is rather conveniently placed, now that we have the Eagle. It’s a great resting and saving checkpoint. With Branch having been razed by the Archareons, we’ll have to fly further afield if we want to restock our supplies.

We have the Eagle. There’s cities with shops to be found. Before we did, though, I decided to visit a nearby settlement.

In the nearby Berona Laboratory, Terry says that someone called Carwen Berona invented the NRG weapons that were adopted by Branch. The NRG turrets also “deterred a lot of Alliance soldiers during the Crystal War one year ago!”

So…the Alliance was formed to resist and defeat King Kain Silverson of Branch. Terry said that the turrets “deterred a lot of Alliance soldiers during the Crystal War”.

The laboratory of Berona is close to Branch, if separated by water. Branch was also the nation to whom Berona directly proffered their wears.

Kain Silverson was a warlike, expansionist menace who galvanized the world against himself. Were the NRG turrets being used against Alliance soldiers because Kain was king of Branch and Branch was the laboratory’s neighboring client? Or because Alliance soldiers attacked the Berona Laboratory? Both?

The reason I didn’t think of both immediately was because the people who live and work in the Berona Laboratory (including some dragoons from Branch) don’t seem to really identify with Branch.

Interesting parallel with Ivalice trying and failing to assimilate Rodenia. Rodenia is on the Ivalician continent but it is geographically isolated and populated with powerful mages.

Back at the Water Shrine, I now recall the superficial resemblances between this place and some of the Crystal Shrines from V. I may be confabulating my memories…but I find myself thinking most often of the Chaos Shrine (or Temple of Fiends or Temple of Chaos, depending on console version) from FFI. The proximity to Blackmoon Prophecy‘s starting point completes the resemblance.

Like last time, we run into the Water Crystal Guardian Bismarck. He is a hell of a damage sponge but also very dependent on water magic damage. Consider that with equipment. With Syldra and a few Water Rings, you’ll mostly just have to worry about physical attacks, which can be mitigated by rotating in some of your higher HP and higher defense party members. A Ribbon can be stolen from Bismarck.

When he goes down, he leaves behind the Bismarck nethicite: fifty-percent passive water resistance with leveling bonuses of +3 defense and +5 max MP. It also looks like you might lose three points of luck with each level (what it says is that “-3 Luck” happens upon leveling so…?).

Like we saw with Quetzalcoatl, Salamander and Byblos, the Crystal Guardian went after the party and not the forces that were already behind their lines.

In the Crystal chamber, we meet Gylfi-Hans, who says that he was only able to get inside the Water Shrine in the first place because the Vahn squad brought the Leystones to Mizuda and she brought the barrier down.

While that may have been Gylfi-Hans’ motive and means, I wonder if Dio played a role? Particularly if he’s Fey? The Fey stole the Earth Crystal while leaving Byblos to attack us as if we did it. Bismarck just did the same thing.

Since Gylfi is rooted in Hans and Malacore is still inside of the Water Crystal, Gylfi-Hans wants to smash it and separate himself.

Instead, the usual magical anchor confusion happens and Malacore is released. Oh and the Water Crystal was both an anchor and a suppressant so he’s now even more powerful.

Oalston attempts to extract the essences of the consumed crystals with the Crystal of Life and Malacore effortlessly floors everyone.

Then Valiar steps in. Malacore apparently has no idea who Valiar is or even what Archareons are. Earlier he and Gylfi seemed to operate along similar lines and I made assumptions. But Malacore is not one of them. As he has effectively absorbed the four base crystals and now has his hands on the fifth, he’s not particularly interested in all that either.

Faced with this escalation, Valiar and his enforcers combine their powers to sink the Water Shrine below the surface of Gaia.

What did Basil kill, exactly?

Here’s the sauce

Here’s the next post

Playing Final Fantasy Blackmoon Prophecy part 8

Light spoiler warning

Here’s the first post, should you want to start at the beginning

With our new airship, I couldn’t resist flying around and seeing what random stuff is now accessible. There’s a lot of items just sitting there in isolated places on the world map waiting to be found and I’m not sure if they’re meticulously hidden or randomly generated, which adds believability. At level 22, Siegfried learns Double Slash and Power Shards can be stolen from Carnotaurs in the vicinity of Lindblum.

In the previously inaccessible area south of Branch, we find Ivalice with the Citadel clearly visible. Just outside, I managed to steal a Power Ring from a Darkwood Hunter, a Jewel Ring from a Cockatrice, a Red Jacket from a Primadonna and a Cyclone Cape from a Locust. The Red Jacket is decent mageware, the Power Ring buffs vigor and a Cyclone Cape enables one to cast the black magic spell Aero.

As I wandered around robbing and killing, I found Laka’s green magic Death spell to be remarkably effective. It costs 15 MP, though, and Laka didn’t exactly start with much (most other green magic spells cost from 1-8 MP). The only other green magic spell that costs 15 MP is Stop and Laka was at level 29. Out of these early monsters to suffer the experiment, the Darkwood Hunter has stood up to it the best and Cockatrices sometimes slip through.

In the Ivalician town of Albrook, a little girl tells us that Vera is a local. Not far away we hear some soldiers gossiping about whether Vera will ever show her face there again. One of them thinks she can’t be that stupid but the pair are resolved to be there if she ever does; right outside of her former house. Elder Baskins is shocked by Emperor Belmont’s willingness to authorize a strike against Branch, fuming that it “has Lord Zeul’s stink all over it!”

Sooner or later, though…there is nowhere to go but forward.

I had Vera equipped with a Magus Sword for a while, now. The only thing I had just then that would increase all of the same values is the Cursed Sword. It will hurt her, though- like a little red flash as though Vera were poisoned. The Labrys axe from the Citadel weapon shop is a better fit in the long run. Grab the Coral Blade for Ami, to.

A potential glitch: Ami and Laka suddenly had all of their equipment unequipped in the middle of the Citadel castle town. Like last time, it was all in my inventory so- like last time -I threw it all back on.

Glad I had it all back on before exploring in Roberto’s basement, which is accompanied by Under The Rotting Pizza from VII. The monsters were almost as strong as the ones on the other side of the portal at Branch Castle.

So…I did something naive. The gates of the actual Citadel were unlocked so I decided to check it out.

In the Citadel Library, Cooper says that Bahamut was only worshipped in the distant past. On a related topic, Bjorn says that there is scholarly debate on whether the dragons Bahamut and Yiazmat are Espers “or something greater.” Ingrid overheard some scholars talking about a book on creating homunculi that disappeared from the library a few years ago.

That sounds kinda like the book that Baram found in the Magic Library. If there’s anything to that at all…then Baram did not find a relic. It was either left or placed there before he showed up.

Huh.

We run into Zeul Wraithwall walking around in the hallways. He constantly calls Vera ‘kitten’ and talks as if he understands a completely different reason for Vera’s outlaw status. Vera and Vahn ask, carefully and diplomatically, to see Emperor Belmont.

Zeul promptly throws everyone in the dungeon. In her cell, a dreadful thought occurs to Vera. What if Deckar and Eva were neither mentally unwell nor mind-controlled: what if they joined ranks against her because Zeul told them to. Earlier in the hallway, Zeul said that Vera would be condemned no matter what Deckar and Eva told him about her.

For some reason, no one has been disarmed.

Nice creepy musical transition to Zeul doing his cell-by-cell visits, even though I don’t recognize the track. Lord Zeul compares everyone he addresses to a different animal. Leaving the prisoners with their weapons has gladiatorial implications.

I also couldn’t help but notice a Monk-Ninja quality to Zeul’s non-battle sprite. Perhaps a palette swap of the bald monks with the single lock of hair from IV.

He sicc’s the guards on us and we experience our first battles with fixed party members in a while: Vera, Darius and Vahn.

After the guards, Zeul is up. I used up the Hyper Ether stash but it totally saved my ass (Vera summoning, Vahn using Dragon abilities, Darius constantly casting Shadow Veil, etc).

Zeul drops the Einhander sword which is great for Vera (vigor +124, magic +46, hit% +50).

Zeul is, evidently, the kind of immortal who is not vulnerable to things like slitting his throat in his sleep. Vera says that our time is better spent escaping before he wakes up.

Within the stylistic recreation that Blackmoon Prophecy represents, Zeul has a decent character introduction. He very much resembles a typical early JRPG “dark lord” archetype. Earlier, Zeul spontaneously giving everyone animal names was evocative of the coliseum at the beginning of Final Fantasy Adventure (not that the beginning of Final Fantasy Adventure was anywhere near this menacing).

In Blackmoon Prophecy, this simplicity becomes creepy. We’ve seen mind-control inflicted on humans by non-humans and we’ve seen ordinary fanaticism and criminality.

It feels intuitive to assume that Zeul has some as-yet unknown relationship with the Archareons. He compelled Emperor Belmont to support the Archareon attack on Branch with the Ivalice military. So far, though, Zeul’s power is dreadful because it is inexorable. Deckar and Eva may have been nothing worse than complacently obedient. They made the right impression on the right crazy autocrat and were simply happy to be on his good side. His power works for every apparent “straight-forward” reason. In person, though, he is so unstoppable that he can usually treat combat with armed prisoners identically to summary execution. He also seems like the kind of batshit crazy that may be personally, emotionally comforted by the thought of outliving the nation he leads.

A little goofy with genuine creepiness in the margins. Kefka makes a similar first impression. I’m not gonna go any farther with those comparisons for now. I haven’t finished the game yet.

After our save point, we then attempt an escape through the Citadel sewers, which are accompanied by Lurking In The Darkness (VII). The creatures called Stalkers? The flat, ghostly, long-fingered ones that look like something from VIII? They’re good for farming Hyper Ethers. Stalkers are also vulnerable to Death. Phoenix Downs can be stolen from Dread Rats. There is decent grinding to be had here (Oalston reached level 20 and learned Bio and it’s Bio like in IV- non-elemental damage with the possibility of inflicting poison) but you can save a lot of time and effort by taking Sawyer’s advice. I’m pretty sure I missed out on several treasure chests by doing that but after the Citadel dungeons I just wanted out.

After following Sawyer’s directions, the straight shot ahead will consist of a few more screens but at least there’s no forks except to the platform with the save point. One screen over, a punny octopus from VI lies in wait.

I like the thematic associations with music and timeline fuckery and whatnot but if any of these characters are identical to the games they came from, Ultros could be a decent bet. He shows up in enough random places in VI to be an actual dimensional traveler.

Ultros’ Cleansweep and Chewing Frenzy are some of his hardest-hitting moves and he seems to have a fire vulnerability as he did in VI. A Megalixir can be stolen from him with relative ease and he drops the Sticky Tentacle ability item which teaches Cleansweep (multi-target, high-damage water spell) to Ami, which may be the first blue magic item that the main story leads you to.

It’s funny what deaths get a black fade-out before the sprite disappears and which sprites just wink out of existence.

Because we ran into the wrong person in a hallway, we flee the country and decide to check in on Valiar and Ramah’s research in the Rift Shrine. It turns out that no body of knowledge on the kind of barrier that surrounds the Water Shrine exists on three-dimensional Gaia- except maybe one.

Ramah and Valiar recognize the Water Shrine barrier as Old Magick. Only the history and traditions of Rodenia go back that far and only one Rodenian magician is thought to reside outside of their insular community: in a remote village in Ivalice called Marshtown.

So long as it’s not the Citadel, as Vera says.

Between the Rift Shrine and Marshtown, I couldn’t resist a few random stops. Meksicberg is now occupied by Ivalice. Mayor Ward is being detained in his own home and will give you a Gigas Glove if he thinks you might help.

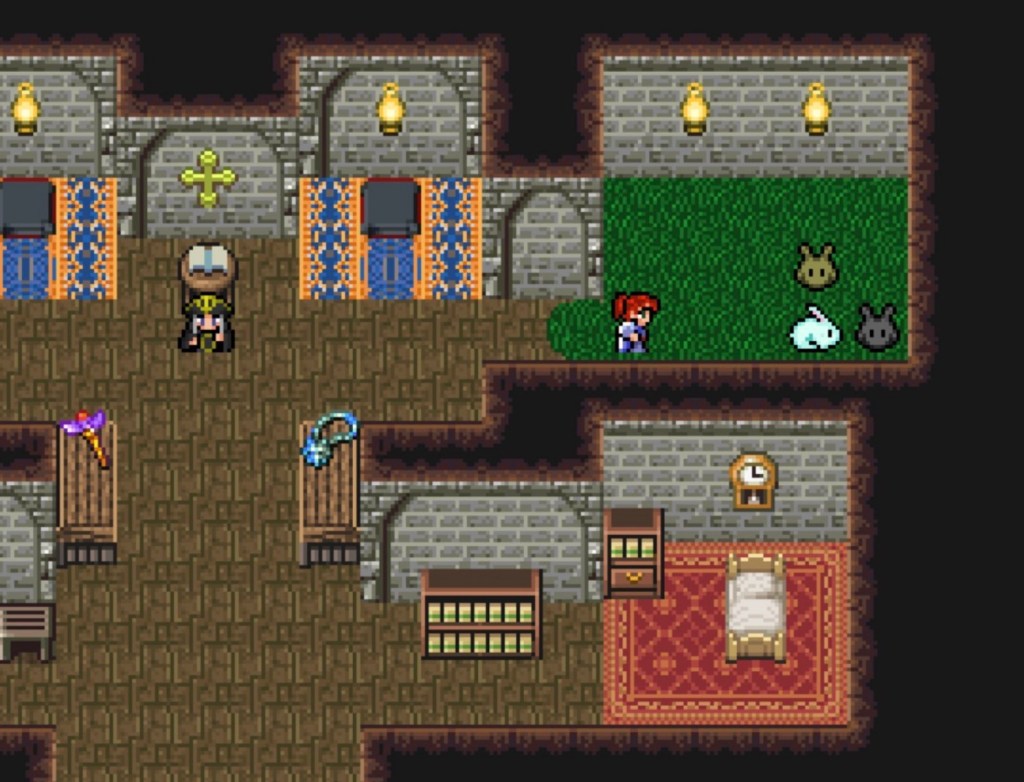
The bunny-filled home of the Rodenian sorceress Mizuda lies to the north of Marshtown. Because no plot point in a 2D Final Fantasy can go by without one to three dungeon-crawling stops, Mizuda needs help. She requires artifacts of power known as the Rodenian Leystones in order to attempt something on the level of dismantling an Old Magick barrier. The specific ones that Mizuda knows of are “deep within ancient Rodenian ruins” that require a unique key which Mizuda lost years ago in the Marsh Cave.

Guess where we’re headed.

In the Marsh Cave, Tents can be stolen from the Creeping Moss monsters.

Through a hidden pathway lies a treasure chest containing the Interceptor- one of the best knives we’ve found so far. Tiger Fang is best for vigor but Interceptor is best for speed. A Dark Iron Shield can be stolen from the Ironbacks (armadillo-like creatures with dark scales). Peridot Rings can be stolen from Mind-Flushers.

Our boss fight is the dragon Archeoavis. Jasmine’s Dusk Requiem hits hard, which could imply an earth weakness. Late in the battle, they’ll break out a high-damage, multi-target attack called Charybdis that could potentially wipe the party.

With the Astral Key in hand, we return to Mizuda. We now possess the means to access the ruins containing the Rodenian Leystones but there are two of them: one lies in the island community of Rodenia, which is tight-knit but may loosen up and cooperate once they trust us. The other ruins are closer; Esto Yensa, which lies in the northeast coastal desert of Ivalice.

The resemblance between Esto Gaza (IX) and Esto Yensa made me wonder if world-building was afoot so off I went.

While searching the northeast desert, I got briefly distracted at the cavern called Horseman’s Rest. In the inner chamber with mortared floors and walls, bones litter the area and tendrils have broken through some of the walls.

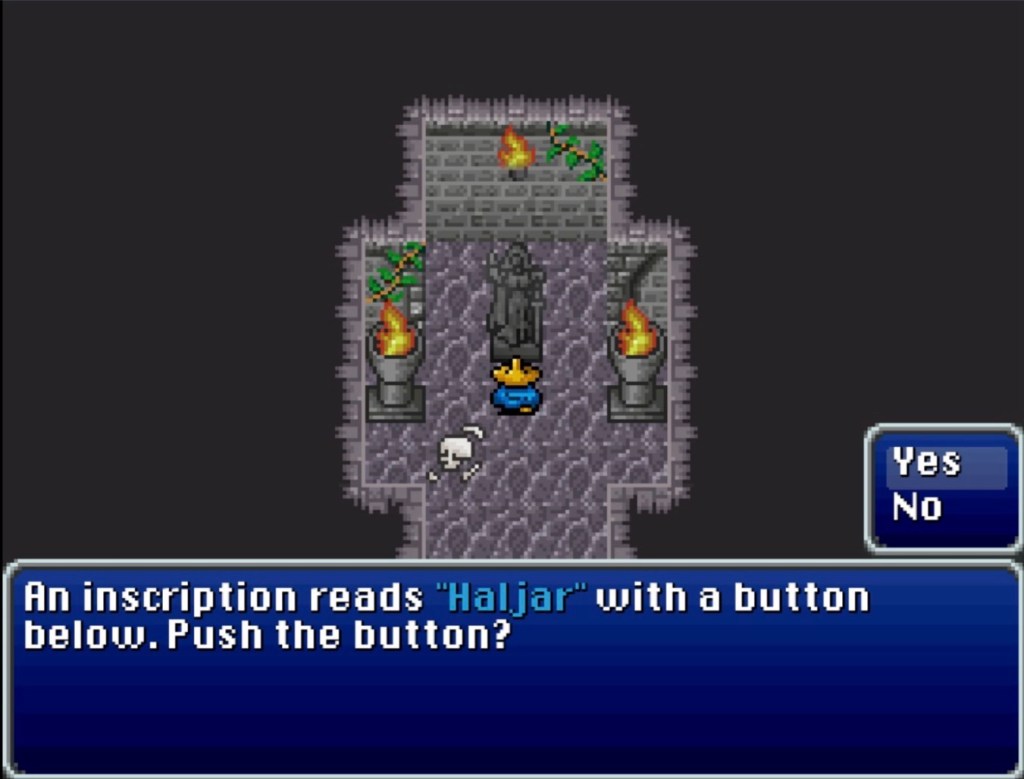
Our first open door has three treasure chests. The second one (the first door with a torch overhead) has a feminine statue, with the word “Haljar” inscribed beneath a button. Pressing it will trigger a fight with a flying eyeball Ahrman kind of monster called a Veteran and two Centaurs.

The door in the next torch room contains a statue inscribed with Baul and pressing the button triggers the same thing. Pressing either of these buttons multiple times doesn’t seem to do anything except call more Veterans and Centaurs. Luckily, Centaurs are often vulnerable to green magic Death and Stout Spears can be stolen from them (not that Vahn needs them with Gungnir in hand but stealing equipment you don’t need can be a neat way to farm gil).

The third torch door contains a statue with the word “Vinro” and a button that summons no monsters.

Outside of the final door is an identical statue with a longer inscription: “The Esper Alera, wife of Odin, bore three children. Baul, Haljar and Vinro. Baul the oldest and Vinro the youngest.” No button, no monsters. The door behind her is locked though. Maybe push the buttons and fight the monsters in descending or ascending order according to age?

Nope. Nothing does anything except summon more Centaurs and Veterans.

Putting that aside, for now, we continue along the northeast coast until we find Esto Yensa. Jasmine reached level 25 and learned Revive during the monster battles. At level 22, Elina learns Exit (get out of any random encounter battle for 8 MP) and Oalston learns Break.

In the desert outside of Esto Yensa, there are more Zone Eater clones called Hoovers. They don’t seem to suck you into the Gogo hole (or any hole so far) but you can steal Life Shards from them. On one hand they have over nine-thousand HP but on the other they’re pathetically vulnerable to Laka’s Death spell.

Monster-wise, there’s not much to speak of beyond that save that you can steal Safe Rings from the Crimson Eyes.

This is the hardest and most time-consuming dungeon in the game so far, just so you know.

Esto Yensa has two first floor doors and one on the second floor. Should we approach the second story entrance, we either hear a voice or read an inscription: “None shall pass until the Guardian of Esto Yensa ceases to be.”

Puzzles in both rooms need to be solved in order to get to the Leystone which means splitting the party up.

With the help of the Astral Key, Vahn’s party sets out through the left first story entrance and Vera’s party through the right.

Inside, we are immediately greeted with the Cloyster of Trials music (X).

Lucky for us, there are a lot of monsters that drop Phoenix Downs. Azure Buckles (which enables a black mage to cast Waterga) can be stolen from Nagas. Coelodontas are tough but sometimes vulnerable to Death and Laka can farm Mega Potions from them. Fairy Rings can be stolen from Incubi.

Pectins are some of the few Flan-lookalikes without Aether Jelly available for theft (what they do have are Turbo Ethers). Pectins frequently cast Saliva, inflicting slow, meaning that a character’s turn gets knocked back. Which sucks when you are relying on turn order for things like reviving someone and following it up with a group heal, etc. in this place, you’ll want as few wasted expenditures of restorative items and MP as possible.

Aand who should we find here but Malboros, with Bad Breath. You can only shake them down for Remedies but if you kill enough of them they’ll eventually drop a Malboro Tendril which of course teaches Bad Breath to Ami. Unlike most Final Fantasy games, Bad Breath is a single target attack that may potentially cause any status effect. It also appears to do non-elemental damage and bypasses magical defense which comes in handy later.

Malboros are also blessedly, occasionally vulnerable to Death.

And in case anyone was wondering: Libra is good for finding out a foe’s max and current HP and MP, stat rundown and elemental affinities but nothing pertaining to drops or stealing.

Soon, you’ll encounter spikes in the ground. This, I’ve found, is a good place to switch parties. On Vera’s side, there are buttons that take the spikes out of paths on Vahn’s side and Vahn finds buttons that lower Vera’s spikes.

When Vera steps on the switch at the top of a staircase on a rectangular island, Vahn will gain access to a path on the far northeast. There is a shuriken in a treasure chest and something of a maze, with rubble between torch platforms.

Go straight down and turn west at the next fork. The next switch is where the corridor ends in a nine-tile lip over some water.

Switch back to Vera and backtrack to the save point before the beginning of Vera’s path. From there, go up, then west as far as you can. The corridors will turn south across a pool with a second bridge and some spikes on the other side. Keep going south until you are forced to turn west. Make the turn through a cluttered corridor which will come out before a switch that is separated by water from a bridge.

Switch back to Vahn. Go east from the switch and south down the corridor. A giant torch and some rubble clutter the entrance of a westward hallway that was once blocked by spikes. Ahead is a chest with a Speed Shard and Vahn’s next button. Step on it and switch back to Vera.

As Vera’s party, backtrack down the hallway you came. The hallway turns north to a pool of water with two bridges. Cross the right hand bridge and you’ll see that the spikes are gone ahead. Get the treasure chests on your way further north to the button.

As Vahn’s party, backtrack through the cluttered room and head back up to the cubes-and-rubble maze. On the far east, you’ll find a newly-spikeless staircase that turns north to a new button and a save point.

Switch back to Vera. There’s nothing further to be done in this area so head southwest to the pool, cross the right hand bridge one way and the left bridge the other. Through the door visible on the next turn is a Bio Staff if anyone happens to need one. Beyond the Bio Staff room, cross the left hand pool bridge to the central platform-jumping pool.

Cross through the spikeless path on the far west of the room. Take the northern path to two treasure chests and a button.

Switch back to Vahn’s party, cross the cubes-and-rubble maze to the far southwest corridor. Down here, passed a treasure chest, is a spikeless path south. You’ll find yourself on the other side of a stream from where you once stood on a pressure switch. A ton of spikeless paths lie further south. We’ve been there before.

Instead take the spikeless paths north until you come to a four-way intersection of bridges and platforms over a pool. There’s an elixir in the northwest treasure chest should you need it. There’s also a Morningstar directly west. Directly east there is a large room filled with rubble and sand. The northeast chest has a Bomb Fragment. On the far eastern side is a door to a room with a button guarded by a sphere of blue fire.

To the northwest of the room is the next button. Leaving the burning blue sphere for now, let’s go with the unguarded switch.

Switch back to Vera’s party. I was starting to wonder if Vahn and Vera are supposed to be constantly above and below each other. In that event, we might go east. The eastern path of the four-way platform intersection leads to a place that resembles the cubes-and-rubble maze on Vahn’s side. Sniper Arrows can be found in the southeast room.

I wormed my way up to the staircase corridor in the northwest corner and found spikes to the far west beside an open doorway. Through the doorway is a blue orb, floating before a switch, like we saw on Vahn’s side.

Upon “talking” to the orb, it changes into the Wind Raptor. Bad Breath does decent damage against them even if no status effect is inflicted (the move description of Bad Breath specifies that it bypasses magic defenses so that might be a factor).

Then the bitch wraps themselves up in their wings and starts buffing themselves and I got annoyed over not having Laka in this party to cast Dispel. Good thing we got Bad Breath, Goblin Punch and Dispatch. Shatterstrike from Siegfired will do more damage, just be mindful of the fact that he won’t recover as much from Cheer if he uses more than 4-5ish points of MP in a turn.

I tried keeping most of the party in a holding pattern until the buffs wore off while casting Bad Breath and Dispatch. In the interim period, Elina cast Protect and Shell on the entire party and then the Wind Raptor wrapped itself up again for buffing time…so prolly can’t wait out the buffs that easily.

With being in this holding pattern, Elina cast Haste on Ami and Siegfried. If Elina and Vera are finding themselves on support duty then why not get the damage-dealers to squeeze in some turn-order jumping.

Whatever there is to be said for attrition, though, your hits will hit harder when their wings are open. The defend command is there for a number of reasons, after all.

The Wind Raptor drops a Golden Apple, which permanently increases all stats by one.

I then pressed the button and switched back to Vahn. When Vahn checks out his orb, the Katana Soul materialzes. They’ll also promptly Possess someone (when he does this, a soul / ghost sprite from VI will hover behind one of you).

Aura Cannon is useful, Shockwave is better. Laka got Possessed first time around and Oalston wasted time casting Dispel on both her and Katana Soul. Possessed Laka killed him near the end of the experiment. This bitch can also possess more than one person at a time which is delightful when it’s your last two surviving party members and you just have to wait until they succeed at killing each other.

With that in mind, you might want to backtrack to the save point southwest of the platform-intersection pool after killing Wind Raptor (Vahn might have an equivalent opportunity but I don’t know?). I suspect it’ll pay for both parties to be in the same place once the final buttons are pressed, though, so maybe consider backtracking to the room with Wind Raptor and Wind Raptor’s button.

Casting Dispel on possessed people does nothing, btw. The only way to treat possession that I’ve found so far is to cast Death on the possessed person and revive them.

You can steal the Oborozuki sword from Katana Soul.

Tornado is an asset, if Oalston knows it. With Laka’s speed benefiting so much from my grinding, a lot of Katana Soul’s physical attacks didn’t hit her.

The Phoenix Downs seem to revive party members with just a bit more HP than Jasmine’s Revive ability, just fyi. It might be a character build issue.

My second run against Katana Soul was successful with just a bit more emphasis on Oalston casting Tornado and Vahn casting Shockwave. I also killed and revived Vahn twice. Luckily, Katana Soul only seems to go for more and diverse possession targets once he gets comfortable with one. So don’t let him get the sweet tooth.

Esto Yensa has depleted so much of my item stash.

With both switches flipped, Vahn and Vera now have access to the stairway between them.

Aand who the fuck is this character Lyric? She’s just sitting there in the party roster once everyone is reunited! Her description says she’s a gambler with lots of points in vigor and luck.

I mean, I’m not mad about having a new random party member but could this also be a glitch? Or just a wonky-ass progression nuance? I guess it’s also possible I recruited her without realizing-

Why is Lord Adder in the party roster? Haven’t we not seen him since early in the game and is now presumed dead?

…

Anyway, we’re about to grab the Leystone in the next room when a blonde, masculine figure called Hecatonchier (XIII) appears to stop us.

Our local Hecatonchier is good enough to have a Megalixir on him for the stealing. Serrated Edge is one of those super annoying attacks that hits several times in one turn and is a significant early threat. Hecatonchier also has massive physical defense. He casts buffs on himself so it’s a good time to have Laka around. Bad Breath got him with poison and slow, which helped. A second wave got him with silence.

When he starts with the bullshit where he reduces the whole party to one HP, it’s fun to use the Megalixir you just stole from him.

Hecatonchier drops a Rodenian Glove when he goes down. Grab the Leystone we’ve come all this way for and talk to the exit moogle in the prior room.

Now that we have the Leystone this might not matter anymore…but let’s check the second story entrance anyway.

This is Cobalt Weapon (Omega’s sprite or local expression in this world?). And this fight did not last long at all.

Here’s the sauce

Here’s the next post

Playing Final Fantasy Blackmoon Prophecy part 7

Light spoiler warning

Here’s the first post, should you want to start at the beginning

The next morning, Oalston shares his deductions with everyone else. The magically-isolated Crystal of Water seems to be one of the last x-factors.

For a moment, Vera appears to equate the Crystal of Water with the Crystal of life. Regent Gran implicitly agrees with the direction of her assessment if not the conclusion.

The Crystals of Life and Water are separate, though, and with the Crystal of Water walled off that only leaves the Crystal of Life for us to investigate.

Off to the Isle of Tyr, then.

Before we go, Cid has a surprise for us: a functioning airship, called the Eagle, with its Blackjack music (Daryl gave her airship the better bird name)!

Cid takes the controls and flies us to the upper northeast corner of the map.

The Shrine on Tyr reminds me of the last dungeon from Final Fantasy Adventure / Adventure of Mana / Sword of Mana / Seiken Densetsu. You know, the first Gameboy game to have Final Fantasy in its name, even if it became the first Mana game in the long run (released in America almost simultaneously with IV, if I remember correctly?).

There is a recovery pot to the left of the entrance. It takes some walking and you might not make it without an encounter but it’s as generous as the Tyr Shrine is going to get. Maybe use the long walk to farm some Mega Potions from the Drakes.

Rather like the Ancient Forest from VII, there are flowers that move us from one place to another. Each one links up with another of the same color and they seem to suck you into the ground and spit you back up through another flower rather than launching you into the air. If you see another flower of the same color in the same screen, it is almost certainly not where it will lead (corresponding red flower at the second zone could very well carry you to the first visible one, though).

Sunlight Broach can be stolen from the Lemures (girl amid the flowers- variation of the Lamia monster?). Maybe the Lemures have an Earth vulnerability because Vahn’s Shockwave takes them out quickly. Lariosauros can be shaken down for tents. The floaty, skeletal beings that look vaguely round? Baldanders? They drop stimulants like the Belphegors. The Baldanders are also Demi-slingers (with stimulants).

In the next room, there is a yellow flower to the far right of the bridge. Yes there’s a tree next to it but it only looks like it’s in the way. That’ll get you out of the immediate flower network.

One of the pairs of red flowers will lead to a tiny square platform with access to a Magic Shard in a treasure chest. You will also be boxed in between the treasure chest, the red flower and two trees, in the upper left corner. The treasure chest in the lower right corner is off limits from here.

Oh and the flower paths? Some of them alternate with other pairs of the same color. The color of the flower you emerge from is the only constant. However most of them only swap with one other pair so- typically -you will emerge either in one place or the other. Definitely not immune to planning.

When the Lemures put you to sleep and either the Baldander or the Lariosauro ‘Hits’ you (like other monsters ‘Incisor’ you) and wakes you up? The point is to cancel whatever move that party member was supposed to make.

Yes, the sleep status effect might make a party member miss a turn. Putting a party member to sleep and immediately waking them up will make them miss a turn. When Behemoths start appearing, remember that you can steal Power Shards from them.

Eventually, a yellow flower will take you to a doorway between two columns.

Here, we get one of the more interesting screens in the game thus far.

A clock-manipulation room like in the Temple of the Ancients (VII). I muddled my way through a few possibilities until I started choosing hours on the hour.

Once you descend the staircase, get all the treasure there is along the walkway and through the yellow flower path, if you are inclined. Either remember to backtrack to the purple flower closest to the staircase or head there directly.

Beyond the purple flower, pass through another one around the next corner. You might choose to investigate the first red flower you see. You’ll find that it’s bidirectional. In both destinations, there is loot to be ransacked. In the second red flower location (with the antidote and the Rondel), you’ll find yourself on the other side of the pillars visible in the earlier room. Here you will have access to a purple flower that was once off limits. It will take you back to the bottom of the staircase below the clock room.

Or you could ignore the first red flower you see and continue with the dungeon.

You can either proceed to a yellow flower or up a staircase. The yellow leads back to the clock room basement. Up the staircase leads to a winding path through water.

Follow the yellow flowers until you reach this place. Upon entering, you have immediate access to a purple flower and two yellows. For a straight shot to the door, go purple and then the red flower to your immediate south.

(If you instead proceed to the red flower northwest of the purple, you will go to a corner in an earlier room. Re-enter the red flower to go straight back to the end of this current doorway so no harm no foul)

When you emerge at the end of the doorway room, you may see the petals of a flower behind a tree. Don’t bother with it- it’ll just lead back to the beginning of this room.

Go through the door and you’ll emerge in a room with treasure chests (a tent to go with the ones you’ve been stealing from the Lariosauros, a Hi-Potion and a shuriken), a save point and a door. Make sure everyone is rested.

For once, there is no one to stop us except for the Crystal Guardian.

When Ozrich finishes counting to five, he’ll Omnislash someone. You can steal the Zweihander sword from him.

I got through this with lots of group heals and lots of attacks that bypass defense or affinity. My usual combo with Ami’s Goblin Punch, Siegfried’s Dispatch and Darius’ Shadow Veil + Darkside combo. Eventually, Ozrich went down and Darius hit level 20 and learned Armor Break and Spirit Break, which sound like things that could have come in handy just now.

Then…this just happened. Just like that. Bump off the guardian, take the crystal.

That simple?

Just…done? With the exit moogle and everything?

Aboard the Eagle, the party is equally stunned. Oalston thinks that the advantage might- finally -be theirs. The question of what to do comes up. Siegfried brings up the looming question of Ivalice and Vahn elects to pursue that after debriefing with Gran.

While they do so, Quigley interrupts: people from Branch are looking for Vahn.

Biggs and Wedge enter with news. Branch has fallen to unidentified enemies. Biggs says that “(w)e don’t know who or what they are.”

Wedge adds that Hans was seen fighting alongside the invaders. Upon hearing this, Darius yells “It’s the Archareons!”

Biggs and Wedge add that an Ivalician fighting force was supporting the strangers who fought beside Hans. One that appeared to be well-prepared and already in place.

Vera is stunned and clueless. Ivalice wouldn’t do something that precipitous, would they? And sacrifice their mutual investment in the peace treaty after the Crystal War?

Everyone heads for Branch.

Once there, we meet three Archareons at the gates. Vahn and Darius are now mandatory party members. For the other two spaces, get at least one person capable of healing. Lots of Jumping and Shadow Veil + Darkside waits in our future.

After taking care of these guys I, uh…just sort of walked into the reliquary room and took Gungnir. There’s dead bodies everywhere so perhaps it just stands to reason that the reliquary is just there, waiting to be looted?

Is every other nation gonna get gutted from the inside by Archareons so we can go looking for their magical treasures as ultimate weapon quests?

Gungnir can, of course, be equipped to Vahn. The item description reads ‘Holy spear that once pierced the heavens.’ Vigor + 150, Spirit + 50 and Critical Hit + 7.5%.

Gylfi and his retinue wait for us in the throne room.

Once you defeat Gylfi’s Archareon warriors, mind-controlled Hans takes a third run at us. I made sure I had Ami and Siegfried with Vahn and Darius. I kept up the White Wind when I could but mostly just focused on Goblin Punch, Dispatch and Shadow Veil + Darkside. Now that Vahn is equipped with Gungnir, he can do some serious damage with Jump and Shockwave.

After defeating Hans, he begins to awaken from the mind control. Gylfi then chooses to “intervene myself and end this now!”

The status effects inflicted by mind-controlled Hans and Gylfi can slow you down. Consider equipping accessories that protect against poison and silence. Gylfi can inflict instant death so balance those two points with a third, if you can.

…

I kept dying so I eventually decided to try a portal I saw outside, earlier.

Neat musical transition, here, with the quiet percussion and distant, harmonized voices. The monsters are hard as fuck, though. Scaled to a higher level, maybe?

And what the actual fuck is up with Gylfi? It’s possible that you may need to be prepared to survive two consecutive waves of Meteor Shower. It won’t necessarily happen but Gylfi does regularly squeeze in a few moves per turn. Those two may both be Meteor Shower.

It took awhile but I did manage to finish the battle with Vahn, Darius, Siegfried and Ami. Don’t even bother with Cheer. Ami spent most of the battle casting White Wind. Vahn alternated between Shockwave and Jump. The other two stuck to their own defense-and-affinity-subversion routines.

When Gylfi is defeated, a new presence appears: Valiar.

Valiar: “Gylfi, your rapid pursuit of these individuals must end, and with it, your crusade. (…) Your fanatical sect of Archareons must be stopped before you do more harm. Can you not see that these humans wish to do well!?”

Gylfi: “They’re interlopers! Pests! It is you who cannot see the harm they do!”

Valiar laments that Archareons are “binary thinking beings. We can only see two paths. A flaw in our design.” (Revealing choice of words…?)

Valiar accuses Gylfi of taking the wrong path relative to Valiar. They are obliged to “do away” with Gylfi.

Gylfi: “You threaten a fellow Archareon with harm, but will you dare to do so towards a human?”

Valiar: “Of course not.”

Gylfi: “Then how will you harm me if…”

Gylfi begins to fade away and turns to Hans.

He dives into Hans’ body. The dialogue attribution names this new being Gylfi-Hans, who then slips out of the throne room.

Valiar catches us up, later: he is a judicial enforcer among the Archareons.  This makes me wonder if Archareon society is composed of people whose binary natures need to be positioned in a safe, functional way relative to one another.  Those with a “law-and-order” binary expression become enforcers.  Presumably others end up elsewhere.

Consider the priorities implied in Valiar’s wording: “Gylfi leads a dangerous and heretical sect of Archareons that believe your group will bring ruin. They are wrong.”

Ironically, this exhibition of binary thinking renders Vera a bit less binary in her assessment of them.

In spite of how easily Gylfi-Hans escaped them, Valiar is convinced that Gylfi is now less of a threat as a human overall than Malacore.

Valiar says that Malacore is “a threat to all life on Gaia and the Esper World.”

Valiar: “Magic links our realities together, so the end of his madness is of interest to all life.”

We destroyed Gylfi’s body.  Gylfi escaped in Hans.  If Gylfi and Malacore are signals, then the Water Crystal appears to be the broadcast point.  Valiar then sets out for the Rift Shrine (where we last met Ramah) to study the barrier surrounding the Crystal of Water.  This will take time.

Until then-

Darius: “Sounds like it’s time to head south then.”

Onward to Ivalice and the secret of Vahn’s father.

Here’s the sauce

Here’s the next post

Playing Final Fantasy Blackmoon Prophecy part 6

Light spoiler warning

Here’s the first post, should you want to start at the beginning

Talbard and his soldiers were tracking a magical object for Lord Zeul on a remote island when they- like Jasmine -fell into a hole in the ground. Kinda starting to sound like a certain kind of monster behavior from some older FFs.

This happened five years ago and Talbard knows nothing of anything that’s happened on the surface since. He and his soldiers have found no possible exit and have become rather comfortable defending their new Underworld neighbors. With their concerned well wishes, we pass behind and above Valefor Fortress and use the upper rock formation as a bridge across a nearby gulf of lava.

There’s gonna be a lot of on foot, overland travel and monster encounters for awhile.

The Devourer has not, to date, sucked us into the Gogo hole. You can steal Atlas Armlets from them, though, if you haven’t picked up one of those yet

If you’ve been stealing and hoarding Mega Potions and Hyper Ethers, you will probably be dipping into that stash about now when you’re not relying Elina. I really like that you have access to every party member’s abilities outside of battle whether or not they’re in your active party. It’s not that the active party is separate; they’re just the outward facing line of defense.

At level 18, Siegfried learns Shatterstrike (Earth-element attack). While experimenting with Vahn’s Shockwave (acquired at level 20), I learned that you can stop-effect the Shapeshifters and it won’t stop them from shapeshifting. Life Shards can be stolen from Chimeras. Dragons drop Dragon Fangs. Still haven’t stolen a thing from a Shapeshifter, though.

Conde Petie music from IX

Before the final leg of the journey, we encounter the Dwarven Castle; the final buffer between the Fey and the wider Underworld society of Dwarves, Ghouls and Demons.

Everydwarf there is super-welcoming and King Doran offers the following explanation of why they use lava as moats.

Could that be because the Fey came from somewhere else? Like the Ivalician humans did?

So…who knows how hardcore Babineau wants to go with weaving the analogues and references into subtext…but something about that reminds me of the VIIR trilogy. Like how the Gi (who look like traditional Final Fantasy Dark Elves) are dimensional outsiders and the Cetra having a certain amount of first-hand knowledge of dimensional travel? The Dark Elves were dimensional outsiders of some kind in FF Stranger of Paradise, to.

I also get this game had already been released once and heavily patched by the time even the first VIIR game or SoP was out, so prolly not (outside of retroactive editing). Then again I could see how certain themes from FFI could lead to broadly similar possibilities, what with Garland’s time loop and the appearances of other temporal outsiders like the Warmech.

Anyway-

King Doran informs us that Malacore and the Fey have been making absolutely pathetic progress: it seems the Fey are famously argumentative and frequently stop otherwise simple organized efforts over their rows. For once, the party might make it to a Crystal before Malacore.

King Doran then directs us to the last treacherous bottleneck before the realm of the Fey: the Crystal Weald. To the eyes of surface dwellers, the Crystal Weald resembles a forest covered in snow and frost.

It is, in fact, an ancient miasma vent. Like in Organa village.

Don’t worry if you don’t remember; neither does Vera and Laka snaps at her over it.

Miasma…appears to be a specific substance, rather than a miasma. Let’s just proper-noun it.

In the short run, Miasma is dangerous to inhale and human settlements steer clear of the vents. Like volcanic gas under the Earth, Miasma appears to originate from the Underworld. On the surface, there does not seem to be many historically-attested emission points, which suggests that humans usually fill in the vents, maybe?

This is the Underworld, though, so it has nowhere to go.

The Crystal Weald, as previously stated, had Miasma for a long time. Over the eons, it crystallized into tree-like formations. Dwarves, Demons and Ghouls who were in the area at that time were reduced to crystal statues. From what King Doran said, it sounded like a gradual process but if individual people were caught in it, then maybe a gradual process with a sudden, erupting consequence?

Whatever happened, our course is clear.

All in all…the Crystal Weald is a travel and combat gauntlet, like we’ve been going through for awhile, yet there are signs of additional relevance. The Crystal Weald has the music from the underwater laboratory from VIII: the place where you find Bahamut. In Blackmoon Prophecy, Bahamut is the patron deity of Ivalice.

There’s still the rest of the game left to prove me wrong on this but I think Babineau uses musical associations from prior games intentionally. Certain tracks from VI seem specifically associated with Ivalice. Both the shrill horn version of Under Martial Law and the soft clarinet version are used in a lot of scenes concerning Ivalician characters (we also heard Under Martial Law during some Baram-related events but those seem to be the exceptions that prove the rule). The appearance of the Phantom Forest music during the descent to the Underworld also felt like a thematic nod to VI.

What we mostly got going on here for monsters are status effects and some off-beat elemental affinities. Jasmine’s Aura Cannon is lethal against the red zombie-ish Draugr monsters. Holy damage, so yeah.

Jasmine turned out to be one of the more powerful and versatile of the new characters. The use of Tifa’s punching sound effects for Jasmine’s fist attacks is charming (kinda like how Elina’s attacks have Aerith’s staff-strike sound effect).

Jasmine’s clothes and the setting makes me think of Trunks from DBZ and Tifa

I brute-forced much of my way through here with the party arrangement above. In the ensuing flood of exp yield, Laka hit level 26 and learned Death. At level 20, Siegfried learned Mirror Strike (damage proportionate to remaining HP) and Jasmine learned Dusk Requiem (Earth-element attack). Feathered Caps can be stolen from the Arachne monsters (a purple palette-swap of the Arachnias).

On our way out of the Crystal Weald, Jasmine catches up with Vera. Earlier in Vos, Vera gave Jasmine a quick, conversational version of what happened to her on the surface. Vera didn’t want to beat false confessions out of innocent people, Deckar and Eva turned on her and she fled with Vahn and everyone else.

Jasmine’s opening is a little ominous, considering how she spoke of her brother: “Don’t be stupid and dodge my question! You’ve been branded a traitor, and my brother even tried to kill you. How are you, Vera?”

Jasmine made a black-and-white first impression at first. With the emotions at work, who knows what Ivalician military associations are going to bring out in her.

Vera just answers the question, though. Plainly and directly. She’s glad to have found the refuge that the party provided but she fears for her future in Ivalice. Even if a military officer defies orders and defects for a righteous reason, you usually can’t take that reason to a debate in your homeland.

However, Jasmine tells her not to sweat it. It hurts to lose people and moral and ideological disagreements are rarely amenable to conversation. She also reminds Vera that she hasn’t fared badly outside of her country; she is with people who value and defend her. She even points out the way Vahn looks at her.

The unexpectedly technological Fey Spire looks very much like the Tower of Babil from IV…but I also can’t help thinking about Chrono Trigger? I could’ve swore I saw a dome from Chrono Trigger‘s far future, early in Blackmoon Prophecy. It was on a land mass separated by water from Branch Castle.

For a place that looks so much like either the Tower of Babil or the Prometheus Dome, the Fey Spire has more Fey-like monsters than technological ones (almost like the tower was there to begin with and the Fey found it afterward). Survival Vests can be stolen from Gremlins if you haven’t grabbed one yet. During the grind, Darius started recovering MP from Cheer and hit level 18 which unlocked Climhazzard. This is a somewhat heavy physical attack with no defense transcendence. More importantly- whether it gets softened by enemy defense or not -it will temporary debuff a foe’s Vigor (physical attack) for about two turns.

There are long distances between things in here but not very many stops to make. There are three doors you need to unlock to get to the final rooms which require passwords. In the same zones that contain the first two doors, there are monitors that display these tiny three-number passwords on the far, upper right / northeast. For the third door, head to the far upper left / northwest corner for the password instead. The doors are always on the opposite side of wherever you find the password screens.

The locations of the passwords and the doors are simple enough but the distance and encounter rate will make up for it. Just keep everyone’s HP topped off and keep going. After the save point, we fight a rather stupid mercenary for the third time.

Dio was nothing to be afraid of the first two fights and he’s nothing to be afraid of now. Just keep everyone healthy, keep Vahn Jumping, Ami using Goblin Punch and Darius with the Shadow Veil + Darkside combo.

Unfortunately, Dio slips out at the end, saying that ‘Keith’ only paid him enough for three fights. I’d love for him to be gone but I don’t think he will be.

It seems we did not beat Malacore to the punch but he’s not exactly seizing the moment either.

Dark-robed, yellow-eyed Scarmiglione sprites

The Fey Spire appears to have been converted by the Fey into something like the tower of the fanatics in VI: a giant magical training ground for a radical and insular circle of magicians. Rather than the Magic Master, the topmost room is occupied by the Mystic Triad. This made me think of the three crystallized figures around the last save point / camp site in the Crystal Weald: they looked kinda like the Warring Triad from VI.

This is a more uniform trio in comparison. They each share a dark palette swap of the non-combat sprite of Scarmiglione (the Archfiend of Earth) from IV.

The Mystic Triad can be a little intimidating at first but just handle this like you did Dio: keep up the group heals and the defense / affinity transcendence.

Malacore, it seems, understands delayed gratification better than a lot of super villains. He promptly absorbs the Earth Crystal and comes at us at full power.

Malacore starts off buffing himself so have Laka cast Dispel first thing. Malacore’s Regen spell may or may not cease with other buffs which is annoying but not exactly a problem. Laka can also steal a Hero’s Shield from him, which is worth the effort.

This whole game I’ve been wondering if Malacore’s battle sprite is derived from Garland’s battle sprite from FFI? Maybe Garland’s sprite as it appears in one of the later FFI remakes?

The dude has a number of multi-target attacks, though, including casting Demi on the whole party and a Tsunami-ish move called Cleansweep. Along with frequently casting White Wind, Darius’ old Shadow Veil + Darkside number can be a major asset.

Somehow…after getting my ass handed to me three times in a row…I apparently did it. He may have absorbed three crystals but he also exploded right in front of us. The party even kicks back in Lindblum for a bit.

Periodically, we’ve gotten glimpses of late night conversations when the party stays at an inn during a plot juncture. We are doing this here because Regent Gran feels indebted to us for taking out Baram. Having done that, Gran then trusted us enough to send us after the Earth Crystal. There are less intuitive places for a base of operations than Lindblum Castle.

Siegfried is hanging out with the black and white mages on one side of the castle. If Malacore is dead, then Oalston believes that it’s only a question of finding a new avatar.

He reminds Elina and Siegfried that the Water Crystal is the only one that Malacore has not absorbed. However, we saw at the beginning of the game that the Water Crystal still plays a role in his plans. We know, in fact, that Darius was telepathically controlled by Malacore largely to release him from the Water Crystal.

Hey- remember what else happened at the beginning?

Darius starts going all Guantanamo Bay and gets reprimanded over it and removed from Braak, the prisoner. Then Braak gets mind-controlled and breaks out.

Fellow-Dragoon Hans gets word that Braak escaped. Hans grabs Biggs and Wedge and they give chase.

Where was the Water Crystal at that time? Under Branch Castle. Just below the dungeons. Like something down there reached up and grabbed Darius. Darius releases Malacore and the two set out for the other three crystals.

Hans, Biggs and Wedge follow Braak to the hiding place of the Water Crystal.

With both mind-controlled Darius and Malacore otherwise occupied, Hans, Biggs and Wedge are intercepted by our mysterious friend Gylfi. Since then, Gylfi has sicc’d mind-controlled Hans on us a few times, for whatever that might tell us.

Meanwhile- the Archareons- the head of the Esper pantheon -saw the party as the three dimensional occasion for Malacore to tip the dominoes for the Blackmoon Prophecy. Have we proved them right or wrong?

Vera’s late night conversation with Vahn has the Awakening variation of Terra’s theme. She timidly thanks him for intervening when the other Ivalician generals turned on her. The two lovebirds reveal their feelings for each other. This is also reminding me of the beginning, when everything was going just a little too smoothly for comfort.

Here’s the sauce

Here’s the next post

Playing Final Fantasy Blackmoon Prophecy part 5

Light spoiler warning. Here’s the first post, should you want to start from the beginning

As thanks for dispatching Baram, Regent Gran gives us access to the Lindblum armory. Here, we find a nice little stash, including the Titan nethicite. Titan grants 50% resistance to Earth magic and conveys leveling bonuses of +4 defense and +5 max HP.

So far, the nethicites of Syldra, Quetzalcoatl, Atomos and Titan have become accessible in the course of the story. Four, so far. (I mean, you could miss Titan if you simply refuse to open treasure chests). The ones that have not been handed over are Valefor, Remora and Lucavi. Three, so far.

After raiding the armory, Director Sabino of the Arcane Library informs Gran that the Fey barrier on Mount Koltz has finally been brought down. Ami mentions that she and fellow blue mage Lysha heard of a few different non-human civilizations in the Underworld, including dwarves. On our way out of Lindblum Castle, Regent Gran finally reclaims Bluebell and her whistle. Luckily, Mount Koltz is not far.

Upon entering the lower caves, there is a Horned Helmet stashed to the far northwest. If you got Laka with you, it might also be a good idea to start farming Mega Potions from the Arthropleura. They’ll make life easier later.

In the brief outdoor section before the Crystal Chamber with the save point, you can steal tents from the Zuu birds that can be encountered there. The odd Ochu might also show up.

Within the Crystal Chamber, Sabino and two of his mages are besieged by Byblos, the guardian of the Earth Crystal. A Lustrous Helmet can be stolen from them. Byblos also has a ton of HP so make sure you have Darius, use Shadow Veil to make them vulnerable to Shadow and then Darkside.

Sabino reveals that Byblos appeared after the Academy mages brought down the Fey barrier. As the guardian of the Earth Crystal, they felt a disturbance as soon as the barrier went down but not (as Ami observes) when the Fey stole the Earth Crystal.

The interior path of Mount Koltz, beyond Byblos and the Chamber of the Earth Crystal, has the same version of the ‘Phantom Forest’ music that we heard in the mines of Kohlingen (from FFVI Pixel Remaster, maybe?).

The black, ghostly, yellow-eyed Callicantzaros are a decent occasion for Laka to farm Hyper Ethers, since we’re gonna be using a lot of magic.

Both the Callicantzaros and the Ochus can be a problem. The Ochu’s Pollenate attack can easily wipe out the party. If they manage to do it twice consecutively, only those at full health will make it.

You will, of course, be wanting some fire-wielders in there like Oalston, Vera or Nobumasa. Vahn’s Flame Spear ability can be useful. Ochus are also fairly easily blinded by Laka.

Laka can steal Fairy Rings from Ochus and Mobility Boots from Arachnias. The Sengoku can be stolen from the Bengalensis (eel-like monsters).

While Oalston is burning all the plant-based and Shadow monsters, it doesn’t hurt to just stick with Fire. The base black magic spells all cost 4 MP or less and- so long as Ami is Cheering -you’ll probably recoup that value every turn. If you’ve been feeding Oalston the right shards and equipping the right nethicite, he should be dealing about seven hundred damage every turn with almost no MP expenditure.

It’s sustainable, anyway. Not that it won’t be worth it to Fira or Firaga the Ochus just to get them out of the way.

Vera’s got Ifrit and his Hellfire attack at her beck and call, as well. Nobumasa’s Katon is mostly useful for wearing down groups, rather than directly killing things.

In the place with the lava, there is a Holy Ring in the far upper west side of the opening chamber. This will require you to trust your instincts and run through barriers that might be permeable. Progress depends on doing the same thing near the far south of this chamber (we’ve all played IV, V and VI, right?).

After the hidden southern passage, head west. You’ll pass through some hidden openings and emerge in a thin corridor filled with boulders and grass. Eventually, you’ll be forced to head north, then turn back south in an arc on your way out.

One last narrow, winding corridor (nevermind the sucker bait to the west by the exit- it’s a solid wall) and we emerge into the Underworld map! Which is cool but mostly I was just happy to be able to save my game again.

The winged Belphegor monsters can lower your max HP for the duration of the battle. Wind and Ice magic are good for taking them out before they get dangerous. If the Belphegors knocking your max HP down becomes a problem, then head northwest from Balmag and you’ll find a Firm Wrist. It’s in a little box canyon next to a crater, equidistant between Balmag and Brindle’s hovel. I seem to have picked up one already so that’s half the acting party potentially covered.

There’s a lot of Bomb monsters down here but you could probably one shot them with Blizzara or Shiva by now. You can also shake them down for Flame Mail and it’s totally worth it for the party’s warriors. Excepting, of course, anyone who might already have the Survival Vest. I equipped Vahn with that as soon as Laka stole it from Vedrfolnir (back in the Dragon King’s Roost) and it’s stood up rather well since.

Depending on your play style and affinity for grinding (lol) you may have noticed that- so long as Ami Cheers first, then casts Storm Breath -that Oalston can effectively go back to our strategy with Fire. Simply adjust- Oalston casts nothing but Blizzard. Base rung, just like Fire. As long as the Cheer lasts and Ami backs him up with Storm Breath, it will be enough and Oalston may or may not spend any MP (not with regard to the Bombs, anyway).

I don’t know what’s going on with the Underworld music but I’m pretty sure I’m into it. The magical, wondrous vibe works better in this lava-filled environment than some may think. I was also surprised to find out just how deadly Bosche can be to the Flayers with a little luck and his Aim command. Think of Aim like Yang’s Focus in IV: a temporary boost for Attack is gained (what with Bosche being an archer) per turn sacrificed.

In Balmag, the Ghoul Town, Emanbi tells us that the Fey live in a fortress to the far north; a place where no ghoul dares to venture.

In the Balmag weapon shop, you can buy Cloud’s Organics sword for eight-thousand gil- great for someone who could use the the +125 to vigor but won’t suffer too badly from the -25 to luck. Should you have a ton of gil to spend, you can cough up a little extra for a Survival Vest if you didn’t steal or find one already.

If you grab the Basanite Axe (six-thousand, five hundred gil) and you happened to have the Balestarius, then Brindle will end up doing alright.

Oh, Brindle? He’s just kind of hanging out in his hovel, to the northwest of the first Underworld camp site. He’s a blacksmith and a former mercenary so you can either hire him to smith at your camp or hire him to join your party. His three dump stats are vigor, defense and luck and he dual-wields clubs, maces, flails, hammers and axes.

This guy can be found in Balmag. I already have two of those four. And I ran into a Cactuar outside of Kaipo and they’re usually the ones with the 1000 Needles attack. It wouldn’t surprise me if Cave-In is out there, either, so I didn’t see much in Grizzok’s collection to interest me.

So. Our main lead seems to be that we’re heading somewhere north of Balmag with our new dwarven barbarian friend. I couldn’t find anything even remotely helpful, though, so- for lack of any other option -I proceeded to the Lucid Depths, mentioned by Aruda. I feel inclined to trust Urrah as well and be en garde against “monsters that eat magic.”

So far, I’m liking the use of FFVIII music. The Esthar theme worked well in the Arcane Library. The music from when Laguna and company are trying to slip past Estharian guards through a cave also goes well with bright, shiny underground places.

This was also an annoying place to learn that you need a set of Germinas Boots for each active party member. I found one already so luckily I only needed nine-thousand gil to cover everyone else.

Ami’s Goblin Punch blue magic works fine against the Chitinids. Laka can also blind Chitinids with green magic. Same for the Deathclaws. Both Deathclaws and Chitinids go down quickly with Ami hitting everyone with Storm Breath and Oalston following up with either Blizzara or Fira.

Which of these monsters “eat magic”, exactly?

Strike west in the fork and you’ll encounter a room with winding, arcing paths. In the far southwest corner is a treasure chest containing the Asura nethicite. Resistant to silence and +2 magic and +2 spirit leveling bonuses. Given how common the silence status effect can be in the Underworld, it’s worth the effort.

Actual progress through the Lucid Depths lies to the east, though (I guess that makes Asura my fourth optional nethicite?). But you’ll end up going through so many curvy tunnels that you’ll come out even further west.

On this side of the Lucid Depths, two new monsters start showing up. There are pale little scorpion monsters called Indocites, capable of inflicting poison, darkness or instant death. Hopefully your active party members still have an accessory slot available for some resistance gear. Fire magic and some physical attacks that bypass defense are useful, too.

Then there’s this gem.

A Shapeshifter might hang out for as many as two or three turns before shape-shifting. So far, they have turned into a Chimera, Magma Breath, Dragon and Ochu. All of those- base Shapeshifter form included -are annoying to steal from. I’m still not sure if things like low HP or status effects actually make stealing any easier or not. It’s tempting to assume that lowering HP helps- like in any other FF -but it could just as easily be a virtual die-roll of Laka’s luck stat versus that of a monster. The longer a battle lasts, the more rolls of the die…you could see how the mistake could be made.

Luckily, upon killing a Dragon, they might drop a Dragon Fang which teaches Night to Ami. Night attempts to blind every opponent, giving it a strategic niche beside Mokusatsu, which hits every opponent with non-elemental damage while potentially either blinding or confusing them.

In the demon town of Vos, a few different discoveries wait for us.

Then…who should we run into but General Braak’s sister Jasmine.

Like a lot of Ivalicians we’ll meet, she went to the Underworld on her own and got stranded. Jasmine was heading to the Gygas Coliseum when she “fell down a stupid hole.”

Jasmine’s character class is listed as Monk which- in FF -usually translates to boxer / martial artist. She has no weapons slot (which is balanced with a third accessory slot) because she uses her fists, like Tifa or Sabin and comes equipped with Sabin’s Aura Cannon.

As we talk to the locals and peruse the shops, a benign dark gray demon named Varozz says that their eastern allies- the dwarves -are their only buffer between themselves and the Fey. I guess that tells us where we’re headed next.

Between here and there, though, we have to climb a rock formation across some lava, which means passing through an out-of-place human settlement called Valefor Fortress.

The structure seems potentially empty at first, with dead and maimed Ivalician human soldiers everywhere. When we do encounter living people, they die before us in a red flash.

When we find the last holdout battalion, Vera sees a familiar face from the Ivalice military. Right before we get rushed by the monster behind the red flash.

I always thought this sprite from VI was rather under utilitized

This…is Khalkatauroi. They mostly seem to just cast Fira and 1000 Needles. That can be a lot of damage but it is also rather capped. If you have four party members with HP over 1500, it shouldn’t be that bad so long as Ami keeps casting White Wind. Maybe slip in a Cheer when you can but White Wind is better support for this battle.

Oh speaking of that- Siegfried started recovering MP from Cheer! Better late than never.

If you just want the fight over as soon as possible, though, forget Cheer and divide Ami’s attention between White Wind and Goblin Punch. If someone fast like Laka can keep Siegfried’s MP topped off with ethers, then he’s free to lean into Dispatch. Just hit him with as much defense-ignoring attacks as possible.

Czarina Ring can be stolen from Khalkotauroi which will make healing more effective.

Unfortunately: I may have encountered two separate glitches. A few different times, a healing spell or item will randomly be used on an enemy instead of whoever you meant to get it. If you’ve played this game then you know you can’t normally do that. Not with group healing spells like White Wind or someone using a Mega Potion. There are occasions for doing that with single target white magic or even single target items like Phoenix Down- against undead foes. The group stuff, though, is unidirectional. It’s rare for group heals to flip like that but not unheard of.

Anyway-

This last time it happened- just outside of Valefor Fortress -both Ami and Laka suddenly had no equipment. Luckily everything was still in my inventory and I could just throw it all back on, which would have been nice to have gotten done before the next monster encounter happened.

Just checking out the eggplant
Has camping in the Underworld always been this romantic?

Here’s the sauce

Here’s the next post

Playing Final Fantasy Blackmoon Prophecy part 4

Light spoiler warning

Here’s the beginning of the play-through, for those who wanna be caught up

The Crescent Rivulet takes time and effort but not as much as the Temple of Visions. Throughout Final Fantasy Blackmoon Prophecy, I’ve noticed that Babineau tends to use treasure chests as environmental guideposts toward things that bear investigating. Such rewards may or may not be progress.

The Crescent Rivulet was the first dungeon I’ve encountered that seemed to have nothing but treasure chests and monsters.

Eventually, I found an Artifact for Bosche, which apparently improves his Procure ability. The closest thing I can compare Procure to is Setzer’s Slot ability, what with randomly generating a move from a roster.

The Viral Tendril ability item lies in a nearby treasure chest. This teaches Ami Virulent Breath which poisons an enemy, with a slight chance of simultaneously inflicting other status effects. Virulent Breath only targets a single enemy, though, as opposed to the usual multi-target Bad Breath. A memoir page can also be easily be found in the area, along with a chest of Bodkin Arrows- a decent acquisition for Bosche.

And let us not forget the Lucavi nethicite, which bestows 50% passive resistance to Shadow. Leveling bonuses are max HP+7 and max MP+3.

In the waterfall pool with the Lucavi nethicite, the Bodkin Arrows and Merlin’s Staff, there is the moogle you usually find at the end of the dungeon, who leads you to the exit.

…

Might this not be where we’re supposed to be after all? However grateful I am for more blue magic and nethicite?

I returned to the Temple of Visions with Bosche at the head of my party, to see if he has some kind of obstacle transcendence ability…like putting two halves of the key together? He does like rare and exotic stuff, right?

If he does have an obstacle transcendence ability, it does not appear to be putting ancient, magical artifacts together. Like Siegfried, Bosche also appears to be unable to recover MP from Ami’s Cheer ability.

You know who might be able to put the key together? Someone at the Arcane Library.

No one did, though. This was also where I found my second conspicuous glitch: I entered the Arcane Library through the eastern bridge and appeared at Surgate Waystation. This happened three times in a row. When I tried entering through the western bridge I made it into the Arcane Library (for all the good it did).

Also: Bluebell apparently cannot set foot on the campsite outside of the Nightmare Cave. I’ve lately begun to wonder if Bluebell is an early taste of travel potential and the scale of the map, like the early experiences with chocobos and vehicles in III, IV and V.

Finding myself back at square one, I made a list of every town and city in Lindblum, since the only advice on offer is to ride around on Bluebell and see what people have to say.

Between one thing and another, I did some grinding. Elina learns Regen at level 20. Vera summoning Kirin or Ami casting White Wind is good for benefitting multiple party members but at least Elina can now do it one at a time.

At level 18, Nobumasa learns Reppu (single target Wind elemental attack) and Shokuto (group heal).

Perhaps the soldier in Altair meant that Jack lives in the Rotunda of Revelry, rather than the Crescent Rivulet. But the guard outside of Jack’s office says we need an appointment…

I was starting to run out of ideas. So I went back to the Temple of Visions. I tried Darius at the front of the party, to see if he had any relevant obstacle transcendence abilities. He was no more useful than Bosche. Then I, uh…tried…something…

Soooo…all I had to do to enter the central path in the Temple in Visions was insert the Crystal Half-Moon Keys into the crescent-shaped slots directly outside of it. Go me.

X_X

(You can steal Hyper Ethers from the Dying Breath monsters, btw)

Moving on with the damn dungeon…we find Vahn in a room, in front of what looks like the shade of his father. Vahn says that his mother Elise never told him anything about his father except that he was a traveler.

From the ghostly image of Kain Silverson, the King of Branch, we learn that he lost his wife Hilda to illness. When she died, Kain found himself falling for one of her former handmaidens, Elise.

When Elise became pregnant with Kain’s child, she relocated to Valla with a cover story. Elise told anyone who asked that her son’s father was a traveling Lenadian merchant.

Vahn asks his father why he suddenly decided to seize the crystals. Kain says that the answer rests at the Citadel, in the heart of Ivalice.

Kain’s image fades and Vahn tells Ami that- upon hearing Malacore’s words about his parentage -he felt something within himself, drawing him to the Temple of Visions. Before this conversation can go any further, though, we are met with a new apparition.

This being, Mnemosyne, says that “(M)emories are required to sustain the power of the Temple of Visions. I need more memories. Your memories!”

A boss fight, naturally, ensues.

Laka’s Dispel green magic comes in handy once Mnemosyne starts Protecting, Shelling and Regening herself. Mnemosyne also absorbs Holy. She is weak to Shadow which is a decent reason to have Darius in the fight (during the attempt in the screenshot at the top of the entry I got party-wiped :P).

You want Darius’ Darkside attack with you on this. Nobumasa’s Shadow attack Yousei Hi was not particularly useful to me here. Mokusatsu will reliably blind her but- if Ami knows Virulent Breath -you could just stick with your beast of a blue mage. It is also fairly easy for Laka to steal her Angel Glove (I had equipped her with a Sneak Ring, which could have been a factor). You want the Angel Glove for your mages, since it buffs magic and spirit by 35 and reduces MP costs for the wearer by 20%.

Vera wants to start the search in Ivalice at the top of the pyramid: Lord Zeul Raithwall. Darius believes that Lord Zeul is the strongest swordsman in the world. Thus far, Zeul’s connection with Malacore remains murky.

Upon returning to Lindblum Castle and debriefing with Regent Gran, Vahn decides that the fate of the Earth Crystal is more time-sensitive than whatever waits in Ivalice.

For Gran’s part, his forces remain perilously divided. Unfortunately, securing the gateway to the Underworld at Mount Koltz still depends on decreasing the demands of the civil war on the Lindblum military.

It seems the rebels now seek to conquer the Magic Library, which preceded the Arcane Library and has fallen into disuse. Baram von Muir is personally accompanying his fighting forces there.

At North Dock, Shiroma and the Eternal Blue wait to convey us to the Magic Library, on an island to the southeast; further south than the plot has taken us, thus far.

Aand holy crap is the magic library hard with a level 20 (Ami), 15 (Oalston), 22 (Laka) and 16 (Vahn). High encounter rate, with status effects and multi-target attacks. Maybe make sure your party is leveled to 17 or over. I then switched to Ami (20), Nobumasa (18), Laka (22) and Vera (18).

The party finds Baram von Muir in the company of two of his rebels- Hanuman and Porkus -whom Baram transforms into…well…

This…is a hell of a way to encounter the head from Sabin’s sprite

The Reppu Ninjutsu (Wind elemental attack) is effective. Virulent Breath can also be a fun way to find out what status effects a given enemy is vulnerable to. You can steal a Thunder Blade from Porkus and a Blizzard Sword from Hanuman.

Siegfried remarks that Baram using this magic on anyone- rebel or otherwise -is just wrong.

Vahn and company tell Regent Gran about Baram’s acquisition of the Magic that turns people into monsters. Siegfried is particularly worried about the citizens of Surgate, who live under Baram’s authority.

Regent Gran, to Siegfried: “You sound familiar, shrouded man. Have we met?”

Siegfried waves it off.

Regent Gran then joins us temporarily for the journey to Surgate. What he brings to the party is a repertoire of both white and black magic (that would make our Edgar-looking Gran a sage by the standards of IV, right?).

Until now, Surgate has had the shrill, militaristic horn version of Under Martial Law. During this visit, we hear the slower, more natural version of Under Martial Law with the violins, harp-plucking, flutes and clarinets.

Every door, it seems, is locked from the inside, against the Lindblum soldiers who arrived ahead of us. One such soldier opines that the rebels may have “pulled back to their base at the mountainside.”

The Surgate Woodlands, behind the town, marks a more ethereal and drifting musical shift. Interesting contrast after Under Martial Law. Separate from the music, the transition reminds me of going from Bone Village to the Sleeping Forest, in VII.

The Chimeras in the Surgate Woodlands are intriguingly difficult to steal from. I started off with Ami Goblin Punching and Oalston casting Comet for a few turns. Then I switched to Ami hitting them with Virulent Breath, Oalston casting Demi to whittle away at the HP without killing them and Laka trying to steal for every turn. Got their HP into the single digits. Soon Demi wasn’t dealing any damage.

Not a damn thing to show for it, the first time. The second time I swiped a Guard Shard (increases defense permanently by one).

Hyper Wrists can be stolen from the ostrich-like Kiwoks. The Chimeras have pretty good exp yield but the Kiwoks usually come with a few Tarantulas. If you want the grinding to stay good, think of ways to kill them before the Tarantulas begin to flee (Storm Breath and Fira and Gran casting Fire has been working for me).

While the Surgate Woodlands have a lot of treasure chests, a lot of them have tiny increments of gil or middling restorative items. They are also more scattered compared to other dungeon-like areas, so good job on the misdirection Babineau.

Eventually, though, the empty treasure chests will start acting as progression markers and the forest will feel a bit less labyrinthine. An arcing, upward path through the trees beginning in the southeast corner of the map will slowly reveal itself.

While wandering and fighting my way through the Surgate Woodlands, Oalston reached level 16 and learned Blizzara and Thundara.

Once you penetrate the mountainside base, you’ll find that Baram has turned several of his rebels into Sabin-headed homunculi. In the right hand chamber is a Sabin-monster called Bellerophon from whom you can steal a pike. Cadmus waits in the chamber to the left and can be shaken down for a Shadow Staff. Within both are Rebel Base Keys, which can be used to unlock the central chamber without wandering away doing an optional dungeon first (not if you don’t want to, anyway).

Baram’s last two rebels- Benero and Zenero -have lost trust in him after seeing what he’s been doing to everyone else. The party arrives, seemingly, in the nick of time…only for Baram to chortle about how he can generate as much muscle as he wants and transform Benero and Zenero. Baram lunges to the foreground, turns into a Pan-like goat monster (with his executive function apparently intact, unlike his underlings) and the three of them attack.

Keep the Wind attacks coming against Zenero and Benero. Both of them are vulnerable to poison and Baram has a Shadow Ring that can be stolen. No magic appears to work on Baram except non-elemental spells like Goblin Punch, Demi and Comet. Once Benero and Zenero go down, though, you can focus keeping your party healed and spamming physical attacks. It will go by quickly.

With Baram finally dead, everyone remains in shock over the monster-transformation ability he learned in the Magic Library. Regent Gran sends people to older library to see what could be found in Baram’s wake.

The death of Baram also means that the rebellion is over with. All that remains now is Mount Koltz and the sealed gateway to the Underworld.

Here’s the sauce

Here’s the next post

Playing Final Fantasy Blackmoon Prophecy part 3

Light spoilers for Blackmoon Prophecy and a few heavier spoilers for various mainline Final Fantasy games

Remember how I said Naddaha Pyramid was like the narrow, winding path dungeons with high encounter rates like in IV?

After you charge a lightening rod for him, Dr. Cid will teleport you across the next leg of the journey to the Wind Shrine. Except his laboratory at the other end of the teleportation device is filled with his malfunctioning, aggressive robots. With a long and winding slog over catwalks and through narrow corridors.

Fuck Jennifer

It is as close to the goddamn Tower of Babil from IV as I ever want to encounter outside of IV.

Not long after, we gather more party members far more quickly than in most 2D FFs. Out of the mainline games, the only one that felt like this was IV. Yet IV didn’t always make the difference between a permanent PC and an NPC obvious, which added credibility to a few scripted deaths (other deaths and resurrections were batshit random). VI had a relatively large playable cast of characters but gathering party members itself was not frequent.
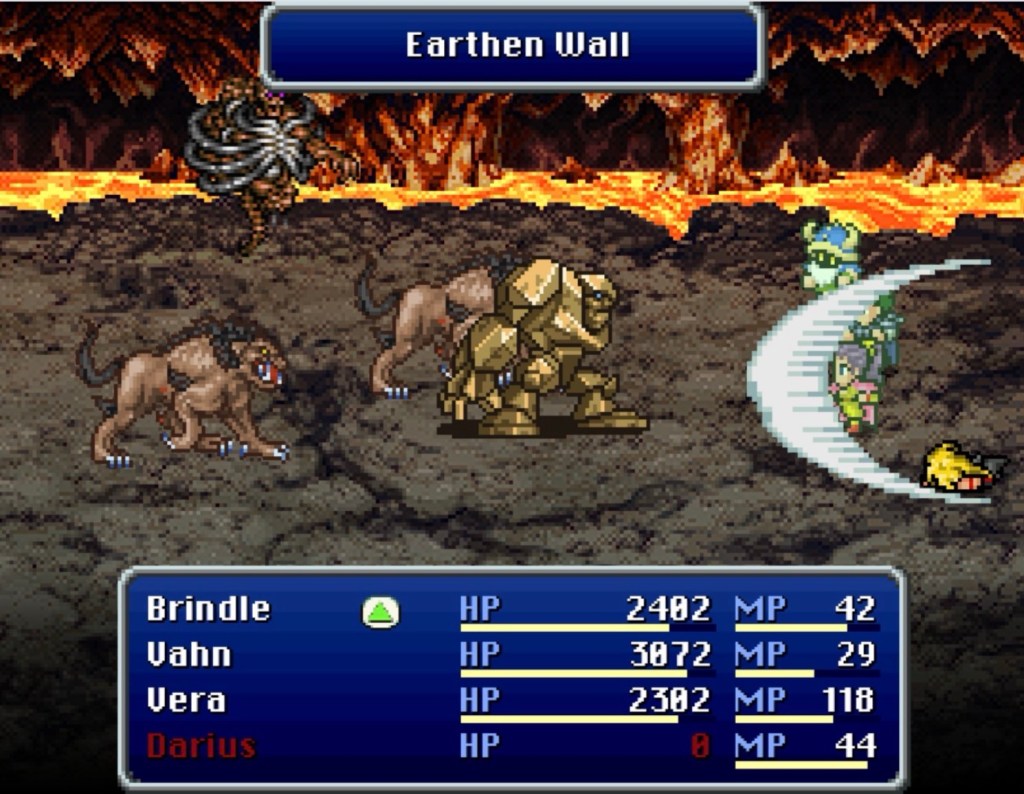
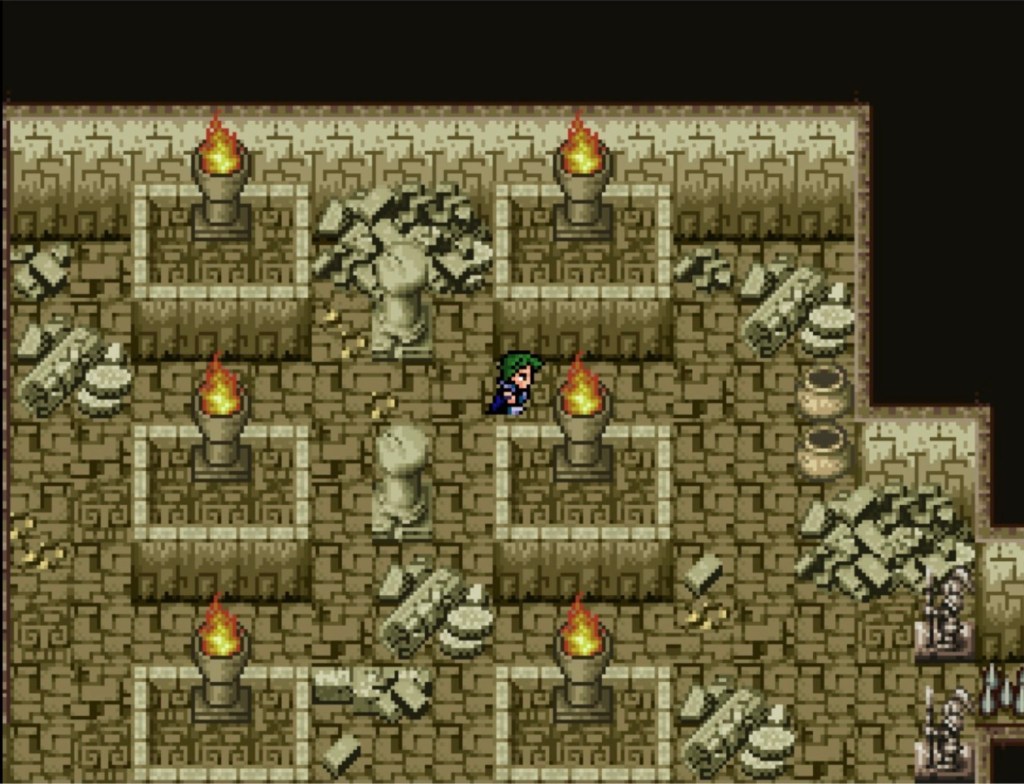
After Ami and Nobumasa, we soon encounter the Blackmoon Prophecy version of a recurring FF character called Siegfried.

Siegfried is typically a bit player. So is his frequent friend and rival Gilgamesh. The one I remember best was from VI. I think the first time I saw him was on the Phantom Train? Dodging traps and being kind of random amid the transmigrating souls? Shows up later at the coliseum in the World of Ruin?

Things get going once we encounter a bridge locked down by the slightly-familiar General Leonardo. Many Gaia nation states possess magical, historical weapons of both heraldic and military value. Cornelia’s own sacred treasure- the sword Excalibur -was lately stolen by the infamous thief Gilgamesh. We learn, from the Cornelian King at his Nideen palace, that the trail leads through the verdant cave system known as Bragg’s Folly. We get Excalibur back, Leonardo lets us cross.

Bragg’s Folly was the first dungeon that felt like it was applying specific pressure to MP management. Every fight requires some sort of massive damage, multiple target attack which means Vera gets to flex a little with the summoning. Storm Breath blue magic is also an asset. To date, ethers (MP restoratives) are only occasionally available at item shops, which is another reason why Laka’s ability to steal comes in handy.

The use of ‘Amarant’s Theme’ (IX) here felt perfect. So did ‘Battle at the Big Bridge’ (V) during the Gilgamesh fight, what with the hammy dialogue and the horns, electric guitars and keyboards gave it a fun seventies grindhousiness (Something with katanas and Kurosawa-like spurting blood? You can steal an Atlas Armlet from Gilgamesh, btw).

Come to think of it, this version of Siegfried feels more deserving of ‘Amarant’s Theme’ than Amarant himself. Amarant himself was not one of the better-written parts of IX.

Siegfried, Nobumasa and Vahn take equal thirds of something comparable to red magic. One way in which Siegfried is distinguished is his ability to learn and use some of Cyan’s Sword Art skills like Dispatch (VI). Siegfried has also- thus far – not been able to recover MP from Ami’s Cheer command.

In the Nightmare Cave, we face the Dreamweaver, who assumes various shapes to exploit mental and emotional weak points. Vahn’s mother Elise is one illusion, who says cryptic things about his father. Another illusion is a man named Davon whose apparition is visibly distressing to Siegfried.

Rather like IV, our foes remain one step ahead of us while we seek the crystals. Having escaped from the Branch dungeons, General Braak of Ivalice beats us to the Wind Crystal.

Now…Vera was one of the other three generals of Ivalice, whom were sent to Mysidia to intercept Darius. Vera is attempting rational interrogation when the other two spontaneously flip shit and decide to start beating confessions out of everyone.

(Local embodiment of Celes, from VI? Both Vera and Celes are generals but Celes was incarcerated and brutalized for speaking out against Kefka’s poisoning of the water supply at Doma. Vera is rescued like Celes but instead we find Vera attempting to exert her own authority to prevent mob tactics in her ranks. This feels significant)

Vera draws the line, the other two turn on her and Vahn and company fly to her aid.

Back in our relative present…

At the Wind Shrine, Braak attacks Vera for desertion and a boss fight ensues. While this is happening, Malacore appears directly in front of the Wind Crystal. Braak leaves, as though deferring to him.

Then Darius shows up, furious at having been subjected to mind control. Even with our newly-sane party member, though, Malacore is still able to swipe the Wind Crystal. Only the Earth Crystal at Mount Koltz remains.

I also had my first honest-to-goodness glitch encounter of the play-through at the camp site between the bridge outside of Nideen and Cornelia. I checked out the ability list next to that lil one, then turned the music box beside the moogle on and off. Then I couldn’t leave. The screen would fade to black like the normal transition and then I’d be standing in the central path as though I just entered. I slept in a tent- hoping it might move the game past whatever was going on -but it didn’t work. Had to close out and reload a save. It’s the only glitch I’ve found so far, though, so I’m not worried yet.

Nobumasa learns Mokusatsu at level 14 and Katon at level 15 which will make him way more useful. Both of those hit everyone in the opposing party. Katon is fire-aligned while Mokusatsu does non-elemental damage and may inflict blind and / or confuse. So far, blindness has turned out to be the most useful status effect and- with the monsters in the coming dungeons -you want them landing as few hits as possible.

The nation of Lindblum is the historic custodian of the Earth Shrine and its crystal. The journey is, of course, fraught.

Lindblum is beleaguered on two fronts. On one, the Earth Crystal has been taken to the Underworld by the Fey, behind an impermeable magic barrier. On the other, civil war has broken out. When Regent Gran decided to open avenues of trade and cultural exchange, a rash of militant xenophobia finds its voice in a courtier named Baram. They have, of late, began taking villages and checkpoints and have destroyed multiple bridges (Lindblum resembles a cluster of islands off the southern coast of the southeast continent so bridges are a big deal).

I guess everyone else is also worried about this?

This group- known simply as ‘the rebels’ -appear to be a typical monster-of-the-week at first. Between Cornelia and the Lindblum borders, we attempt to slip through a heavily occupied checkpoint on chocobos.

The sprites of the Narshe guerrillas (VI) now ironically embody fratricidal isolationists. Our first confrontation consists of rushing through them as quickly as possible. The chocobo is constantly running at full speed while we dodge obstructions. Objects in the way deal damage and running into a rebel triggers a fight with some mid-level damage sponges. The obstacle course ends with the apparition of Gylfi and another boss fight with mind-controlled Hans.

Our path to Lindblum Castle takes us through the Arcane Academy, which rests on an islet in the center of a rare intact bridge. Elina and Oalston are ecstatic.

The Kirin magicite can be purchased from a scholar for 10,000 gil. Vera now has healing utility- Kirin gives everyone a big heal and casts Regen on them. I’ve been grinding Elina rather hard, putting her at level 18 at that point (with the average being around level 15), and she was still yet to learn Regen.

A scholar elsewhere in the Arcane Library will hand you the Remora nethicite which offers magic, spirit and MP leveling bonuses. Started off rotating Remora between Vera and Ami but Nobumasa also benefits a lot from Remora since his Ninjutsu abilities are scaled to spirit (the only combative magic that’s spirit-scaled so far).

One may also encounter an interesting lil dude called Laudo, who came to the Arcane Library to make a profit selling ethers. This has not worked out the way he planned and- for a thousand gil -will follow us around. If you elect to hire him, he will sell you cheap ethers anywhere you make camp, mitigating the prior ether scarcity. In the long run, Laudo’s wares will include more diverse and potent ethers.

Before sharing the latest breakthroughs in black and white magic with Oalston and Elina, Director Sabino of the Arcane Library wants to test their proficiency.

The two front-row spirits can be beaten according to the elemental affinities and antipathies that their colors suggest. For the one in the back row, you want Elina to spam Dia.

Upon surviving the test, Oalston is permitted to learn Comet and Elina is entrusted with Libra.

Thus far, trial, error and context has served me well with determining things like elemental weaknesses and generalized estimates of HP limits. The acquisition of Libra makes me wonder if this may be less feasible, going forward. Oalston has also acquired a powerful non-elemental attack. With the optional nethicite and magicite in the Arcane Library and the chance to have cheap ethers on hand…this section feels like one big proficiency benchmark. Makes you wonder what’s coming.

Vahn learns Purify at level 15 but I’ve been finding that the majority of non-white magic healing abilities can only be used on the specific character with that ability. Elina remains the most dynamic healer. Vera with Kirin can function fine as a healer so long as you supplement her with Ami’s Cheer ability.

Regent Gran (who is embodied in Edgar’s sprite from VI with a reddish palette swap) fills us in on the situation with the rebels and the Earth Crystal. If the Fey are keeping it in the Underworld…I’m tempted to wonder if something like the Feymarch- my favorite dungeon from IV -is around the corner.

With Lindblum caught between the Fey and the rebels, Regent Gran is in no position to divide his attention further. Vahn and Ami mention the possibility of taking territory back from the rebels and Gran is thrilled. There seems to be a certain amount of local sympathy for the rebel isolationists and the Regent is slow to move against them openly. He directs us to Kaipo to meet with his trusted commander Baigan.

Toward these ends, Regent Gran lends us a Chocobo Whistle, allowing us to summon his personal chocobo Bluebell. Being a blue chocobo, Bluebell is capable of crossing rivers and reef-like bridges between landmasses.

Addicted to Bluebell

As we enter Kaipo, Siegfried balks: he absolutely refuses to publicly set foot there. We of course have to anyway and- should one’s party rest at the inn -a conversation can be overheard.

This is another one of those moments that convinces me that the references have a function, thematic and / or otherwise. We have both a town (Kaipo) and a character (Baigan) from IV. Kaipo even looks the same. Siegfried is a perpetually masked background character swordsman. Another masked warrior from VI, Shadow, will sometimes relive moments from his past while dreaming when the party stops at an inn.

Shadow’s recall-dreams begin with his past as a professional thief. These dreams dovetail with the eventual revelation of Shadow’s estranged family: the father of his dead lover (Strago) and his daughter (Relm). What happens next in Blackmoon Prophecy is also reminiscent of Barret’s return to North Corel in VII.

Now this may have been a glitch.

As the party is about to settle down and rest, voices are audible outside. I wasn’t sure if this was a glitch or not, since the party was rather still. I suppose they could have been shocked into silence at the full-blown lovers’ quarrel outside.

Even though Siegfried did not want to be seen in Kaipo, he evidently couldn’t stay out, either. He seeks out his lover Davon, whose appearance was used by the Dreamweaver. Davon is shocked to see Siegfried after two years of absence. The couple’s fortunes took a turn once Siegfried attracted a degree of political prestige. Siegfried seemed to think that this visibility would not be safe for his relationship. Afterward, Siegfried disappeared on an ascetic quest.

He passionately apologizes for disappearing and admits that he is also suffering in Davon’s absence and continues to desire him. Davon admits that two years of abrupt silence is not easy to forgive. In spite of Siegfried’s pained avoidance of the topic among the party, Davon himself seems to have warmed up. If you visit him at his home (minus Siegfried, who won’t go anywhere near there with the party at this point), he says that he intends to wait for him.

Our local version of Baigan needs us to reclaim the town of Dawnmarch. We can set out with our newly empowered black and white mages or we can clear the village with the blue mage and the summoner. For the other two party spaces, you want some people who can both give and take some physical hits. The rebel boss there has a maul that can be stolen.

Baigan then requires several thousand gil to station soldiers in Dawnmarch, to hold it against the rebels. Luckily, there is a nearby forest inhabited by juvenile dragons with gil hoards of a manageable size.

I started this next task the way I did because Ami left the Arcane Academy fuming about how they don’t have anything for a blue mage. I agreed; especially since I had not learned any blue magic since Goblin Punch. It felt like a missed beat and then Baigan sends us on a monster hunt. It seemed to add up.

I managed to steal from three out of four baby dragons. The one that got away was the white one and I never saw them again. I encountered the red fairly quickly and I encountered the blue twice. Between those two was my only encounter with the white and lastly the black. It seems possible that the dragon encounter rate in the forest starts off high, because it’s a mainline story event, then goes down a little each time.

Since the baby dragons are roughly boss-tier, this is a convenient time to mention just how useful Ami’s Cheer ability has been. I haven’t even thought of the Cheer ability since I played X for the first time as a tween…and I’ve replayed X multiple times since. Was it always this useful? It helps when you have someone like Vera, with a single strong healing ability that also casts Regen on everyone. If you’ve been giving her the vigor shards, keeping her close to the Valefor nethicite and buying her current weapons and armor, you won’t need her to do anything for the Regen duration except her standard physical attack.

The Water Ring can be stolen from the blue juvenile dragon. Flame Sabres can be stolen from the red. Black dragons with yellow underbellies drop Miracle Fruits (large and permanent HP and MP increase).

Okay this made me feel a little called out

Oh and I also stole a Flame Sabre from an Allosaurus in the area? And I’m pretty sure all I got from them in the past were Earth Drums (a disposable item that causes Earth damage)? So far this is the first time I managed to steal two different items from one monster. If I’m remembering the Earth Drum correctly, then do the same monsters carry different stuff in different areas? Or has this always been possible and I only just now pulled it off? Even though I’ve been trying to steal from as many things as possible?

Speaking of: in the grassy periphery of the forest, there are ogres whom you can steal Life Shards from.

While Baigan’s soldiers are now financially situated, the rebels have not been idle. According to Regent Gran, they have penetrated the Dragon King’s Roost south of the gil-farming forest. It appears they want to capture and tame some dragons to use as airborne super weapons.

The corpses of the rebels are strewn about the Roost and the survivors panic and attack you if you go near them. As we approach the summit, two pissed off dragons wait for us. The first is Vedrfolnir, who has a Survival Vest you can steal.

Now…whom should we find in the Dragon King’s Roost but Bahamut: the embodied deity of Ivalice?

After Bahamut vaporizes the three rebels, he goes for the party, Megaflares everyone and breaks through the ceiling of the cave.

Some Lindblum soldiers investigate in our wake and bring us back to Regent Gran’s castle. As we’re catching him up, the subject turns once more to the Earth Crystal, which is still in the Underworld with the Fey. A nearby bodyguard is suddenly possessed by Malacore, announcing that the Fey originally secured it for him. Yet the magical barrier has kept Malacore out as surely as it has the human pursuers.

Malacore also passively refers to Vahn as the son of a “tyrant king” while talking about something else. A little question mark balloon shows us that Vahn has no idea what he’s talking about. Before relinquishing the unsuspecting bodyguard, Malacore says “After all, it is your duty as the son of King Branch to allow me this power, is it not?”

Vahn panics and flees from the party as soon as Darius, Vera and Regent Gran attempt to ask him about this. Local chatter in Tzen suggests that Vahn has likely ended up in the Temple of Visions.

Oh- first blue magic since Goblin Punch! The Vibrant Plumage ability item can be stolen from a Zemzelett, outside of Tzen. From this, Ami learns White Wind. Blue magic was one of my original motivations for keeping Laka as close as I have been.

Being a massive VII fan girl, the use of the ‘Listen To The Cries Of The Planet’ music was a pleasant surprise. This dungeon branches off into a left and right path. Both of them end with a treasure chest that contains half of the Crystal Half Moon Key, which is required to unlock the central door.

The shurikens and the Yoshimitsu treasure chests suggest that Nobumasa may have some reason to be here. Sure enough, the Hadesgigas go down fast when you throw shurikens at them (hopefully not before you steal their Spiked Gloves). With Ami having learned White Wind, she can now heal the whole party and cast Regen while Cheering for gradual MP restoration. With Ami’s Storm Breath and Nobumasa having learned Mokusatsu and Katon, you should be alright.

You also might want to fight the monster-in-a-box Almagest, since it drops an Arondight: Darius’ best weapon so far.

With both halves of the key in hand, it is apparent that the party can’t just slide them together. Then I remembered: someone in a village mentioned both the Temple of Visions and the divided key.

I can’t remember what they said though.

No one in the village of Altair is able to help out with this but they do mention a gambling engineer of renown named Jack. A townsperson says that he lives north of Altair, so off I went astride Bluebell.

This place…has an almost dream-like quality. The music is your basic video-gamey-casino loop. Tinny, synthesized, brass instrument sounds. It’s not annoying but it’s not dissimilar to annoyance. Reminiscent of insomnia, somehow. Like a casino-themed Sonic level only drunk and just about to start tilting from horny to crying.

Eventually, though…somewhere north of Altair…I found the suspiciously-named Crescent Rivulet.

Here’s the sauce

Here’s the next post