
Major spoiler warning
Here’s the first post, should you want to start at the beginning
In the distant past of the Esper world, there once existed something like an elemental crystal. Valiar does not have much to say on how this object met its end; only that it did and only a single shard survives. This, the Aethershard, will dissolve the boundaries that the Fiends have erected around their lairs.
On the recommendation of Valiar, we consult our “field moogle” at a campsite on the whereabouts of the Five Fiends.
Babariccia dwells in the Floating Ruins, above the reach of our airship. The only terrestrial entrance to the Floating Ruins waits in the Cleft of Wind.
Cagnazzo resides beneath the waves in Lindblum Castle, which must be reached through the Borealis Cave in southern Lindblum.
Rubicante can be found in “a fiery stronghold in the Underworld called the Inferno Chamber” which can only be accessed in the Cave to the Underworld in central Lenadia.
The Brothers live on Mount Houzell, along the northwestern mountain range of Mohadmal Desert.
Yemaja has made his home in a misty jungle island off the southwestern coast of Ivalice, called the Everlasting Triangle.
This is, of course, all well and good to start with but there’s still so much of the world we haven’t seen yet. In the northeastern corner of the Lupin village of Vilaheim, I bought a Starlet magicite for twenty-thousand gil.
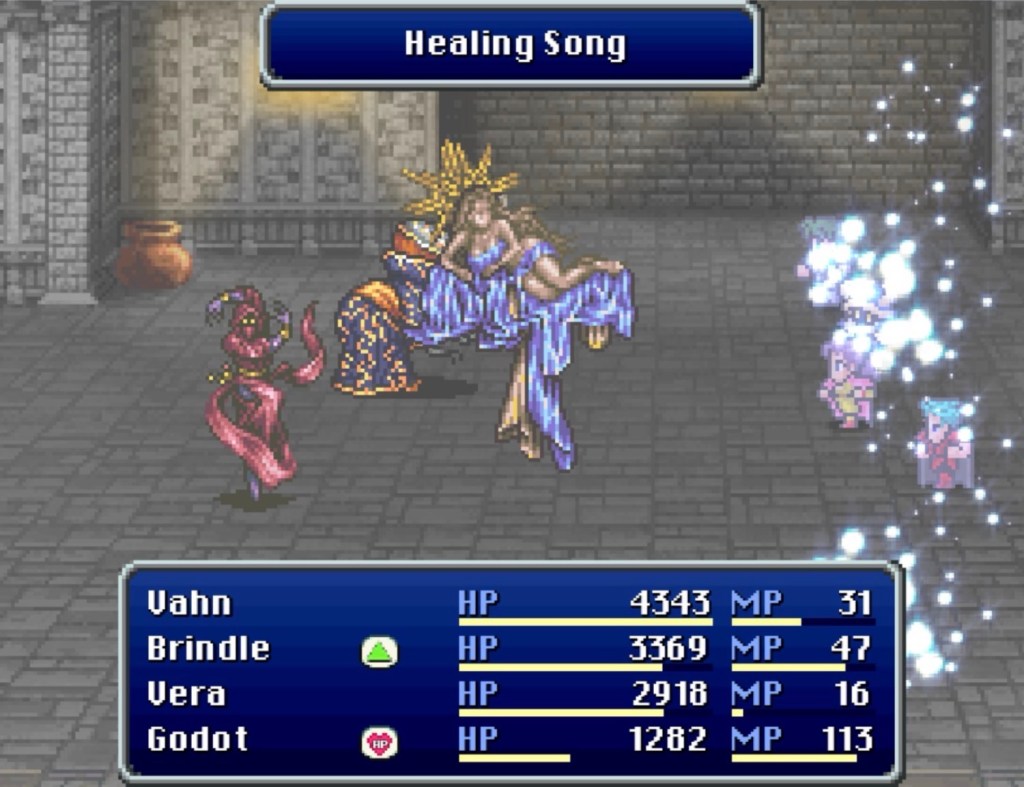
Starlet casts Healing Song which amounts to a decent mid-level group heal which alleviates the overall pressure on Vahn and Godot. More and more fights from here on out will require someone casting a group heal at least once every other turn.
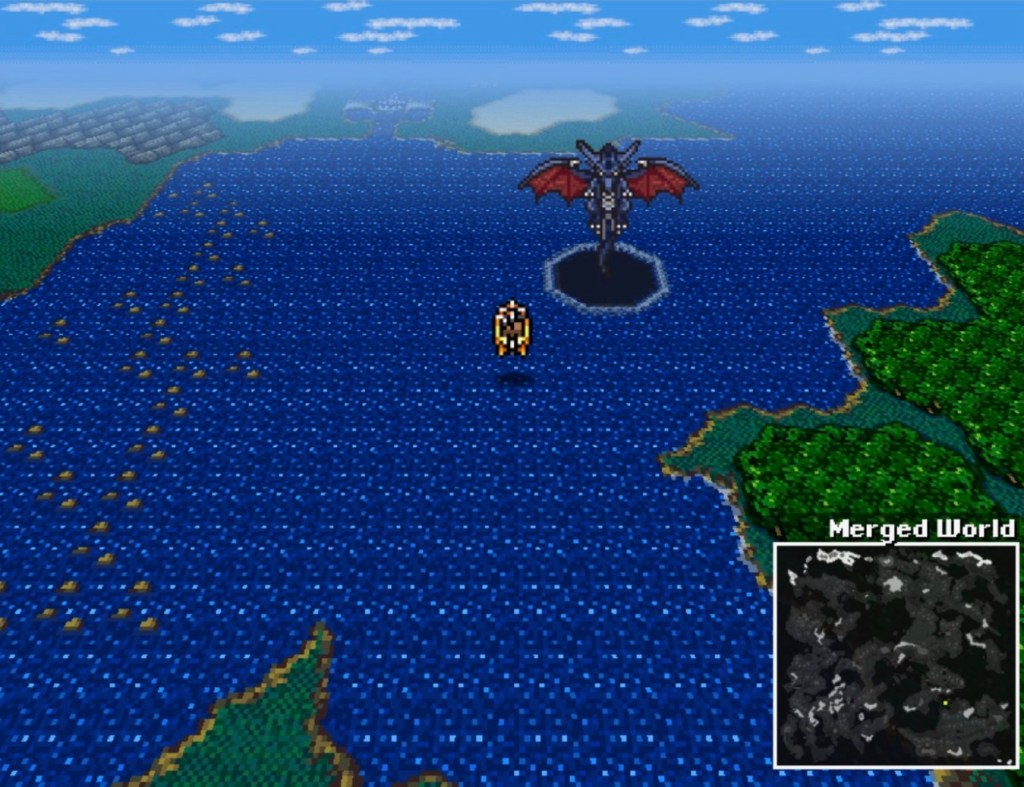
I landed the Eagle on the tiny Island carrying Branch Castle (off the southern tip of the island with the Eagle’s Cradle), went inside and stepped back out. I was in the pre-Merger World, outside of Branch Castle. I tried summoning Shadow with the Chocobo Whistle at a camp site and Shadow couldn’t leave the tile he appeared on.
After reloading my save, I ranged toward Northdale where a roguish moogle was standing around, brooding. This is Moguel; a moogle weapons master and mercenary of renown. After a cursory glance at our weapons, he decides to throw in with us. That, apparently, was enough. Moguel doesn’t even demand payment up front like Brindle did.
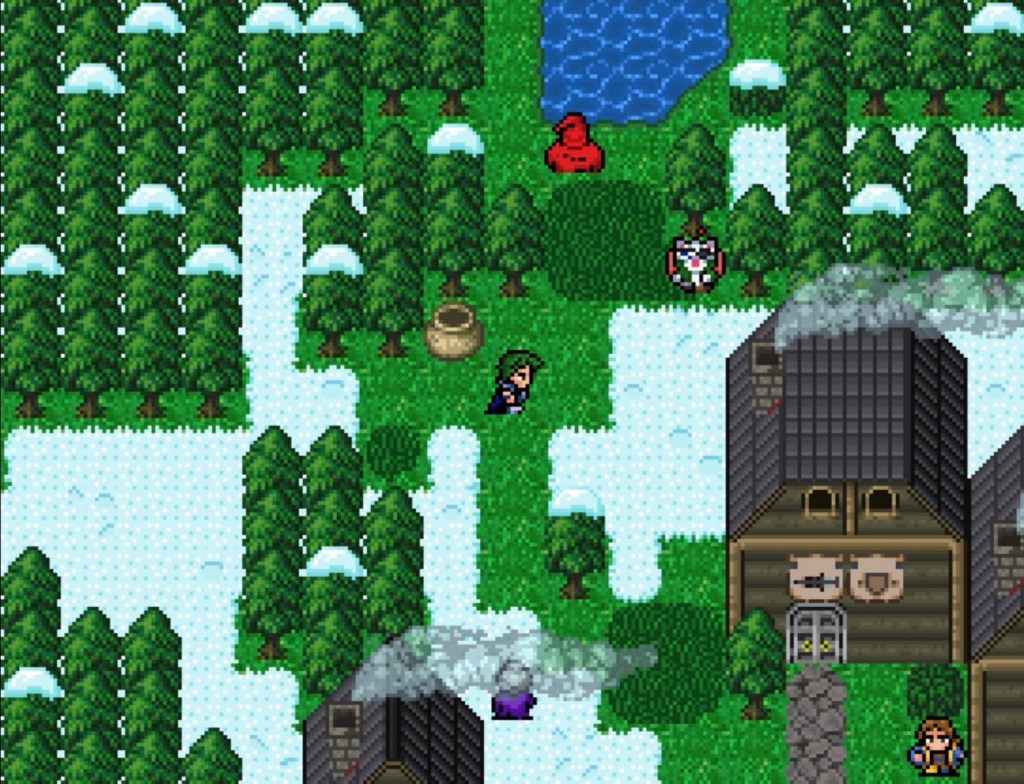
Moguel’s character class is listed as Virtuoso. Each skill they have in their KupoTech command roster does damage based on one of each stat or Moguel’s level.
I am still not altogether sure how to play Moguel. He falls quickly into a warrior function: Adept Strike (damage based on level) and Might Strike (based on vigor) were both fairly reliable and none of his KupoTech abilities cost MP so far- just a cool down period (Vera gets both an MP cost and a cool down period for summoning, for comparison).
Once we dissolved the barrier before the Cleft of Wind with the Aethershard Crystal, Moguel managed to keep up but only just. I’m not sure what the right strategy for him is in the Cleft of Wind or if this is an area that other party members are better suited for. The whole time I had this sense that I was relying on the strength of a party member who is not just strong but I couldn’t quite figure anything else out.
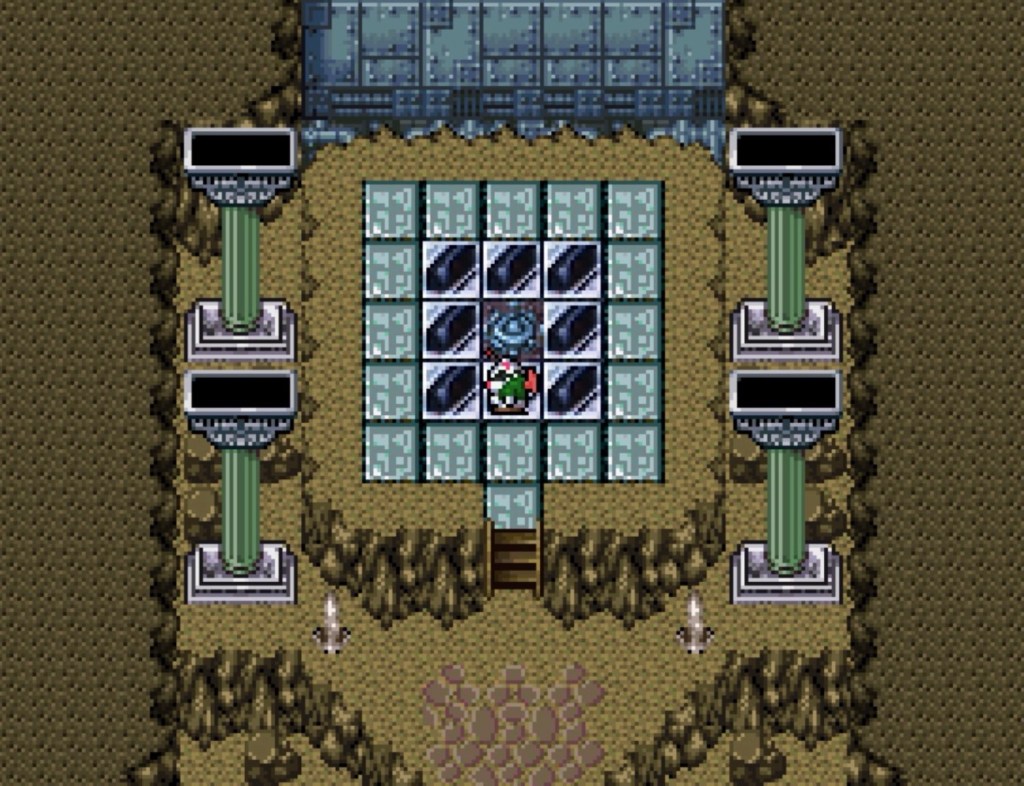
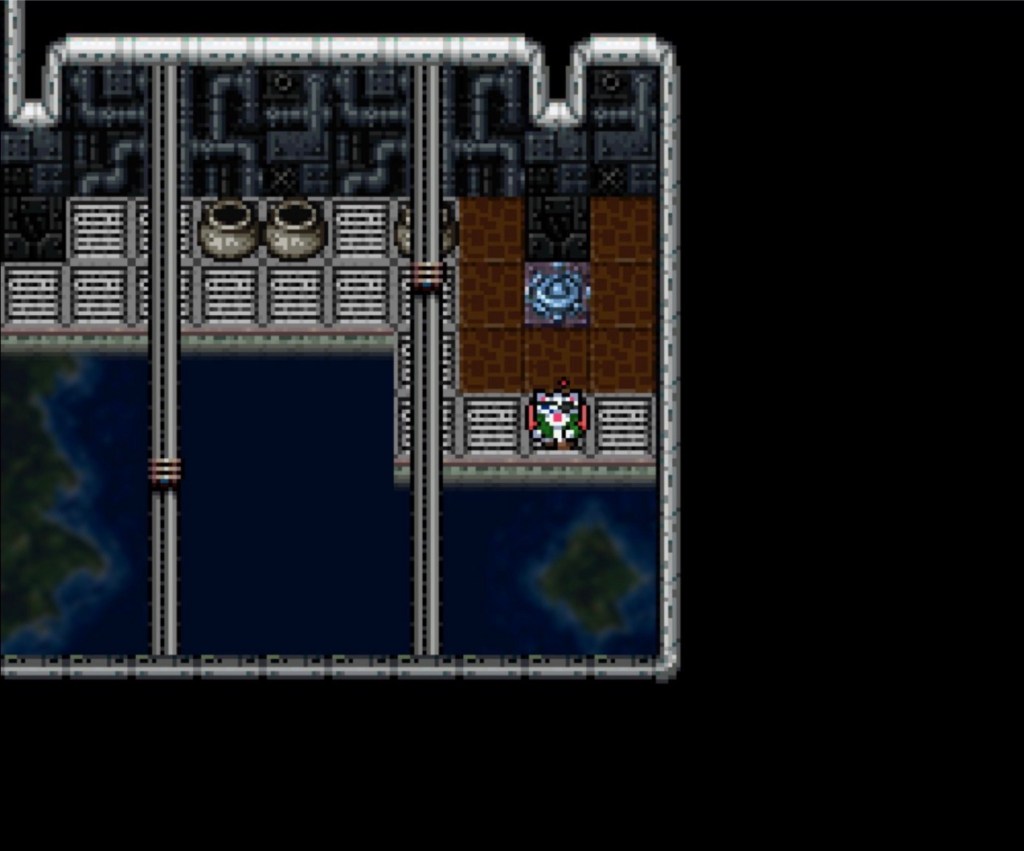
Once teleported to the Floating Ruins, go outside and skirt the southern edge of the floating landmass until you find a thin path beside some trees to the northwest. You will find a Memoir Page (my count rests at nine).
If instead you skirt the southern edge northeast you will find a chest with Germinas Boots and a ruined stone structure. A stairwell descends through the floor to the same technological-looking basement space we arrived in, suspended in the upper atmosphere.
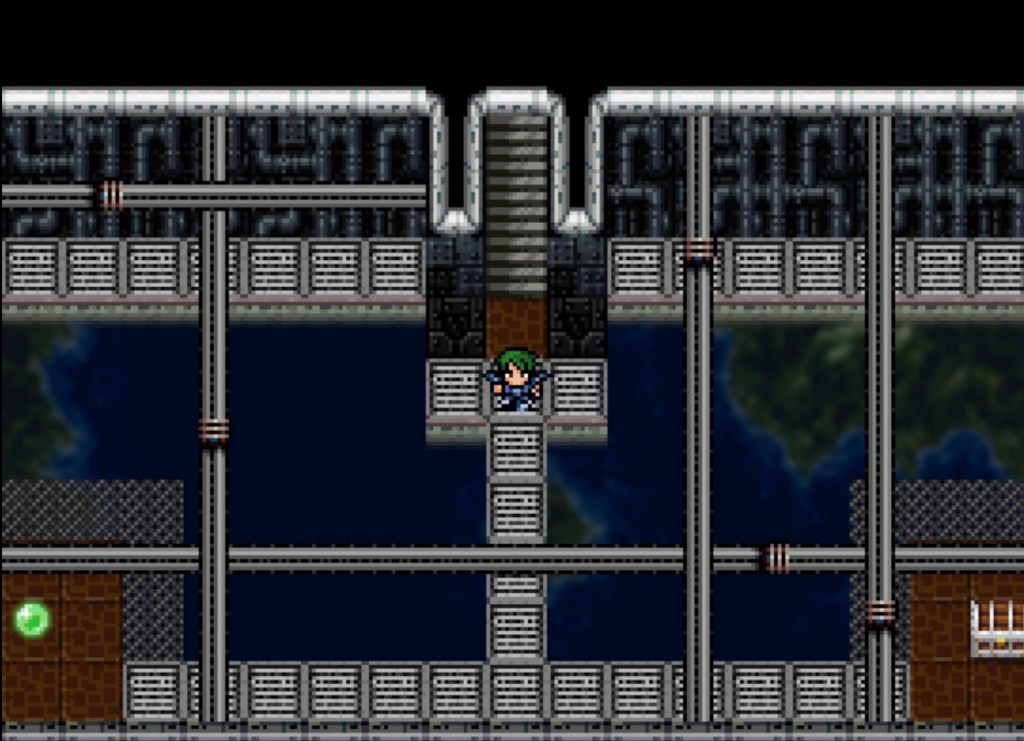
Across the southeast catwalk is a chest containing an Entropy Orb: a weapon for Godot that grants +175 to magic and -10% MP Regen (as opposed to the +1 Regen of his Malachite Orb that he joined the party with). If Godot dual-wields the Entropy Orb with the Malachite Orb, he will lose MP each turn. The Entropy Orb makes him hit harder but the loss of what little ambient MP recovery he has makes it hard to keep him topped off.
Across the southwest catwalk is a spherical green object called a Cyclone Core. West of this structure is another with stairs leading below to a chest containing a Cat Cloak and another Cyclone Core.
The monster situation is also very different than it was in the Cleft of Wind, requiring me to switch up my acting party.
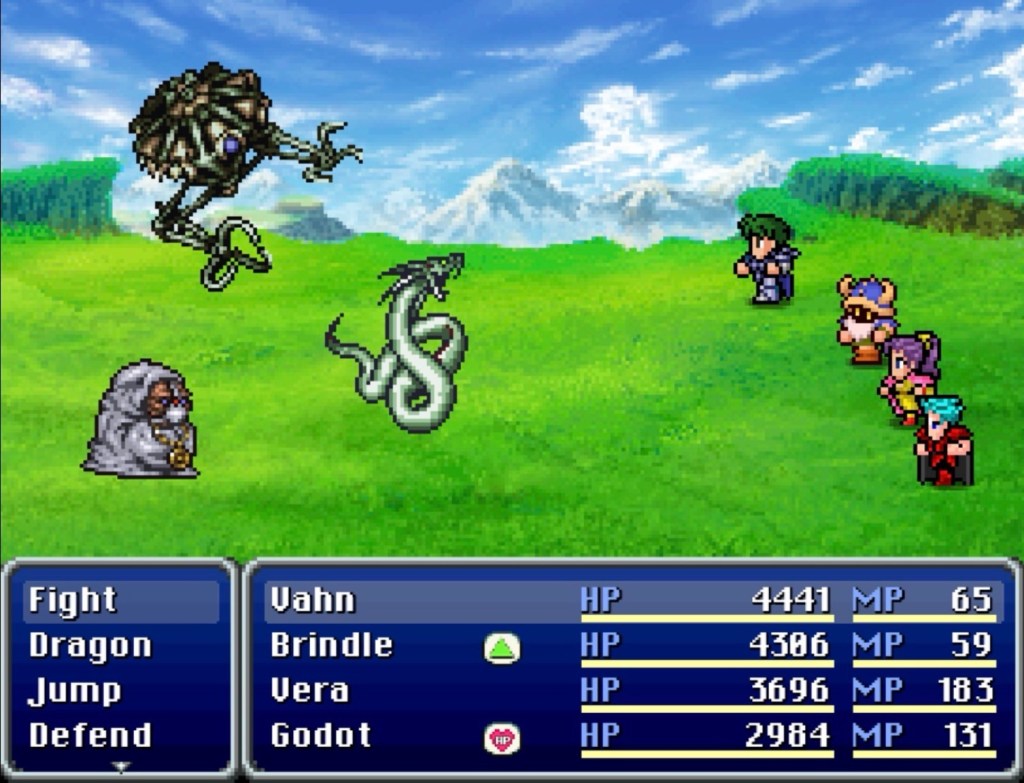
With my Vahn being where he is (level 42, vigor 371, defense 235, magic 46, spirit 115, speed 136, luck 263), he can pull off Stock Break on the Gale Serpent at the start of battle. The Forgotten Riders are also vulnerable to Stock Break at the start of battle. So do the Enlightened. Major weakness of a lot of Floating Ruins monsters, really (wonder if that luck stat has something to do with it?).
Directly behind the ruin with the Cyclone Core and the Cat Cloak is another. In that upper atmosphere basement, we find a Magic Shard and another Cyclone Core. The next ruin is northeast of the the last and its sky basement has nothing but a Cyclone Core.
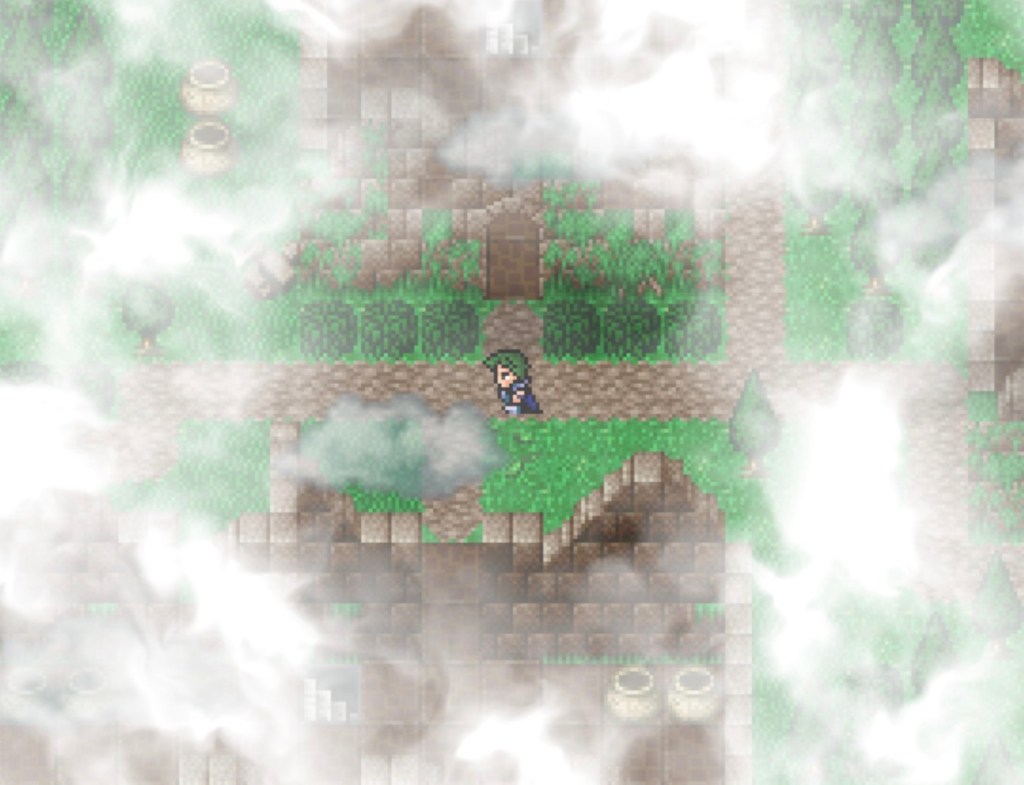
If we head south, we’ll find ourselves at one of the places we passed earlier. If instead we backtrack west and turn north at the column, there is a treasure chest and a downward staircase on a hill. This is where we insert the Cyclone Cores into their slots.
I was still missing one at the time, though.
North behind the hill is a strip of land between trees and a drop-off into the open air that turns west. At the end of the trail is another ruin with a subsurface stairwell. There is a treasure chest with 800 gil outside of the western wall if that’s somehow worth it to you.
Below, there is an Antidote, a Hero Shield and the last Cyclone Core.
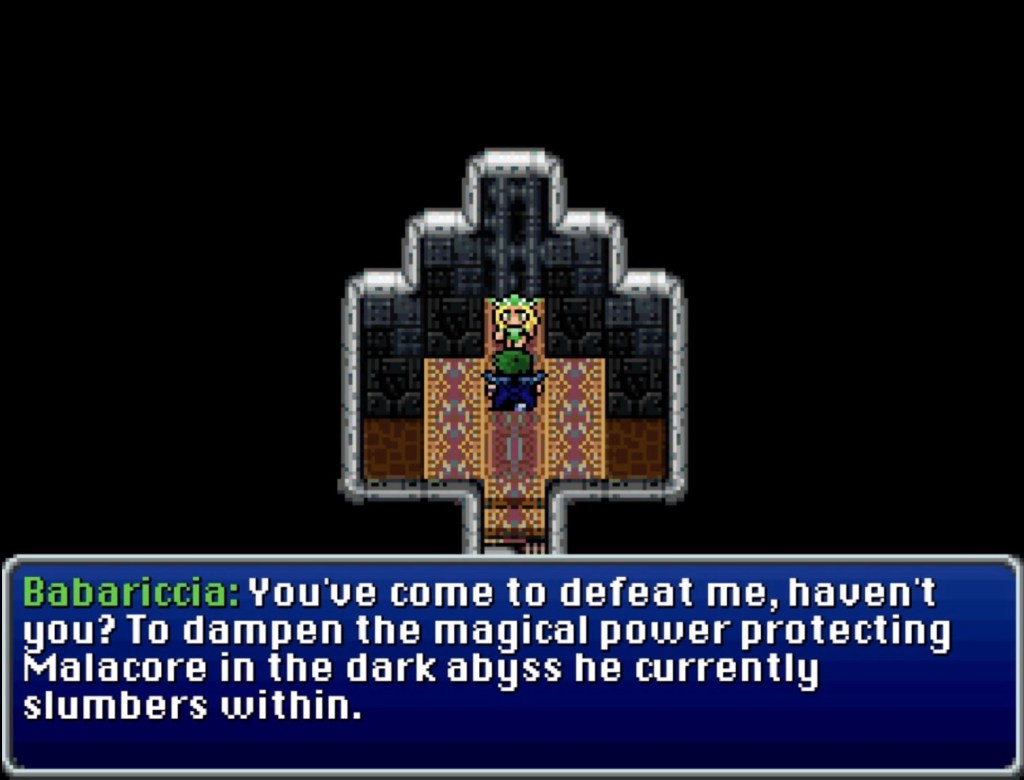
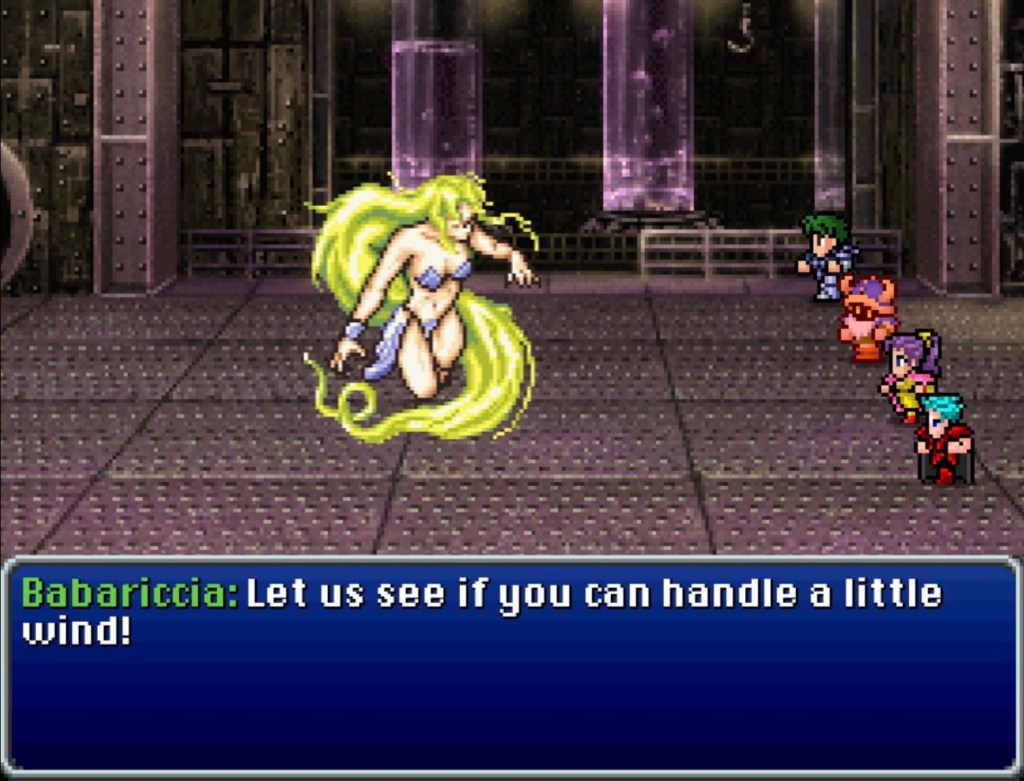
Back in the hole on the hill, we socket the last Core and the door opens. No save point: straight to Babariccia. I got wasted the first time so I gathered all five Cyclone Cores again, warped back to the Cleft of Wind and backtracked to where I could buy a bunch of Phoenix Downs and Hyper Ethers. Then hauled my ass back up to the only save point in the Floating Ruins.
Godot can do a lot of damage with Blizzaga (learned by Godot at level 36). Blizzaga and Dragon Strike both regularly inflict over five-thousand damage.
After getting party-wiped again, I gave everyone a Safe Ring, which bestows Shell on the wearer at the beginning of battle. Anything to take the edge off of Babariccia’s magic damage.
It took awhile and goes smoother if at least one party member is healing each turn. Between Dragon Strike and Blizzaga and summoning, you’ll be relying on Hyper Ethers a lot.
Babariccia will ask for mercy. Whether you spare her or not, she drops a Mystic Key. Should you do this, she renounces her connection to Malacore out of resentment for being used as a shield. Her rejection of Malacore separates her from the Wind Crystal and she joins the party as a mortal.
Babariccia’s weapon is the Hair Whip and- as far as I know -no weapon shop has ever offered whips. Could it be that her own hair occupies the weapon slot, kinda like Jasmine’s fists?
Orland in Corneria mentions an Esper World town to the southeast where, he heard, a white mage has taken refuge…!
To the southeast is Clestance, where the Espers have fallen ill. Elina is working on a cure which requires us to travel west to Clestance Cave for a bio-luminescent plant called Dimglow. Clestance Cave also has really neat low violin music.
A Memoir Page lies to the far west of the second chamber with the torches at the entrance (count rests at ten) and a chest with a Golden Apple.
This…is a cave that gets right to the action. Directly ahead of the torches is a save point, the Dimglow and a boss fight.
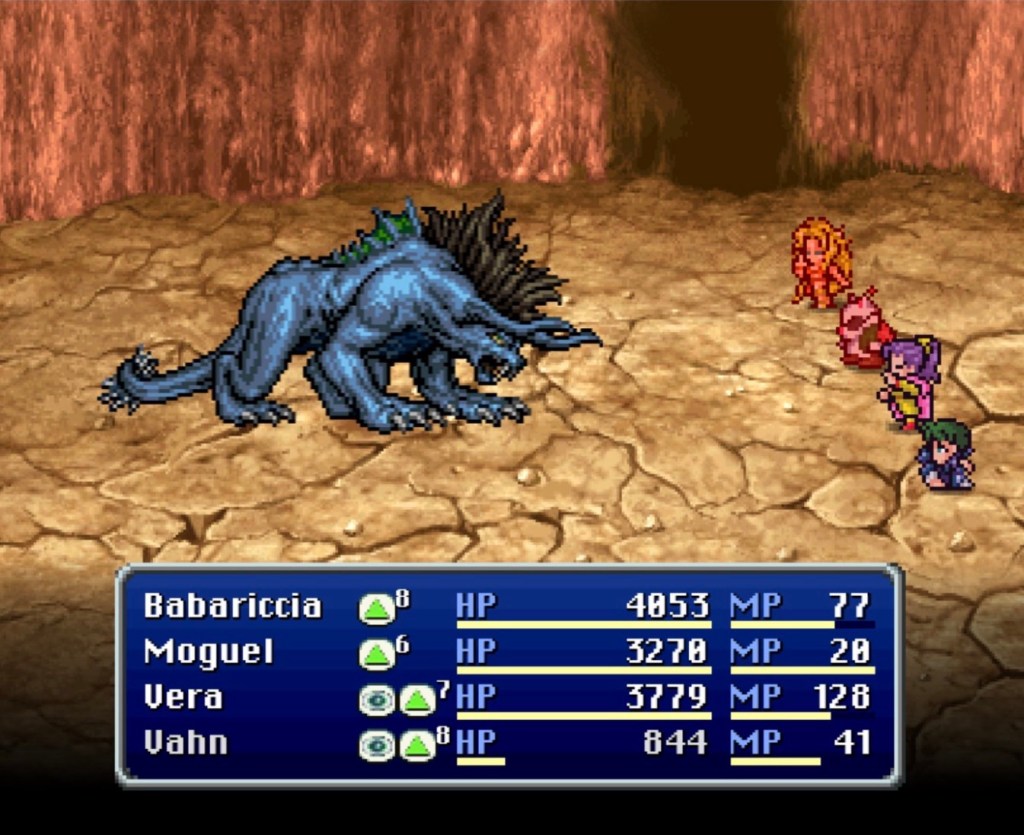
This particular beast- the Intangir -is completely invisible at first. Air Martelo (Babariccia has that ability to begin with under her Zephyr command list) does nothing. Shockwave hit them with over a thousand damage which is middling for this point in the game. Babariccia also has the Storm Breath ability that Ami acquired via blue magic, which also hits for about a thousand damage. Moguel’s Might Strike hit Intangir for two-thousand and his Adept Strike hit for five-thousand. Vahn’s Dragon Strike hit him for about five Gs one time and six Gs another.
I don’t know if Storm Breath did it, exactly, or if it was just the cumulative damage done, but Intangir’s invisibility became “disrupted”, unveiling his blue Behemoth form.
Intangir does exclusively physical damage which makes this a good time to summon Golem so he can cast Protect on everyone.
You should probably have Vera summon both Fenrir and Golem, really. Fenrir casting haste on the party will stop you from taking hits in the middle of your command sequence. With everyone hasted, just make sure you command a group heal maybe every other turn and you should be good.
Once Elina starts dishing out the cure in Clestance, she starts vibing with Coral until she casually tells her that she would love an older, more experienced healer to look up to and learn from.
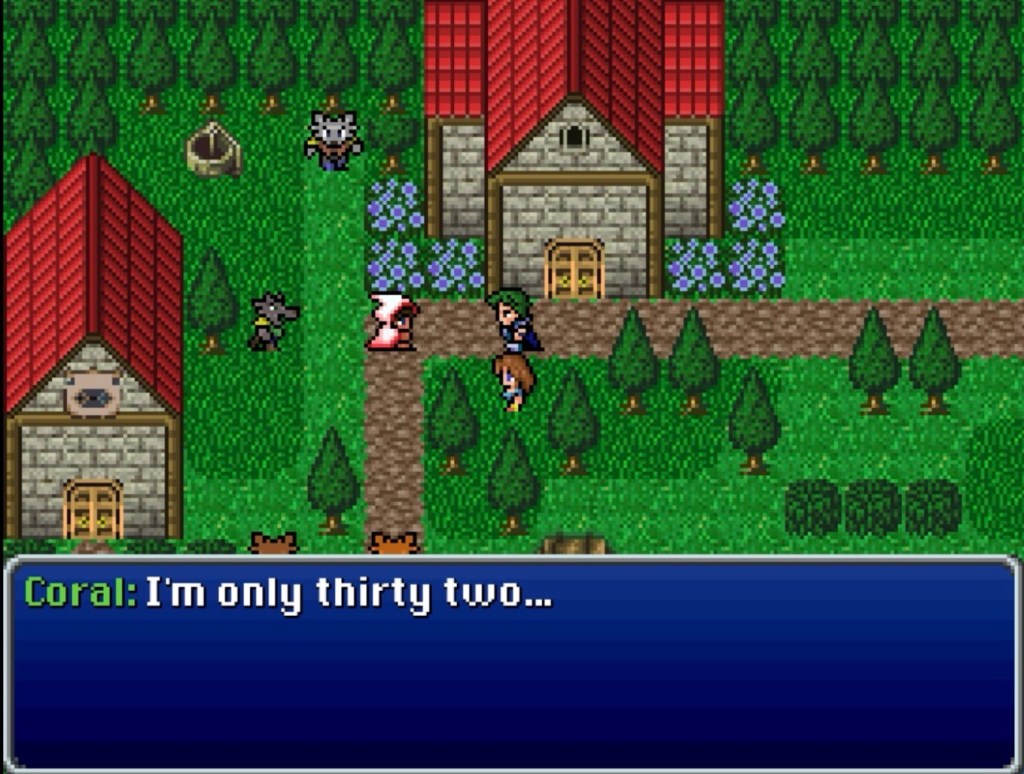
In spite of this, Vahn slips in an invitation to come back to the party.
In the Rotunda of Revelry, Lyric is hanging out in the dining room. She lives for the thrill of risk-taking (feminine Setzer energy?) and is impressed by the danger and scale of our quest. If we acquire a thousand slot coins then she’ll consider joining the party. Whether we win them all at the slot machines or spend a bunch of money on them, both will testify to our willingness to put skin in the game.

Between the secluded house where Coral cared for Vahn and the city of Visage is a valley isolated by mountains containing the entrance to a cave. This is where the Horseman’s Rest ended up after the Merger.
It is, at first glance, quite as it was. First, I pressed the buttons in the Baul and Haljar rooms, fought the monsters and nothing happened. Then the Baul room no longer had a button. I pressed the Haljar button, fought a monster, then pressed it again.
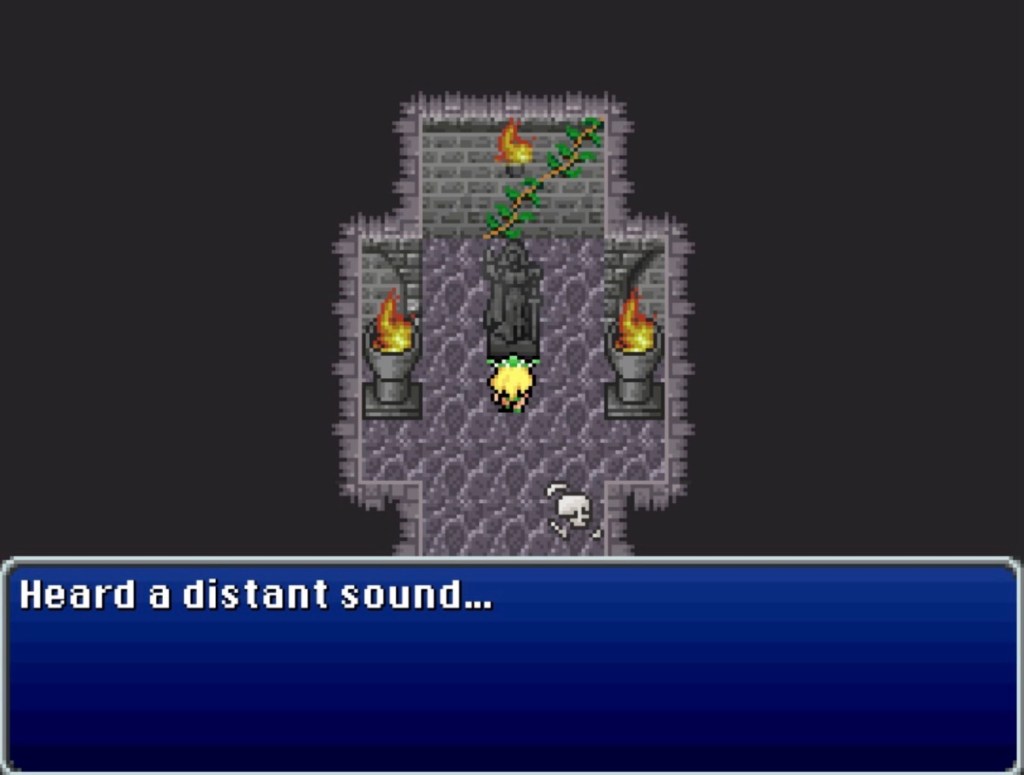
Behind the statue of Alera, the door is now unlocked.
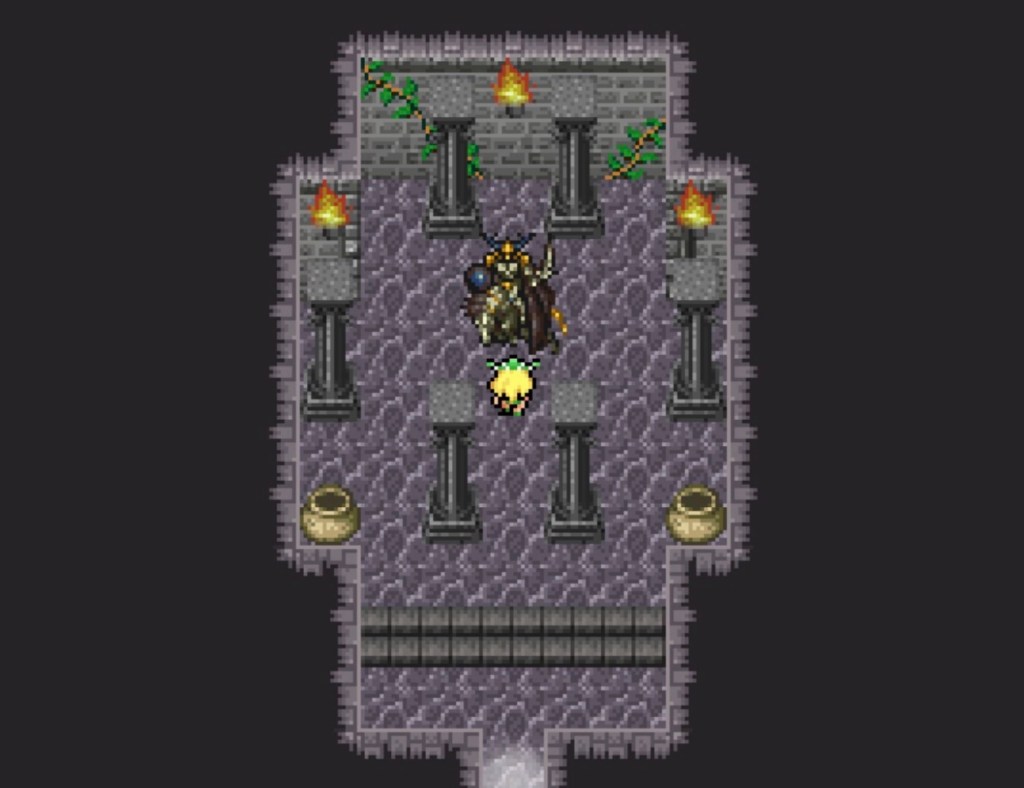
Get your buffs in order: Vera summons Golem and Fenrir before anything else. Maybe have Vahn cast Reis’s Wind or Babariccia cast either Healing Wind or White Wind in case you take some hits mid-turn.
From there, you’ll be fine so long as you keep up the physical damage with Vahn’s Dragon Strike and Moguel’s Adept Strike. Also make sure you keep hte group healing up by one person or another. Unless you already buffed Vahn’s max MP through Shards and leveling with nethicite crystals, he will probably only be able to do Dragon Strike every other turn. During that beat, have him use a Hyper Ether so everyone stays topped off.
At a certain point, Odin will say “Enough of this. You are not worthy. Prepare yourselves!”
Then we promptly murdered him with Adept Strike and Dragon Strike.
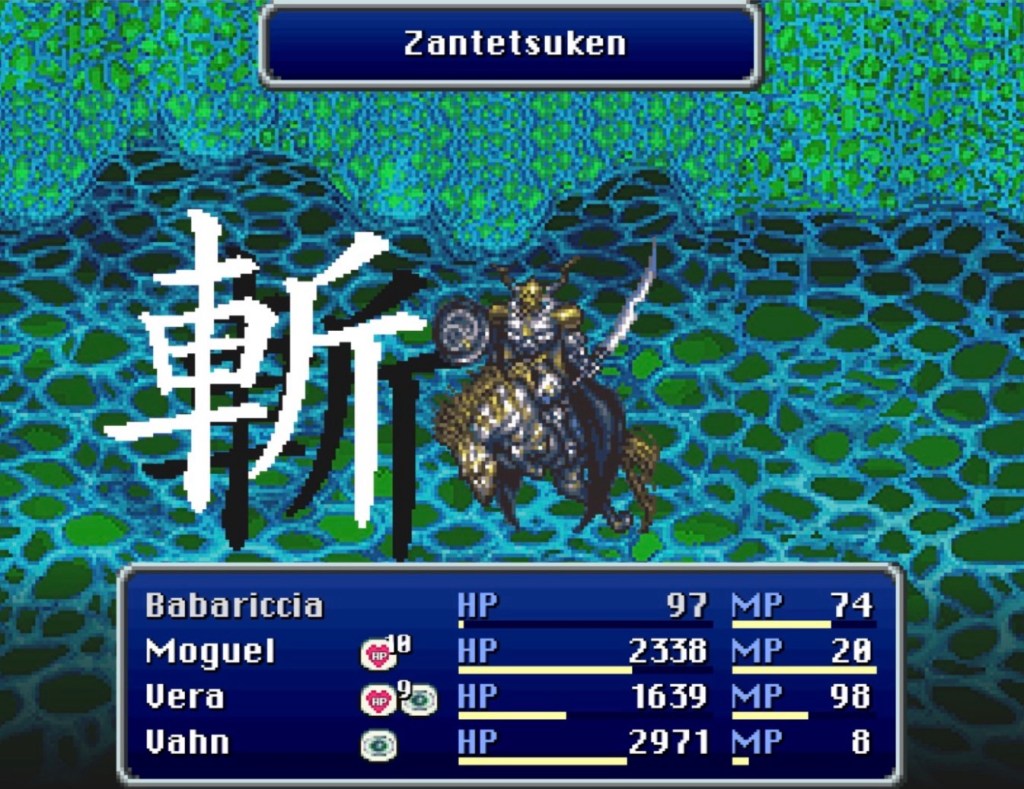
The Esper shade then offers his strength to us, enabling Vera to summon him for 62 MP.
I had a wild hair to visit the Arcane Library. Trying to go further than the first room trapped me in a never ending dialogue box with Vern saying Sabino disappeared during the Merger: when it happened, he was visiting Regent Gran in Lindblum Castle which sank to the bottom of the ocean. After reloading my save, this felt like information worth pursuing.
Regent Gran can be found alive and well in the mansion in the Surgate Woodlands. During the reunion, Gran says that he and his court realized something was wrong early. The court and the castle town were both evacuated safely. He gifts us with the sword Hauteclaire; the sacred treasure of Lindblum.
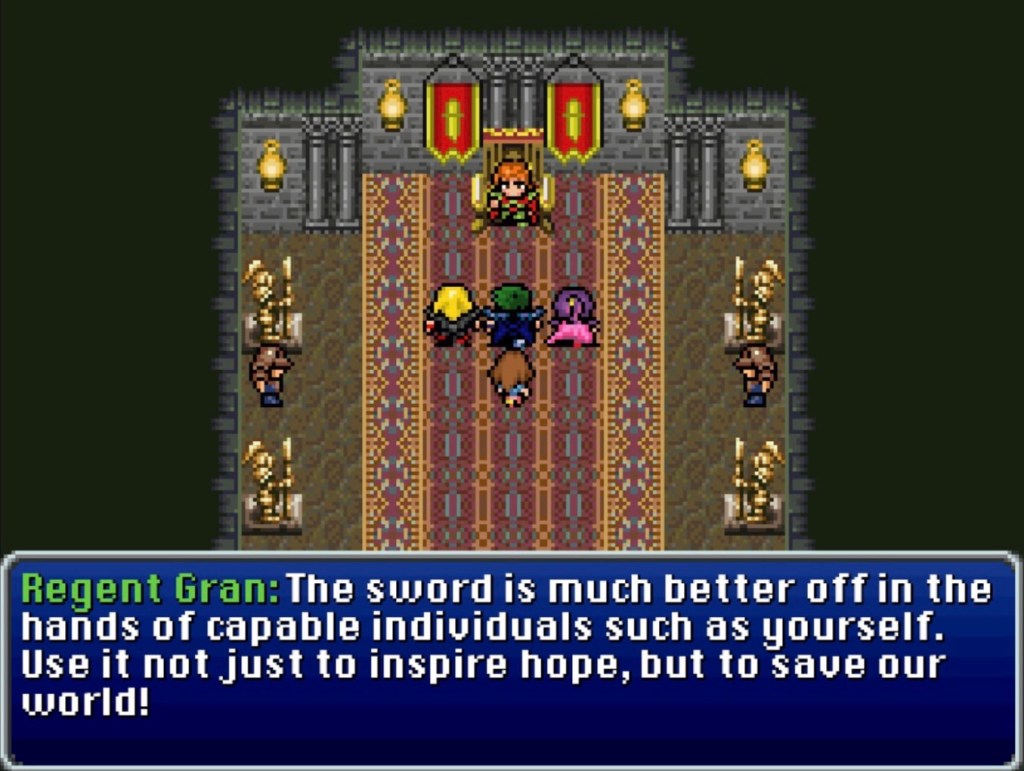
Moguel seems rather comfy with his Quartz Sword and- if it has some relevance to his build -I don’t want to overlook that. Not to mention, that sword is the only reason he has any MP at all and a fat chunk of his spirit stat, which feels unique for a moogle.
This makes Very the best present bearer of Hauteclaire. That thing has +460 to vigor, +75 magic and regenerates HP at 5% of max.
Not a word about Director Sabino but he’s safe and sound in a study room with two soldiers.
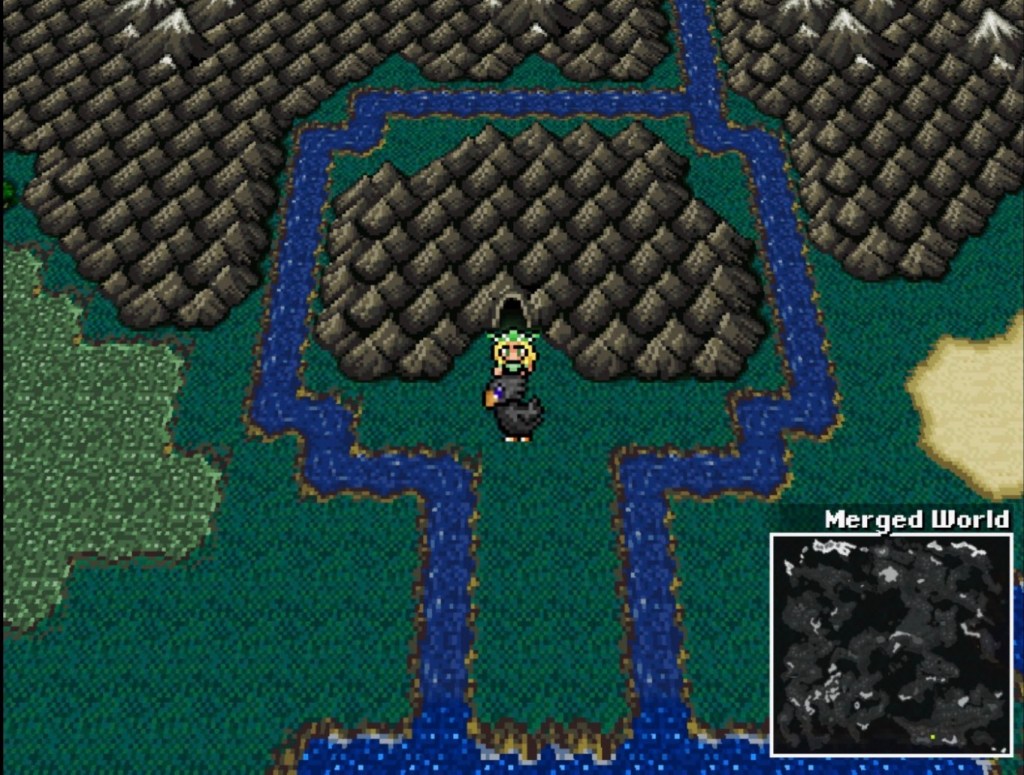
While exploring, I found the Borealis Cave on accident, where a subsurface passage opens on the watery den of Cagnazzo.
Dissolve the barrier with the Aethershard to pass beyond the anteroom. One chest near the entrance of the new chamber has a Phoenix Down. There’s a variety of stuff to be found here, including a Guard Shard, a Fairy Ring, gil and an X-Ether. There is a Rune Axe which could be worth it for Brindle if you don’t mind taking a -20% hit to evasion.
After a while, I noticed that the party members who were not in the acting party had somehow been taking damage. Everyone was wearing protective relics but there were no specific immunities that everyone had in common. Dunno how it works, exactly, but I suspect that this has something to do with my blithely running over the red, glowing tiles that represented lava in the Underworld. No one was wearing Germinas Boots either so who knows.
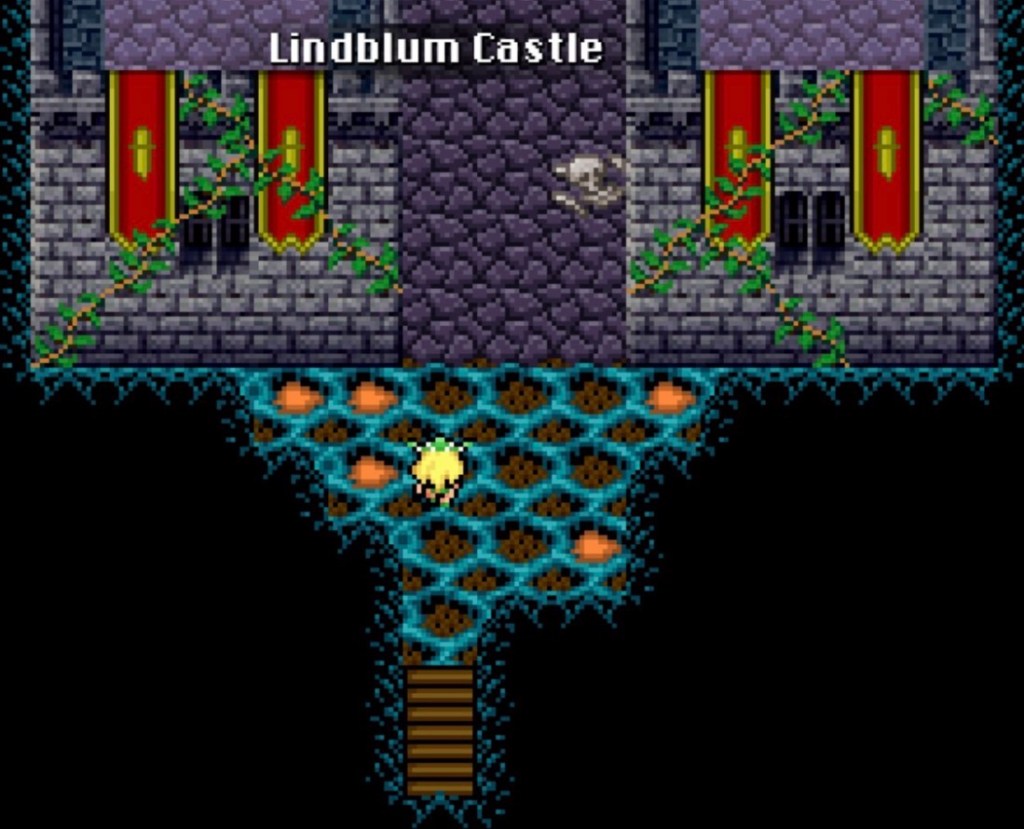
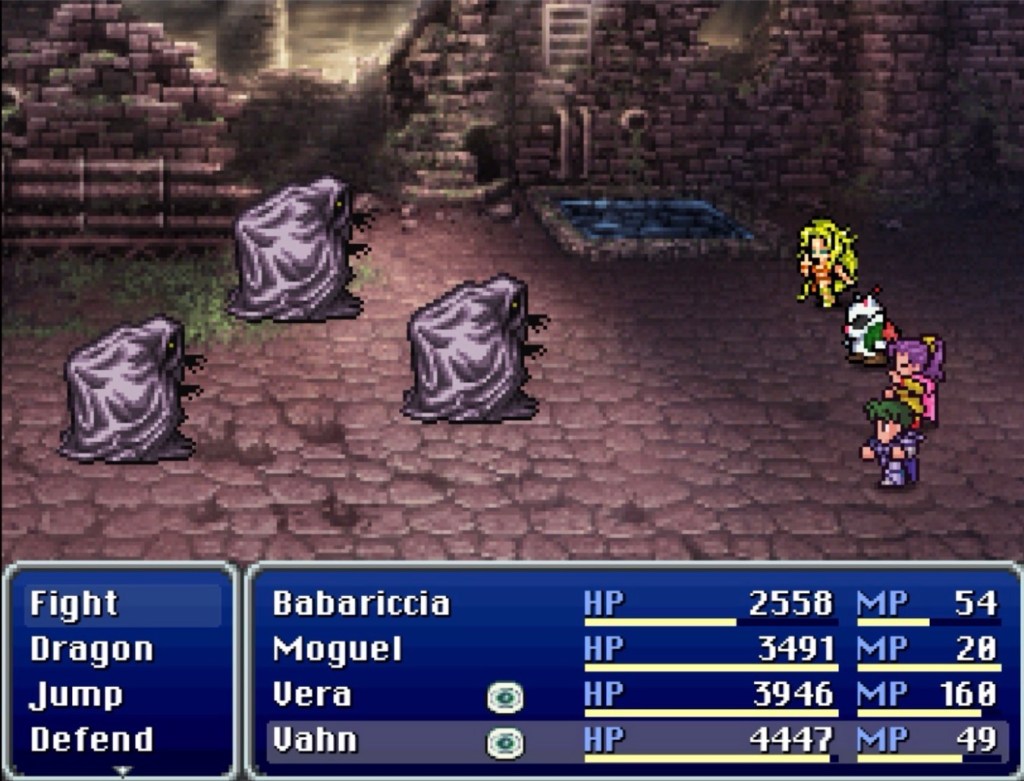
A few twists and turns lead us to Lindblum Castle, in the sub-oceanic cave where it came to rest during the Merger. The same chthonic Blue Dragons and Molecule monsters we fought in the mountain passage now prowl the libraries and stock rooms.
In the empty tower furthest west is a pub room with a piano, containing a Tetra Orb for Godot and various other goods.
In the chamber outside the throne room, the door in the northeast corner leads to a bedroom. Two chestst are in front of the fireplace: one wit ha Tri-Rod and another with Incense. The Tri-Rod is a good weapon for Elina- my only reservation is that she still had the Wizard Rod. Switching it out means losing +20 to spirit which is a stat white mages rely on.
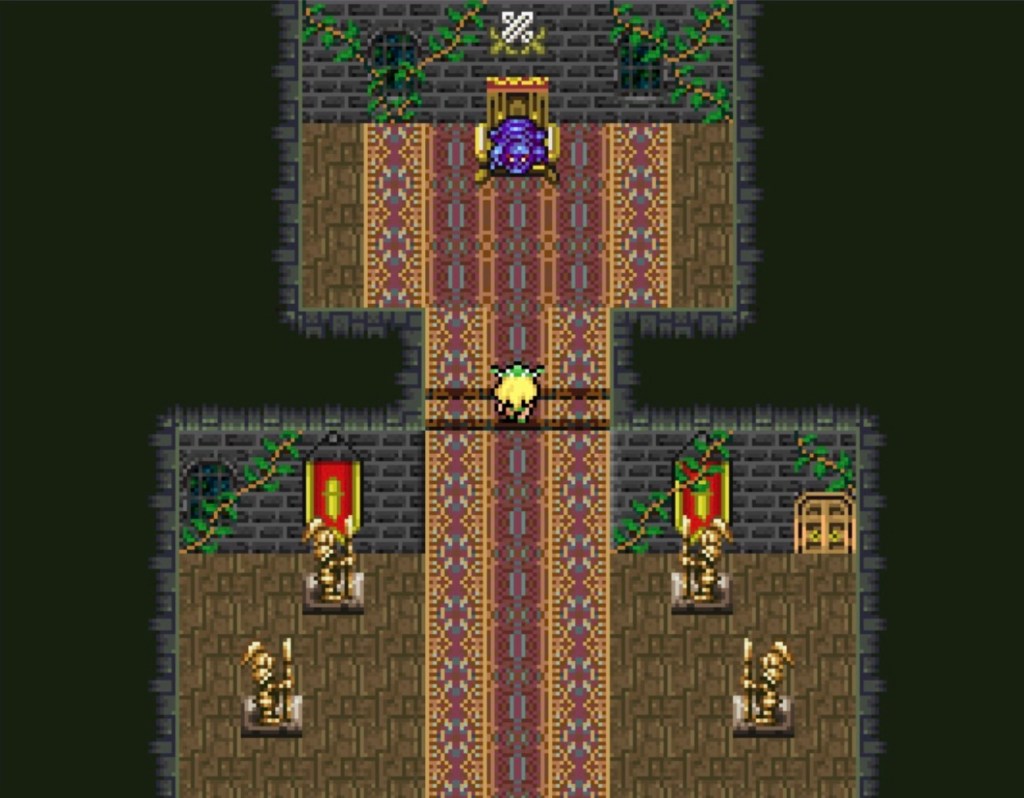
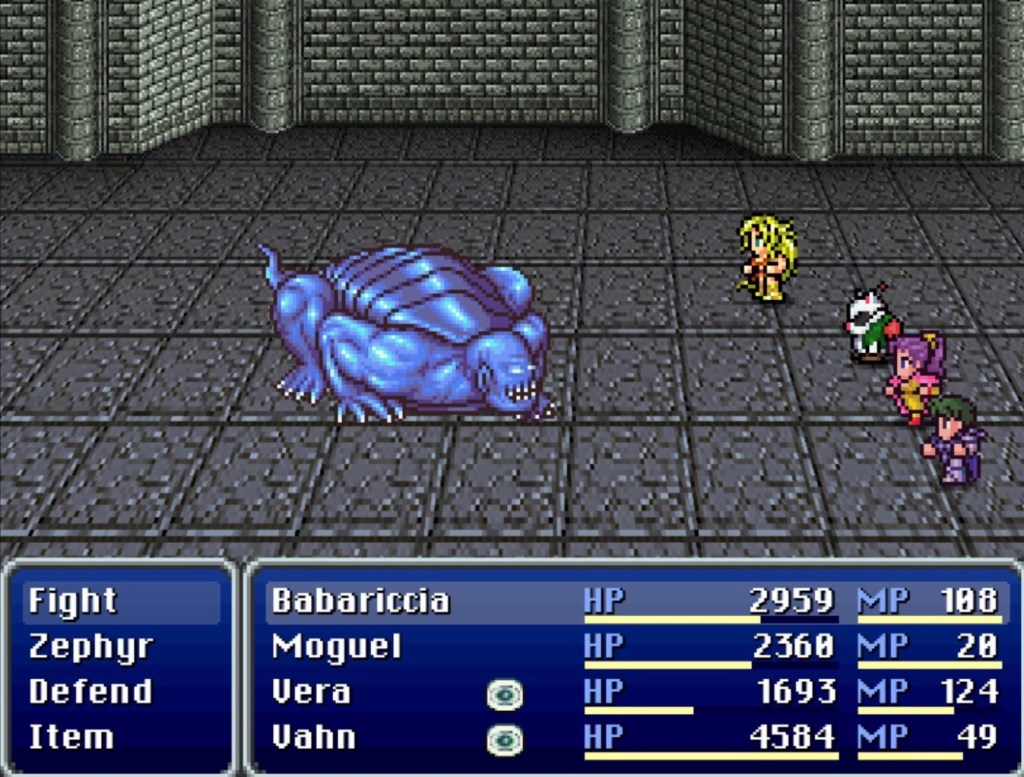
Cagnazzo, in the throne room as he is in IV, will eventually barricade himself in ice like Babariccia did with her hair and wind magic. His two big attacks are Waterga (single target) and Cleansweep (whole party). His main distinction, though, is being a damage sponge.
Upon defeat, he drops a Mystic Key. Not gonna lie, I was kinda hoping Babariccia would make the case for defection to each of the Fiends and turn them all against Malacore. I was actually really curious as to what the world-building consequences of that could be.
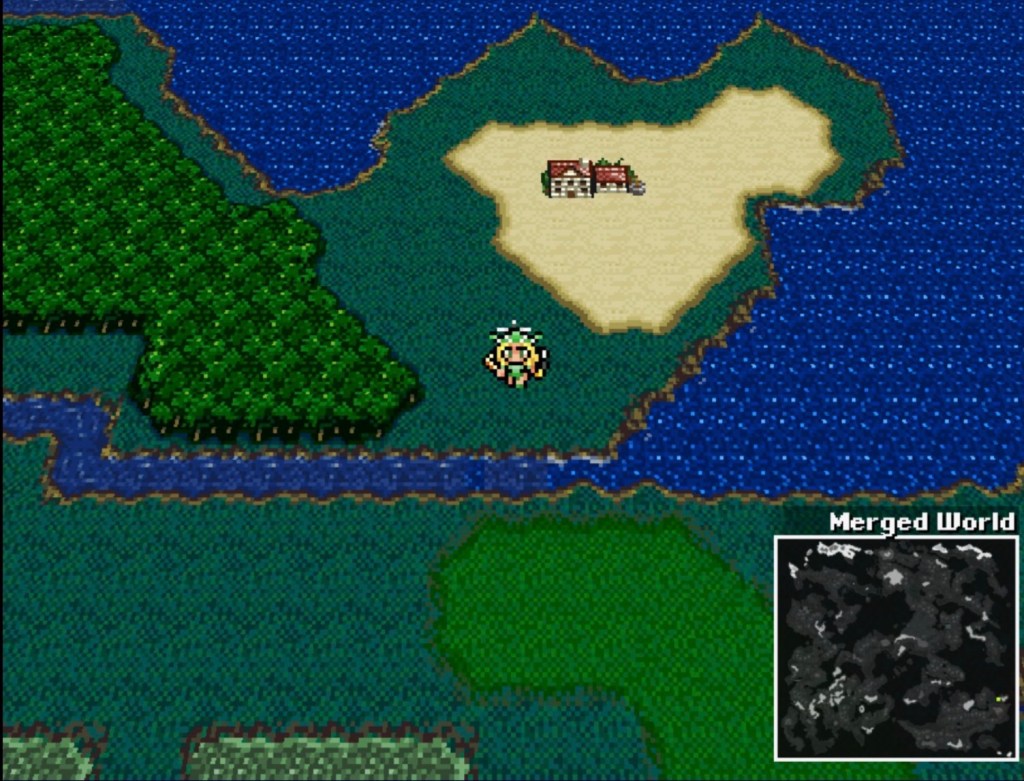
Something has been on my mind for a while, concerning Siegfried, so I combed Gaia for the current location of Kaipo. Not to mention I’ve been missing Siegfried as much as Ami and Laka.
Davon, in his home, says “Try not to disappear for two years again, Rollo (other name for Siegfried). I’ll be here waiting.” Is that at all different from what his dialogue was upon our first visit to Kaipo? Siegfried didn’t want to be seen there, at first, then apparently went to Kaipo on his own and had a loud, public row with his ex-boyfriend over his mysterious absence. Right outside of the inn, apparently.
Or a glitch happened and dialogue for a separate scene played over a still image. In that event, I wonder if that dialogue accompanied another scene at a different time- say, some reunion after the Merger?
If Davon’s dialogue said “two years” back then…was that meant to include both the year since the Crystal War and the subsequent year that passed after the Merger?
Much of the townspeople’s dialogue- like in a few different towns -appears frozen at the last moment we were there.
I worry that the flag in the game’s script for some post-Merger event may be marked as ‘completed’ earlier than intended because of a glitch.
Or maybe there is truly nothing scripted for Kaipo after the Merger. Dunno, just now.
Thennn…as soon as I left Kaipo, Siegfried is in my party.
I reloaded my earlier save and went to Kaipo again. I stayed at the inn, first thing. If the earlier dialogue was displaced by a glitch, maybe it had to do with some event-flag being set off by sleeping at the inn.
After our rest, the party was quite as it was; our latest recruit being Elina. I talked to several townspeople both in and out of their homes (including Elder Maxim and Baigan) and passed through the item shop door in both directions. Party roster still normal.
Go to Davon’s house and listen to the same dialogue he’s had for a while: “Try not to disappear for two years again…”
Party roster still normal.
Leave Kaipo: Siegfried’s in the party roster, with one HP and 28 MP, still at level 25.
I reloaded my save, then simply stepped in and out of Kaipo. So that’s the trigger.
I’m tempted to just go with it and accept Siegfried back like this since the story event that would normally bring him back to the party was checked off early.
Could have been checked off early. I haven’t exactly exhausted every possibility, I guess. But that earlier convo between Siegfried and Davon would sound way less random in the context of a later reunion. I might have to take him back like this or not at all.
But all the monsters outside of Kaipo are updated for post-Merger…odd.
(Reminder: with the multiple updates Final Fantasy Blackmoon Prophecy Remake has had since going up on itch.io back in July, it’s possible that these bugs are no longer a problem)
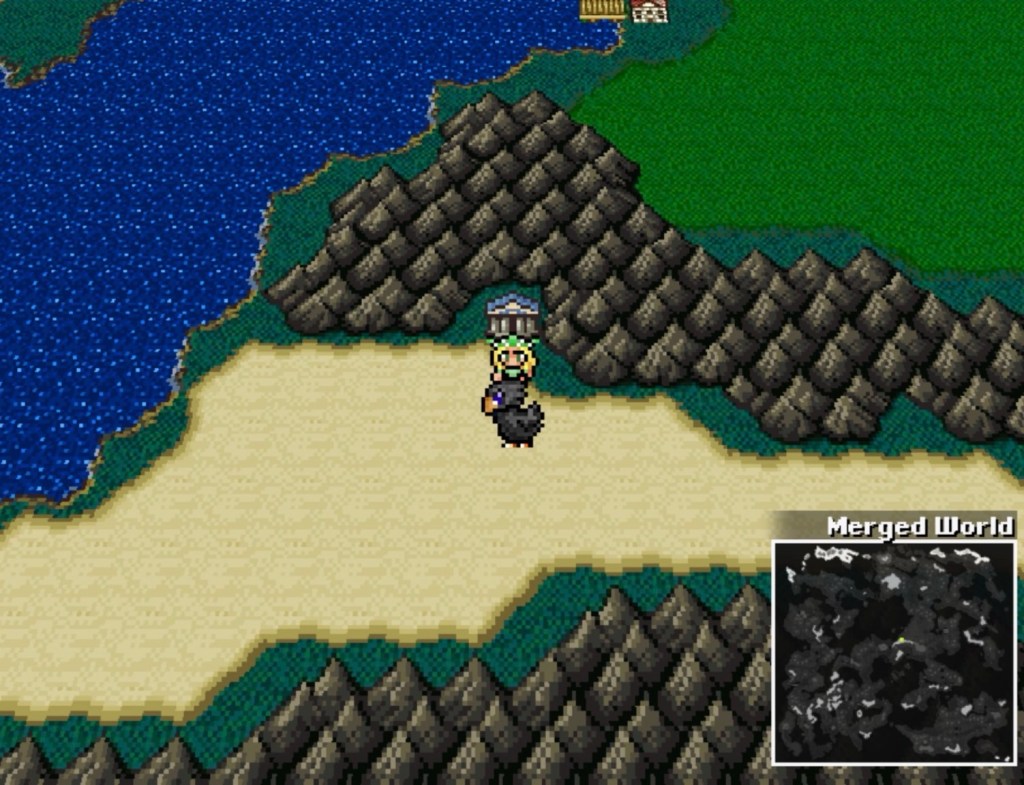
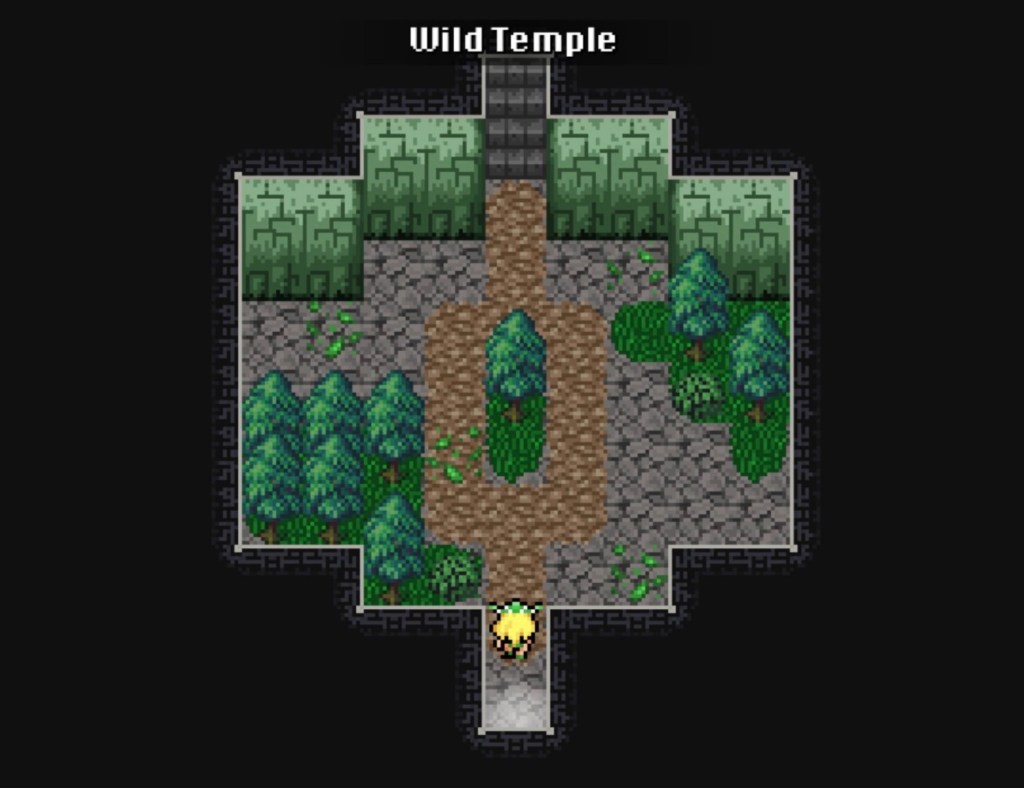
While casting a wide net looking for old party members, I found this place. outside of the anteroom, go straight east to find a thick, four-sided pillar with a door. Inside is a switch.
To the far north is Ami.
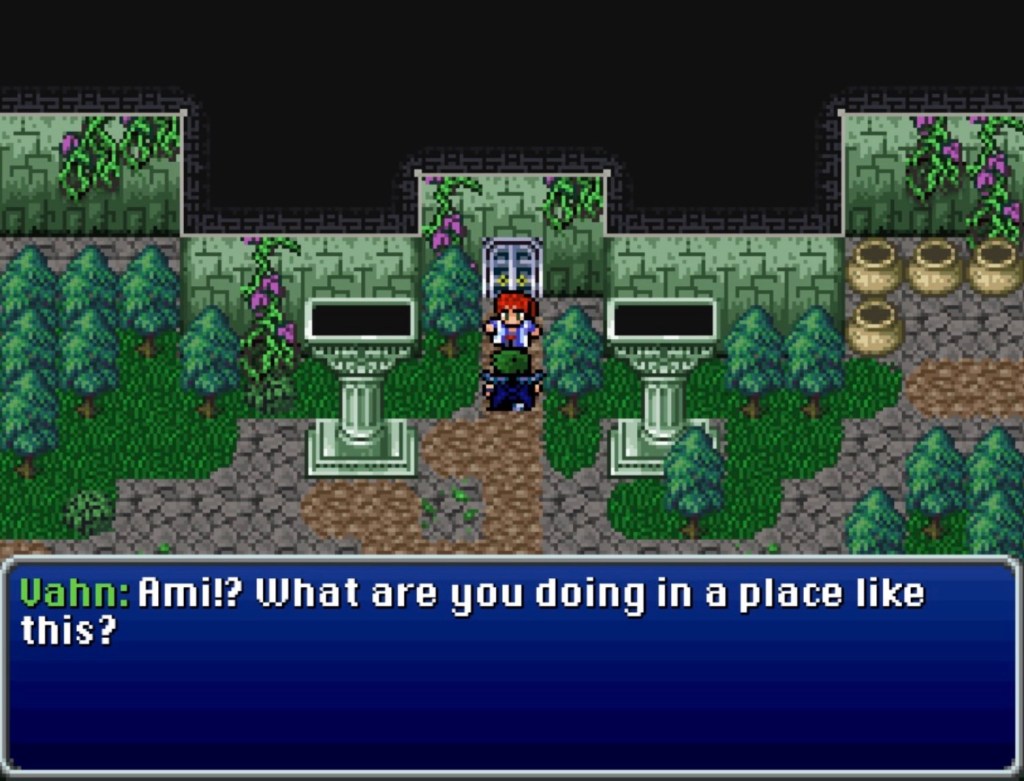
In the wake of the Merger, Ami attempted to find her blue mage teacher Lysha and followed her trail to the Wild Temple. And because Ami was my ever-present party leader before the Merger, she was leveled to 35 when we were separated.
HEY THIS MEANS I HAVE A REASON TO GO FIGHT A CACTUAR OUTSIDE OF KAIPO!!!
Still need our girl Laka back, though.
To the far west of the Wild Temple’s entrance is another lever in a square pillar-room.
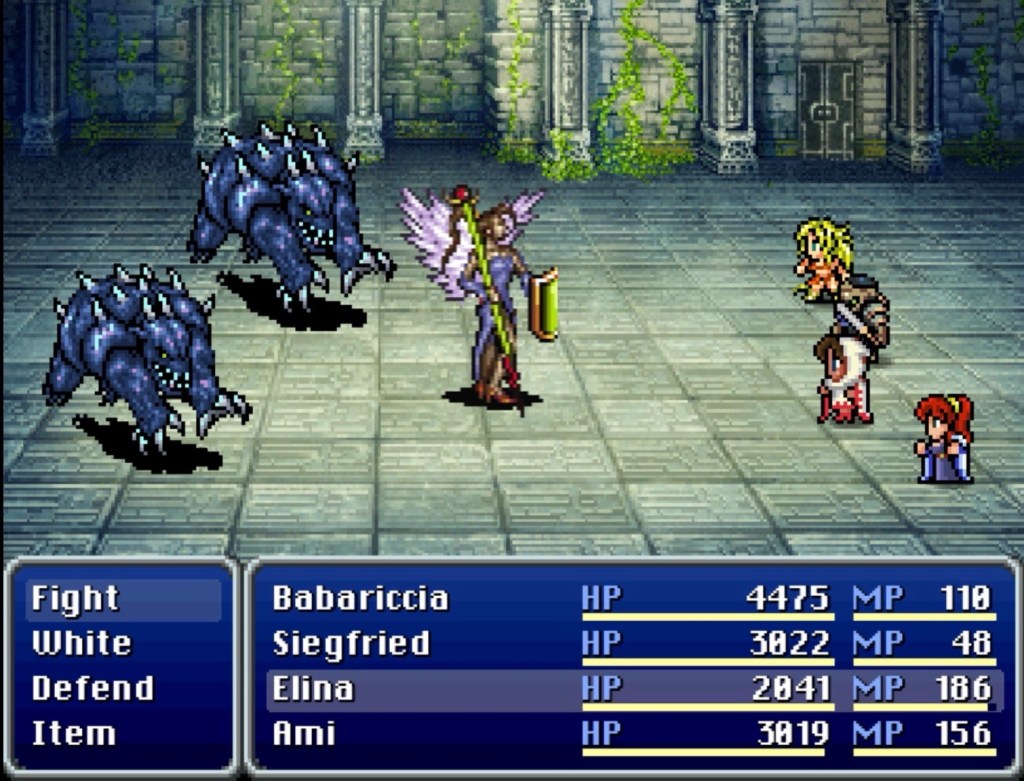
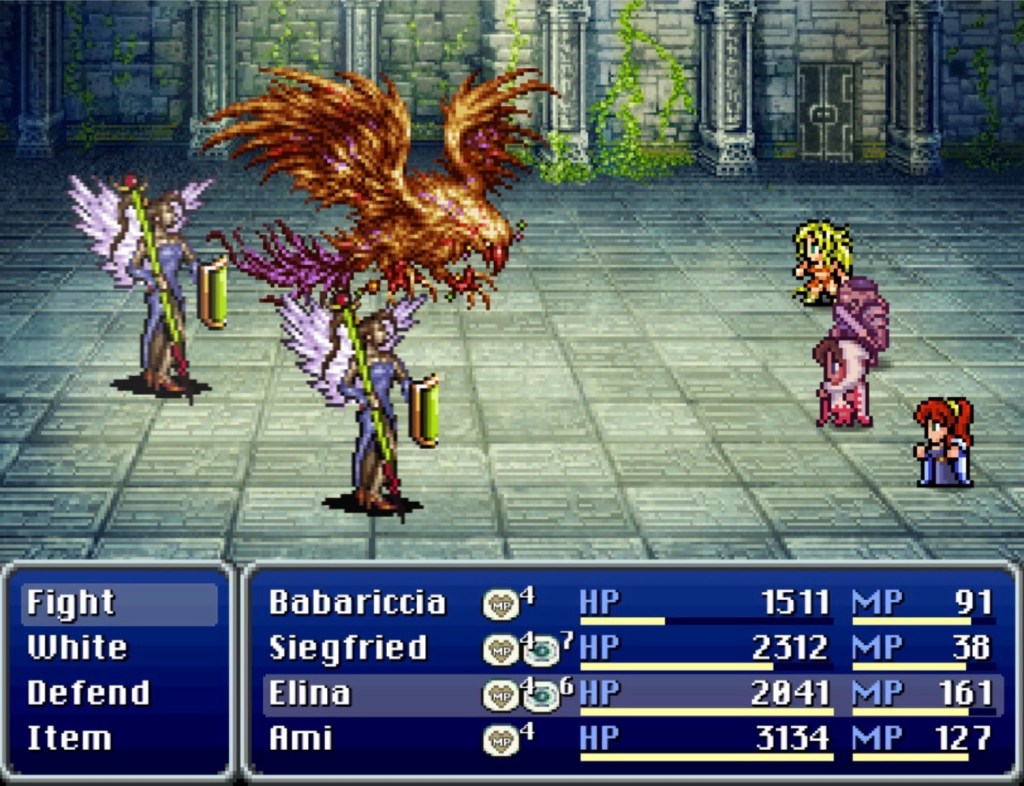
Cherubim (looks like Dahling from VI only with wings, a staff between her wrist and her hip and her cigarette holder replaced with a shield) can heal and buff other members of the enemy party and should be taken out as soon as possible. Brutes (giant blue pitbull-looking monsters) can also be a problem. They have both Chewing Frenzy (reduces HP to one) and Triple Bite (can take out much of a level twentysomethings’ HP or KO them outright, if you happen to be grinding any newly-returned party members to catch them up). Brutes have high defense and high HP so- with my Babs-Siegfried-Elina-Ami arrangement -that means Gale Shot for Babariccia and Dispatch from Siegfried.
In the upper northeast corner is a save point. North of the save point is a tree-filled room with three chests: a Turbo Ether, a Stimulant and a monster-in-a-box called Navidon.
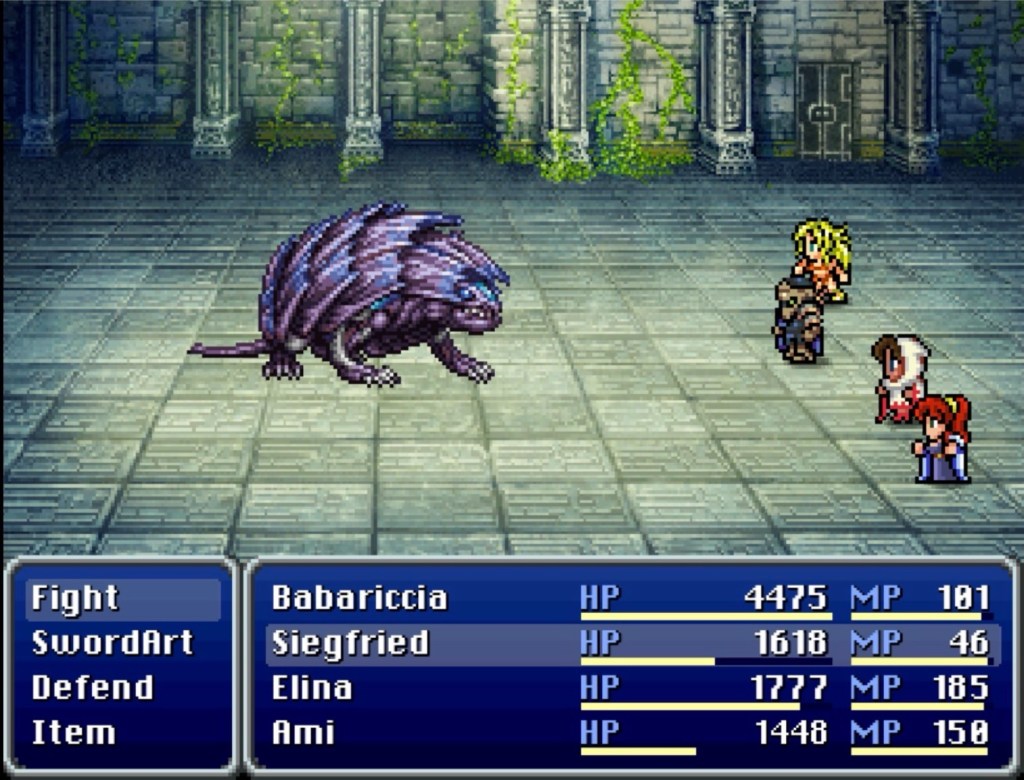
Navidon’s Needle Storm hits each party member for a set thousand points of damage (kinda like the Cactuar attack only less targeted) and Blizzaga. Cold Breath hits everyone for roughly a thousand damage and is more easily evaded than Needle Storm. Navidon also appears to enter the battle with permanent Regen. He recovers around eight-hundred HP every turn so keep the damage coming.
I put Babs and Siegfried in charge of defense-transcendence (Gale Shot and Dispach, respectively), Ami on healing (White Wind) and Elina on buffs (either Protect or Shell do nicely for first choices but- having died against Navidon with this party twice -I think the MP might be better spent on Shell).
After casting Bad Breath on Navidon twice, Ami managed to inflict blindness. On my third try against Navidon, I cast Bad Breath five times and only managed to inflict blindess so I wonder if that’s Navidon’s one status-effect vulnerability.
Above all, do two things which we’ve done a lot of: make sure someone gives substantial damage every turn and make sure someone heals the whole party every turn.
Navidon yields ten-thousand exp, twenty-thousand gil and armor called Navidon Spine (+70 defense, +25 to vigor, item description says that it “bleeds” the wearer so I wonder if that means ambient damage every turn).
Go straight east from the save point to find a third pillar-room with a switch. Straight west leads to another pillar-room with another switch. Once all four have been flipped, the door we found Ami in front of opens.
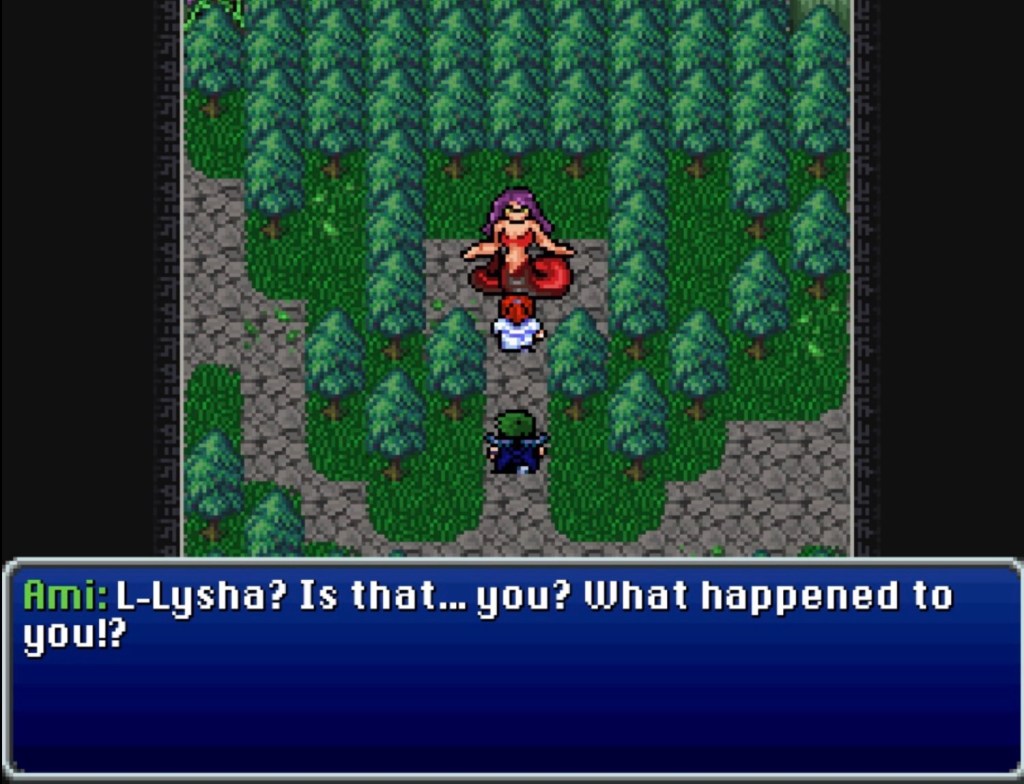
In the central room, we find Lysha transformed into a Naga-like being. She tells Ami that she “may have unlocked the true secret of becoming a master blue mage”: in order to master the powers of monsters, one must become such.
“The more I give in and let my blue magic reshape me, the more perfect I become…both as a blue mage, and as a physical being.”
Intriguing word choice: she is not transformed into any one Naga-like monster. She attributes the change to her blue magic itself, as if her store of blue magic affected a unique, personal transformation.
Ami doesn’t like this: she misses her friend, her teacher, her…
“Your what? No matter…”
Lysha does not take this well and it’s boss fight time.
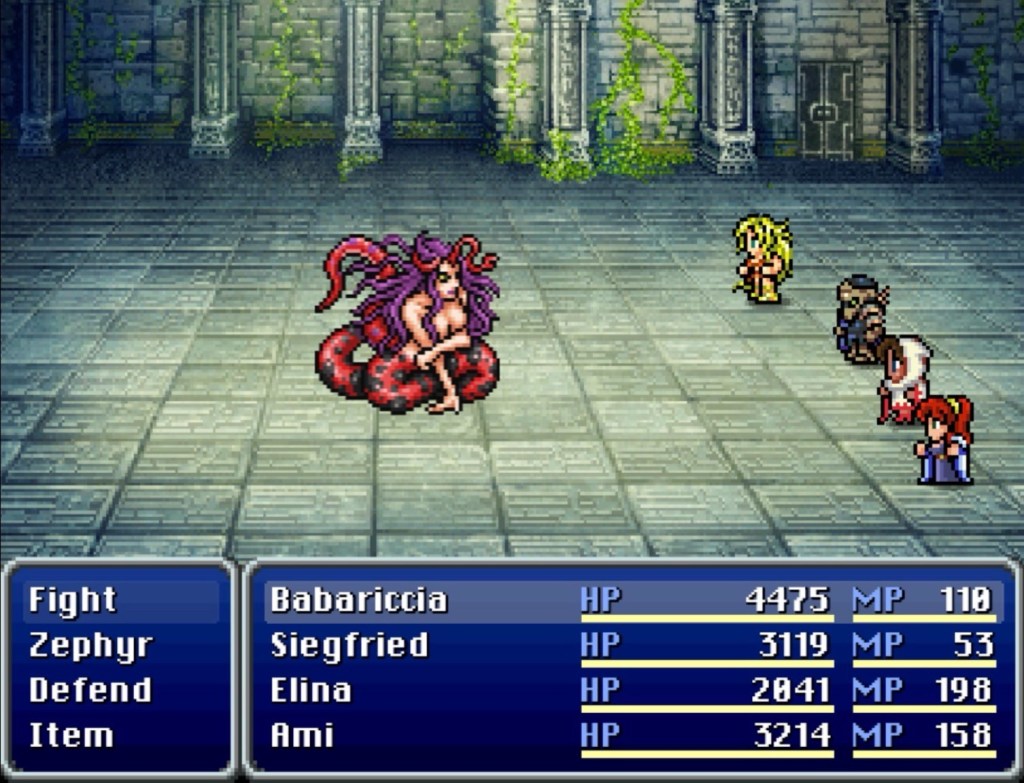
If you manage to inflict poison, it will do four-thousand damage per turn. Much of Lysha’s move set consists of the blue mage command roster.
Babs claimed the death blow in the end.
Fifteen-thousand points of exp and ability item called Lysha Tendril from which Ami learns the blue magic Maelstrom; a powerful water-aligned attack that may cause paralysis. At 38 MP, it costs more than any other blue magic spell acquired thus far.
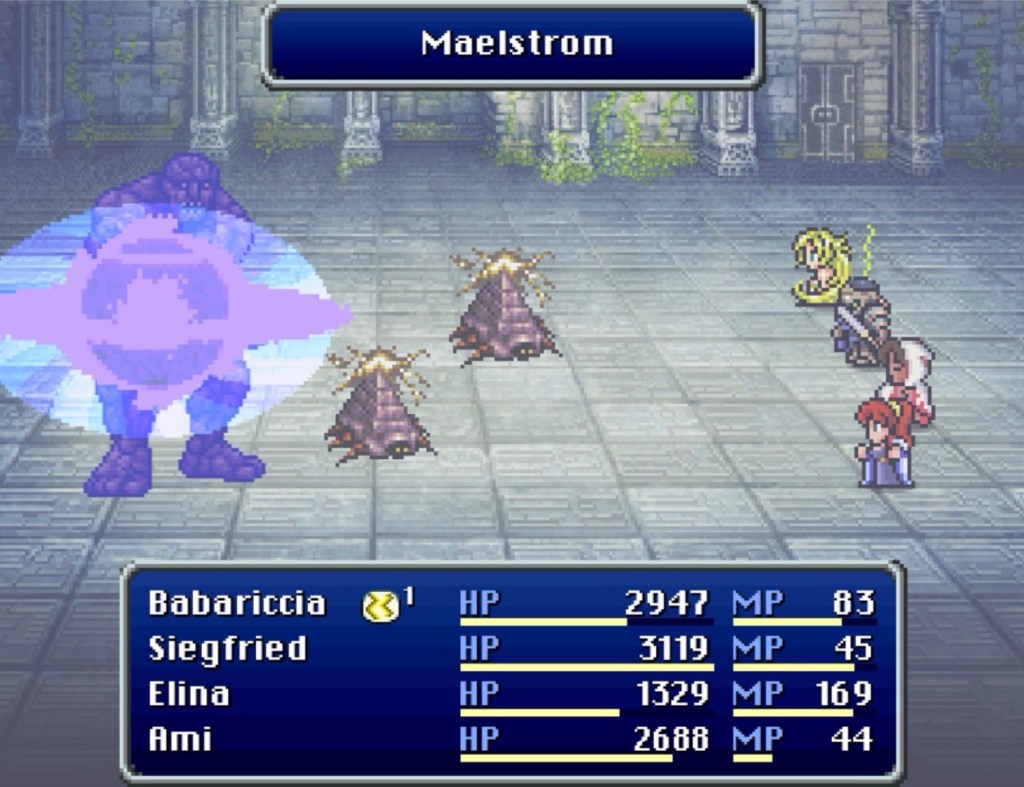
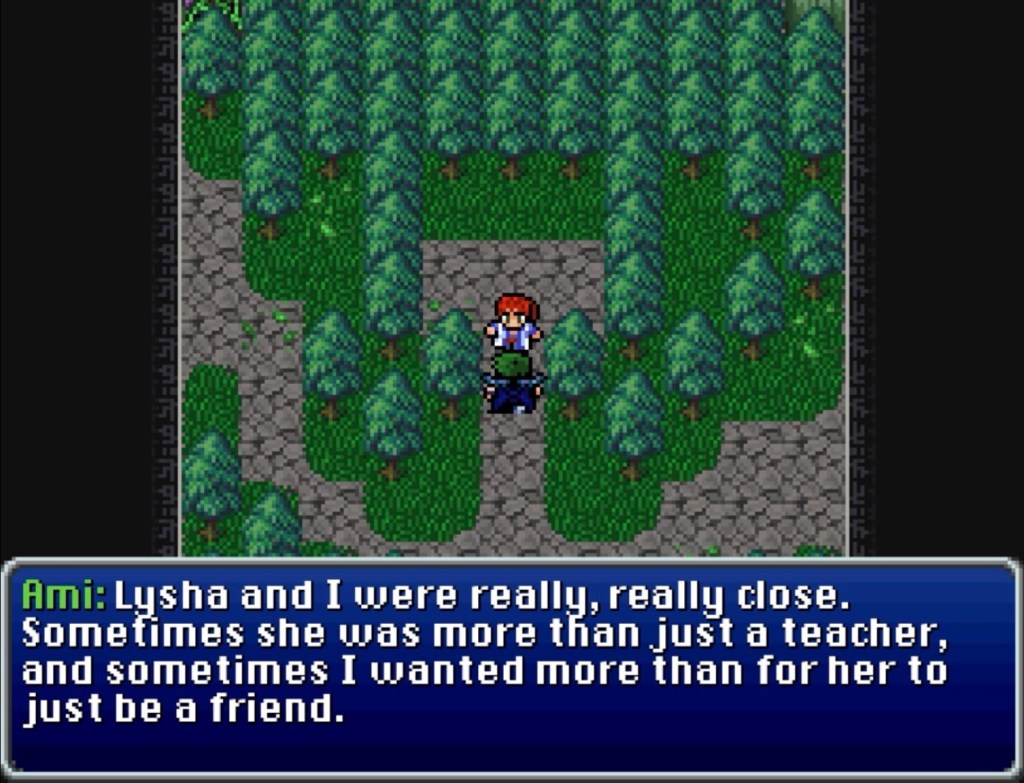
Here’s the sauce
Until next time, TBC

