
Light spoiler warning
Here’s the first post, should you want to start at the beginning
With our new airship, I couldn’t resist flying around and seeing what random stuff is now accessible. There’s a lot of items just sitting there in isolated places on the world map waiting to be found and I’m not sure if they’re meticulously hidden or randomly generated, which adds believability. At level 22, Siegfried learns Double Slash and Power Shards can be stolen from Carnotaurs in the vicinity of Lindblum.
In the previously inaccessible area south of Branch, we find Ivalice with the Citadel clearly visible. Just outside, I managed to steal a Power Ring from a Darkwood Hunter, a Jewel Ring from a Cockatrice, a Red Jacket from a Primadonna and a Cyclone Cape from a Locust. The Red Jacket is decent mageware, the Power Ring buffs vigor and a Cyclone Cape enables one to cast the black magic spell Aero.
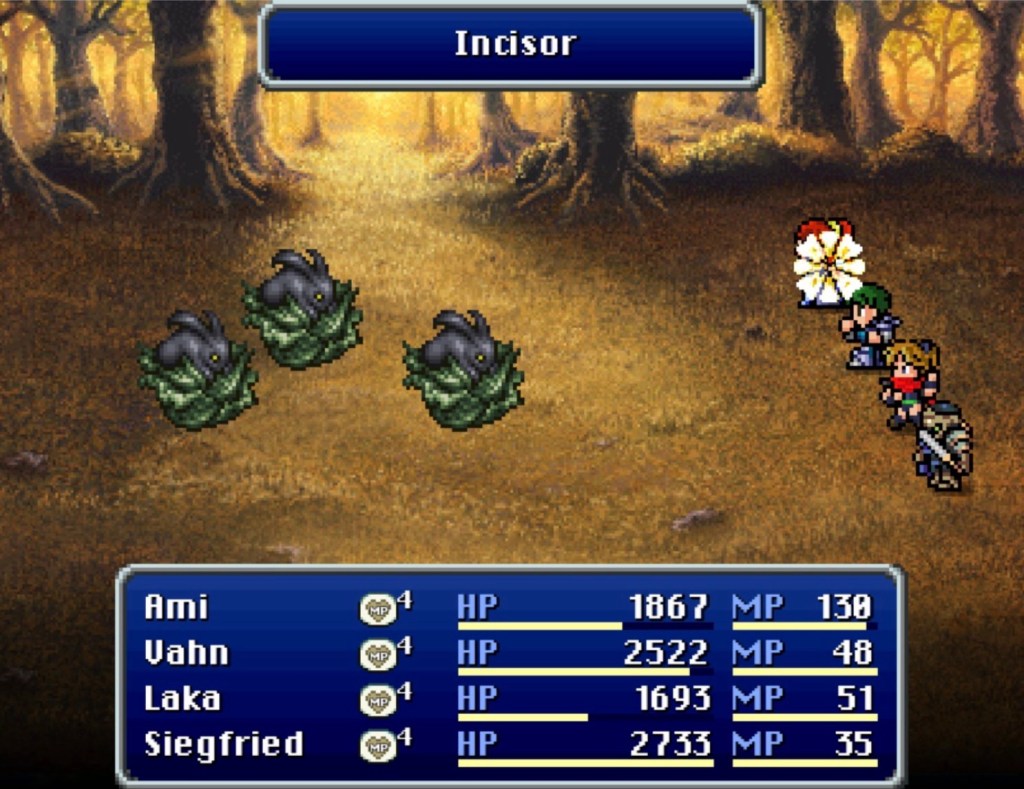
As I wandered around robbing and killing, I found Laka’s green magic Death spell to be remarkably effective. It costs 15 MP, though, and Laka didn’t exactly start with much (most other green magic spells cost from 1-8 MP). The only other green magic spell that costs 15 MP is Stop and Laka was at level 29. Out of these early monsters to suffer the experiment, the Darkwood Hunter has stood up to it the best and Cockatrices sometimes slip through.
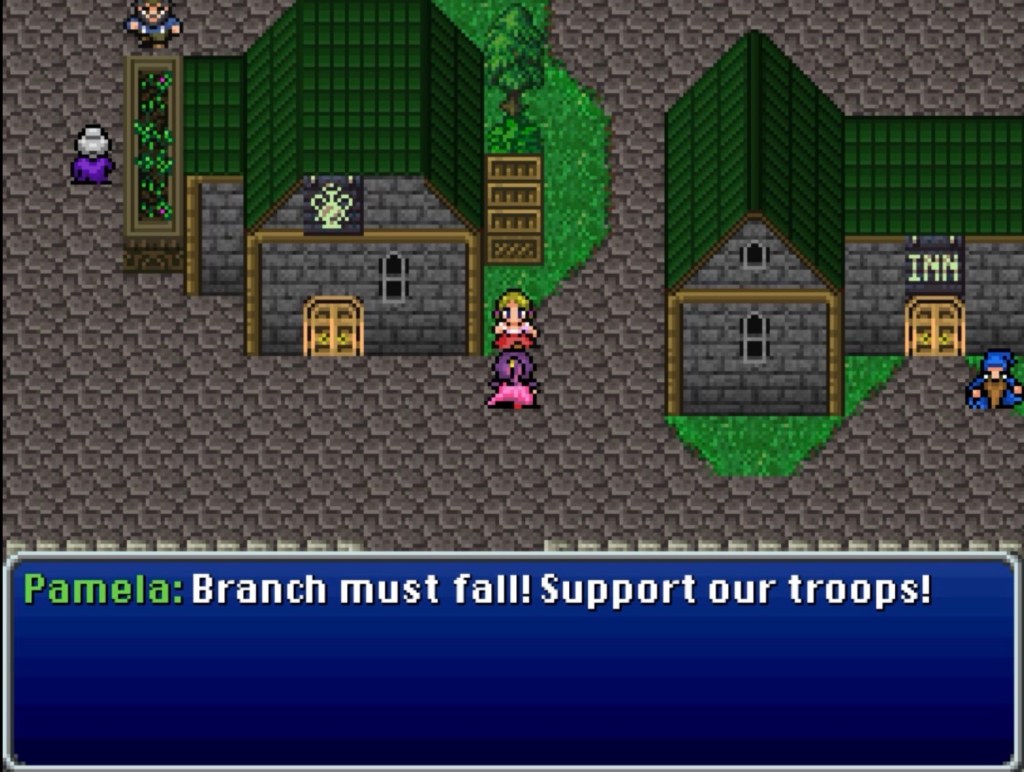
In the Ivalician town of Albrook, a little girl tells us that Vera is a local. Not far away we hear some soldiers gossiping about whether Vera will ever show her face there again. One of them thinks she can’t be that stupid but the pair are resolved to be there if she ever does; right outside of her former house. Elder Baskins is shocked by Emperor Belmont’s willingness to authorize a strike against Branch, fuming that it “has Lord Zeul’s stink all over it!”
Sooner or later, though…there is nowhere to go but forward.
I had Vera equipped with a Magus Sword for a while, now. The only thing I had just then that would increase all of the same values is the Cursed Sword. It will hurt her, though- like a little red flash as though Vera were poisoned. The Labrys axe from the Citadel weapon shop is a better fit in the long run. Grab the Coral Blade for Ami, to.
A potential glitch: Ami and Laka suddenly had all of their equipment unequipped in the middle of the Citadel castle town. Like last time, it was all in my inventory so- like last time -I threw it all back on.
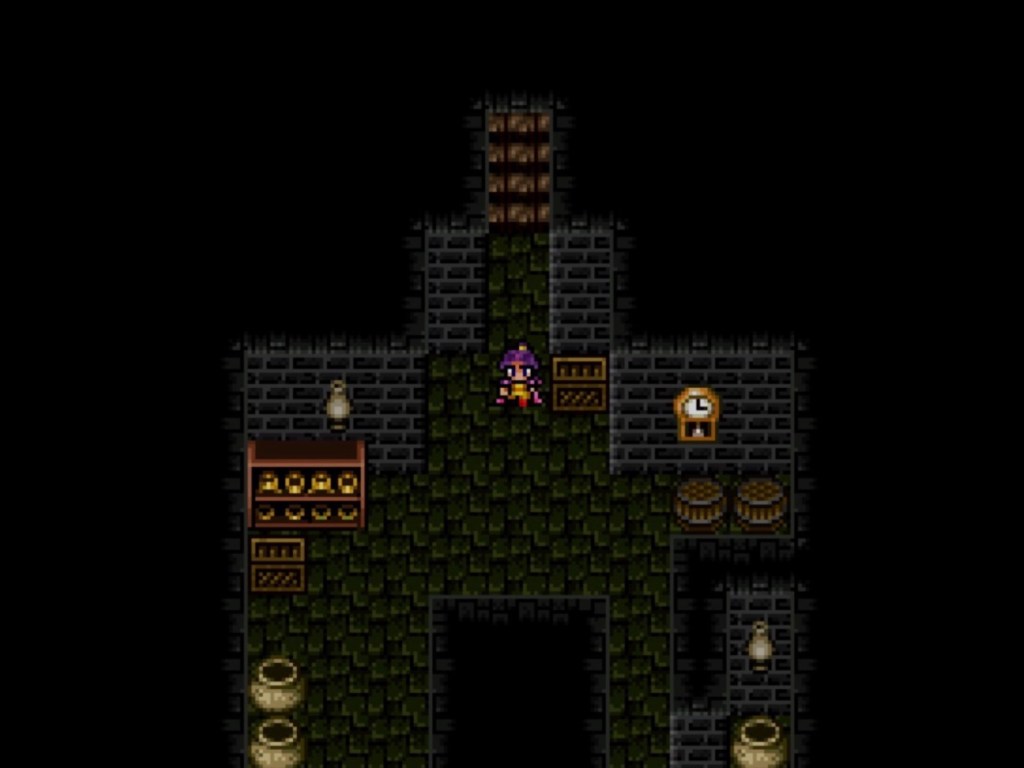
Glad I had it all back on before exploring in Roberto’s basement, which is accompanied by Under The Rotting Pizza from VII. The monsters were almost as strong as the ones on the other side of the portal at Branch Castle.
So…I did something naive. The gates of the actual Citadel were unlocked so I decided to check it out.
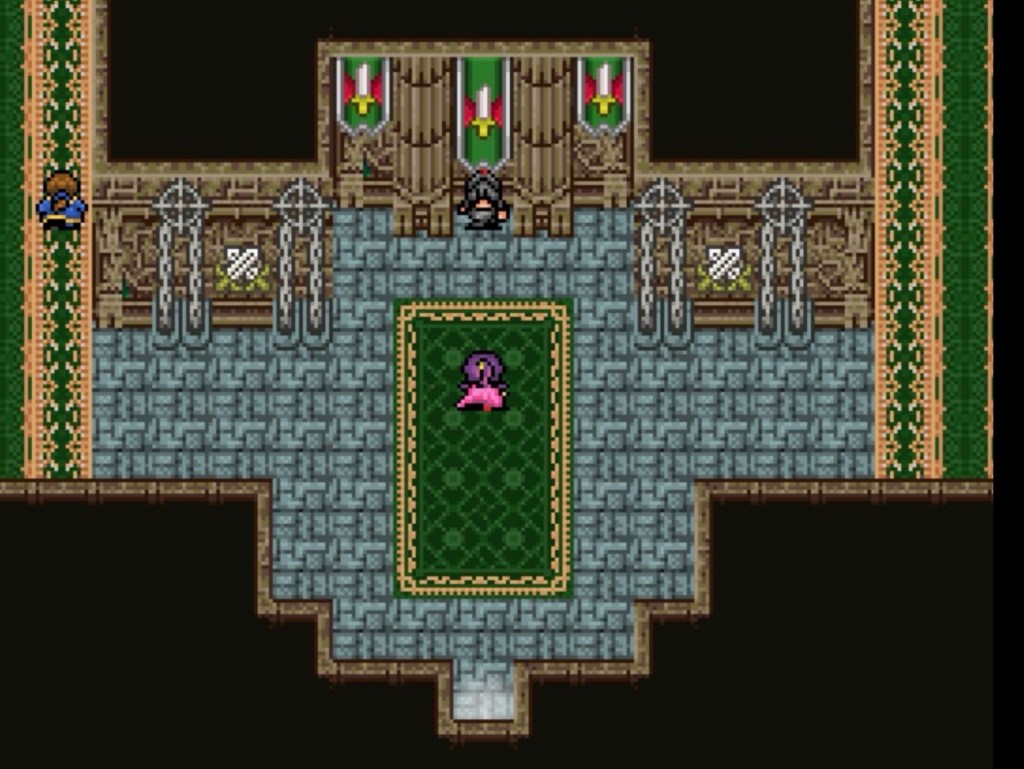
In the Citadel Library, Cooper says that Bahamut was only worshipped in the distant past. On a related topic, Bjorn says that there is scholarly debate on whether the dragons Bahamut and Yiazmat are Espers “or something greater.” Ingrid overheard some scholars talking about a book on creating homunculi that disappeared from the library a few years ago.
That sounds kinda like the book that Baram found in the Magic Library. If there’s anything to that at all…then Baram did not find a relic. It was either left or placed there before he showed up.
Huh.
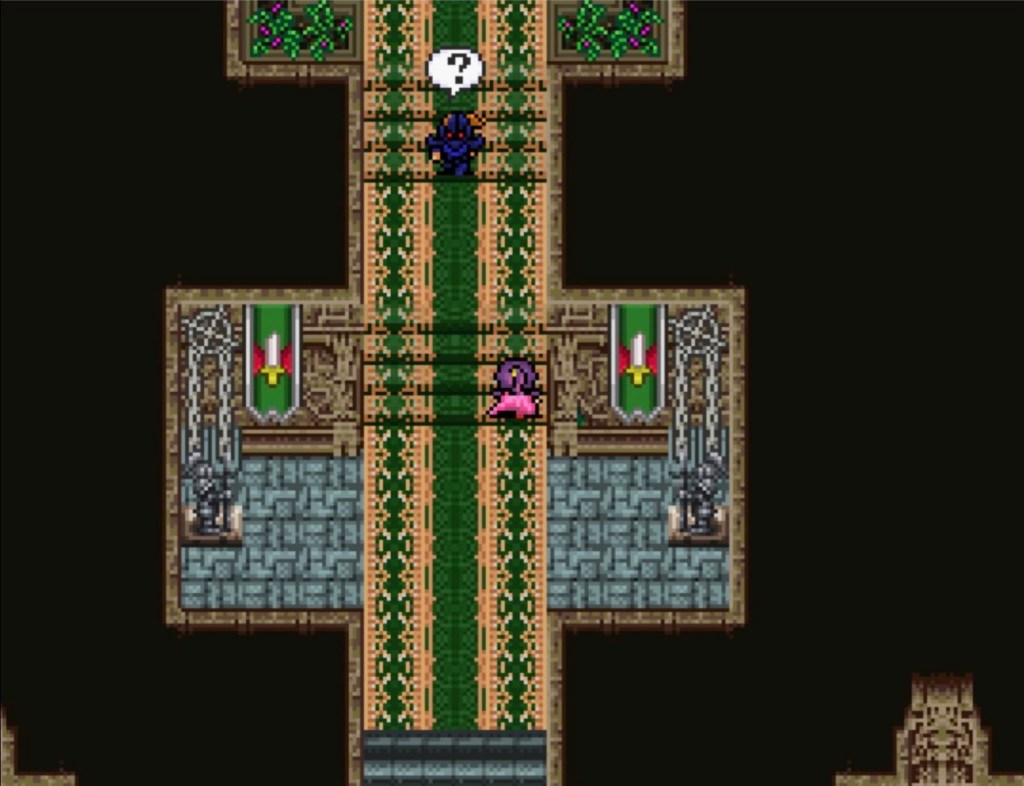
We run into Zeul Wraithwall walking around in the hallways. He constantly calls Vera ‘kitten’ and talks as if he understands a completely different reason for Vera’s outlaw status. Vera and Vahn ask, carefully and diplomatically, to see Emperor Belmont.
Zeul promptly throws everyone in the dungeon. In her cell, a dreadful thought occurs to Vera. What if Deckar and Eva were neither mentally unwell nor mind-controlled: what if they joined ranks against her because Zeul told them to. Earlier in the hallway, Zeul said that Vera would be condemned no matter what Deckar and Eva told him about her.
For some reason, no one has been disarmed.
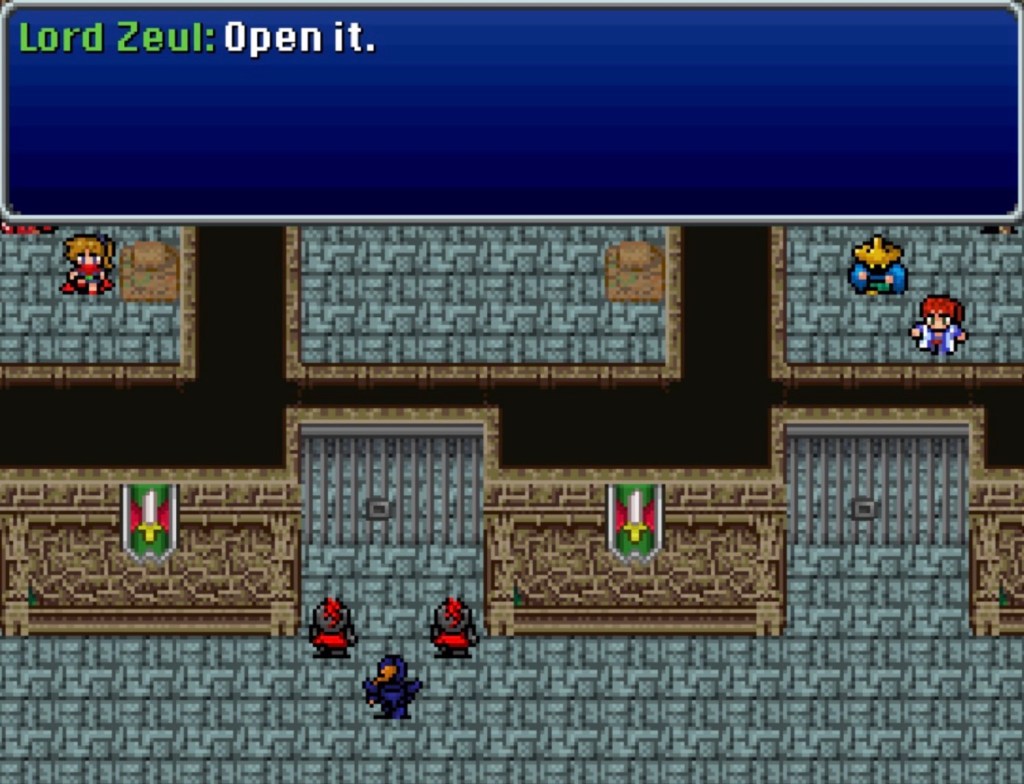
Nice creepy musical transition to Zeul doing his cell-by-cell visits, even though I don’t recognize the track. Lord Zeul compares everyone he addresses to a different animal. Leaving the prisoners with their weapons has gladiatorial implications.
I also couldn’t help but notice a Monk-Ninja quality to Zeul’s non-battle sprite. Perhaps a palette swap of the bald monks with the single lock of hair from IV.
He sicc’s the guards on us and we experience our first battles with fixed party members in a while: Vera, Darius and Vahn.
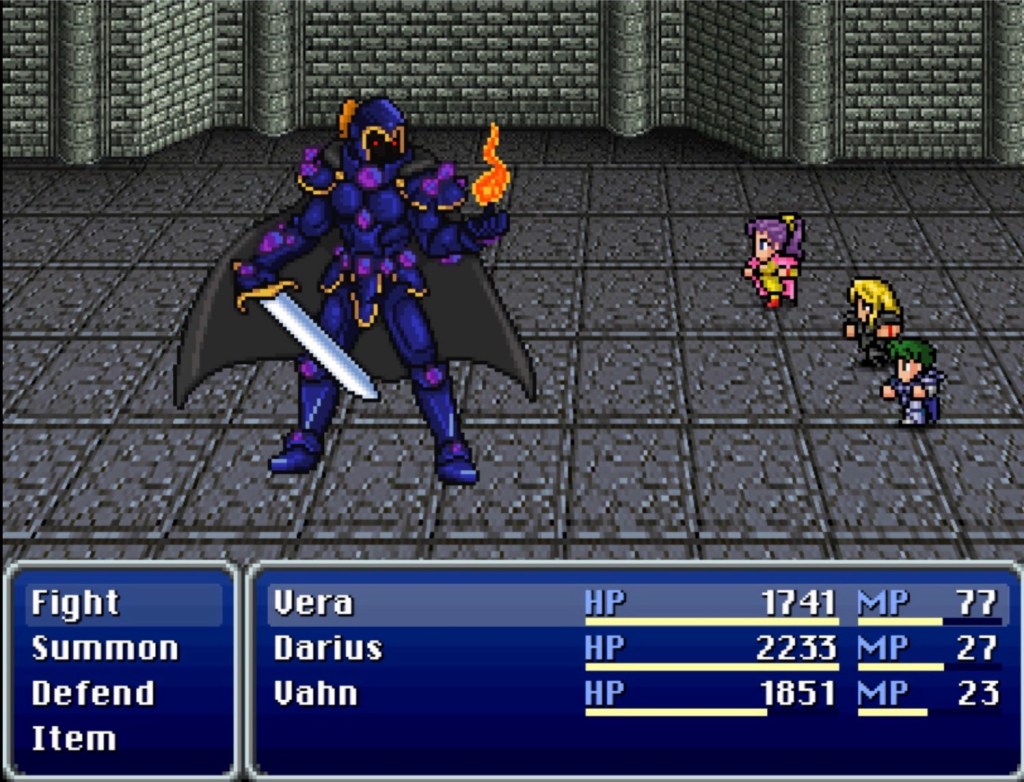
After the guards, Zeul is up. I used up the Hyper Ether stash but it totally saved my ass (Vera summoning, Vahn using Dragon abilities, Darius constantly casting Shadow Veil, etc).
Zeul drops the Einhander sword which is great for Vera (vigor +124, magic +46, hit% +50).
Zeul is, evidently, the kind of immortal who is not vulnerable to things like slitting his throat in his sleep. Vera says that our time is better spent escaping before he wakes up.
Within the stylistic recreation that Blackmoon Prophecy represents, Zeul has a decent character introduction. He very much resembles a typical early JRPG “dark lord” archetype. Earlier, Zeul spontaneously giving everyone animal names was evocative of the coliseum at the beginning of Final Fantasy Adventure (not that the beginning of Final Fantasy Adventure was anywhere near this menacing).
In Blackmoon Prophecy, this simplicity becomes creepy. We’ve seen mind-control inflicted on humans by non-humans and we’ve seen ordinary fanaticism and criminality.
It feels intuitive to assume that Zeul has some as-yet unknown relationship with the Archareons. He compelled Emperor Belmont to support the Archareon attack on Branch with the Ivalice military. So far, though, Zeul’s power is dreadful because it is inexorable. Deckar and Eva may have been nothing worse than complacently obedient. They made the right impression on the right crazy autocrat and were simply happy to be on his good side. His power works for every apparent “straight-forward” reason. In person, though, he is so unstoppable that he can usually treat combat with armed prisoners identically to summary execution. He also seems like the kind of batshit crazy that may be personally, emotionally comforted by the thought of outliving the nation he leads.
A little goofy with genuine creepiness in the margins. Kefka makes a similar first impression. I’m not gonna go any farther with those comparisons for now. I haven’t finished the game yet.
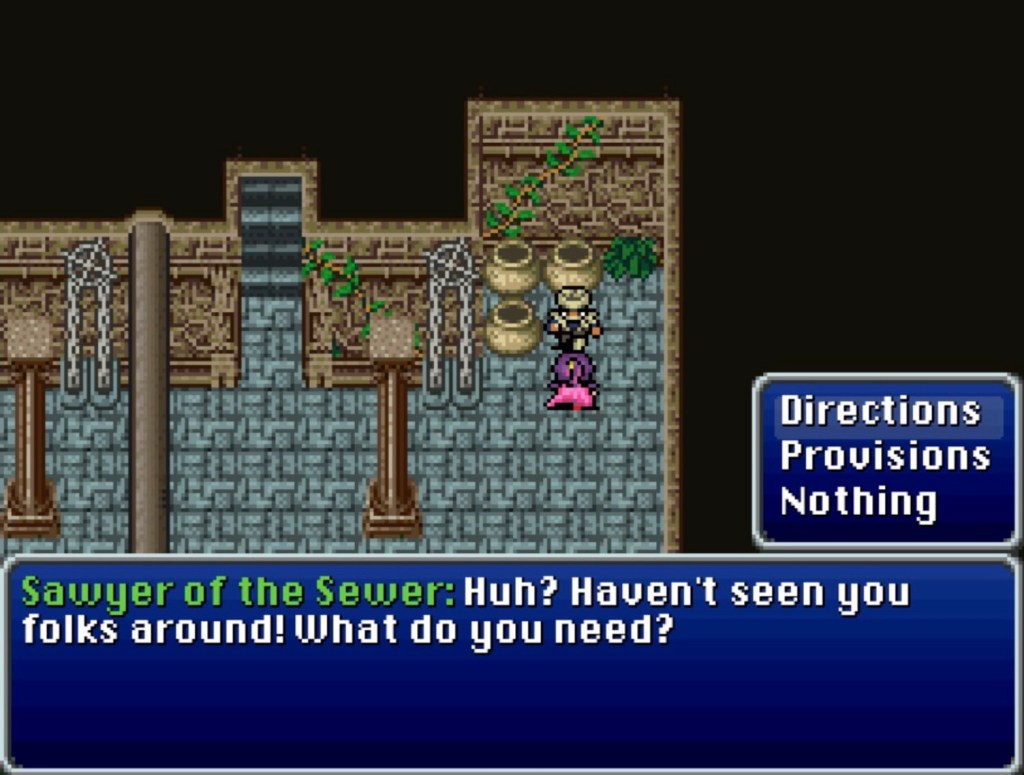
After our save point, we then attempt an escape through the Citadel sewers, which are accompanied by Lurking In The Darkness (VII). The creatures called Stalkers? The flat, ghostly, long-fingered ones that look like something from VIII? They’re good for farming Hyper Ethers. Stalkers are also vulnerable to Death. Phoenix Downs can be stolen from Dread Rats. There is decent grinding to be had here (Oalston reached level 20 and learned Bio and it’s Bio like in IV- non-elemental damage with the possibility of inflicting poison) but you can save a lot of time and effort by taking Sawyer’s advice. I’m pretty sure I missed out on several treasure chests by doing that but after the Citadel dungeons I just wanted out.
After following Sawyer’s directions, the straight shot ahead will consist of a few more screens but at least there’s no forks except to the platform with the save point. One screen over, a punny octopus from VI lies in wait.
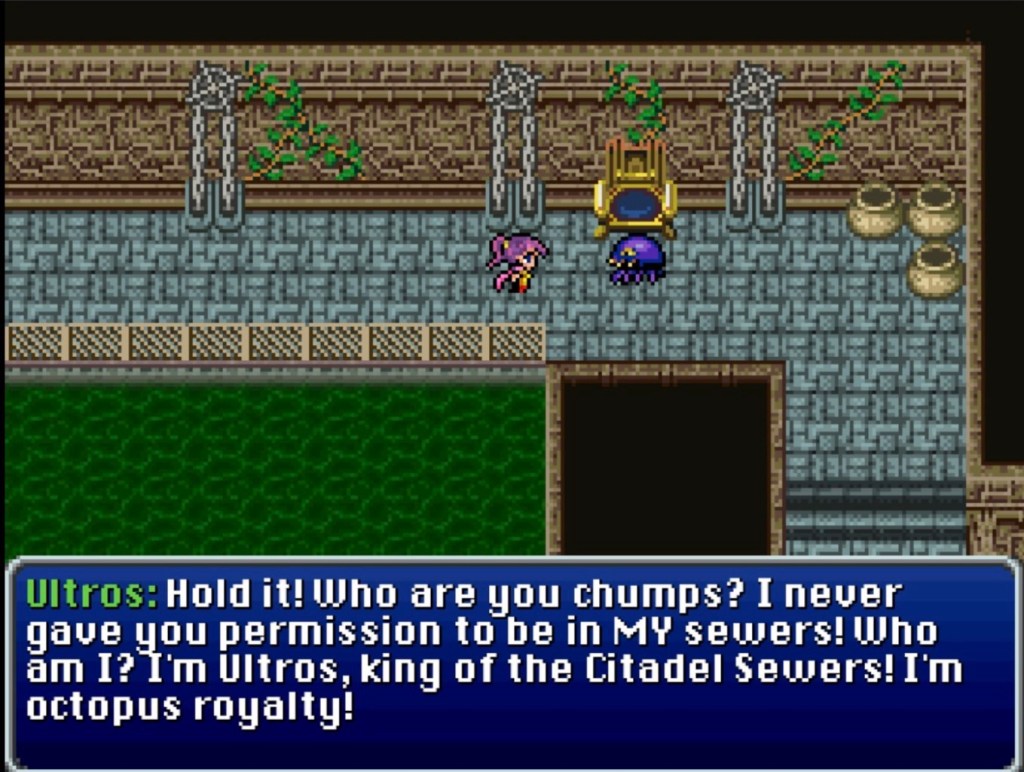
I like the thematic associations with music and timeline fuckery and whatnot but if any of these characters are identical to the games they came from, Ultros could be a decent bet. He shows up in enough random places in VI to be an actual dimensional traveler.
Ultros’ Cleansweep and Chewing Frenzy are some of his hardest-hitting moves and he seems to have a fire vulnerability as he did in VI. A Megalixir can be stolen from him with relative ease and he drops the Sticky Tentacle ability item which teaches Cleansweep (multi-target, high-damage water spell) to Ami, which may be the first blue magic item that the main story leads you to.
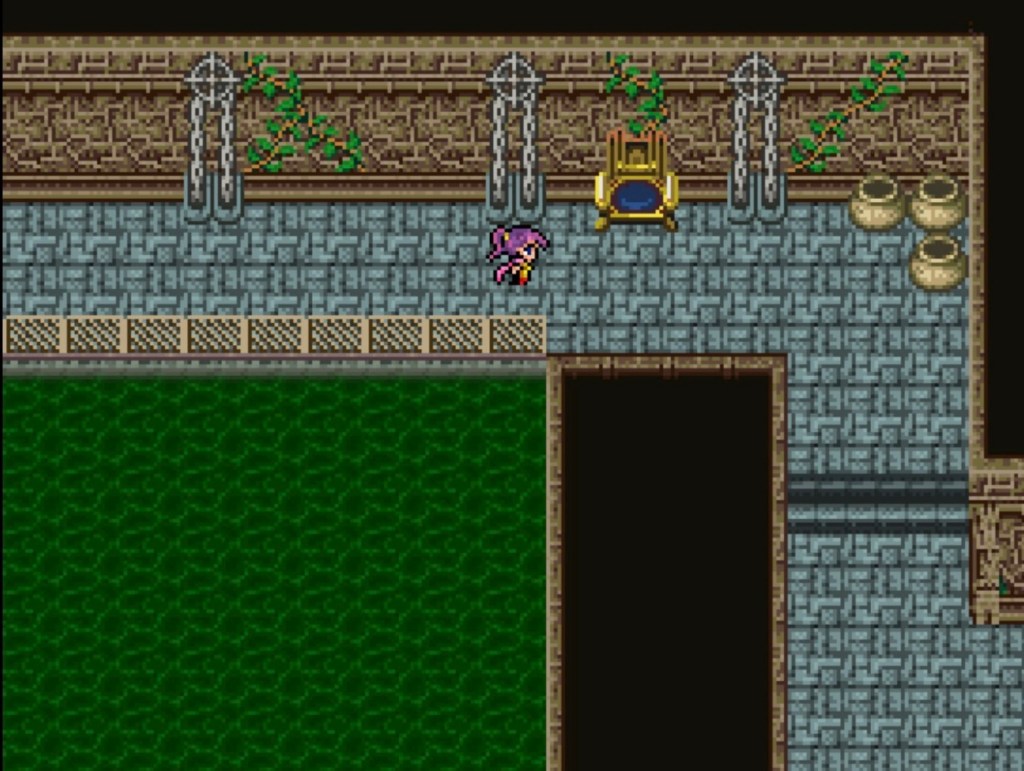
It’s funny what deaths get a black fade-out before the sprite disappears and which sprites just wink out of existence.
Because we ran into the wrong person in a hallway, we flee the country and decide to check in on Valiar and Ramah’s research in the Rift Shrine. It turns out that no body of knowledge on the kind of barrier that surrounds the Water Shrine exists on three-dimensional Gaia- except maybe one.
Ramah and Valiar recognize the Water Shrine barrier as Old Magick. Only the history and traditions of Rodenia go back that far and only one Rodenian magician is thought to reside outside of their insular community: in a remote village in Ivalice called Marshtown.
So long as it’s not the Citadel, as Vera says.
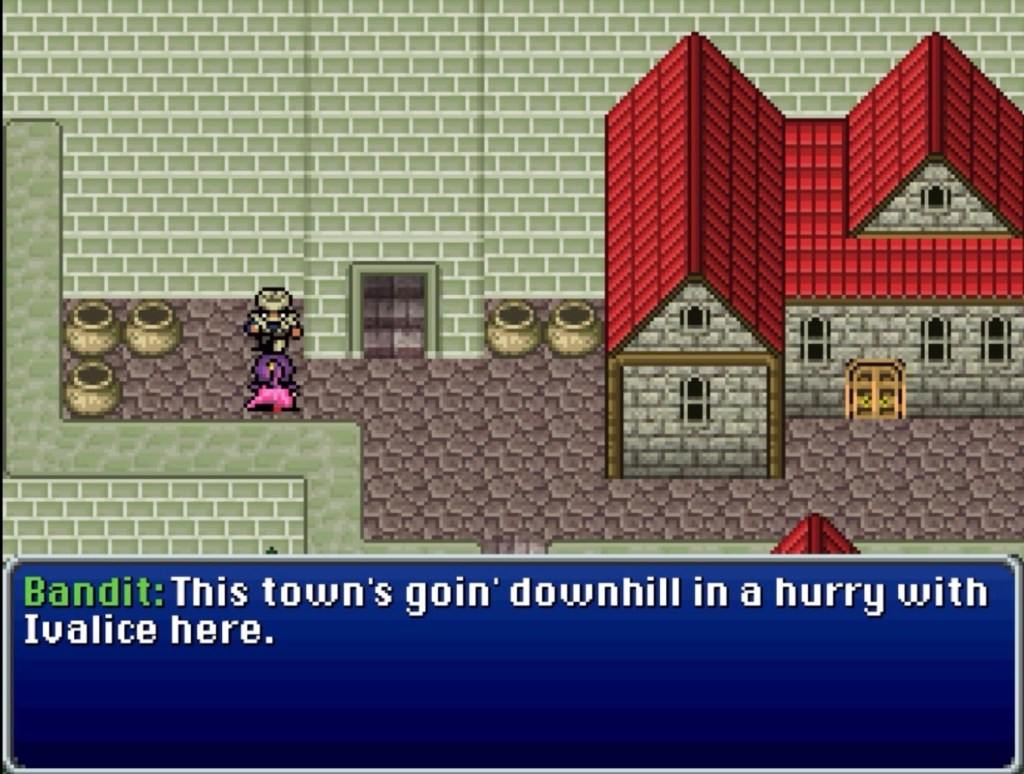
Between the Rift Shrine and Marshtown, I couldn’t resist a few random stops. Meksicberg is now occupied by Ivalice. Mayor Ward is being detained in his own home and will give you a Gigas Glove if he thinks you might help.
The bunny-filled home of the Rodenian sorceress Mizuda lies to the north of Marshtown. Because no plot point in a 2D Final Fantasy can go by without one to three dungeon-crawling stops, Mizuda needs help. She requires artifacts of power known as the Rodenian Leystones in order to attempt something on the level of dismantling an Old Magick barrier. The specific ones that Mizuda knows of are “deep within ancient Rodenian ruins” that require a unique key which Mizuda lost years ago in the Marsh Cave.
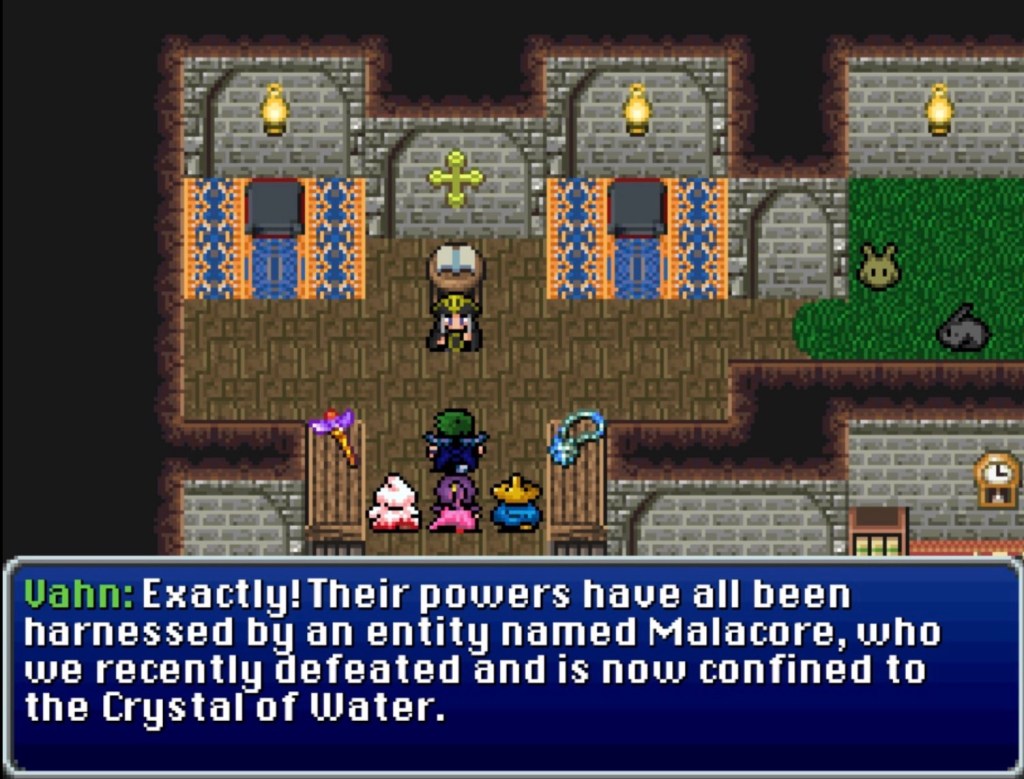
Guess where we’re headed.
In the Marsh Cave, Tents can be stolen from the Creeping Moss monsters.
Through a hidden pathway lies a treasure chest containing the Interceptor- one of the best knives we’ve found so far. Tiger Fang is best for vigor but Interceptor is best for speed. A Dark Iron Shield can be stolen from the Ironbacks (armadillo-like creatures with dark scales). Peridot Rings can be stolen from Mind-Flushers.
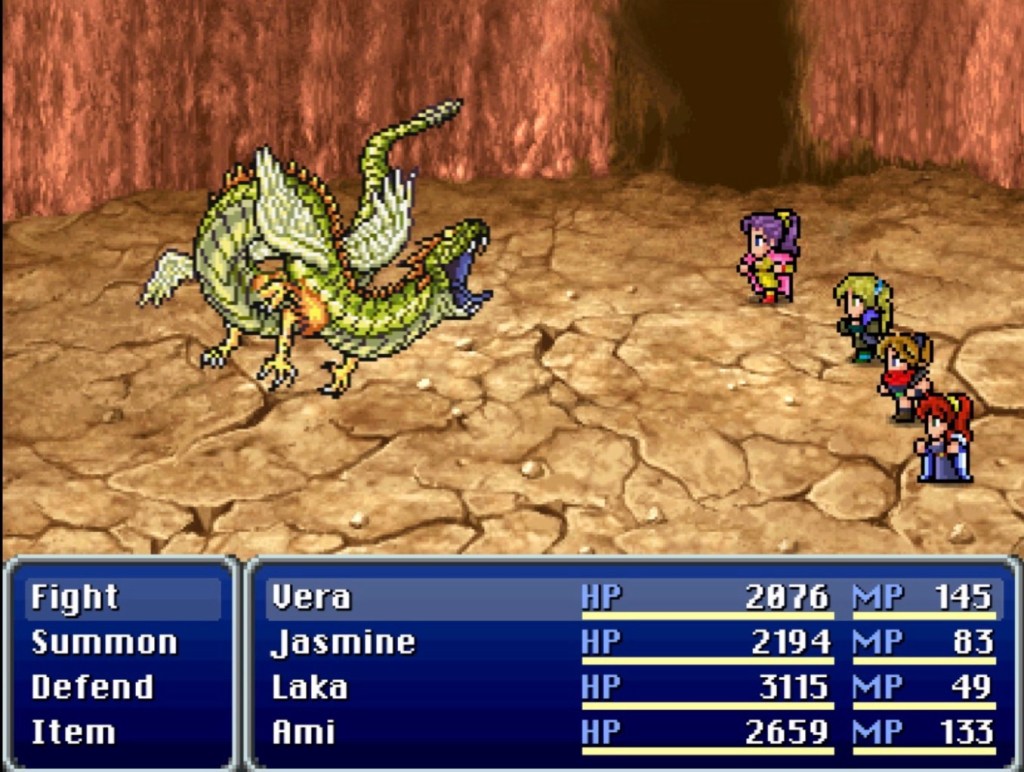
Our boss fight is the dragon Archeoavis. Jasmine’s Dusk Requiem hits hard, which could imply an earth weakness. Late in the battle, they’ll break out a high-damage, multi-target attack called Charybdis that could potentially wipe the party.
With the Astral Key in hand, we return to Mizuda. We now possess the means to access the ruins containing the Rodenian Leystones but there are two of them: one lies in the island community of Rodenia, which is tight-knit but may loosen up and cooperate once they trust us. The other ruins are closer; Esto Yensa, which lies in the northeast coastal desert of Ivalice.
The resemblance between Esto Gaza (IX) and Esto Yensa made me wonder if world-building was afoot so off I went.
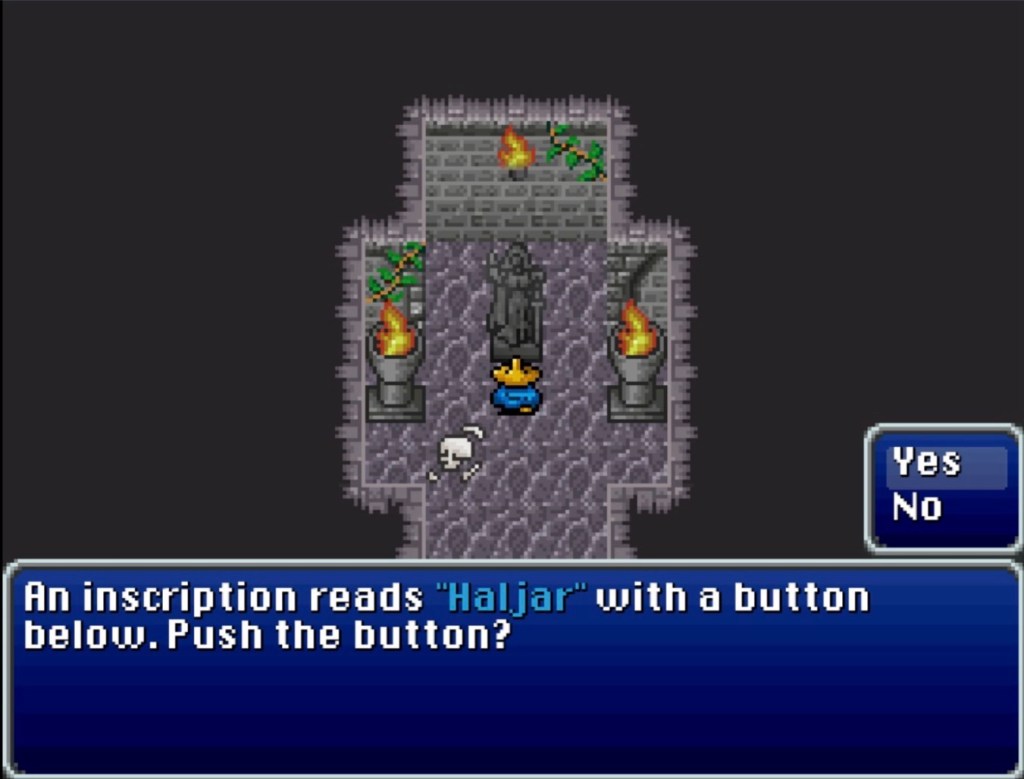
While searching the northeast desert, I got briefly distracted at the cavern called Horseman’s Rest. In the inner chamber with mortared floors and walls, bones litter the area and tendrils have broken through some of the walls.
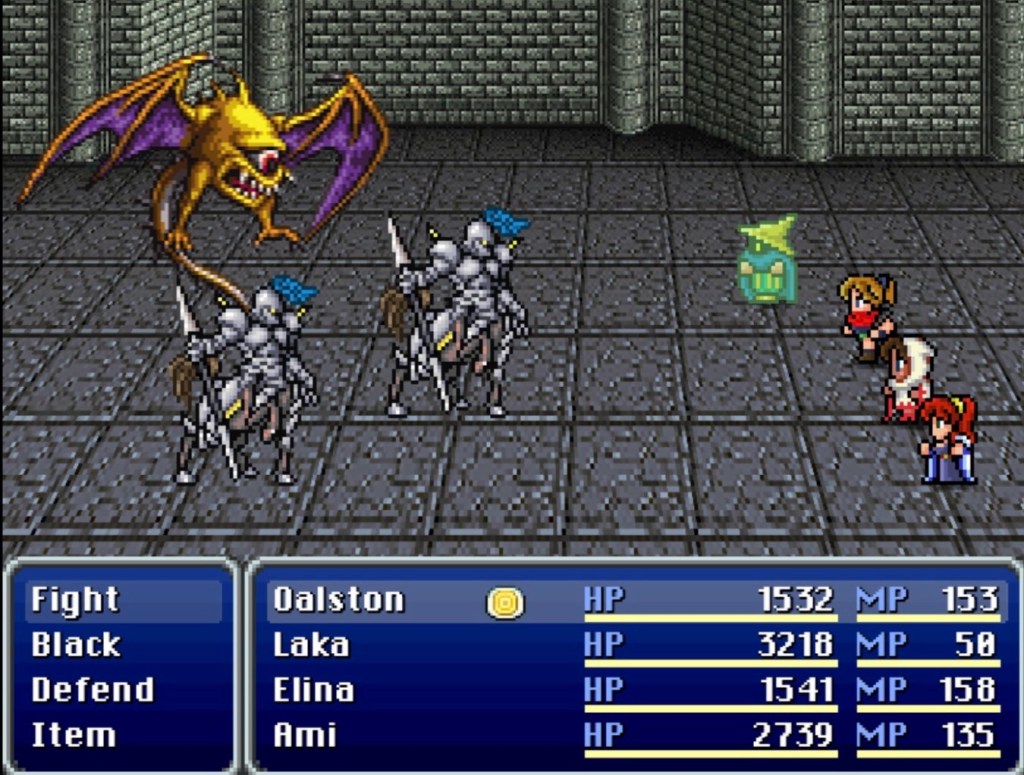
Our first open door has three treasure chests. The second one (the first door with a torch overhead) has a feminine statue, with the word “Haljar” inscribed beneath a button. Pressing it will trigger a fight with a flying eyeball Ahrman kind of monster called a Veteran and two Centaurs.
The door in the next torch room contains a statue inscribed with Baul and pressing the button triggers the same thing. Pressing either of these buttons multiple times doesn’t seem to do anything except call more Veterans and Centaurs. Luckily, Centaurs are often vulnerable to green magic Death and Stout Spears can be stolen from them (not that Vahn needs them with Gungnir in hand but stealing equipment you don’t need can be a neat way to farm gil).
The third torch door contains a statue with the word “Vinro” and a button that summons no monsters.
Outside of the final door is an identical statue with a longer inscription: “The Esper Alera, wife of Odin, bore three children. Baul, Haljar and Vinro. Baul the oldest and Vinro the youngest.” No button, no monsters. The door behind her is locked though. Maybe push the buttons and fight the monsters in descending or ascending order according to age?
Nope. Nothing does anything except summon more Centaurs and Veterans.
Putting that aside, for now, we continue along the northeast coast until we find Esto Yensa. Jasmine reached level 25 and learned Revive during the monster battles. At level 22, Elina learns Exit (get out of any random encounter battle for 8 MP) and Oalston learns Break.
In the desert outside of Esto Yensa, there are more Zone Eater clones called Hoovers. They don’t seem to suck you into the Gogo hole (or any hole so far) but you can steal Life Shards from them. On one hand they have over nine-thousand HP but on the other they’re pathetically vulnerable to Laka’s Death spell.
Monster-wise, there’s not much to speak of beyond that save that you can steal Safe Rings from the Crimson Eyes.
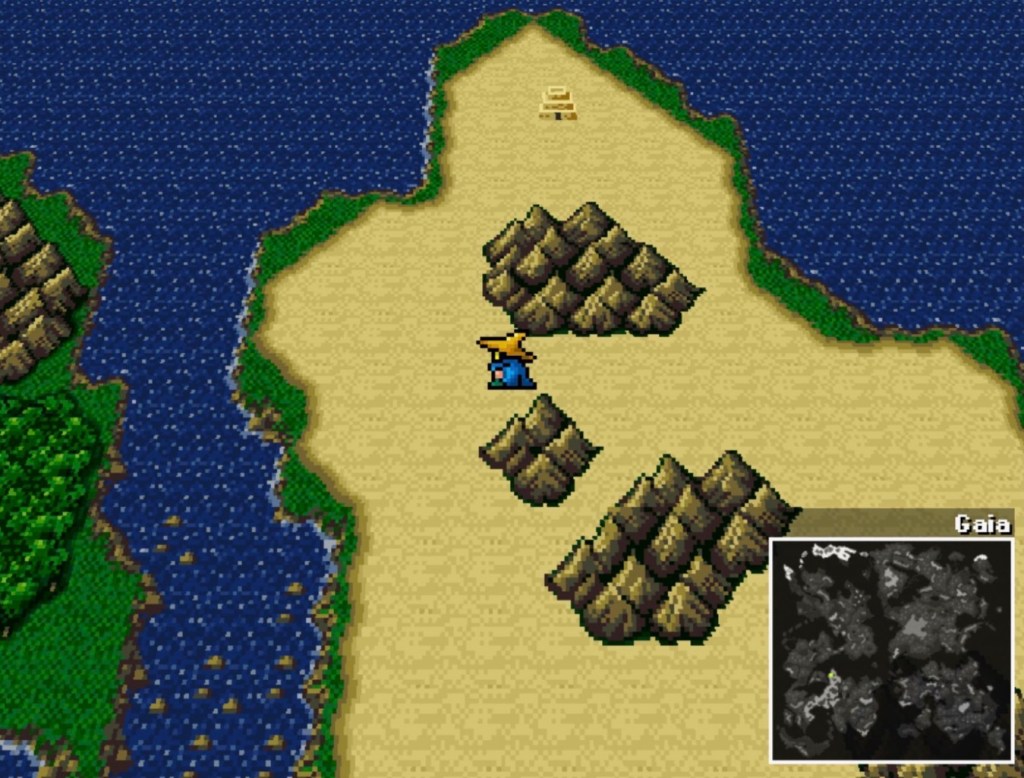
This is the hardest and most time-consuming dungeon in the game so far, just so you know.
Esto Yensa has two first floor doors and one on the second floor. Should we approach the second story entrance, we either hear a voice or read an inscription: “None shall pass until the Guardian of Esto Yensa ceases to be.”
Puzzles in both rooms need to be solved in order to get to the Leystone which means splitting the party up.
With the help of the Astral Key, Vahn’s party sets out through the left first story entrance and Vera’s party through the right.
Inside, we are immediately greeted with the Cloyster of Trials music (X).
Lucky for us, there are a lot of monsters that drop Phoenix Downs. Azure Buckles (which enables a black mage to cast Waterga) can be stolen from Nagas. Coelodontas are tough but sometimes vulnerable to Death and Laka can farm Mega Potions from them. Fairy Rings can be stolen from Incubi.
Pectins are some of the few Flan-lookalikes without Aether Jelly available for theft (what they do have are Turbo Ethers). Pectins frequently cast Saliva, inflicting slow, meaning that a character’s turn gets knocked back. Which sucks when you are relying on turn order for things like reviving someone and following it up with a group heal, etc. in this place, you’ll want as few wasted expenditures of restorative items and MP as possible.
Aand who should we find here but Malboros, with Bad Breath. You can only shake them down for Remedies but if you kill enough of them they’ll eventually drop a Malboro Tendril which of course teaches Bad Breath to Ami. Unlike most Final Fantasy games, Bad Breath is a single target attack that may potentially cause any status effect. It also appears to do non-elemental damage and bypasses magical defense which comes in handy later.
Malboros are also blessedly, occasionally vulnerable to Death.
And in case anyone was wondering: Libra is good for finding out a foe’s max and current HP and MP, stat rundown and elemental affinities but nothing pertaining to drops or stealing.
Soon, you’ll encounter spikes in the ground. This, I’ve found, is a good place to switch parties. On Vera’s side, there are buttons that take the spikes out of paths on Vahn’s side and Vahn finds buttons that lower Vera’s spikes.
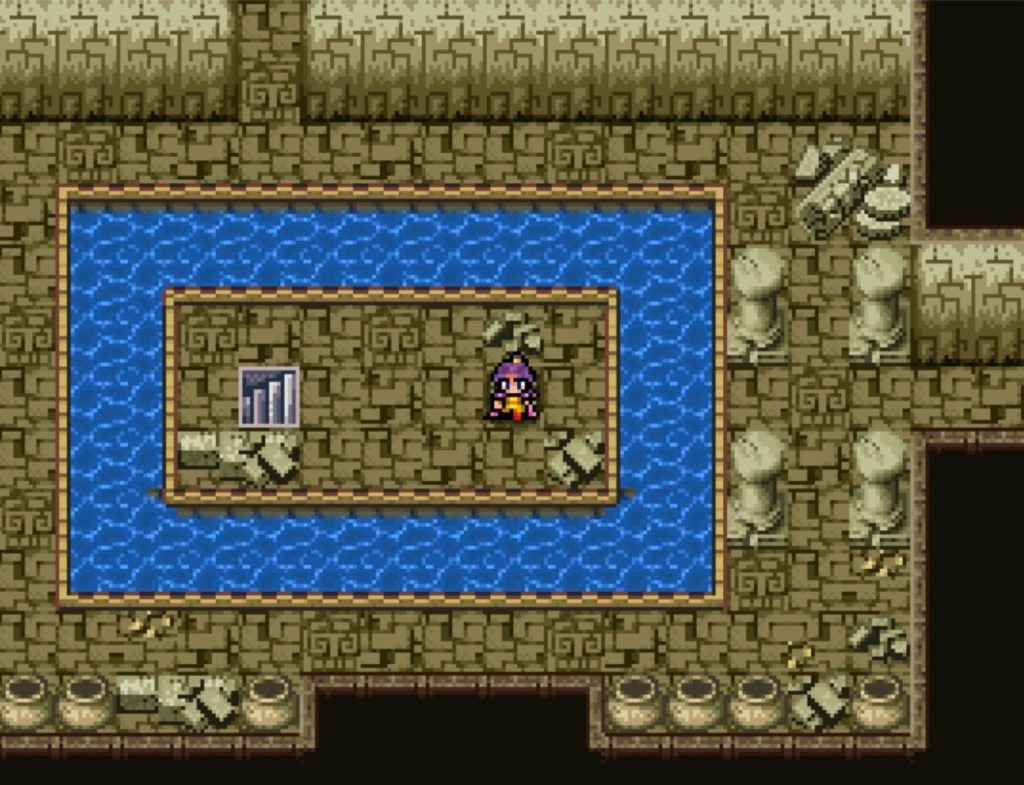
When Vera steps on the switch at the top of a staircase on a rectangular island, Vahn will gain access to a path on the far northeast. There is a shuriken in a treasure chest and something of a maze, with rubble between torch platforms.
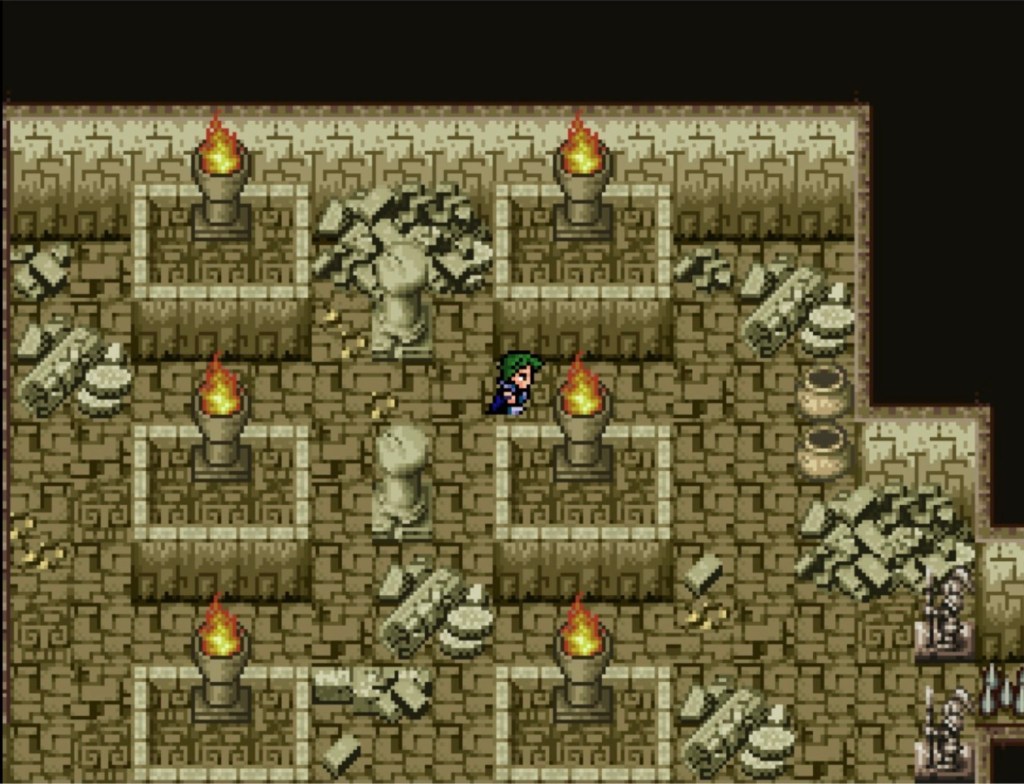
Go straight down and turn west at the next fork. The next switch is where the corridor ends in a nine-tile lip over some water.
Switch back to Vera and backtrack to the save point before the beginning of Vera’s path. From there, go up, then west as far as you can. The corridors will turn south across a pool with a second bridge and some spikes on the other side. Keep going south until you are forced to turn west. Make the turn through a cluttered corridor which will come out before a switch that is separated by water from a bridge.
Switch back to Vahn. Go east from the switch and south down the corridor. A giant torch and some rubble clutter the entrance of a westward hallway that was once blocked by spikes. Ahead is a chest with a Speed Shard and Vahn’s next button. Step on it and switch back to Vera.
As Vera’s party, backtrack down the hallway you came. The hallway turns north to a pool of water with two bridges. Cross the right hand bridge and you’ll see that the spikes are gone ahead. Get the treasure chests on your way further north to the button.
As Vahn’s party, backtrack through the cluttered room and head back up to the cubes-and-rubble maze. On the far east, you’ll find a newly-spikeless staircase that turns north to a new button and a save point.
Switch back to Vera. There’s nothing further to be done in this area so head southwest to the pool, cross the right hand bridge one way and the left bridge the other. Through the door visible on the next turn is a Bio Staff if anyone happens to need one. Beyond the Bio Staff room, cross the left hand pool bridge to the central platform-jumping pool.
Cross through the spikeless path on the far west of the room. Take the northern path to two treasure chests and a button.
Switch back to Vahn’s party, cross the cubes-and-rubble maze to the far southwest corridor. Down here, passed a treasure chest, is a spikeless path south. You’ll find yourself on the other side of a stream from where you once stood on a pressure switch. A ton of spikeless paths lie further south. We’ve been there before.
Instead take the spikeless paths north until you come to a four-way intersection of bridges and platforms over a pool. There’s an elixir in the northwest treasure chest should you need it. There’s also a Morningstar directly west. Directly east there is a large room filled with rubble and sand. The northeast chest has a Bomb Fragment. On the far eastern side is a door to a room with a button guarded by a sphere of blue fire.
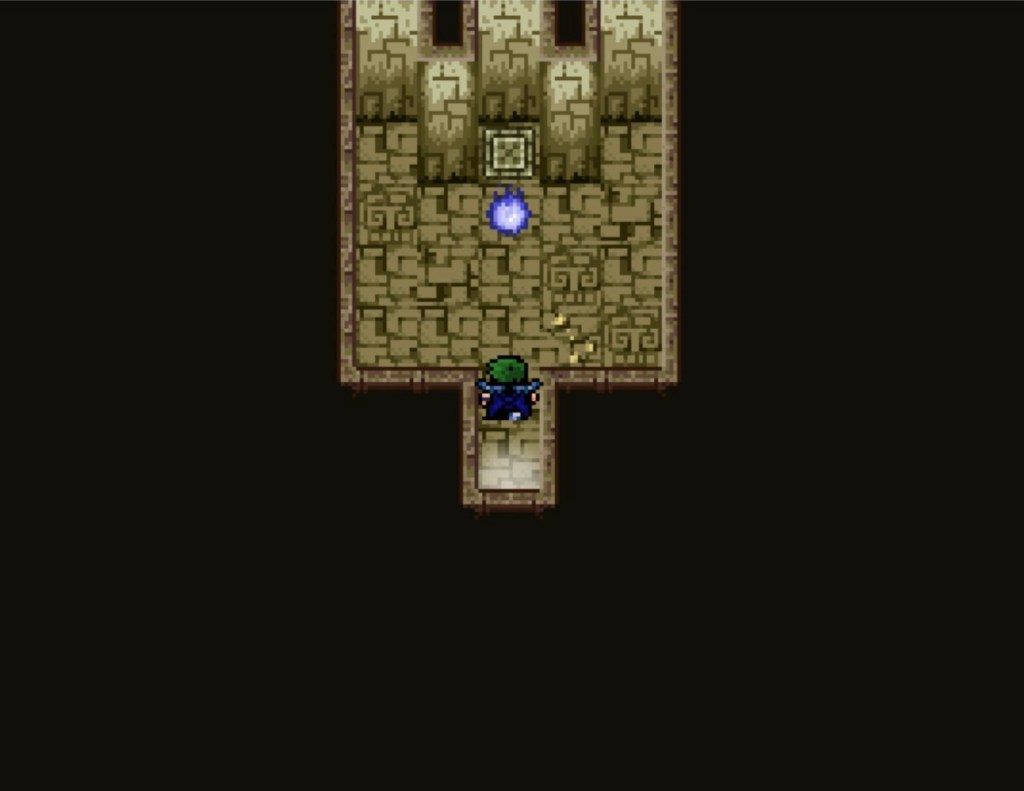
To the northwest of the room is the next button. Leaving the burning blue sphere for now, let’s go with the unguarded switch.
Switch back to Vera’s party. I was starting to wonder if Vahn and Vera are supposed to be constantly above and below each other. In that event, we might go east. The eastern path of the four-way platform intersection leads to a place that resembles the cubes-and-rubble maze on Vahn’s side. Sniper Arrows can be found in the southeast room.
I wormed my way up to the staircase corridor in the northwest corner and found spikes to the far west beside an open doorway. Through the doorway is a blue orb, floating before a switch, like we saw on Vahn’s side.
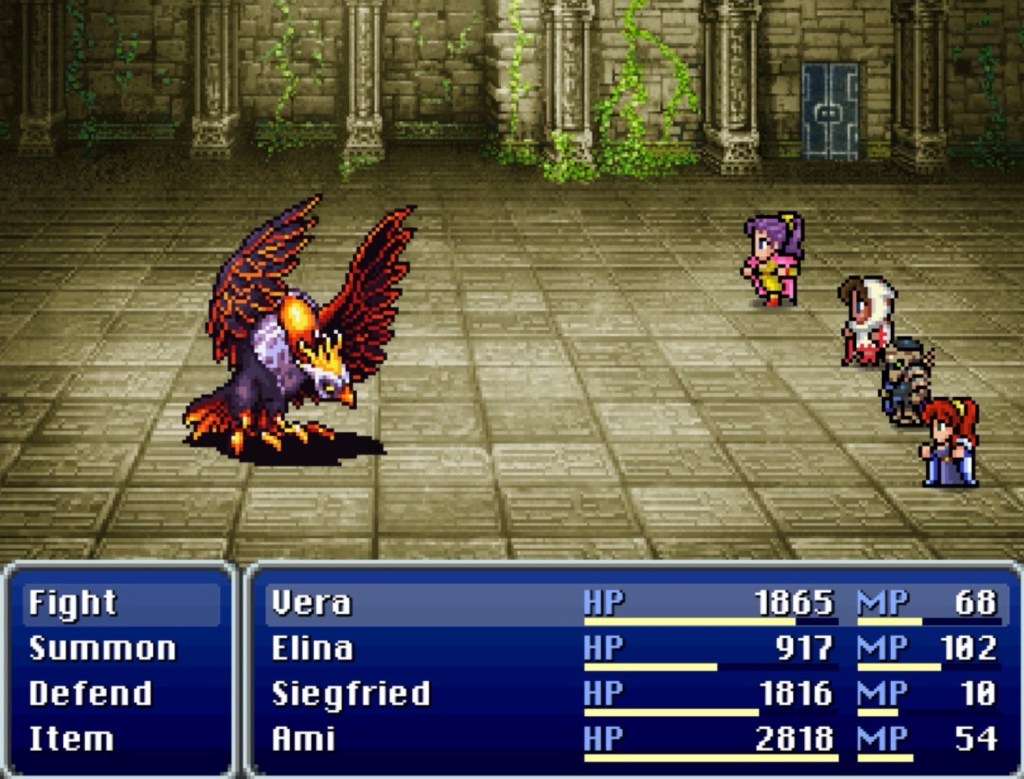
Upon “talking” to the orb, it changes into the Wind Raptor. Bad Breath does decent damage against them even if no status effect is inflicted (the move description of Bad Breath specifies that it bypasses magic defenses so that might be a factor).
Then the bitch wraps themselves up in their wings and starts buffing themselves and I got annoyed over not having Laka in this party to cast Dispel. Good thing we got Bad Breath, Goblin Punch and Dispatch. Shatterstrike from Siegfired will do more damage, just be mindful of the fact that he won’t recover as much from Cheer if he uses more than 4-5ish points of MP in a turn.
I tried keeping most of the party in a holding pattern until the buffs wore off while casting Bad Breath and Dispatch. In the interim period, Elina cast Protect and Shell on the entire party and then the Wind Raptor wrapped itself up again for buffing time…so prolly can’t wait out the buffs that easily.
With being in this holding pattern, Elina cast Haste on Ami and Siegfried. If Elina and Vera are finding themselves on support duty then why not get the damage-dealers to squeeze in some turn-order jumping.
Whatever there is to be said for attrition, though, your hits will hit harder when their wings are open. The defend command is there for a number of reasons, after all.
The Wind Raptor drops a Golden Apple, which permanently increases all stats by one.
I then pressed the button and switched back to Vahn. When Vahn checks out his orb, the Katana Soul materialzes. They’ll also promptly Possess someone (when he does this, a soul / ghost sprite from VI will hover behind one of you).
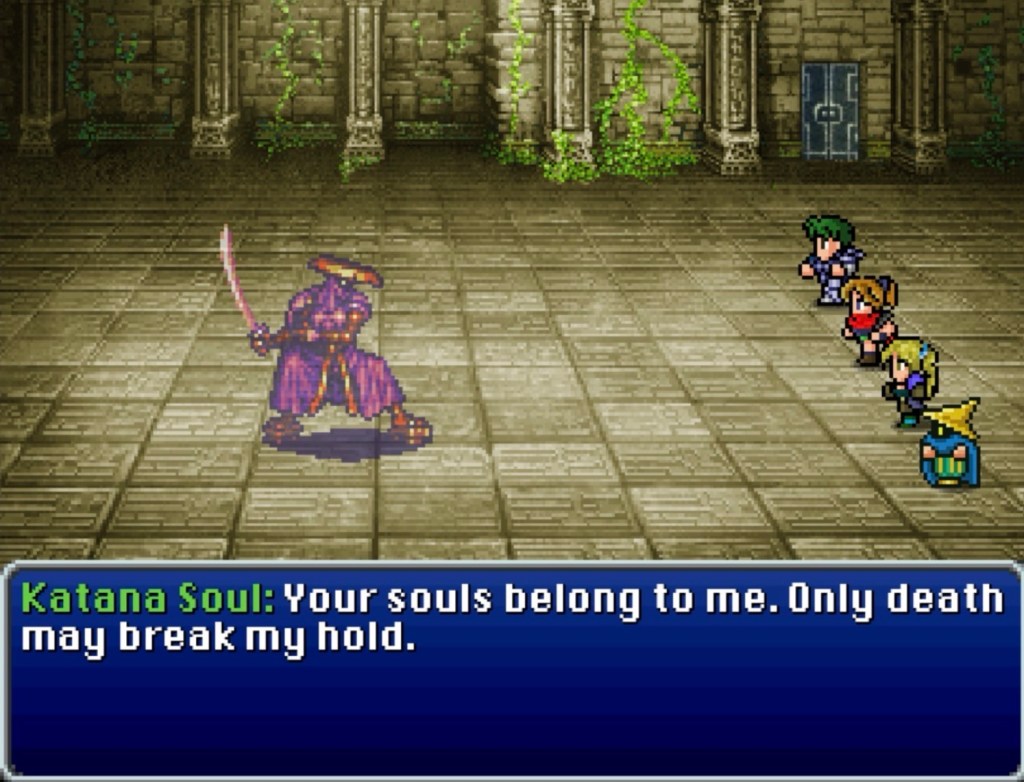
Aura Cannon is useful, Shockwave is better. Laka got Possessed first time around and Oalston wasted time casting Dispel on both her and Katana Soul. Possessed Laka killed him near the end of the experiment. This bitch can also possess more than one person at a time which is delightful when it’s your last two surviving party members and you just have to wait until they succeed at killing each other.
With that in mind, you might want to backtrack to the save point southwest of the platform-intersection pool after killing Wind Raptor (Vahn might have an equivalent opportunity but I don’t know?). I suspect it’ll pay for both parties to be in the same place once the final buttons are pressed, though, so maybe consider backtracking to the room with Wind Raptor and Wind Raptor’s button.
Casting Dispel on possessed people does nothing, btw. The only way to treat possession that I’ve found so far is to cast Death on the possessed person and revive them.
You can steal the Oborozuki sword from Katana Soul.
Tornado is an asset, if Oalston knows it. With Laka’s speed benefiting so much from my grinding, a lot of Katana Soul’s physical attacks didn’t hit her.
The Phoenix Downs seem to revive party members with just a bit more HP than Jasmine’s Revive ability, just fyi. It might be a character build issue.
My second run against Katana Soul was successful with just a bit more emphasis on Oalston casting Tornado and Vahn casting Shockwave. I also killed and revived Vahn twice. Luckily, Katana Soul only seems to go for more and diverse possession targets once he gets comfortable with one. So don’t let him get the sweet tooth.
Esto Yensa has depleted so much of my item stash.
With both switches flipped, Vahn and Vera now have access to the stairway between them.
Aand who the fuck is this character Lyric? She’s just sitting there in the party roster once everyone is reunited! Her description says she’s a gambler with lots of points in vigor and luck.
I mean, I’m not mad about having a new random party member but could this also be a glitch? Or just a wonky-ass progression nuance? I guess it’s also possible I recruited her without realizing-
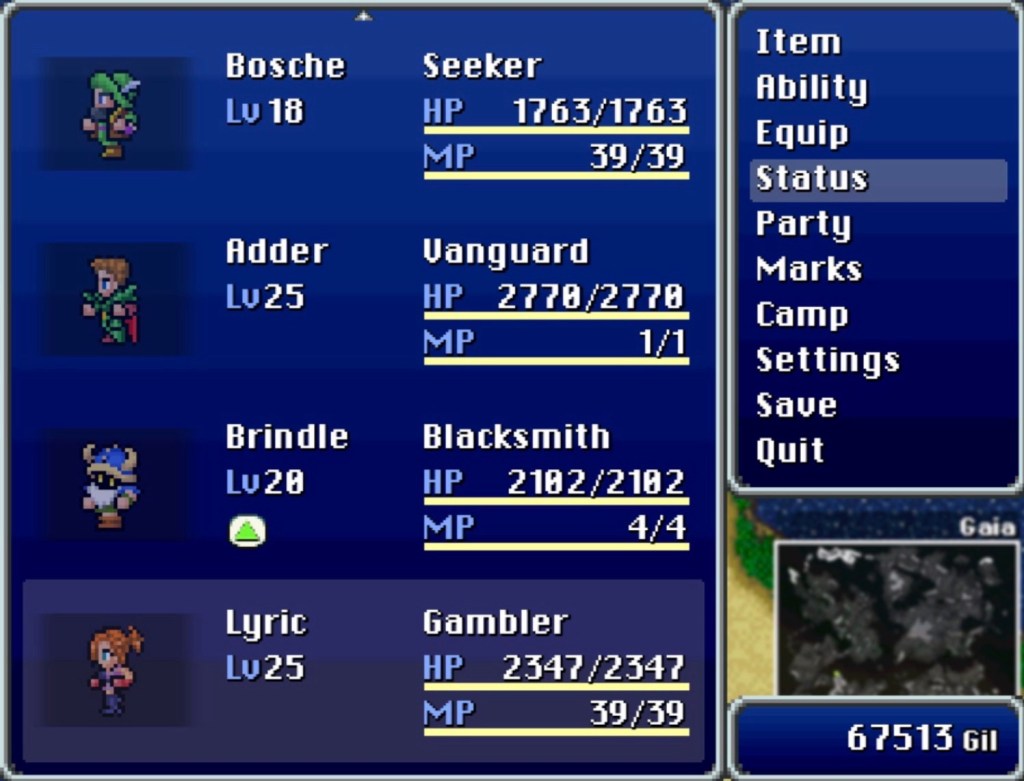
Why is Lord Adder in the party roster? Haven’t we not seen him since early in the game and is now presumed dead?
…
Anyway, we’re about to grab the Leystone in the next room when a blonde, masculine figure called Hecatonchier (XIII) appears to stop us.
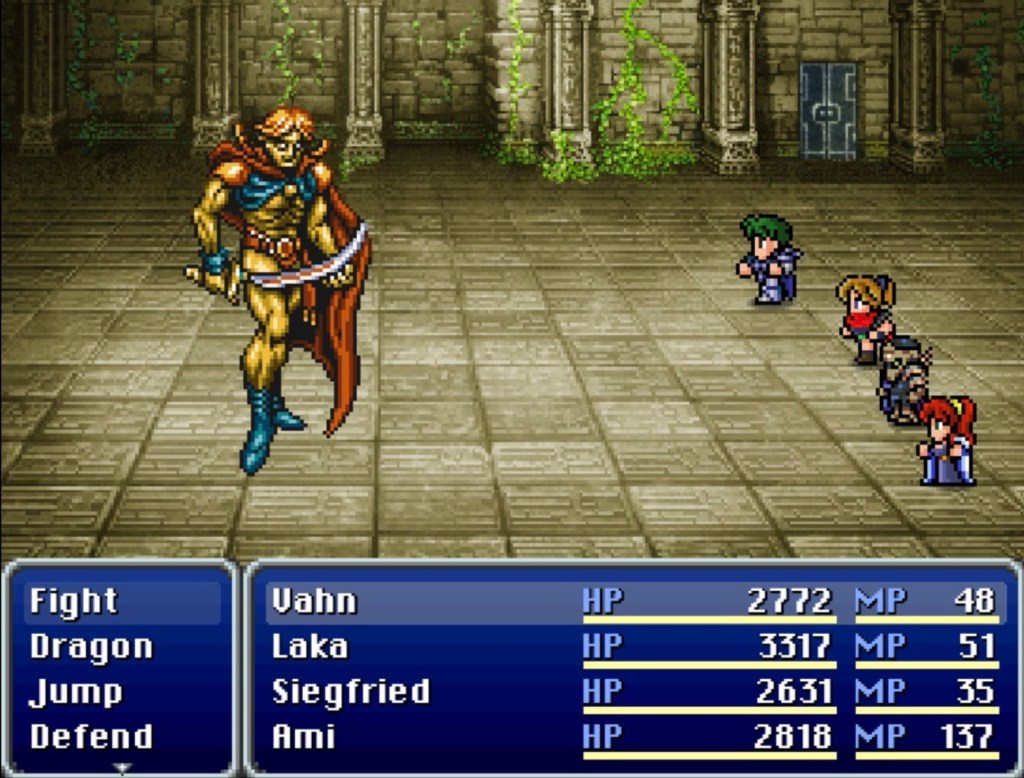
Our local Hecatonchier is good enough to have a Megalixir on him for the stealing. Serrated Edge is one of those super annoying attacks that hits several times in one turn and is a significant early threat. Hecatonchier also has massive physical defense. He casts buffs on himself so it’s a good time to have Laka around. Bad Breath got him with poison and slow, which helped. A second wave got him with silence.
When he starts with the bullshit where he reduces the whole party to one HP, it’s fun to use the Megalixir you just stole from him.
Hecatonchier drops a Rodenian Glove when he goes down. Grab the Leystone we’ve come all this way for and talk to the exit moogle in the prior room.
Now that we have the Leystone this might not matter anymore…but let’s check the second story entrance anyway.
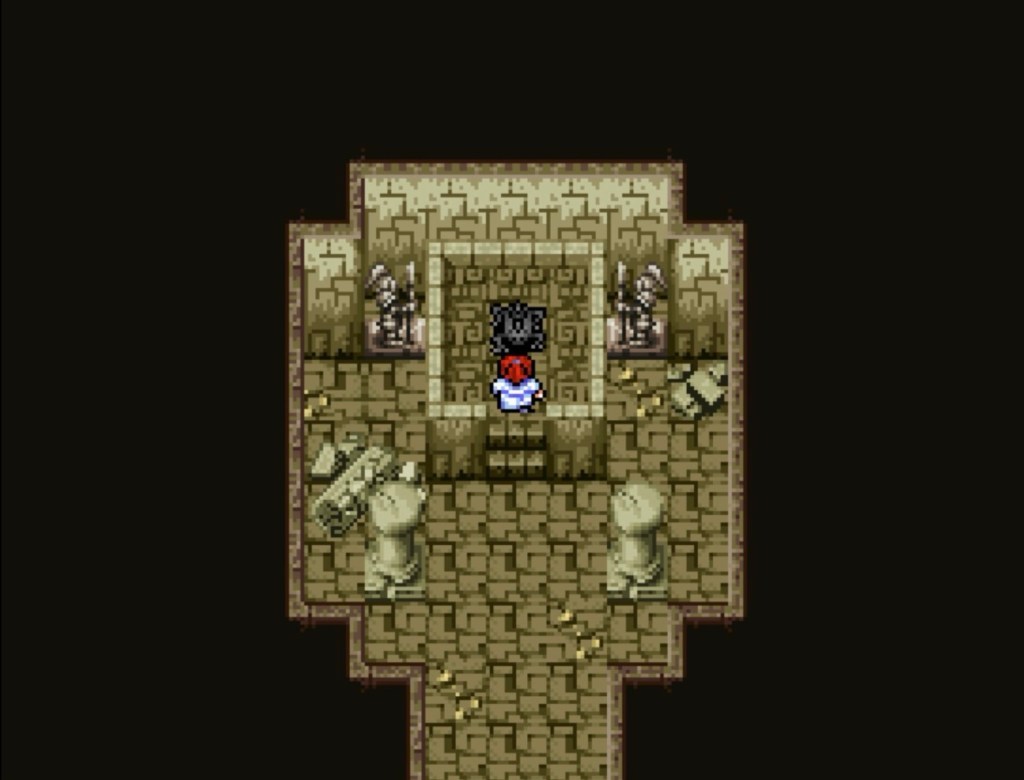
This is Cobalt Weapon (Omega’s sprite or local expression in this world?). And this fight did not last long at all.
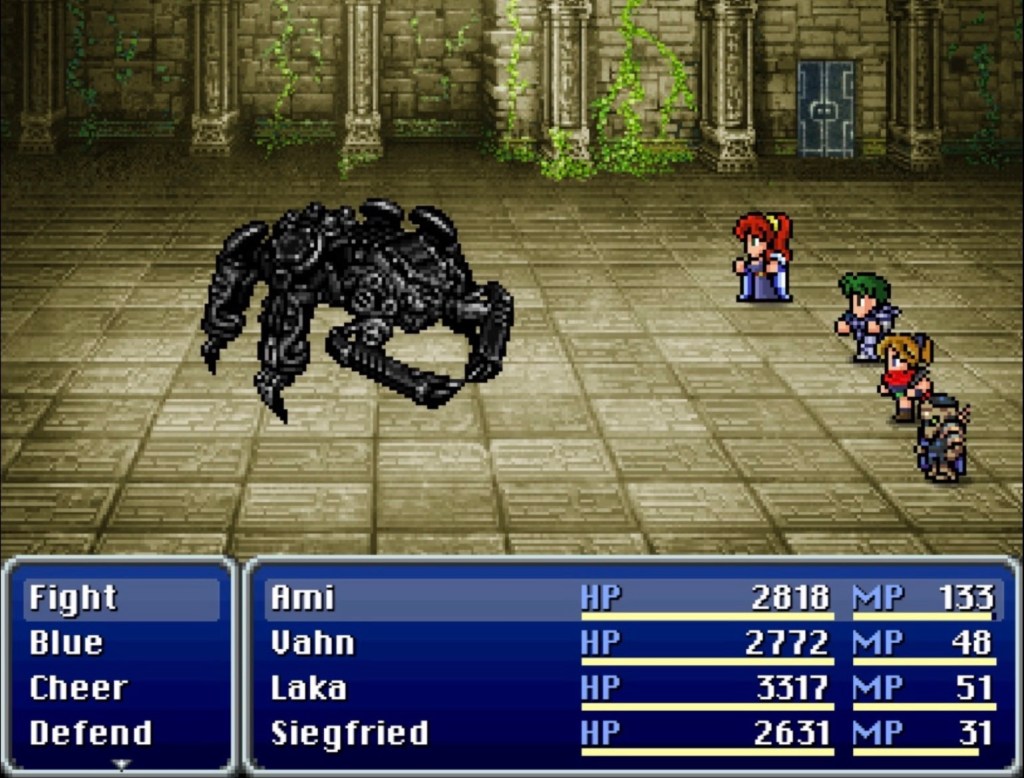
Here’s the sauce
Here’s the next post

